
We seem to be on a bit of a reptile kick lately, and this jeweled turtle helped fill a lazy morning at home. Travis loves to play with clay and aluminum foil, so what a bonus to find a craft that combined the two!
To make your turtle shells, crumple aluminum foil into a ball, and then flatten slightly until you achieve the desired shape.

Next we rolled little bits of air-dry clay to be the head, arms, legs, and tail of the turtle. Press slightly into the underside of the foil to adhere.

We pulled out a few sparkly odds and ends from our craft bin to decorate the shell of our turtle, including sequins and glitter glue.

Once our first turtle was finished (admittedly with lots of adult help), Travis immediately began making a second, and this time I sat back and just watched his imagination go wild!

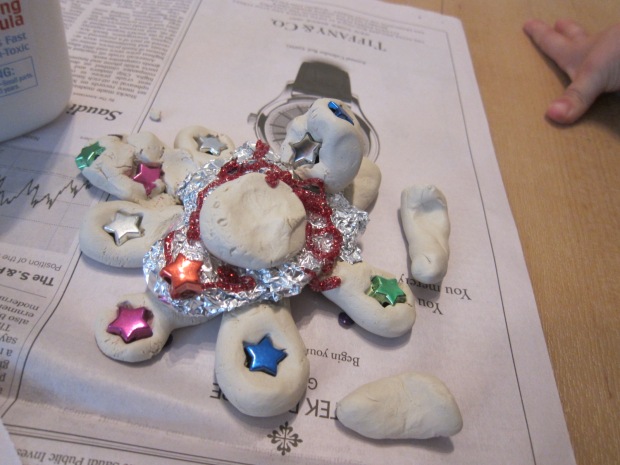
The turtle had several heads, bits of clay stuck on top of the shell, eyes in several places that didn’t necessarily make “sense”, and star beads pressed into arms and feet.

I didn’t lift a finger for this second version, and absolutely loved seeing Travis make his own creation.
What will your child’s turtle end up looking like? Please describe or post a picture in the comments; we can’t wait to see!


Those are adorable! I love them 🙂 Especially the one with purple gemstones. Gorgeous 🙂 So creative.
LikeLiked by 1 person