Flour Piping Sensory Activity

Flour and Water Piping (8)

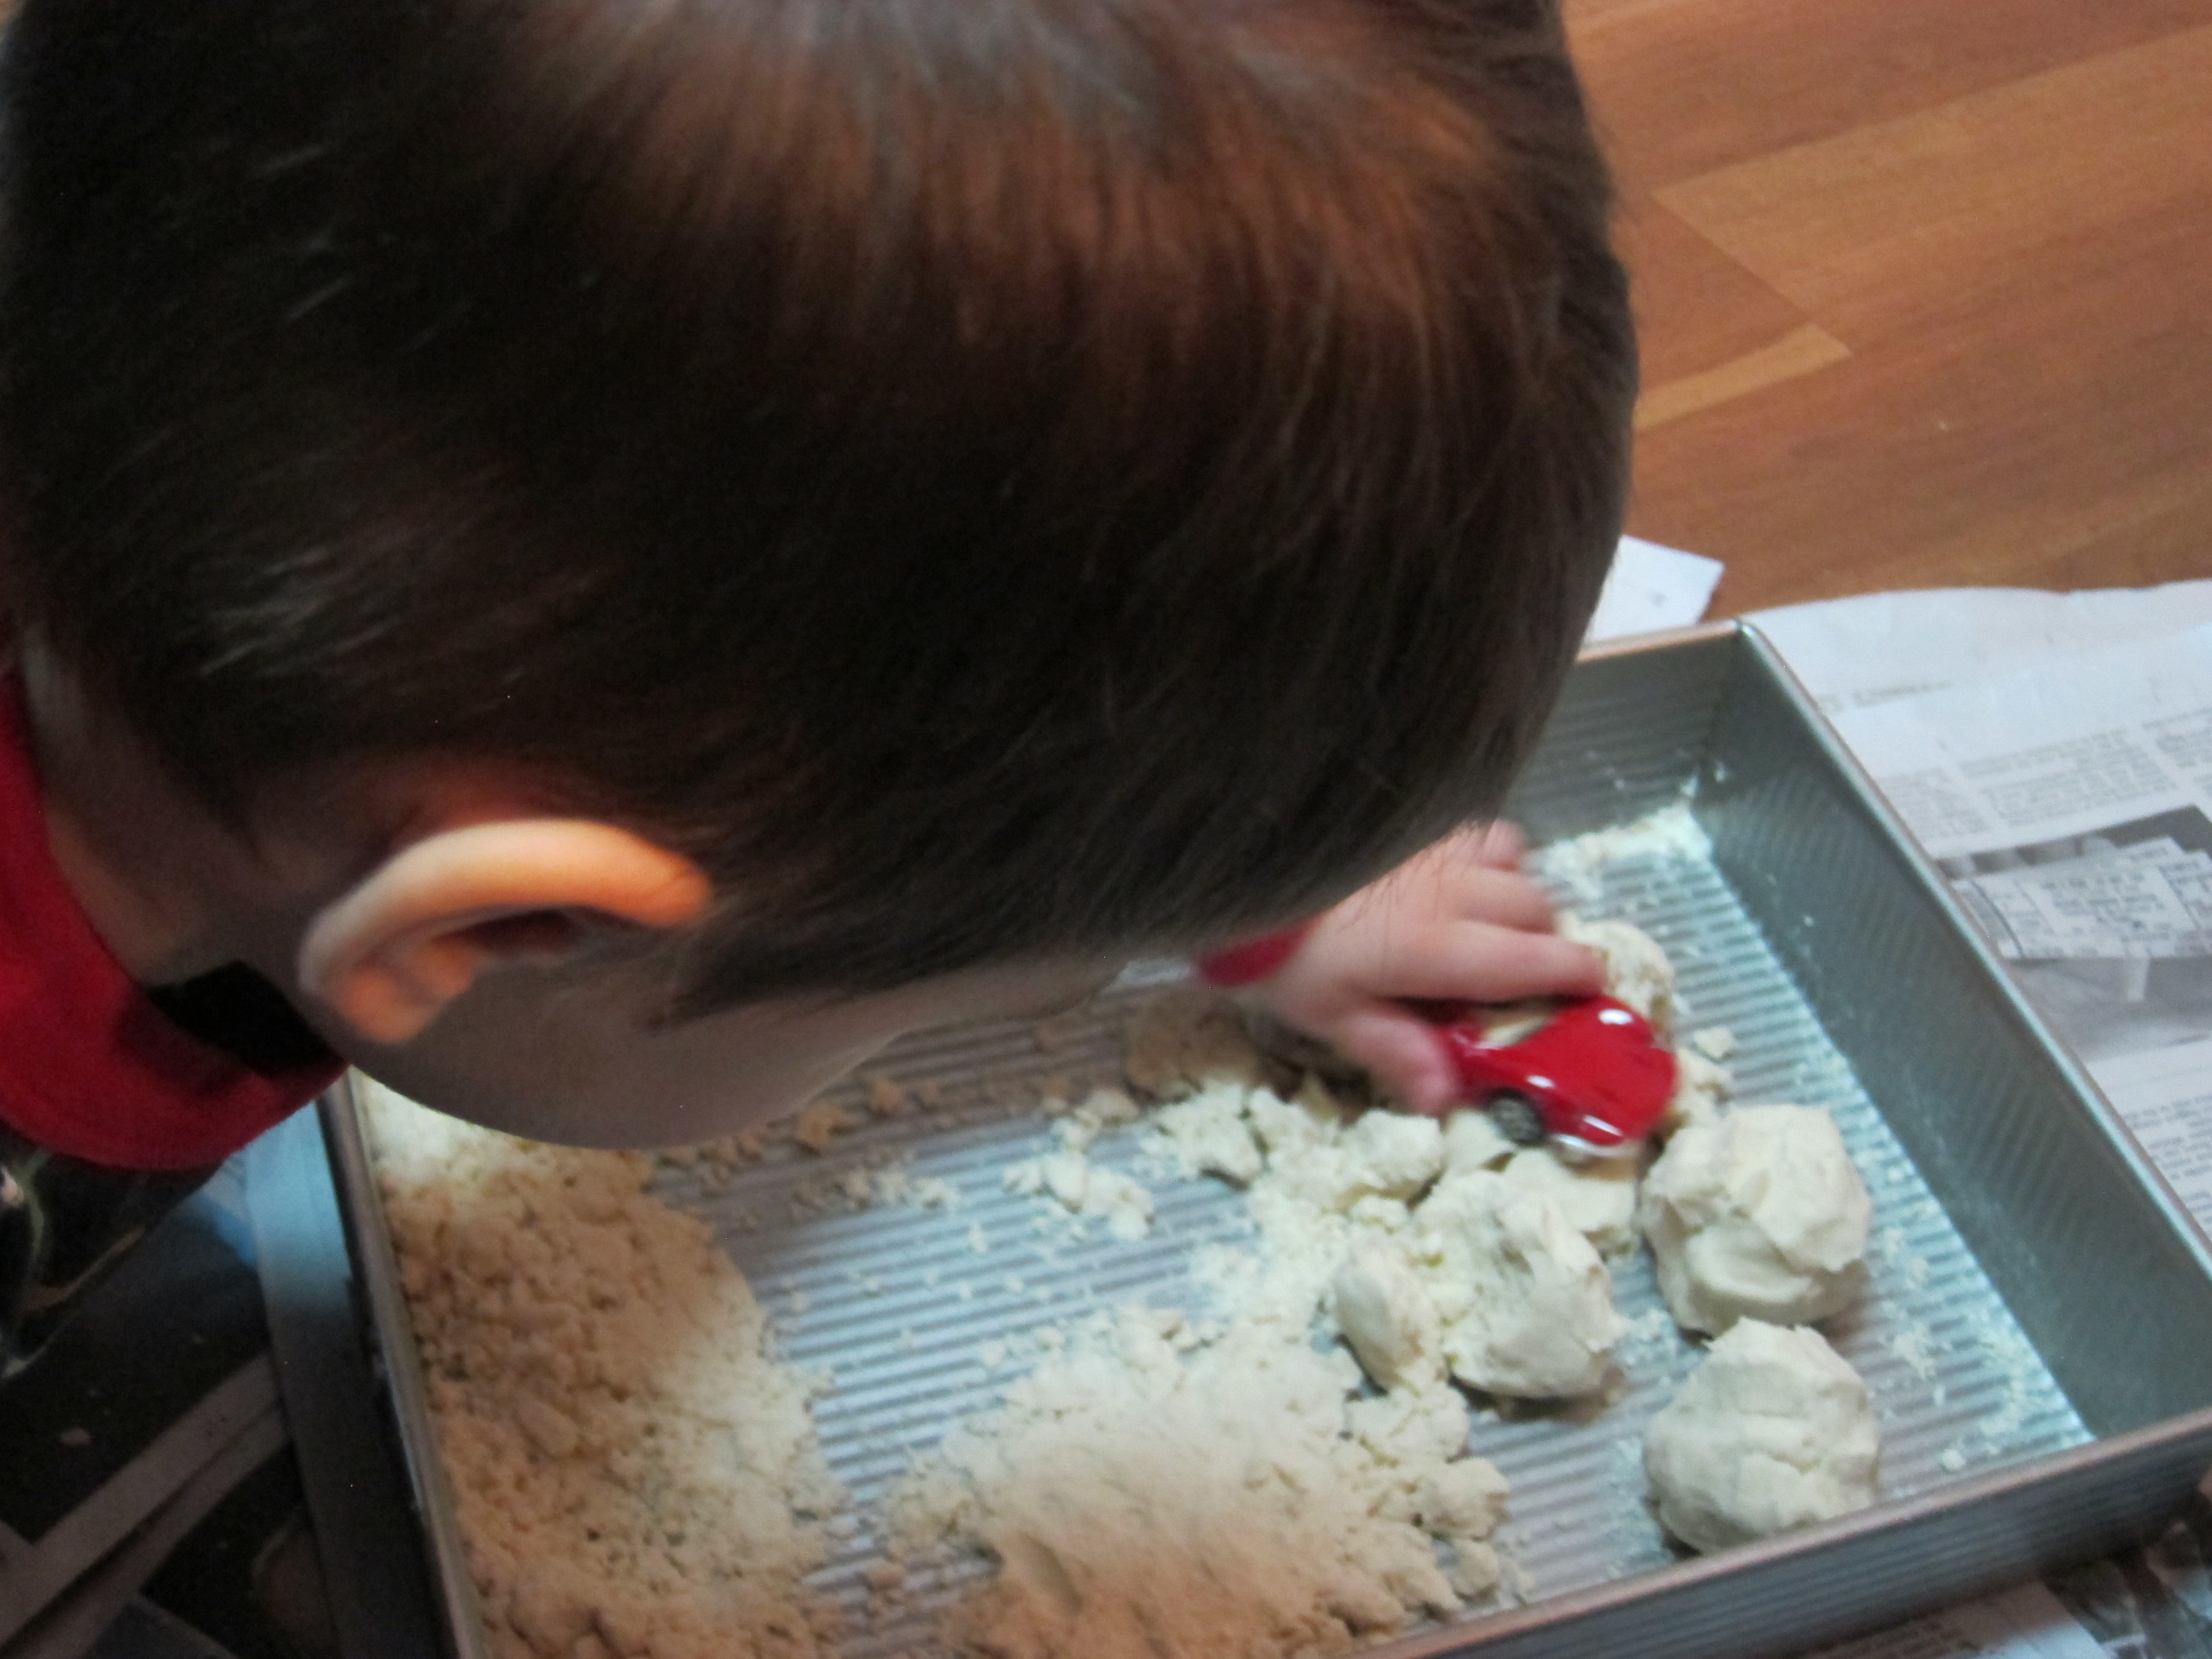
A word of warning parents: this game is a messy one, but definitely worth it. It combines food play, painting, sensory play, art, and more!

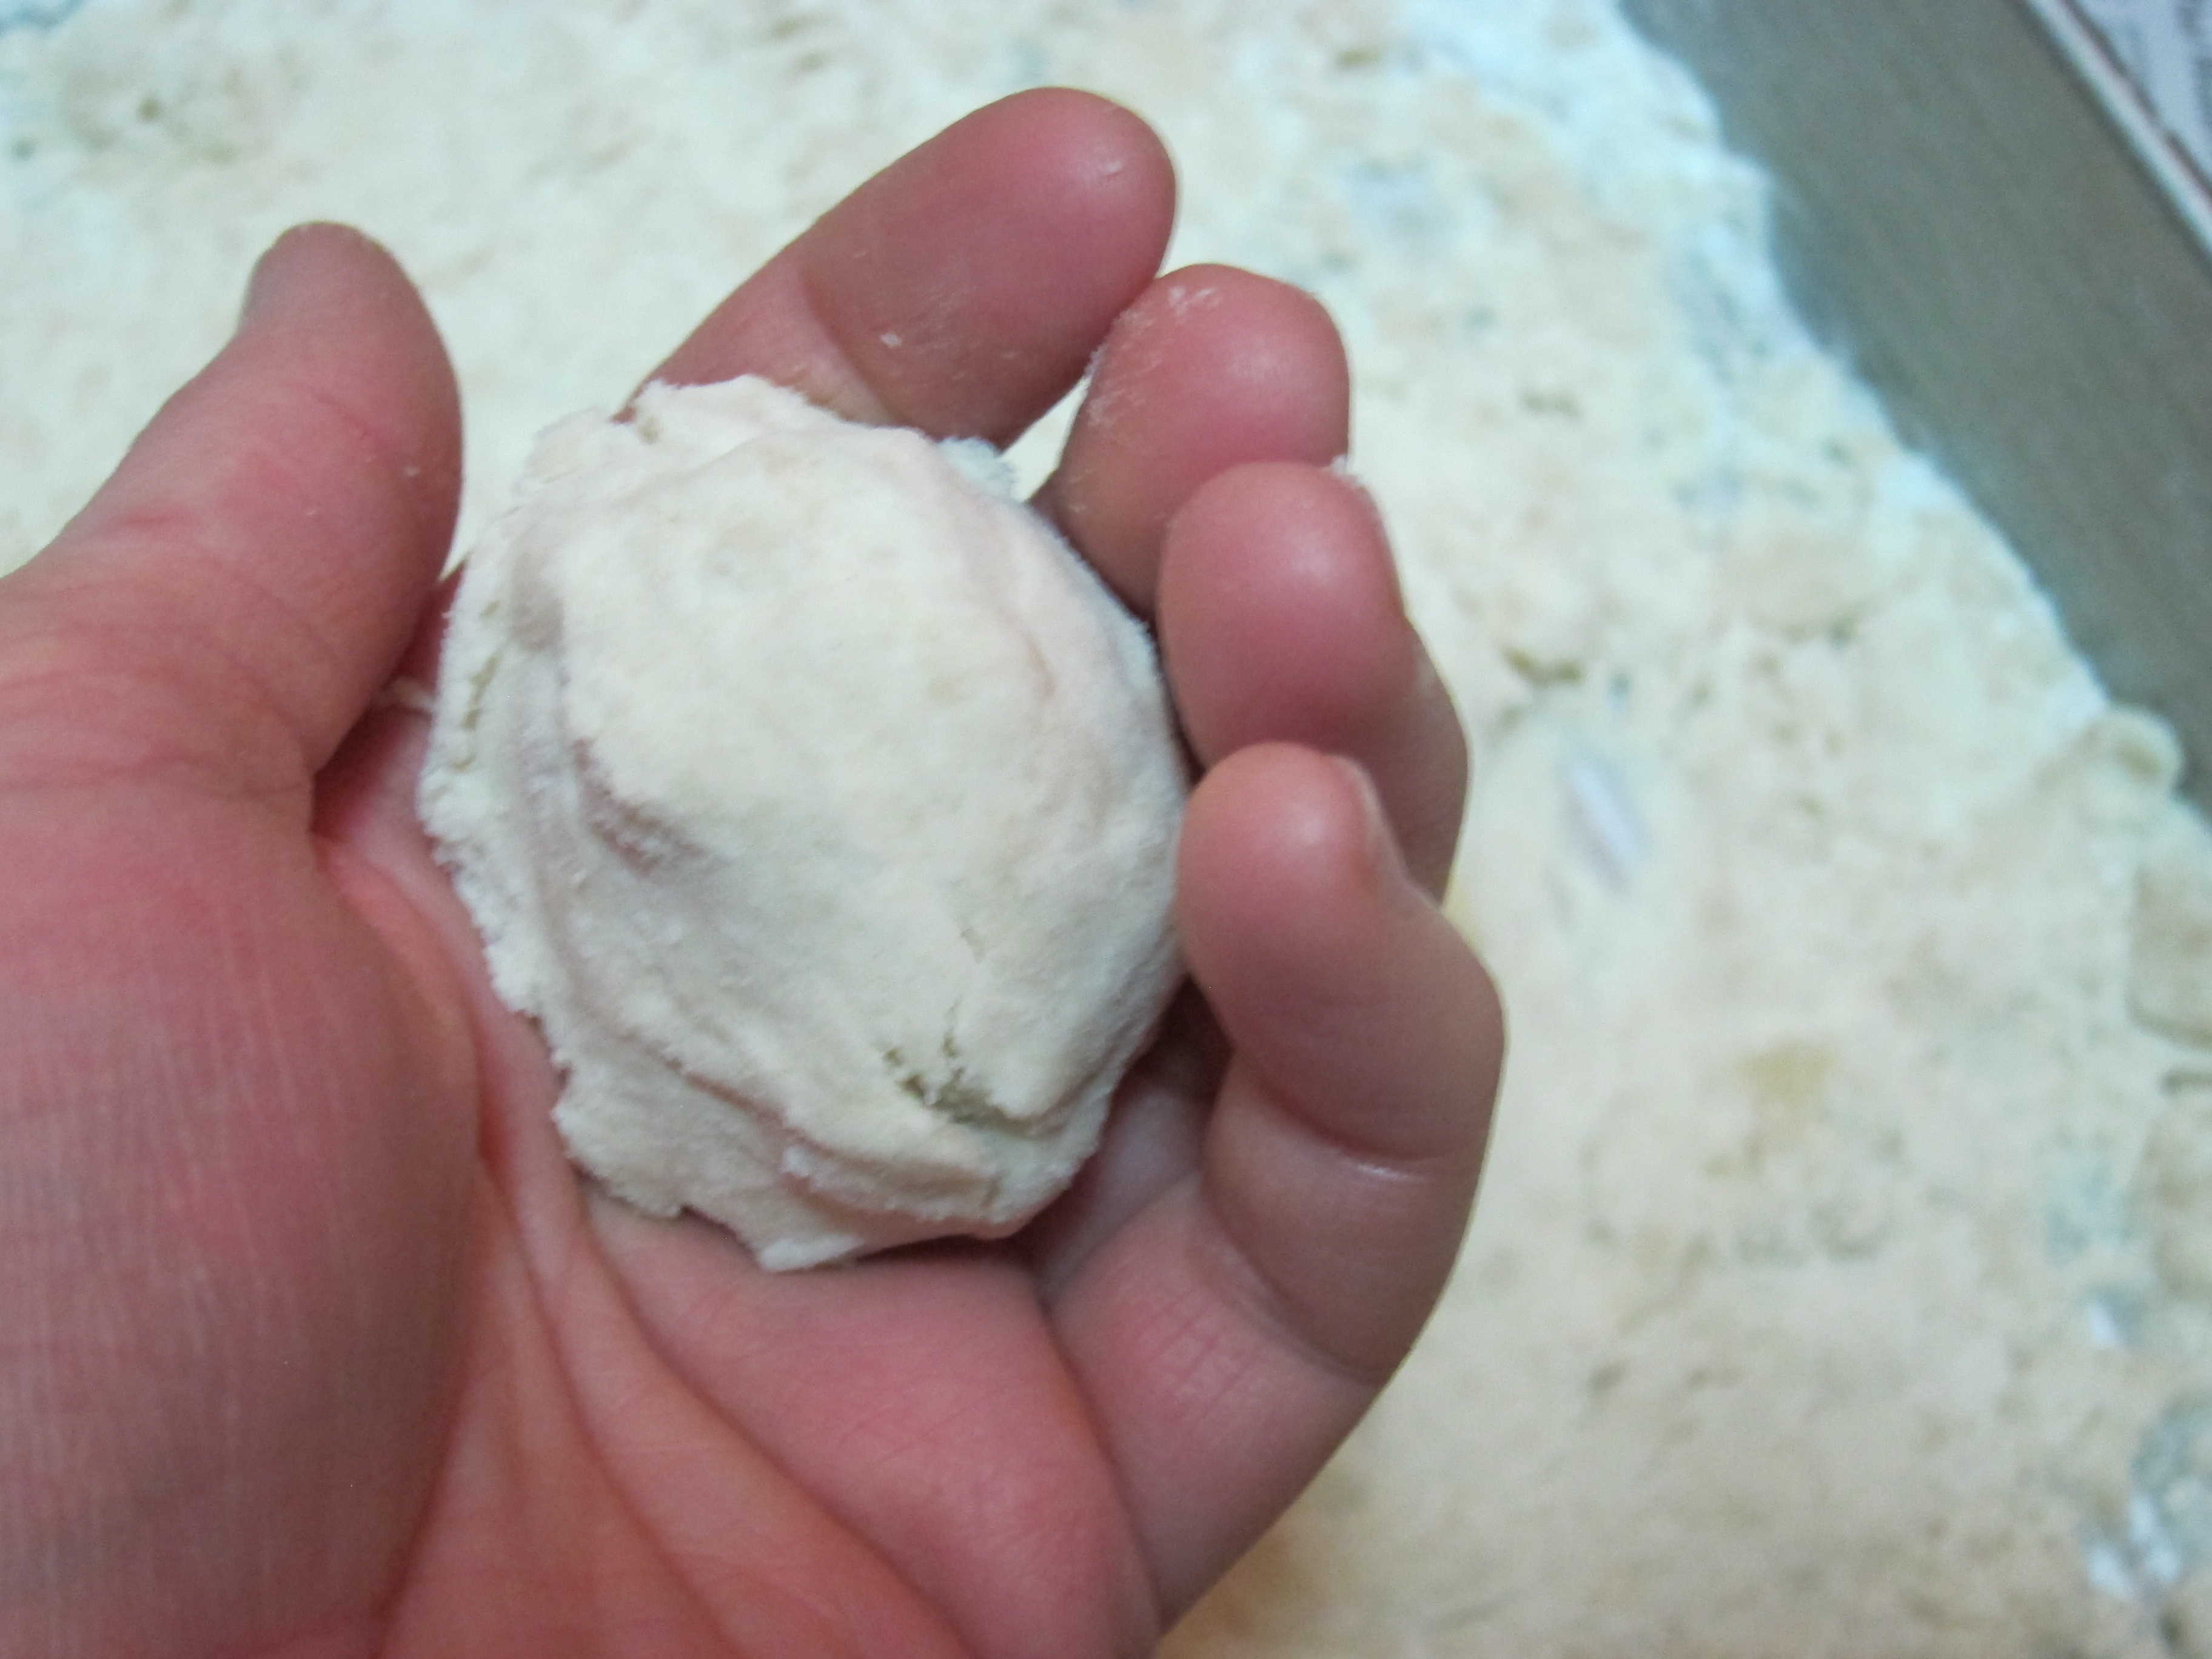
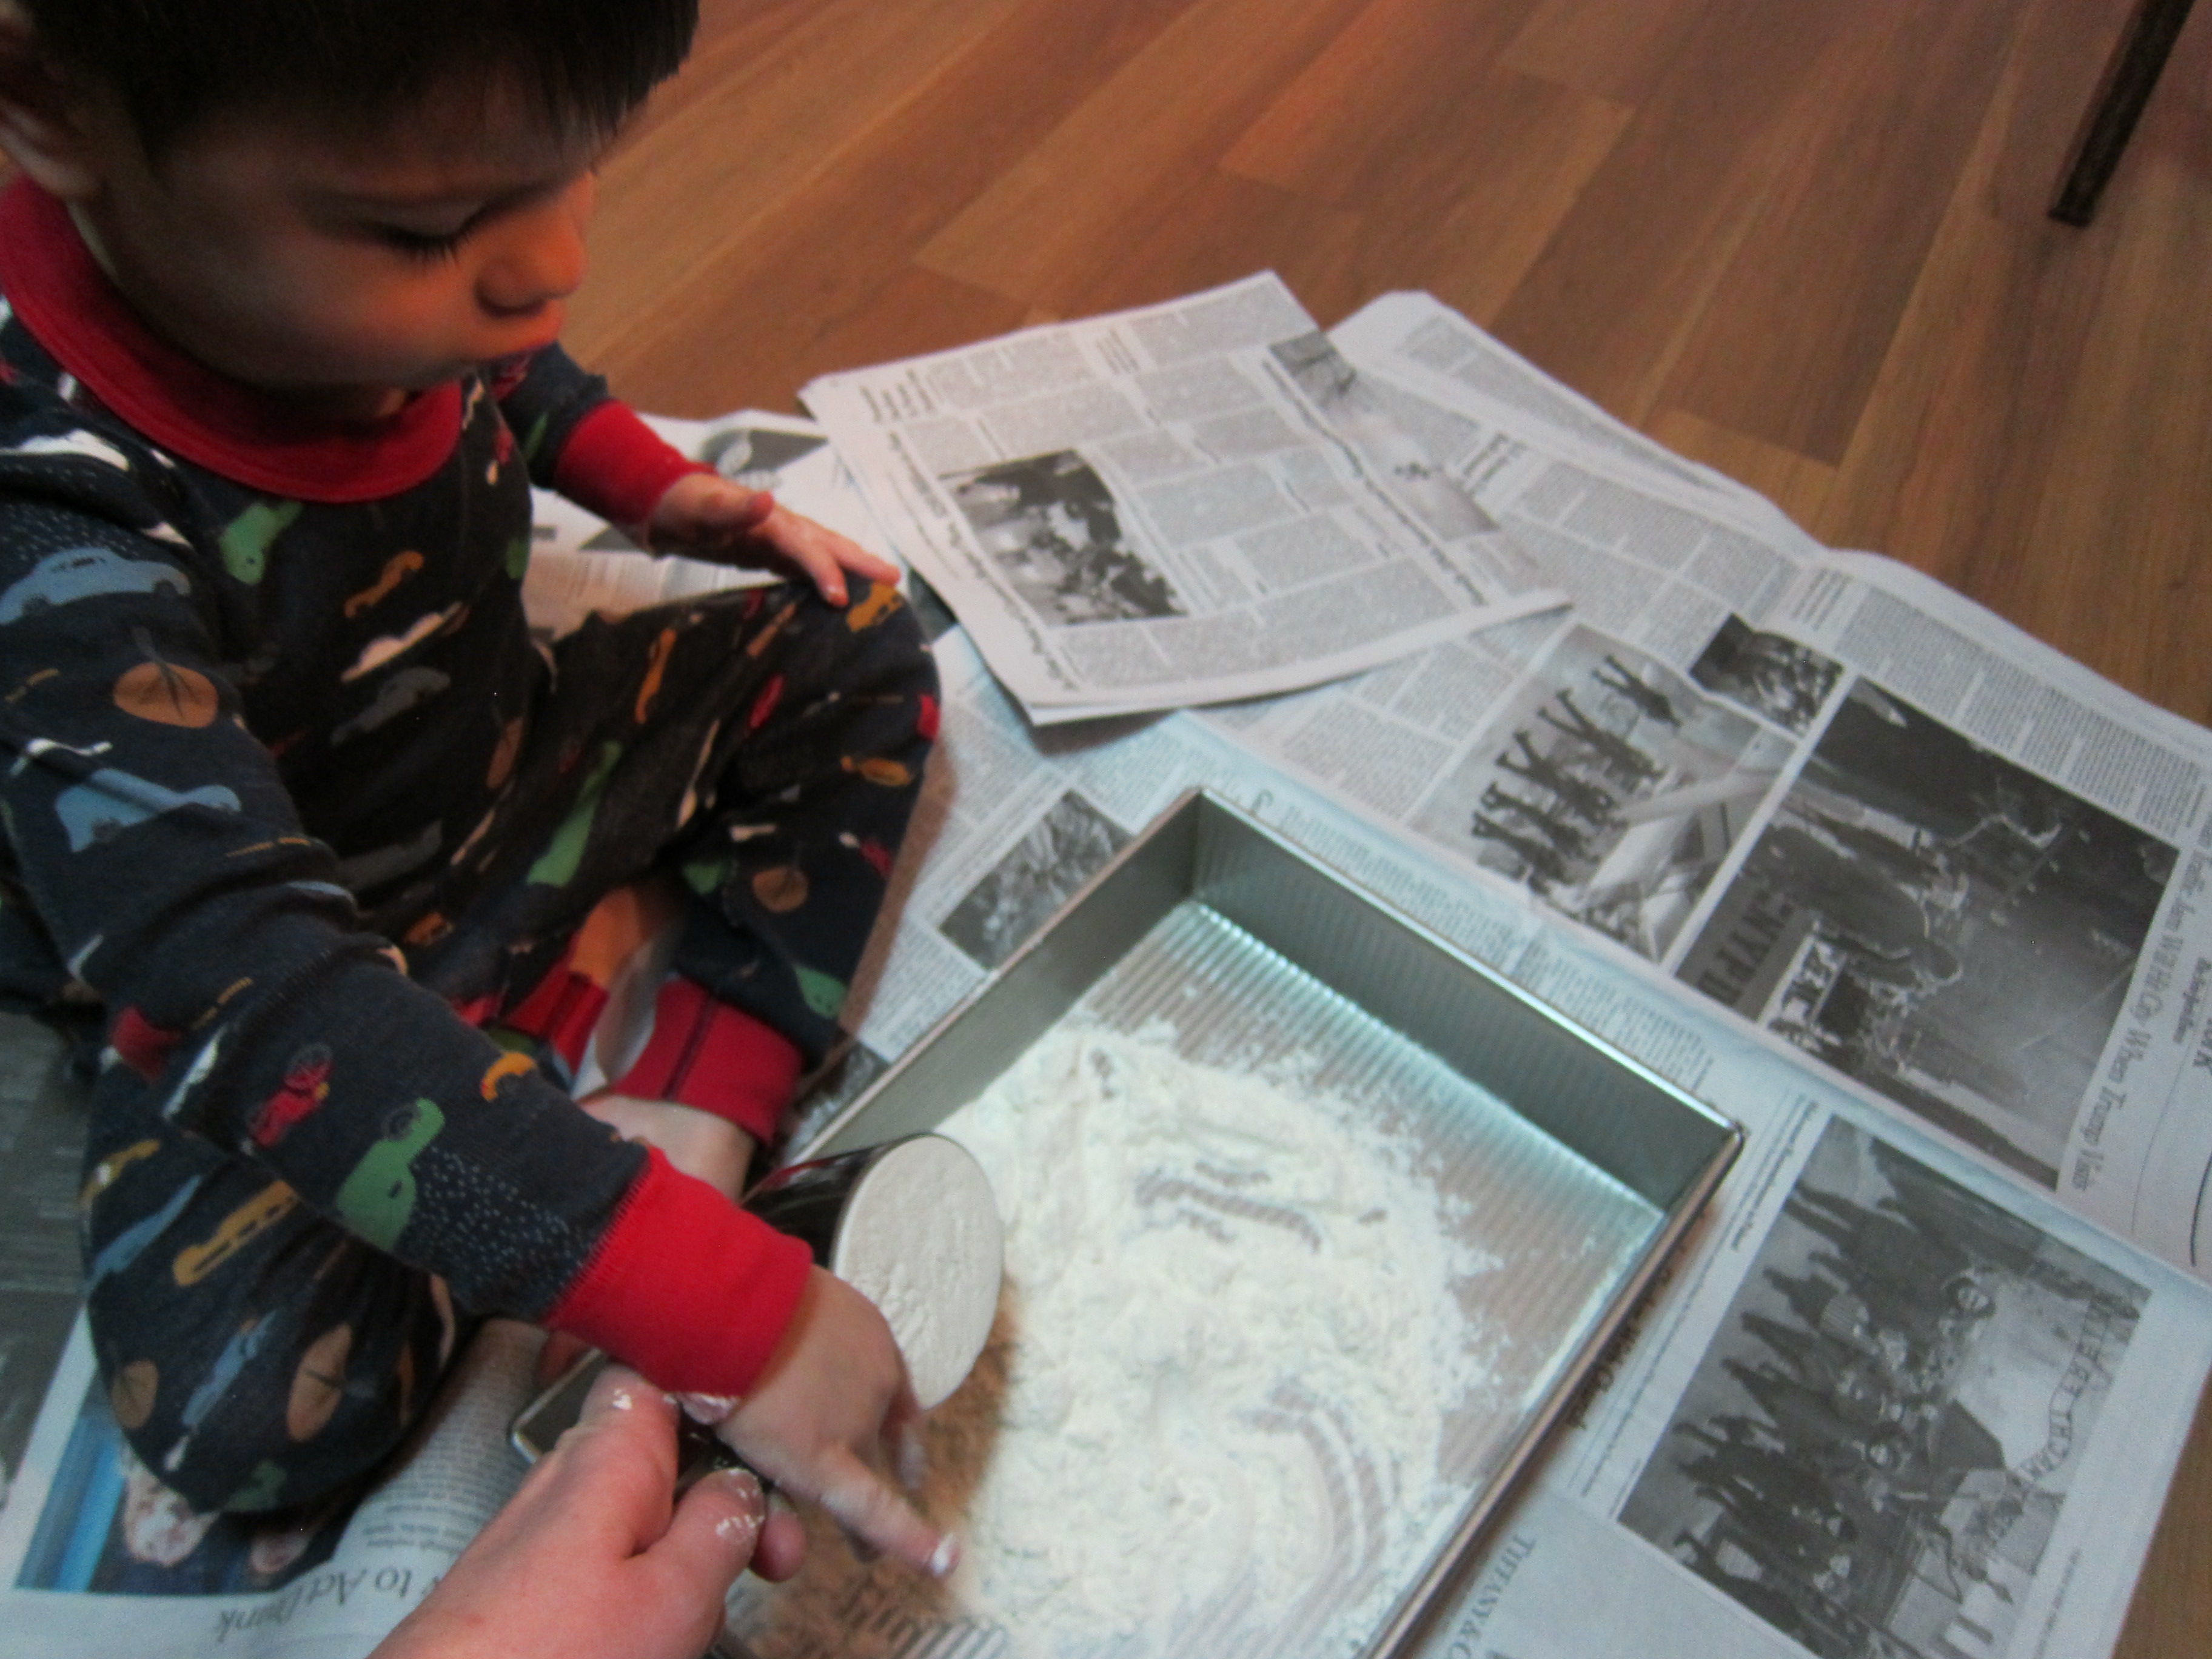
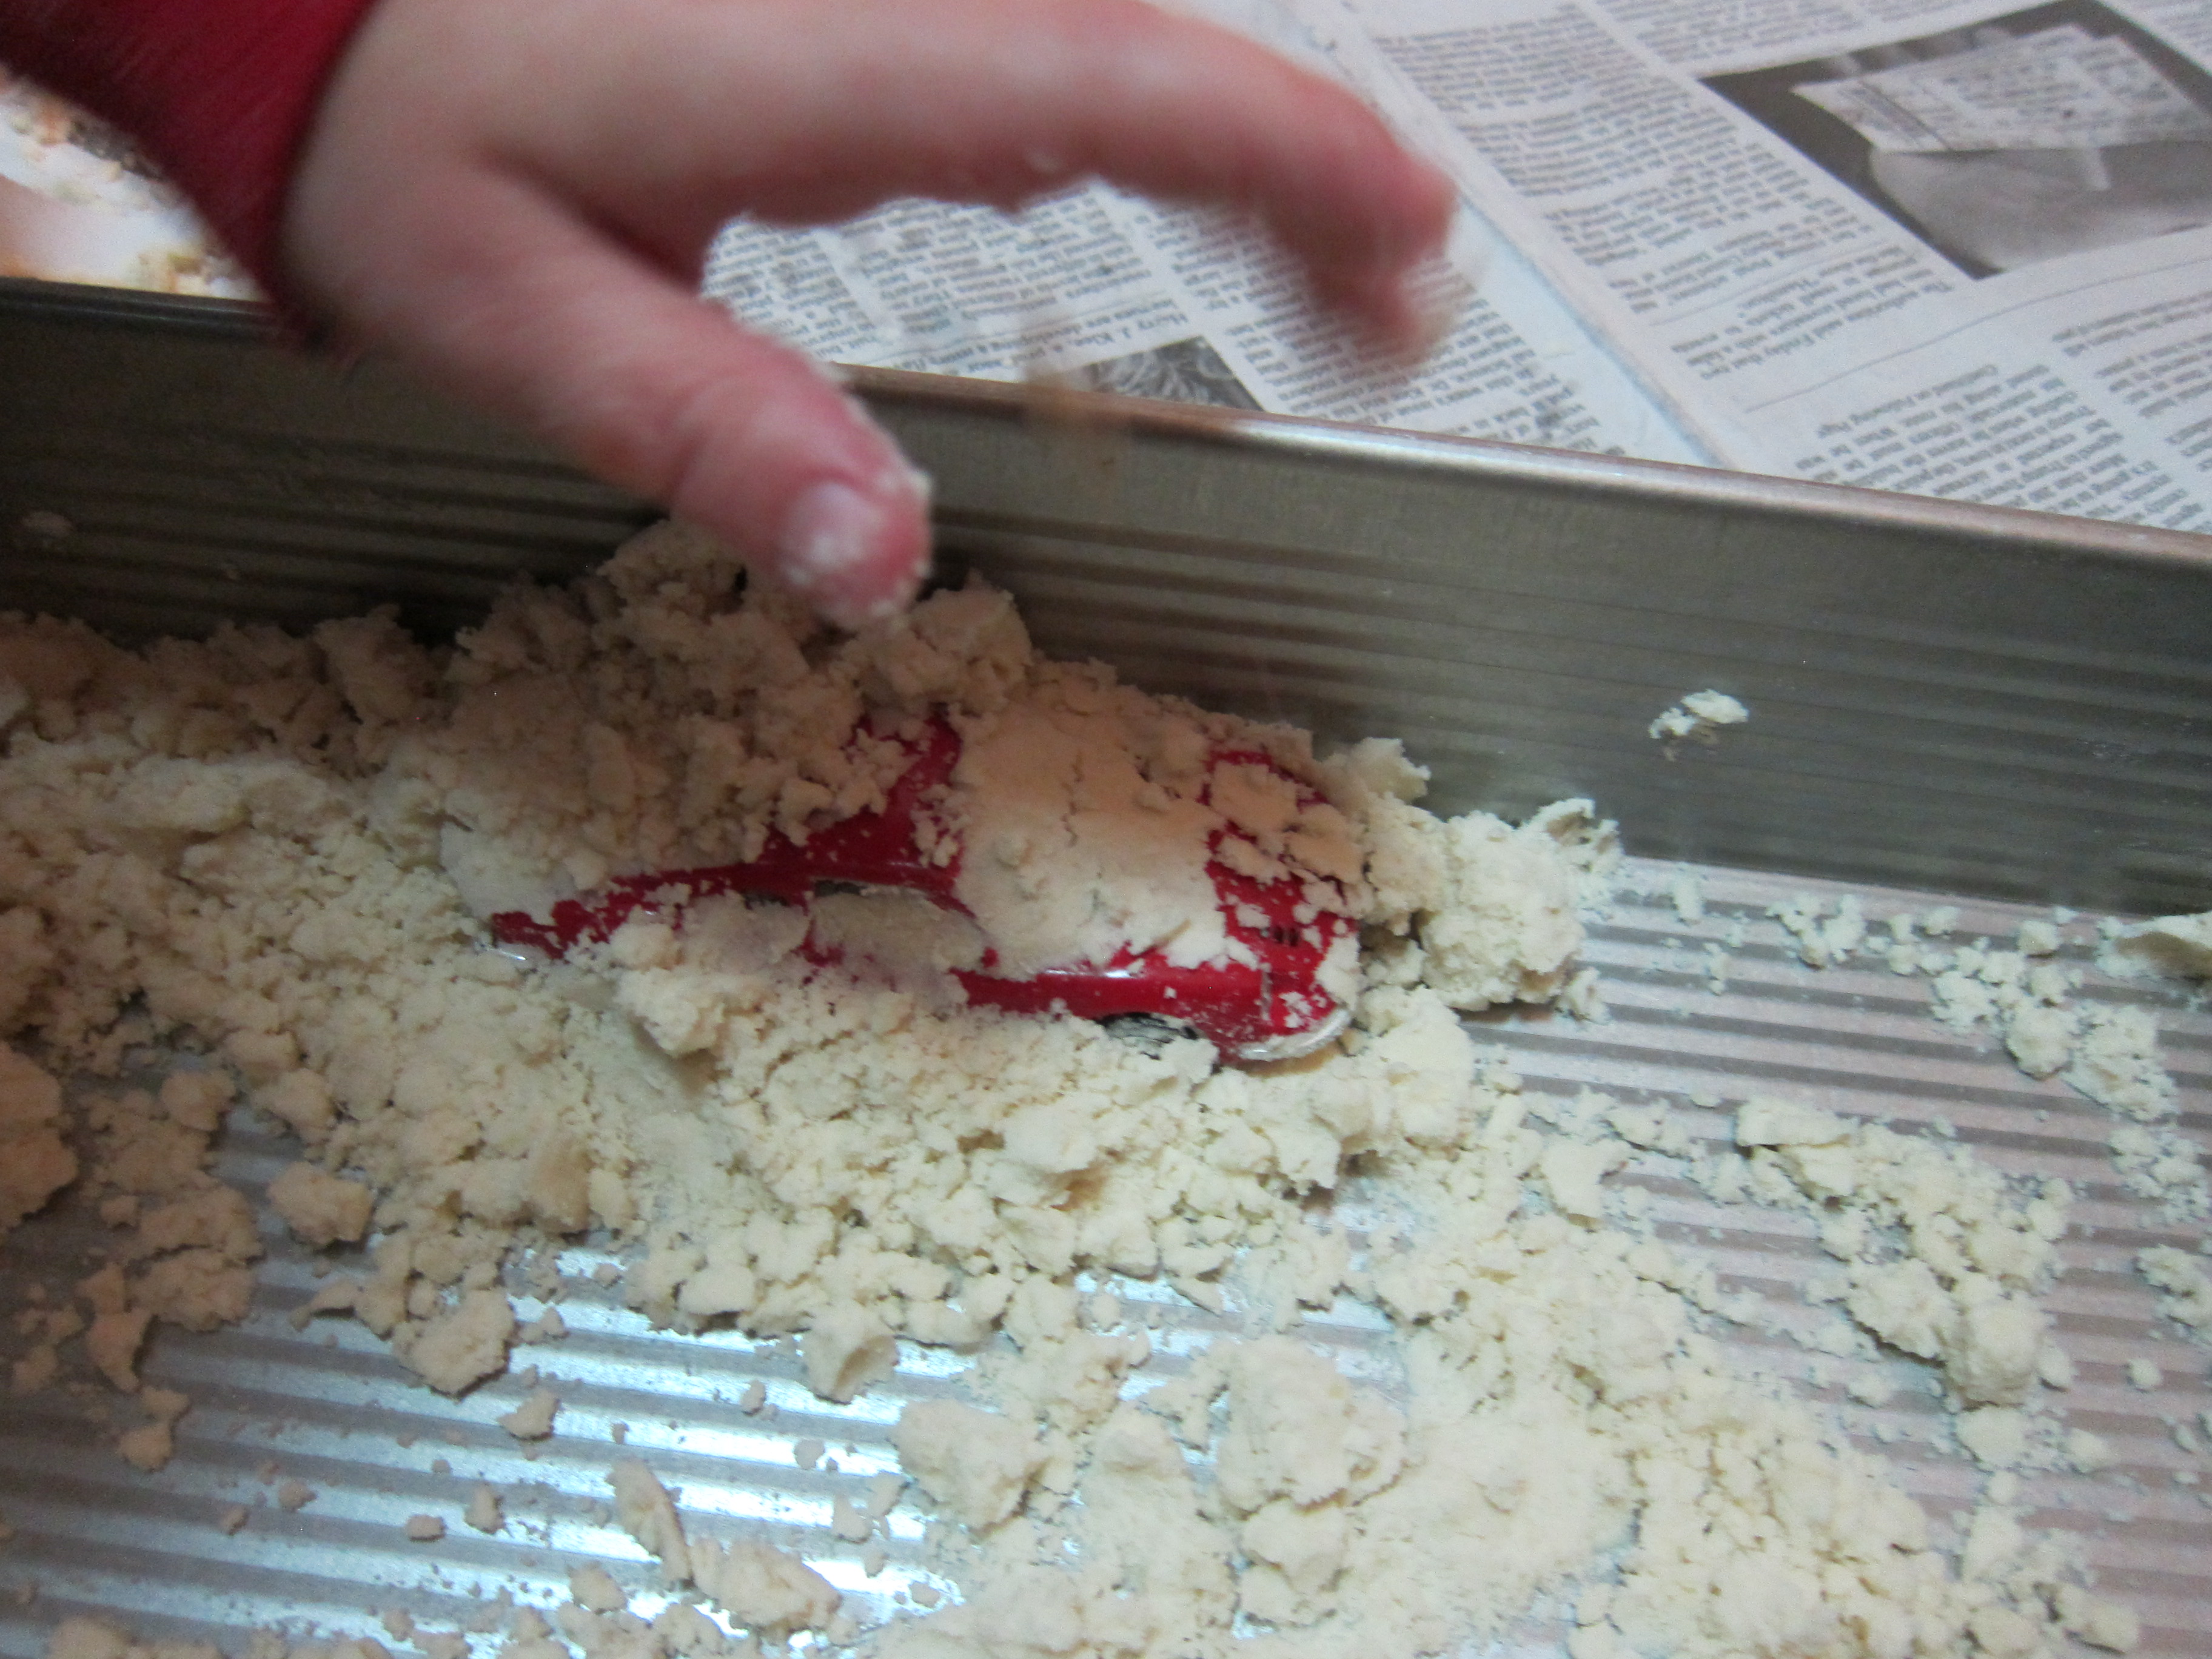
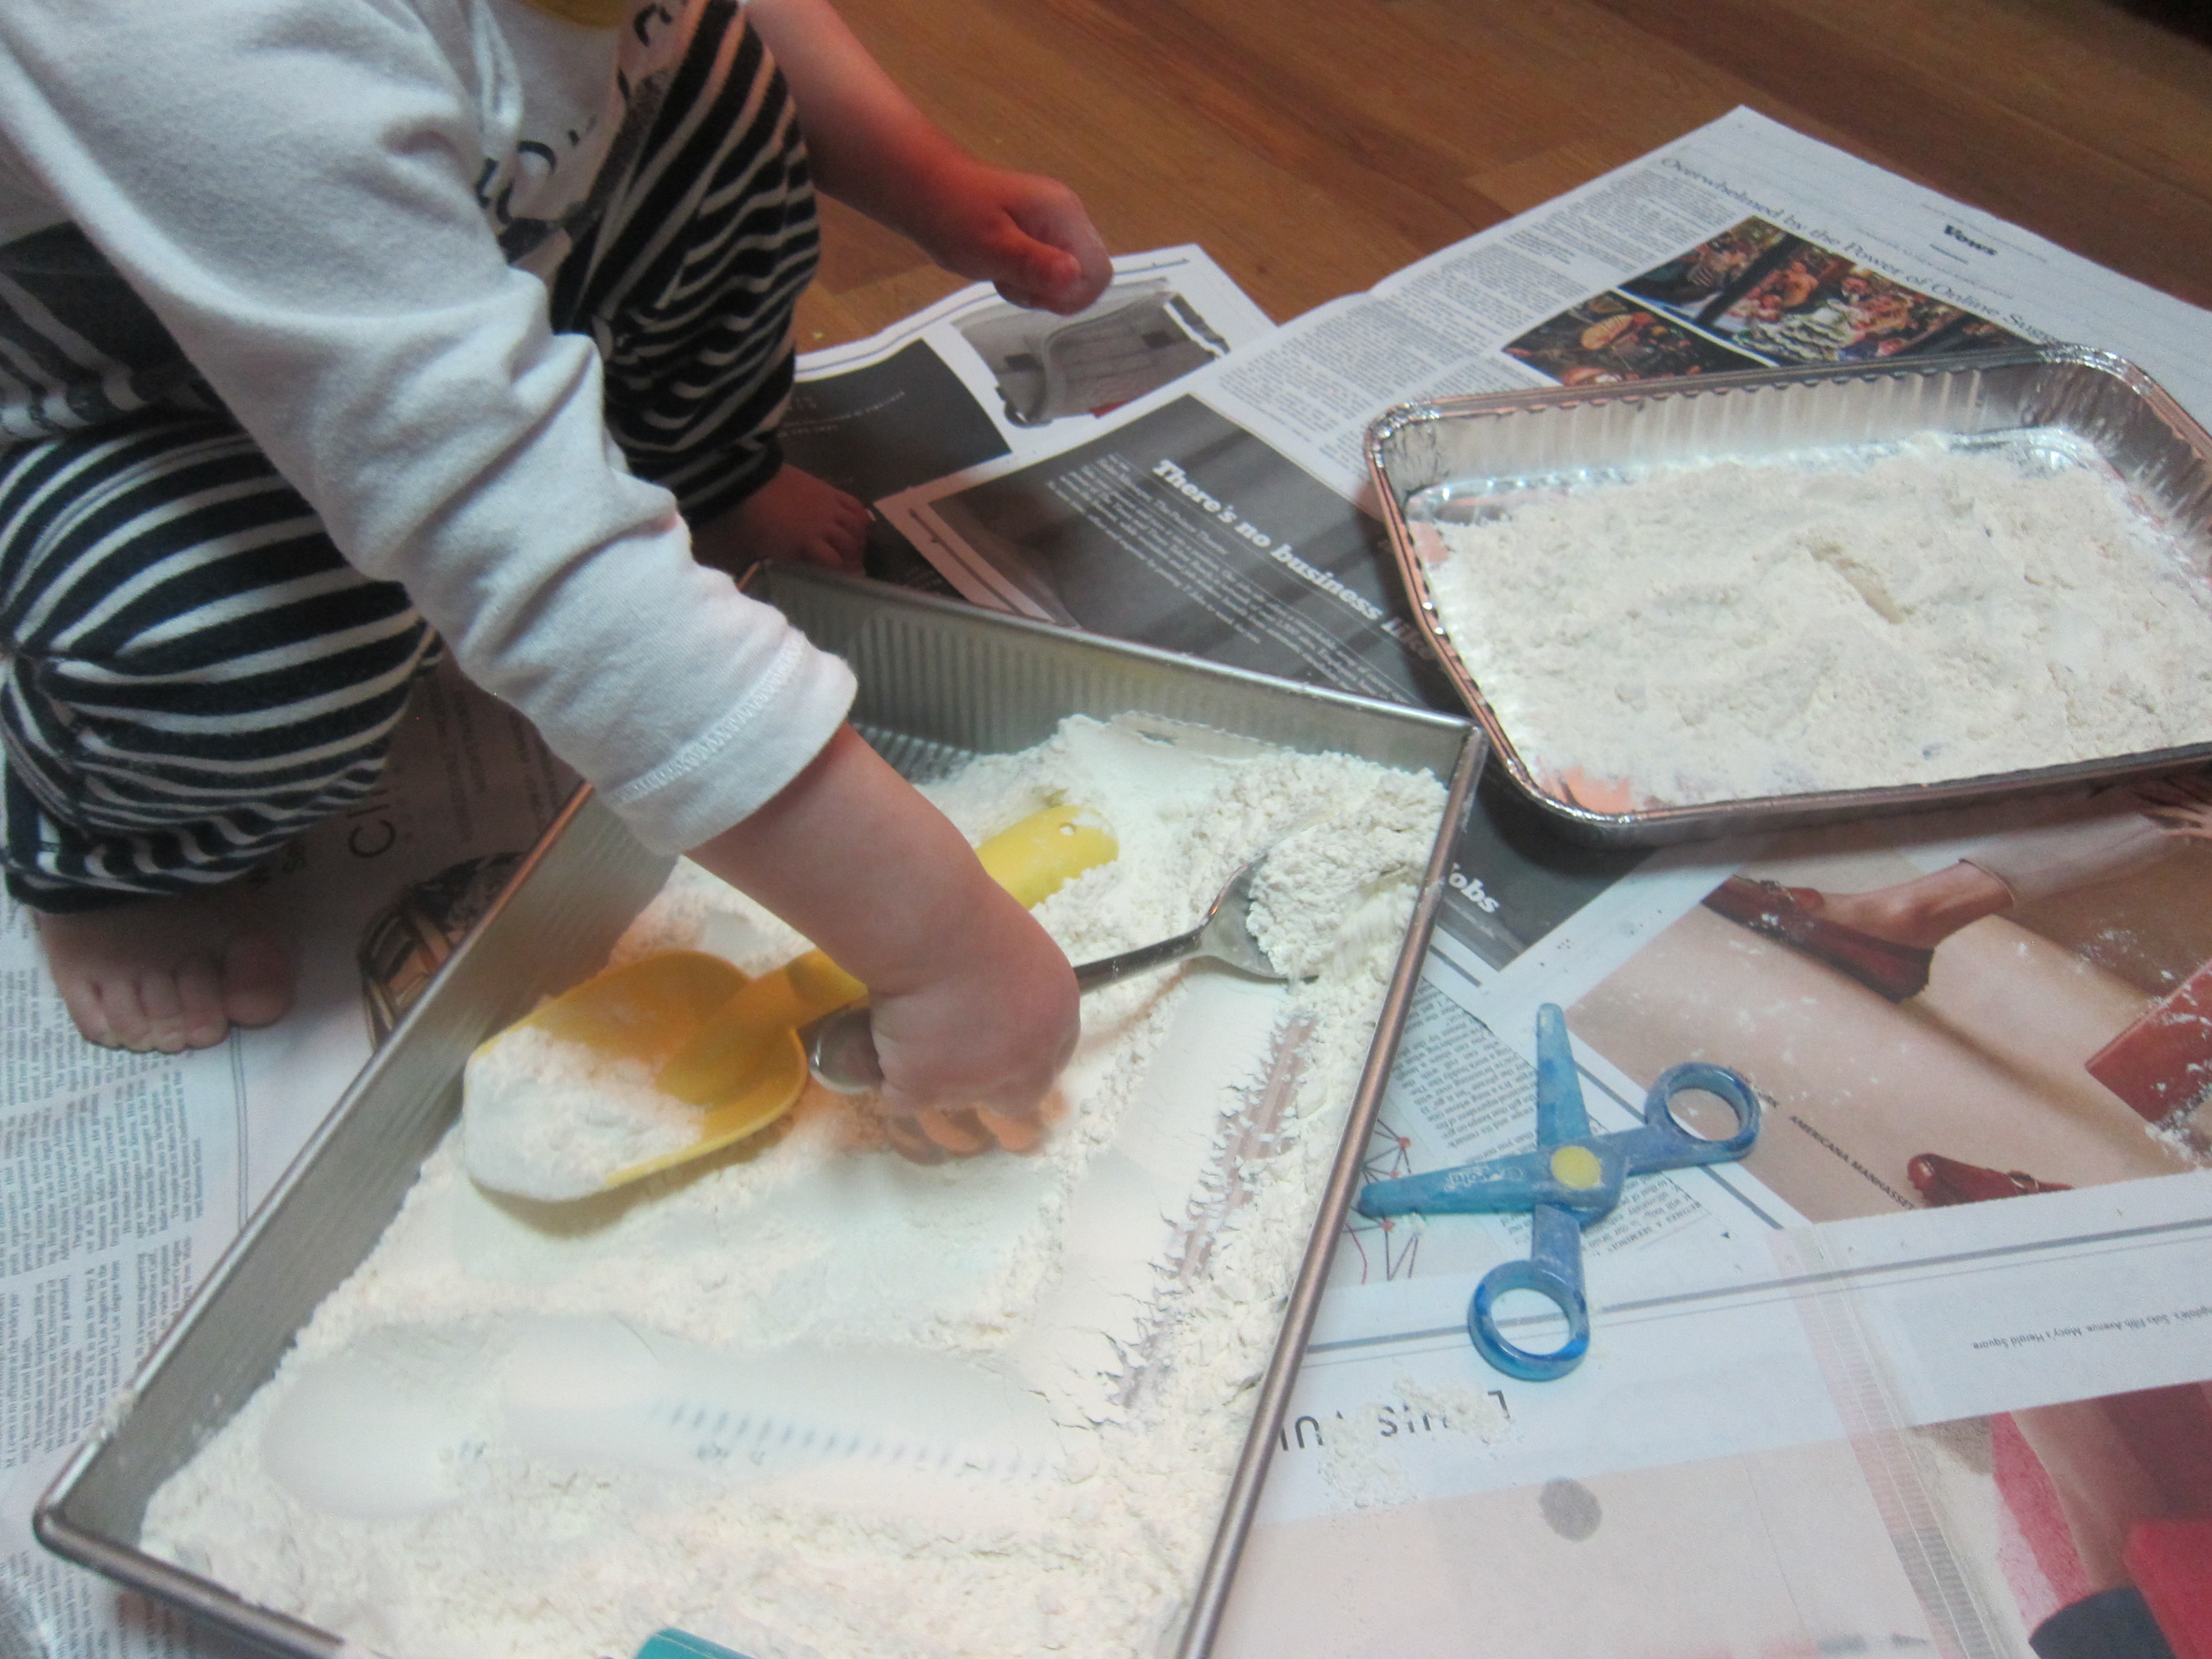
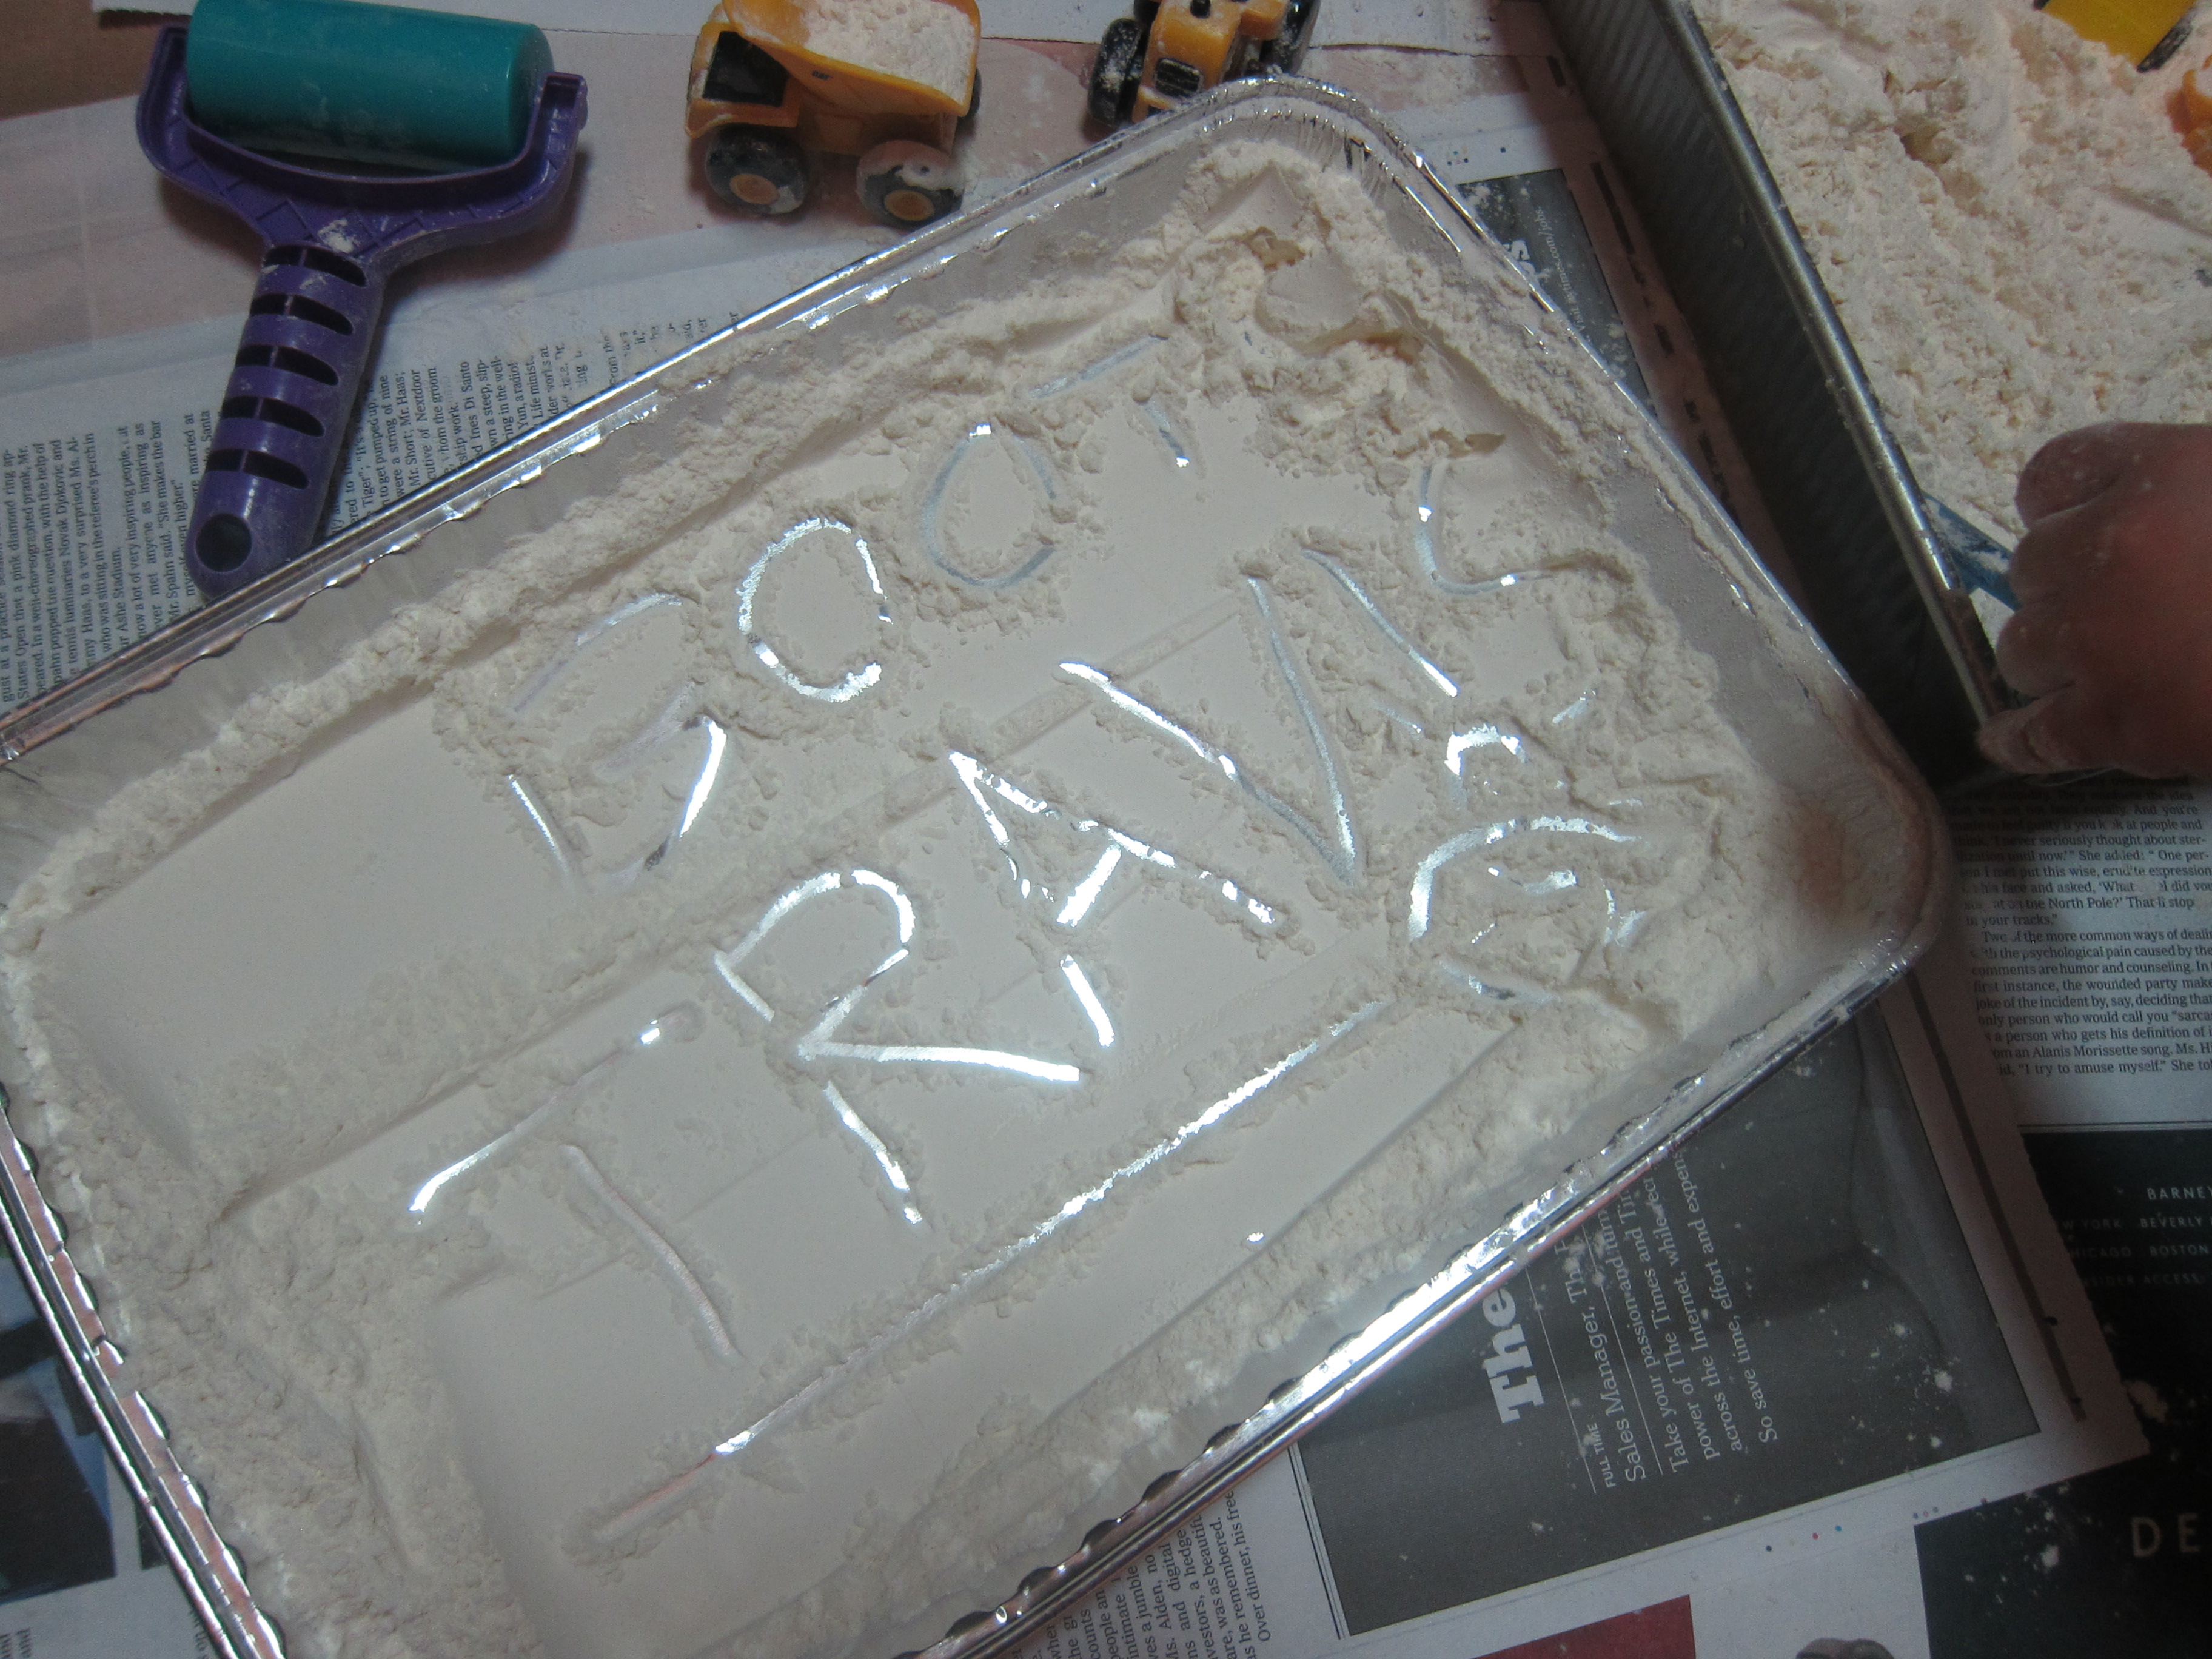
To start, I set out a bowl for Veronika filled with flour, which immediately grabbed her attention. We started pouring in water and she was fascinated watching it change from powdery flour into, well, goop!

Flour and Water Piping (1)

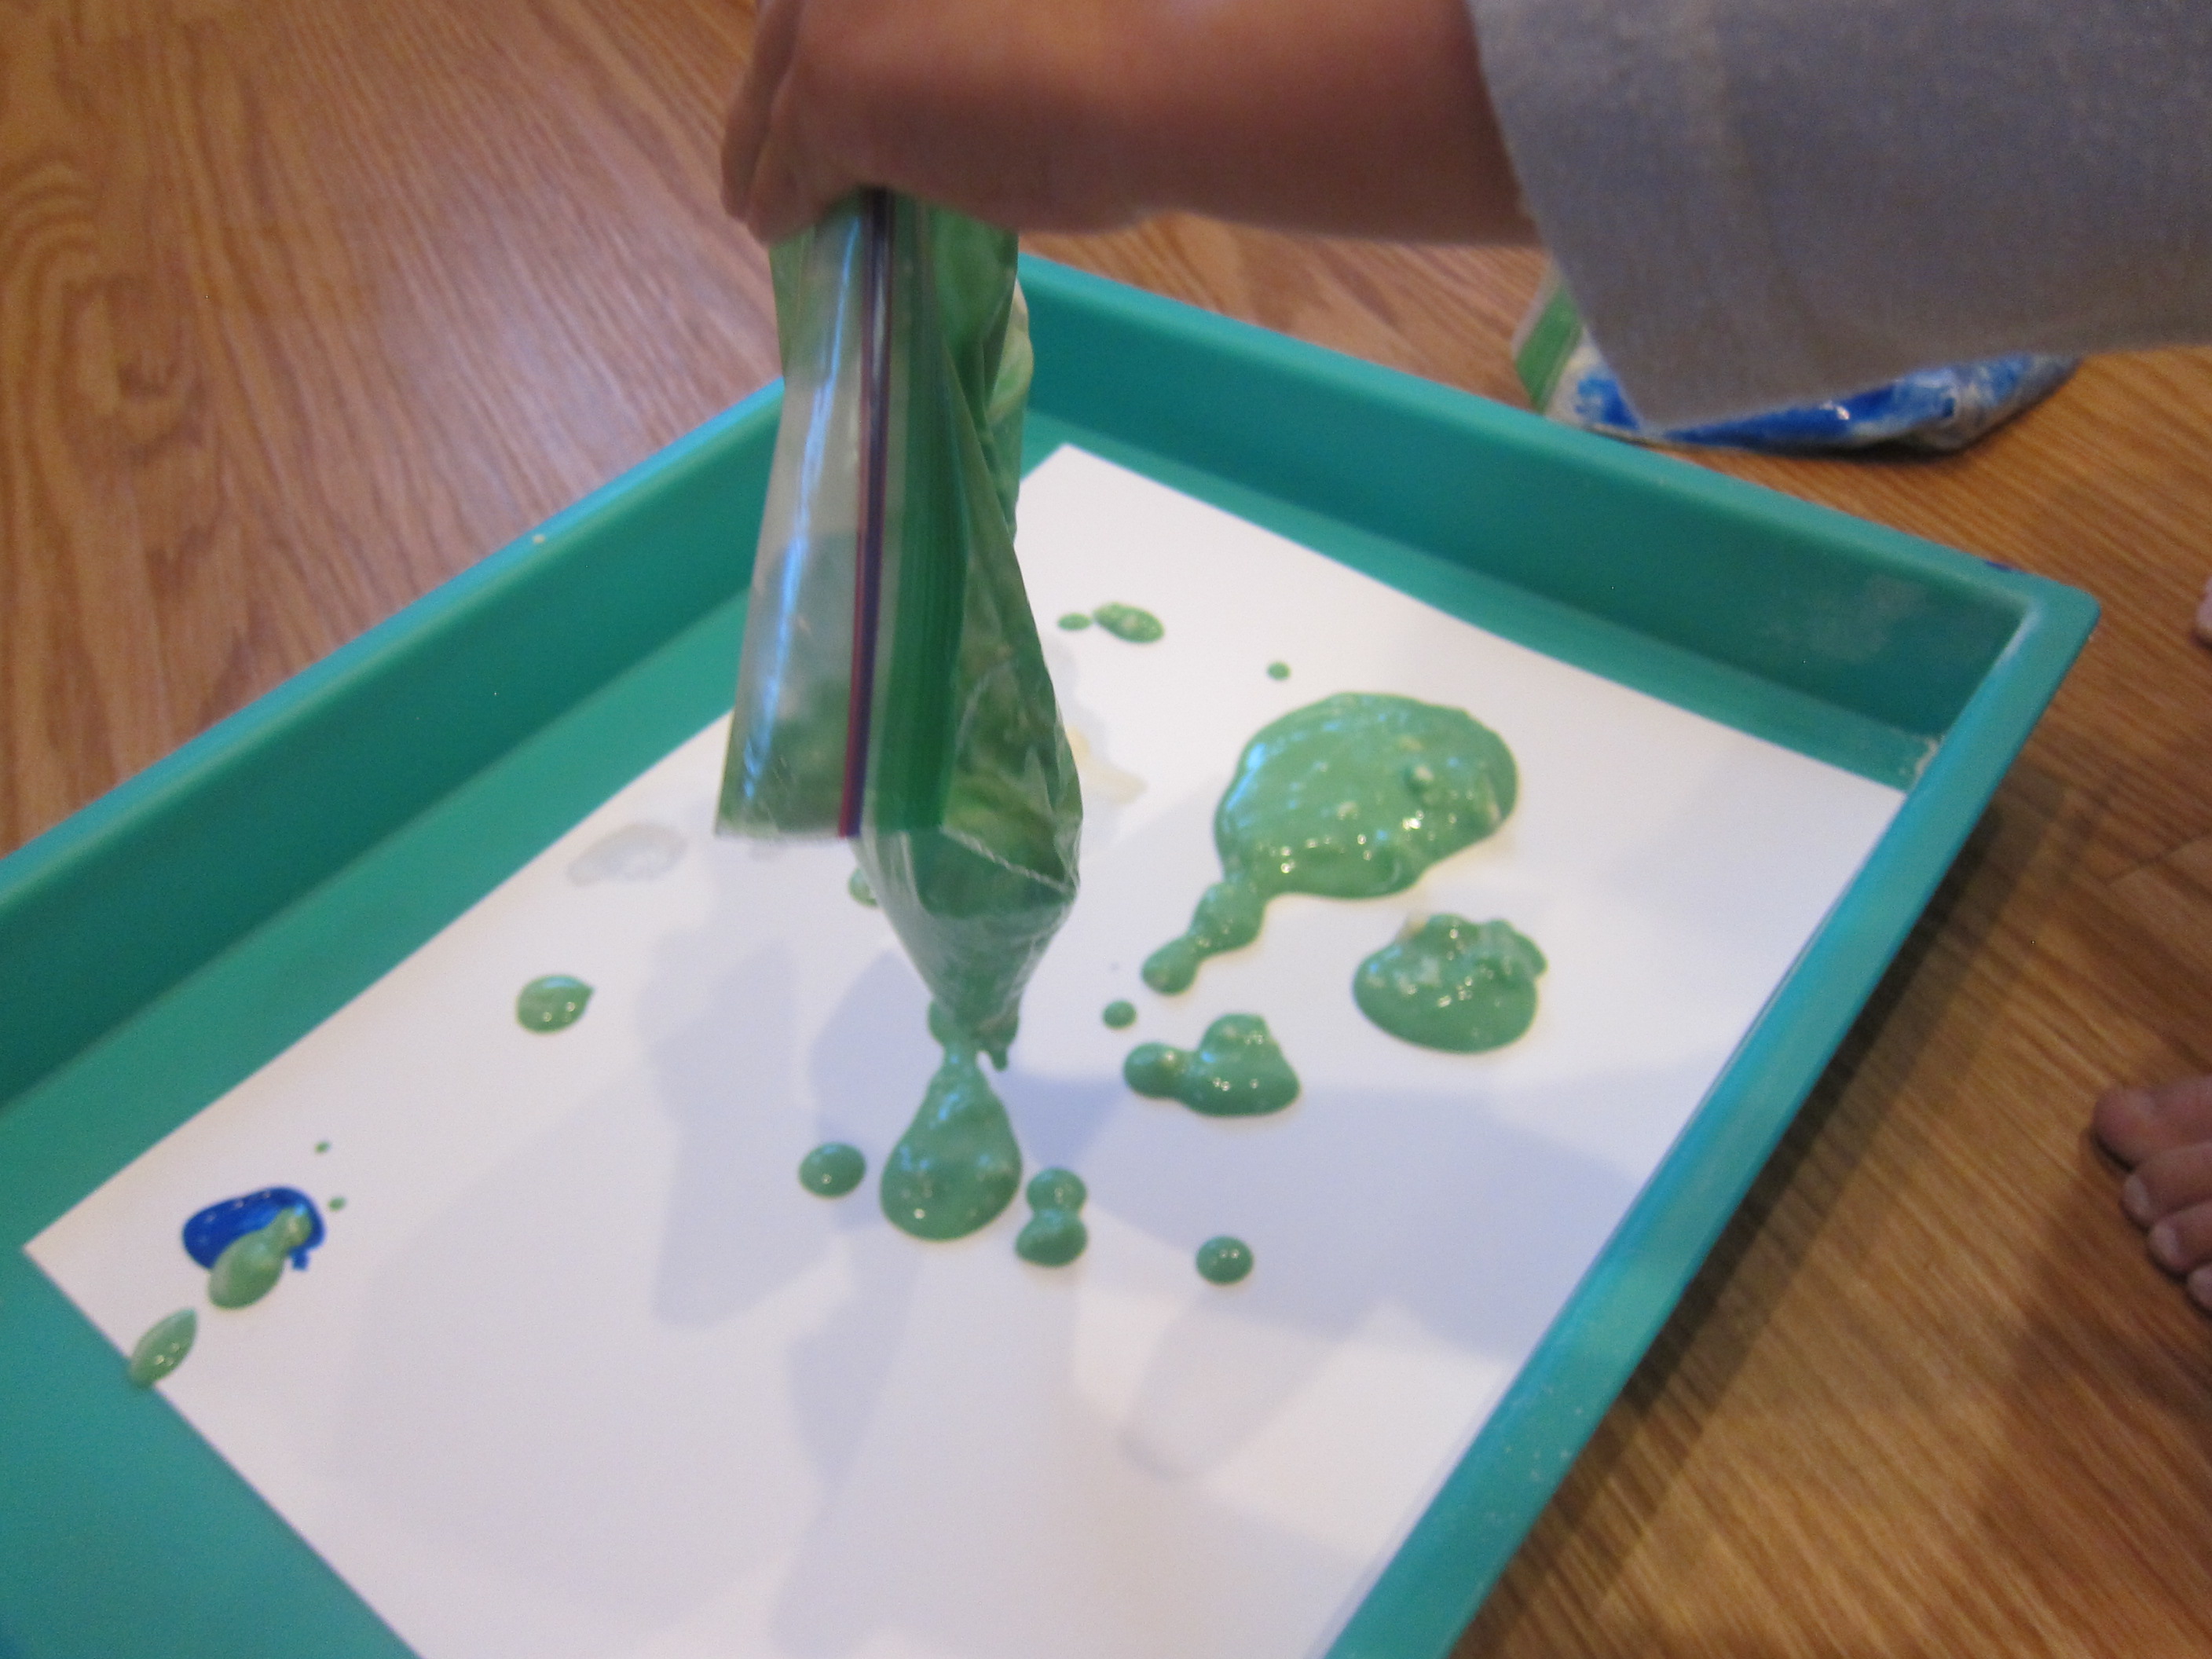
Keep adding water until your mixture is a thick paste, then use a ladle to scoop some into zip-top plastic bags. Veronika chose blue and green when I asked what colors of paint she wanted. Add a little drop of paint to each bag, then seal and show your toddler how to squish the bag so the color mixes.

Flour and Water Piping (2)

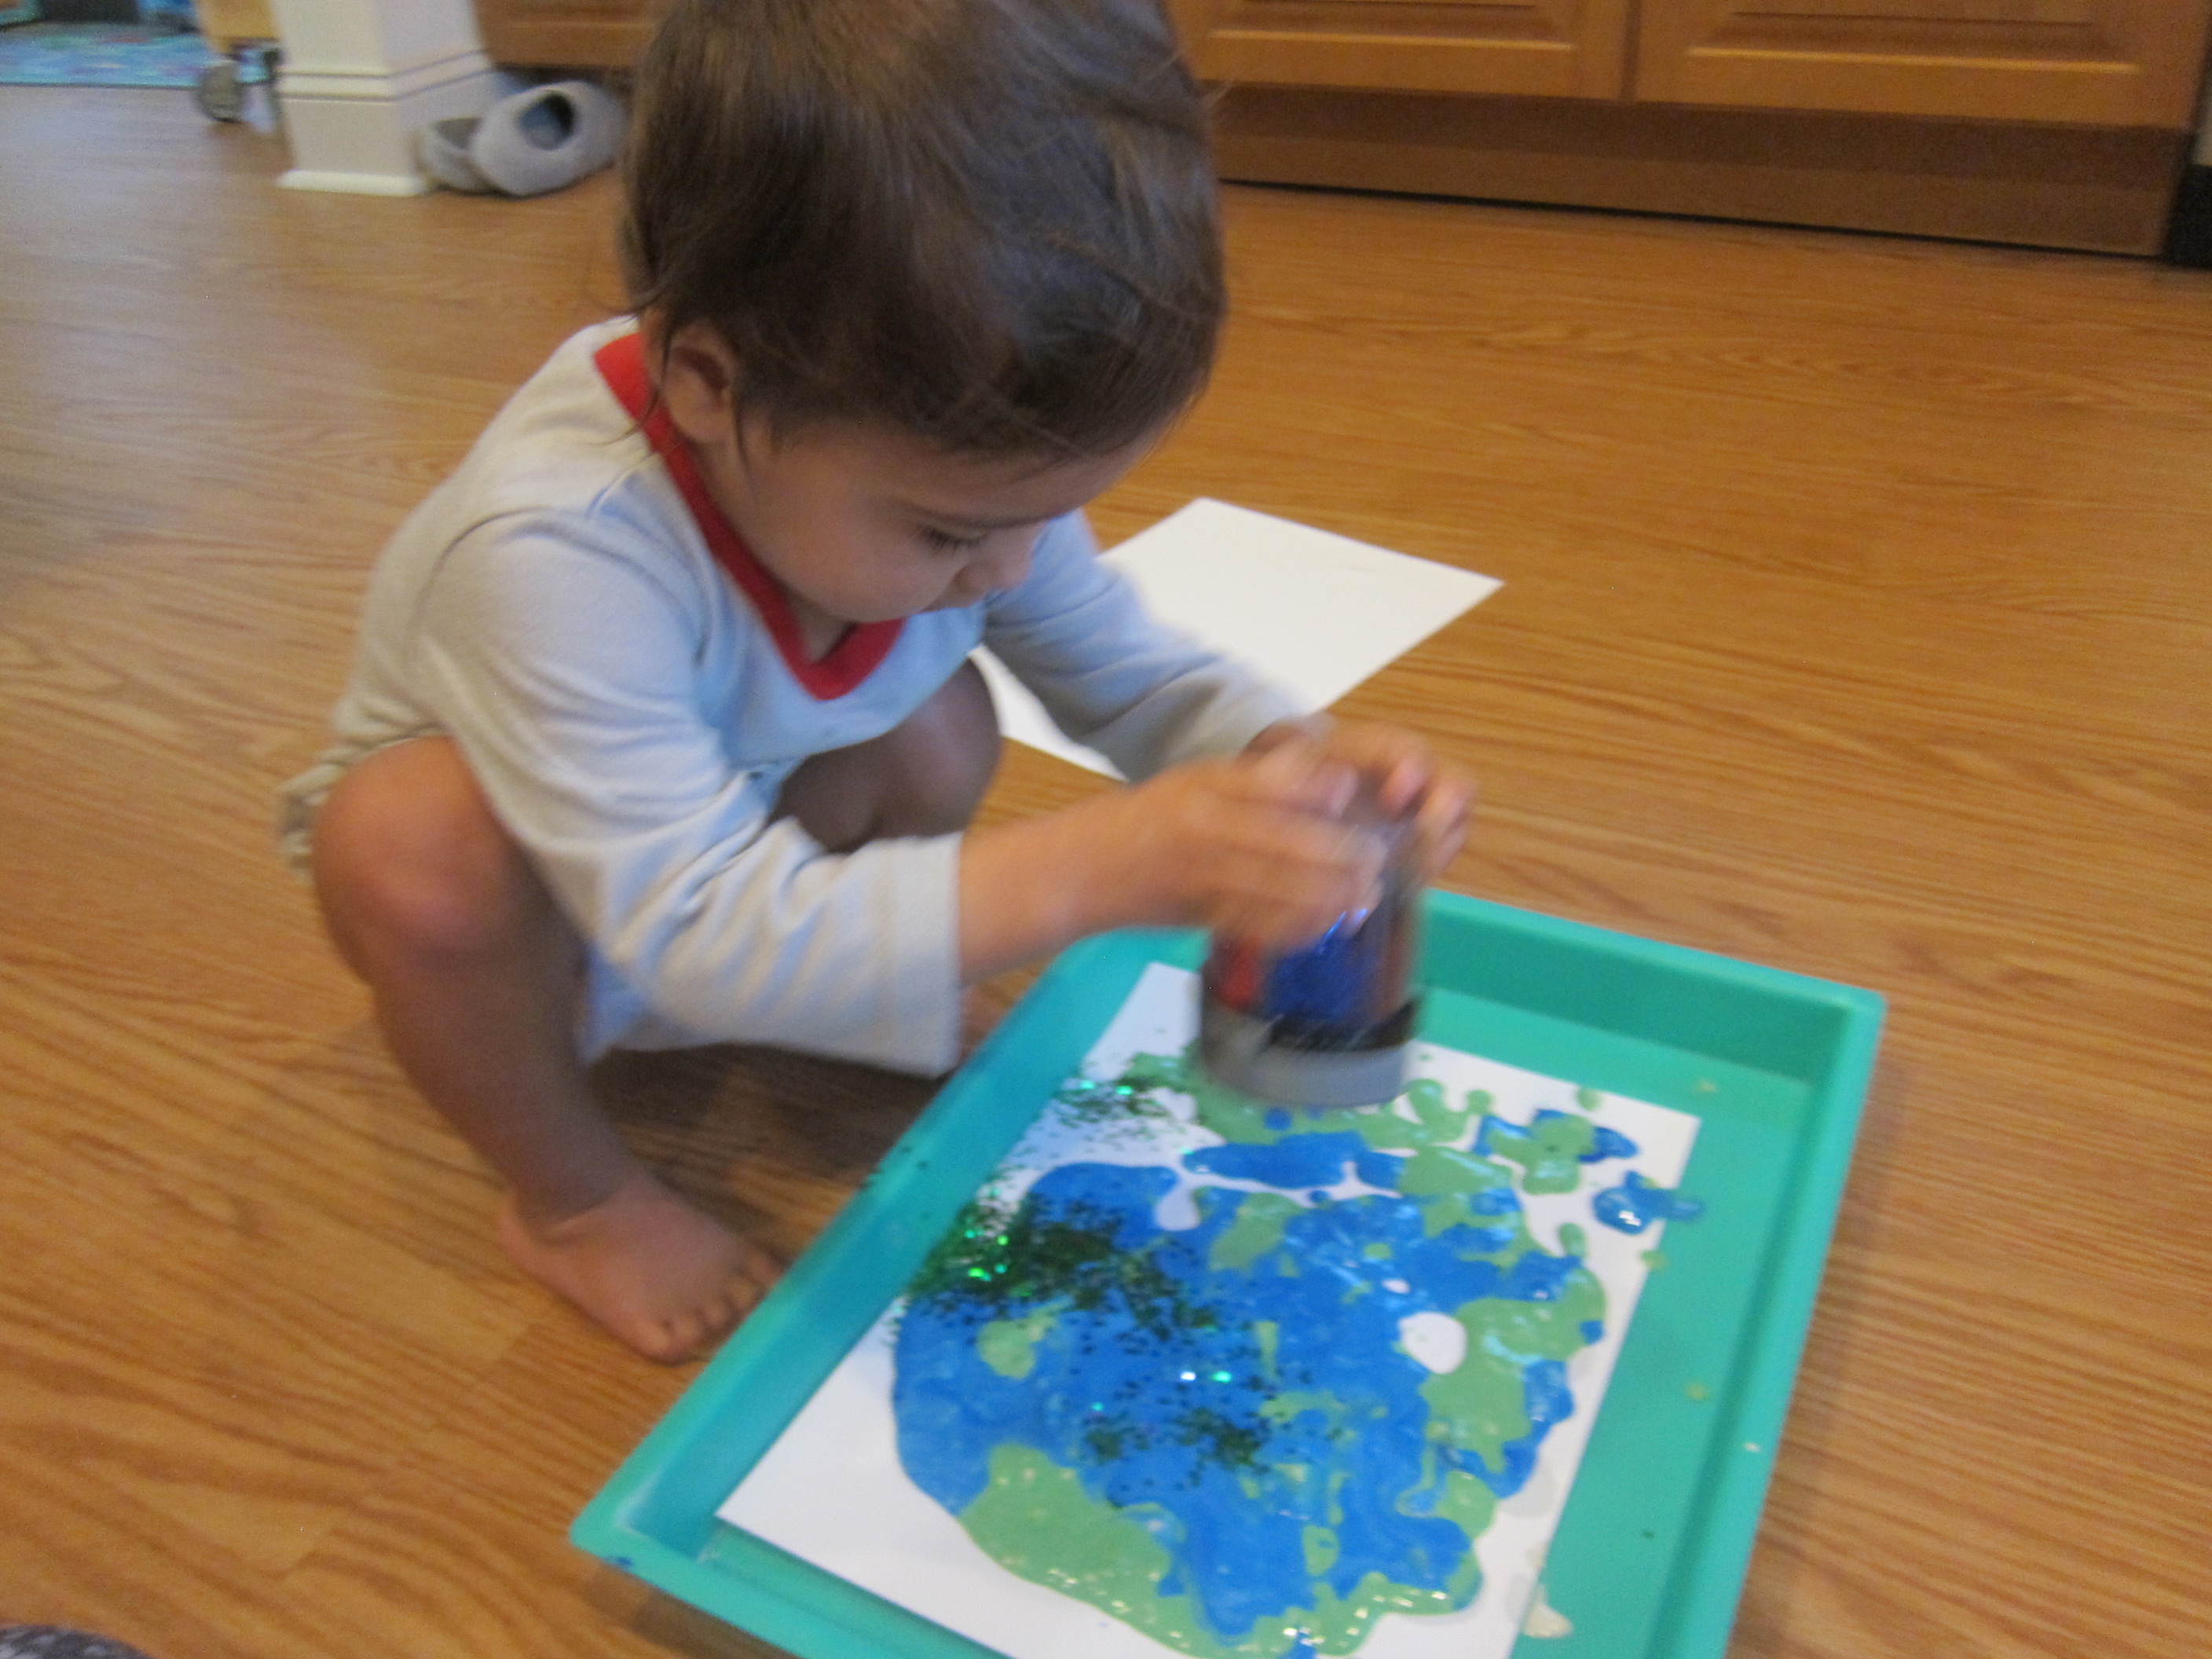
Snip a small hole in the bottom corner of each bag. Veronika could now “pipe” the paint onto sheets of thick craft paper I had laid down.

Flour and Water Piping (3)

Note: I recommend a tray or newsprint underneath the paper, since the flour mixture is quite messy.

Flour and Water Piping (4)

She absolutely loved this step, using great concentration as she dribbled out the contest of the bag. I would make our flour mixture a little thicker next time so that it required more squeezing on her part. With that said, she was pleased as punch watching the results of her work as she dribbled the bag back and forth across the paper.

Flour and Water Piping (5)

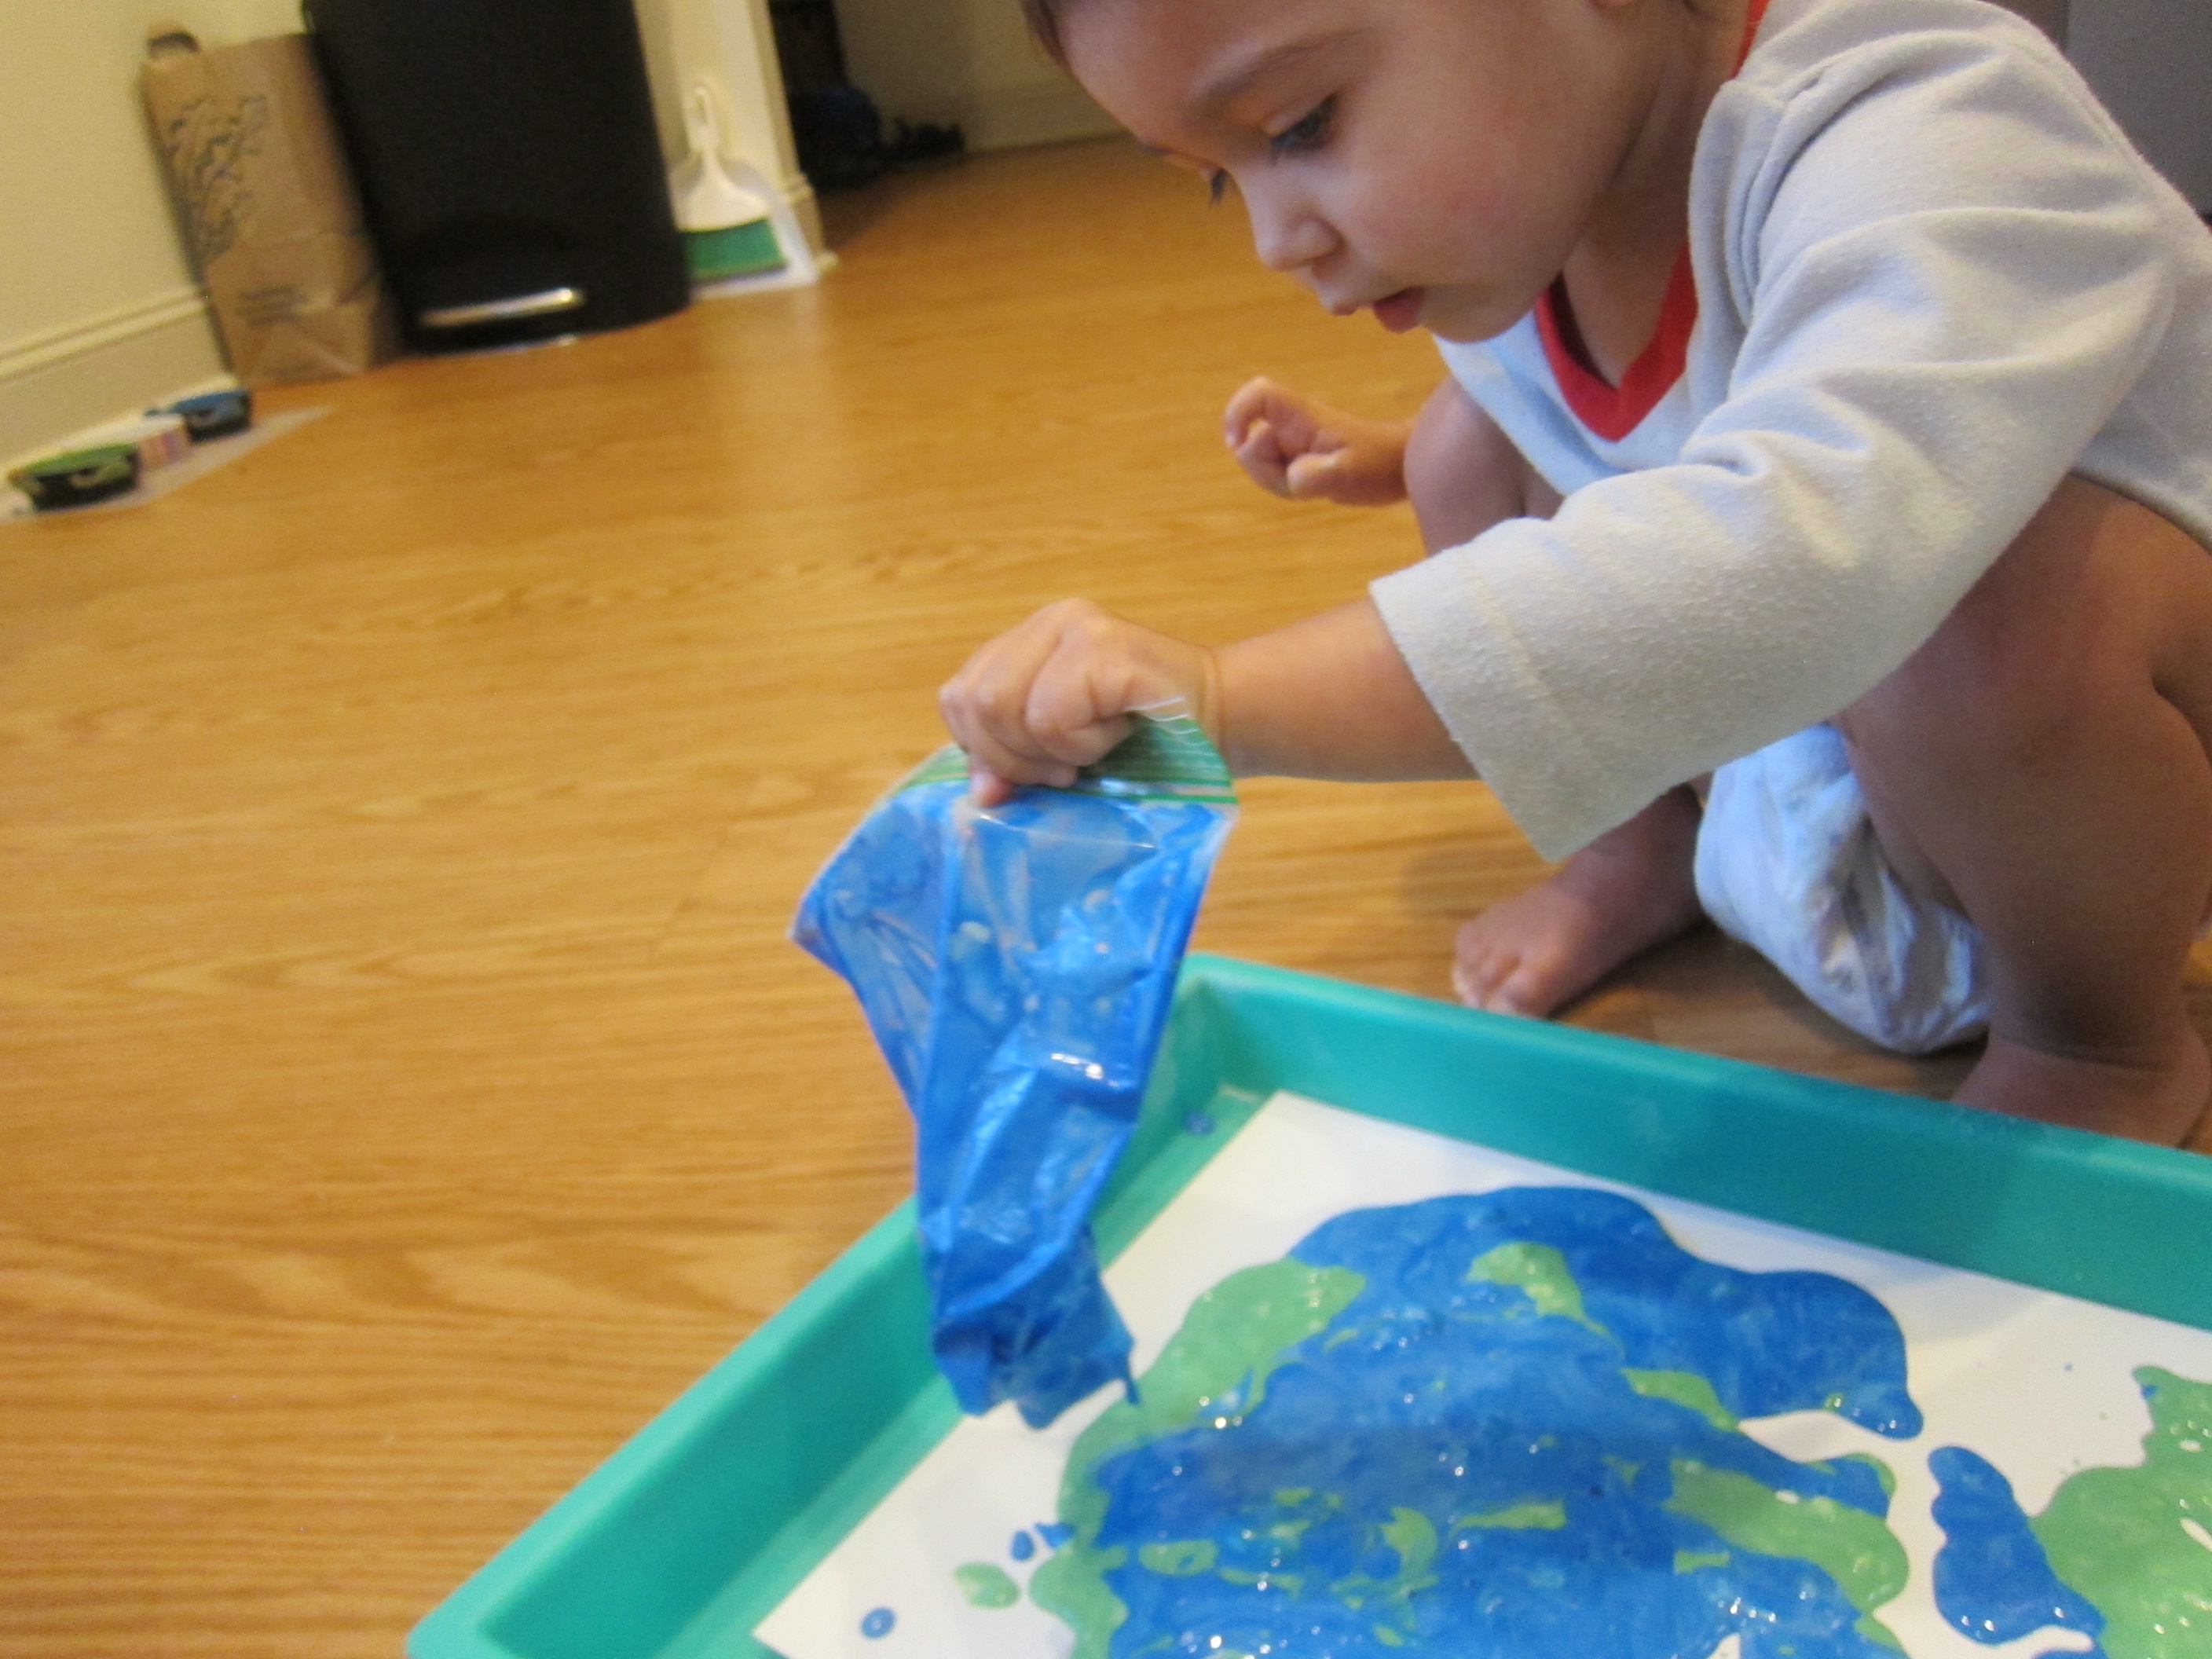
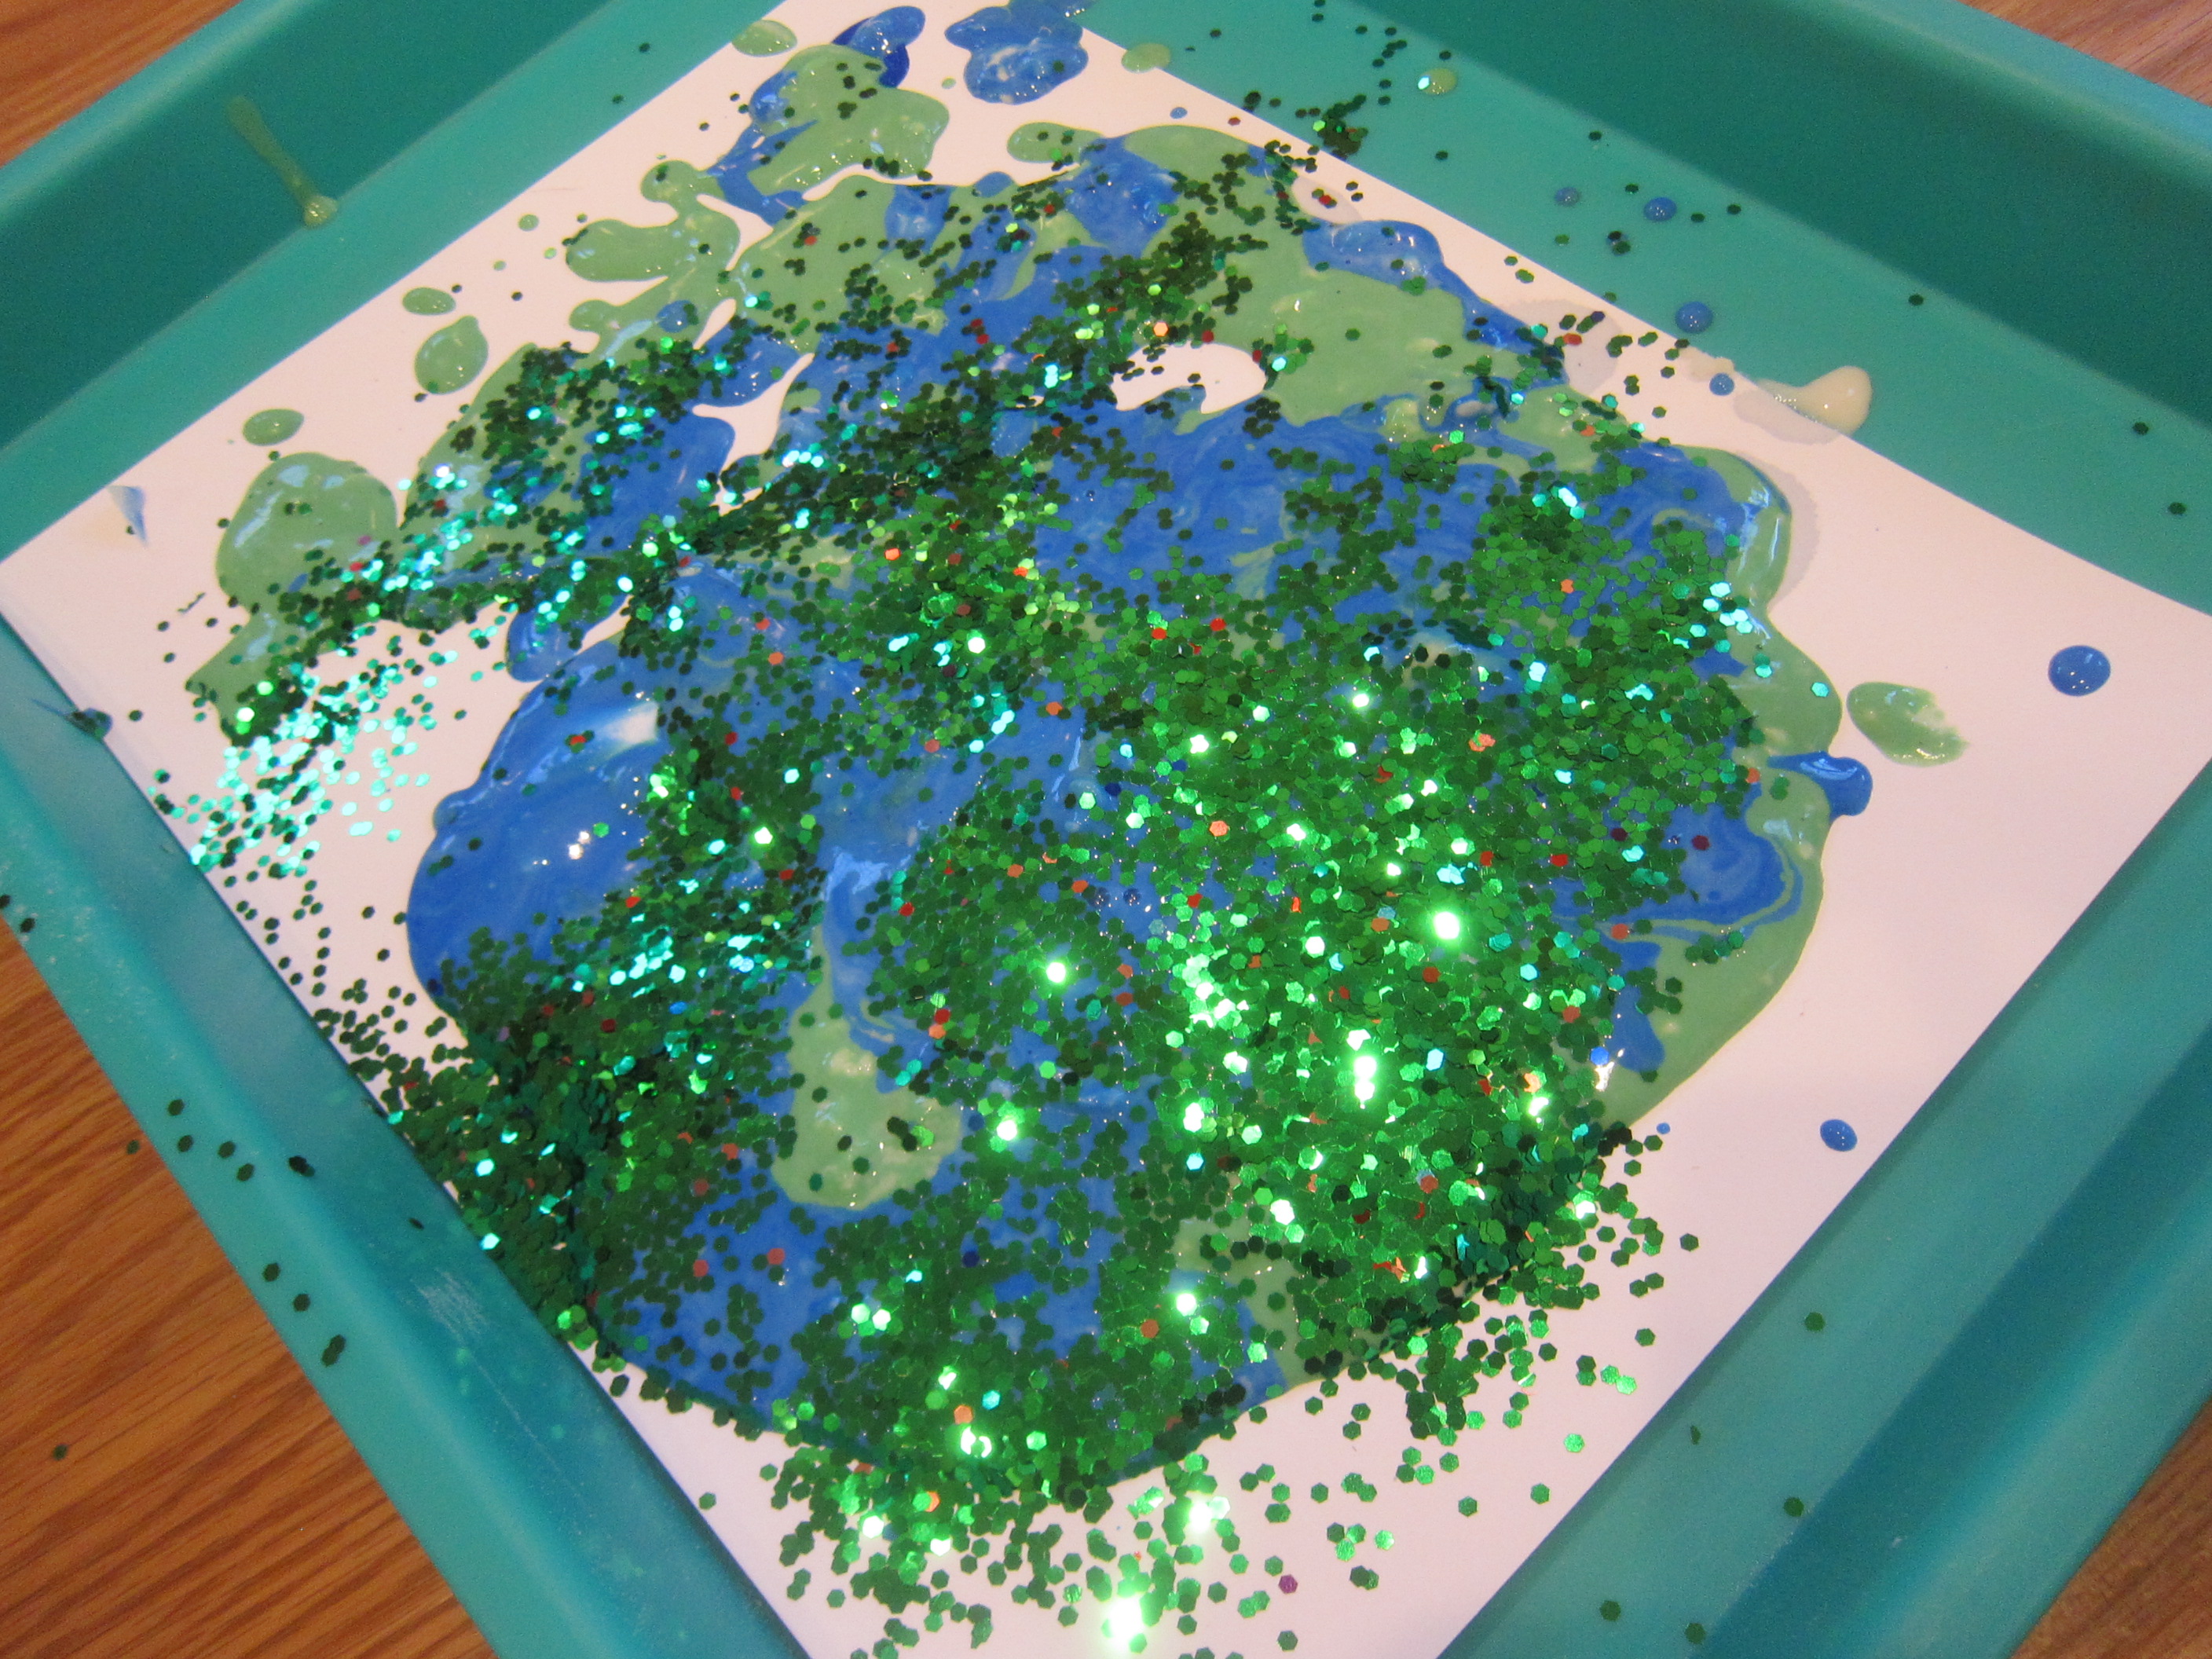
Inadvertently, her final “painting” almost looked like planet Earth!

Flour and Water Piping (6)

As the final touch, we added glitter because, well, everything is better with glitter. She loved shaking out lots of it from the jar and making her final work of art gleam.

Flour and Water Piping (7)

Cloud Dough

cloud-dough-2

Let’s be honest: the giggles and joy are so worth it when we break out a big tray of flour and let our toddlers go wild, but as a parent, you have to psych yourself up for it… Am I right? Flour is going to fly up in the air, flour dust is going to get everywhere, and you’re probably going to wind up mopping the floor.

Solution? Baby oil! Flour + baby oil results in a fantastic mixture that is as fluffy as a cloud, but sticks together in your hands when you squeeze it. This not only means you introduce novelty to your child’s flour play, but clean-up is much easier. I’m not saying you won’t get messy, just that clumps are easier to clean than flour dust!

So this game is totally worth the effort. In a bowl or tray, combine about 2 cups flour and 1/4 cup baby oil. Travis of course had to help, as soon as he saw me break out the measuring cups.

cloud-dough-1

Knead the mixture until you have something that is fluffy and light, but sticks together when pressed, adding more oil if needed.

At first Travis just wanted to sprinkle the mixture all around, but I soon showed him we could shape it into “snowballs.” He was fascinated, and his favorite thing to do was use a car to smash the snowballs, which went on for some time.

cloud-dough-4

Then, to experiment with the mixture’s other texture possibilities we made it “snow” down on the cars softly.

cloud-dough-7

He also loved pressing the mixture until it was very firm in the bottom of the pan, at which point you can make hand prints…

cloud-dough-6

or roll toy cars across for tire tracks.

cloud-dough-3

From a purely sensory point of view, the mixture feels fantastic, almost therapeutic – so parents, dive right in there and get your hands messy!

cloud-dough-5

Flour Fun

toddler 5 (8)

Travis and I have played with flour before, as one way to introduce him to the joys of cooking and the concept of working with food. Although I don’t bake as often as I did pre-motherhood, I always set Travis up with a bag of flour, a big spoon, and a few measuring cups when I do whip up a batch of cookies or weekend morning pancakes. I’ll tell him about what we’re doing, and he latched on to the concept right away. Now he tells me he’s making “hot cross buns” or “strawberry pancakes” (from Daniel Tiger) while he spoons into the flour.

Lately, I also turned to flour as an alternative to sand for an “indoor sandbox.” Travis has been on a sand-scooping kick but I’m not a fan of kinetic sand, and prefer alternatives such as uncooked oats, kosher salt, or even dried beans.

toddler 5 (4)

Today, I upped the ante with additions to our flour sandbox aside from our usual spoons and measuring cups!

After some time spent with the usual scooping play, I added Travis’ construction vehicles. He immediately took to the idea of the flour as “dirt” in a construction site, and very soon was loading up dump truck with the help of bulldozer’s shovel.

toddler 5 (6)

“Dump!”

toddler 5 (7)

He also loved driving other vehicles through the flour, including a toy school bus and a blue jeep, although he was not impressed when I tried to help him see the tire tracks his cars made.

toddler 5 (5)

Once we tired of vehicles, I smoothed the surface to draw a few shapes and letters in the flour. We’ve been working on recognition of the letters in his name lately (as well as B-O-O-T-S thanks to the Laurie Berkner song!) so those were two fun words to add to the pan.

toddler 5 (11)

Travis than used the point of his safety scissors to draw and proudly told me he’d made an oval – his best yet!

toddler 5 (12)

Hand prints completed the fun.

toddler 5 (1)

While we worked, Travis was quite concerned that his trucks and school bus were dirty, so I promised him at the end he could help me give all the vehicles a bath. As soon as we’d wiped the flour from our hands and feet, I set him up with a small washcloth and tiny basin of soapy water, and he gave the trucks a little scrubbing (though in full honesty, this mama had to finish off the job as he got bored and wandered off midway through).

toddler 5 (12)