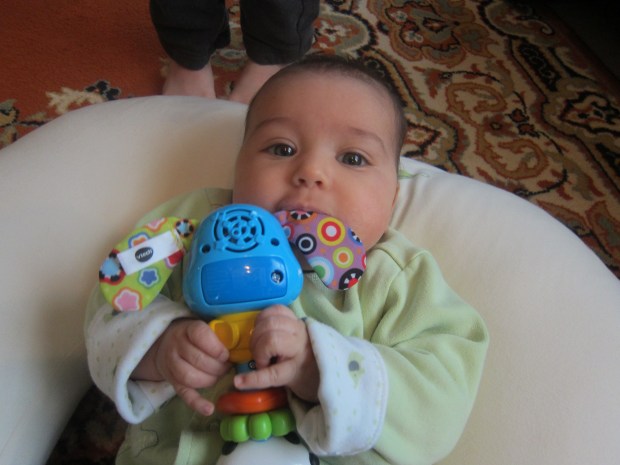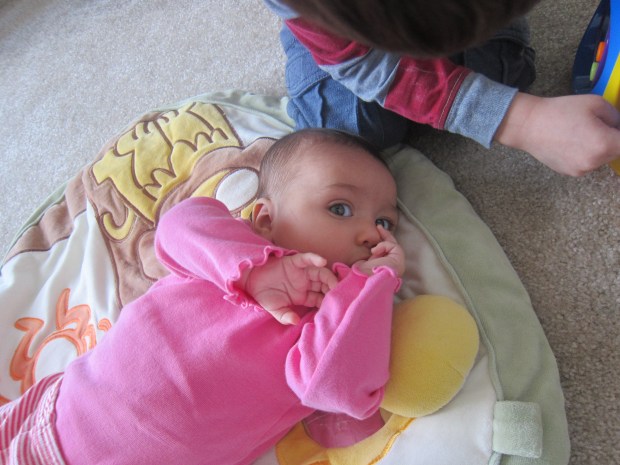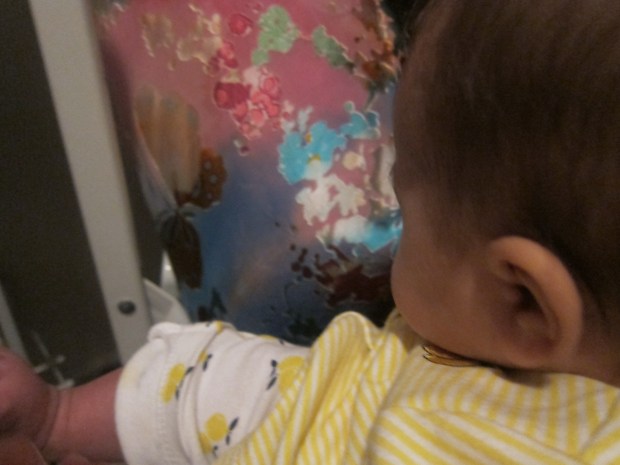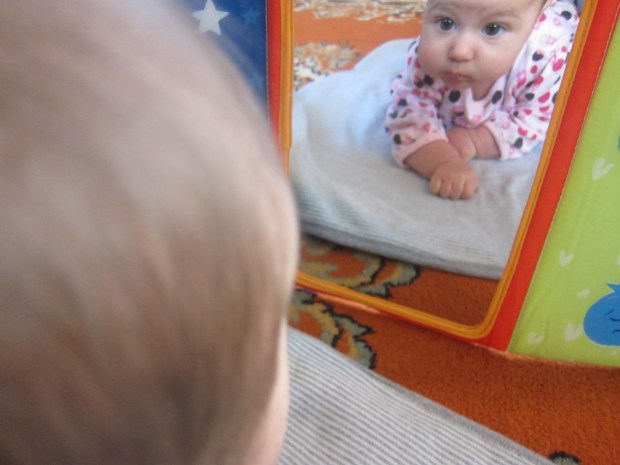
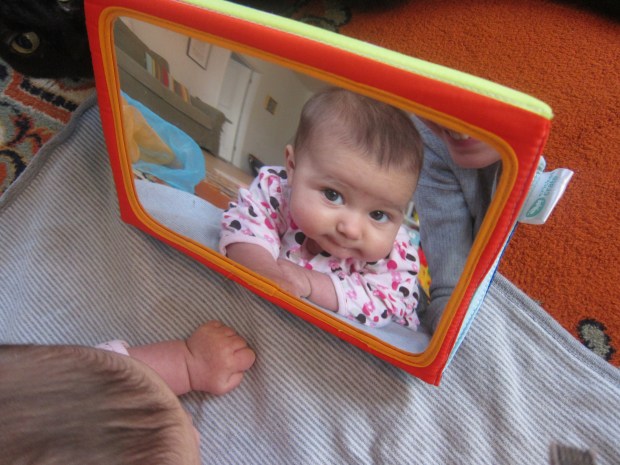
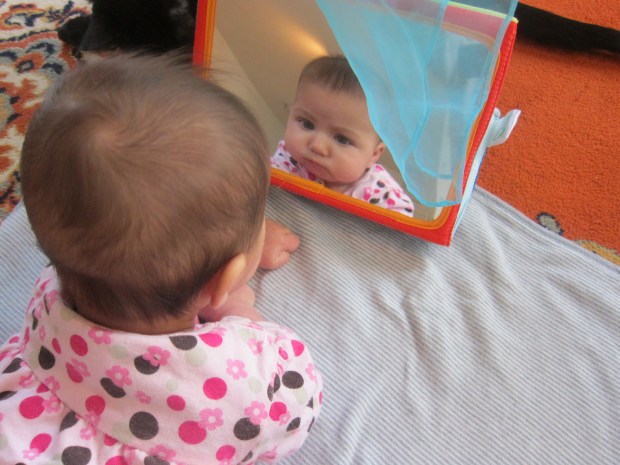
At four months old, Veronika is much more aware of the face in the mirror than she was when we began mirror games, so she and I had some fun with our reflections today. Mirrors seem magical to babies; they still don’t quite understand that they are seeing their own reflection, and yet are starting to notice that the mirror image moves when they do. So play up that magic!
Make sure that you play with a mirror that is nonbreakable for babies this young. I set one up in front of Veronika during tummy time, and got down right next to her.
First, I simply made a neutral face and let her notice us both, but from there I moved on to emotions. As you make each expression, name the emotion. “Happy face!” I cooed to her.
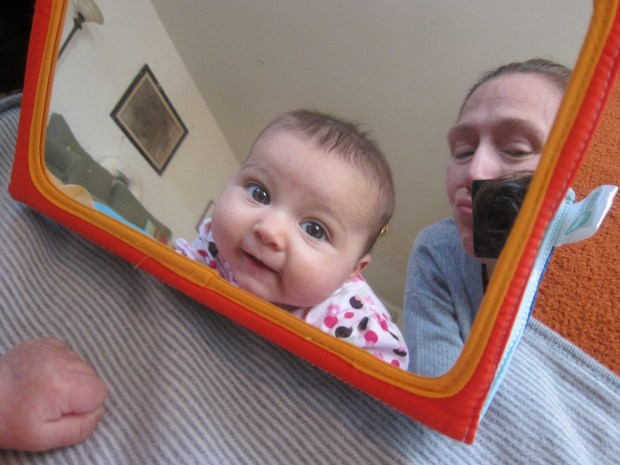
You can move on to sad faces or silly faces; the latter got a giggle!
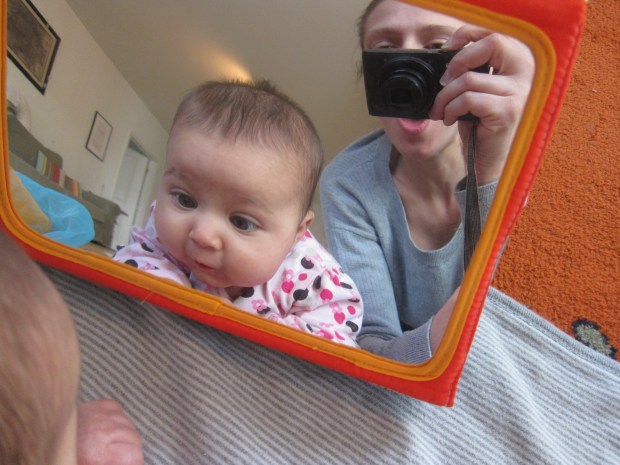
Now mommy’s surprised!
Add other conversation pointers as you play. “This is your mouth,” I pointed out to her, or “Look at mommy’s mouth.”
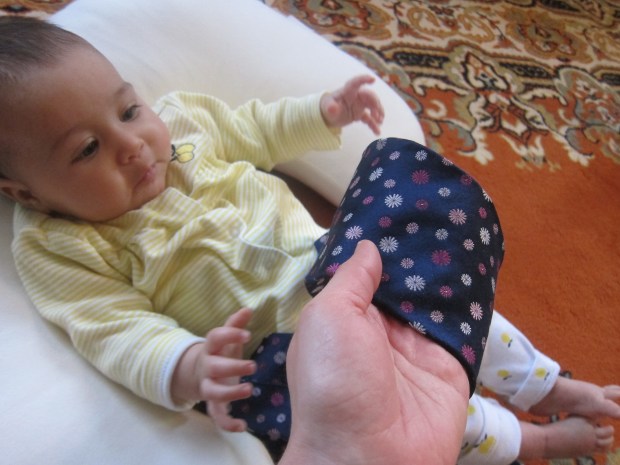
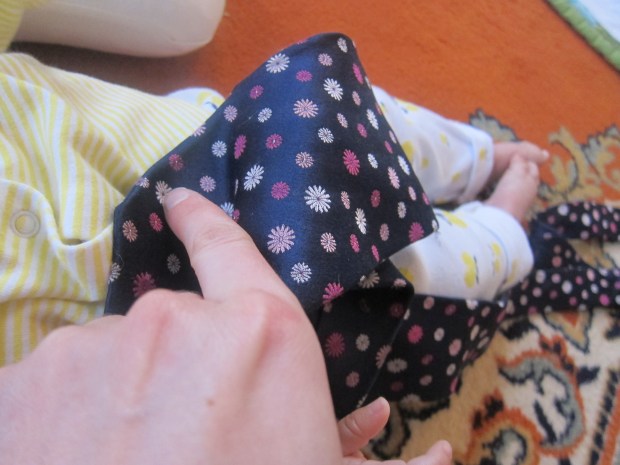
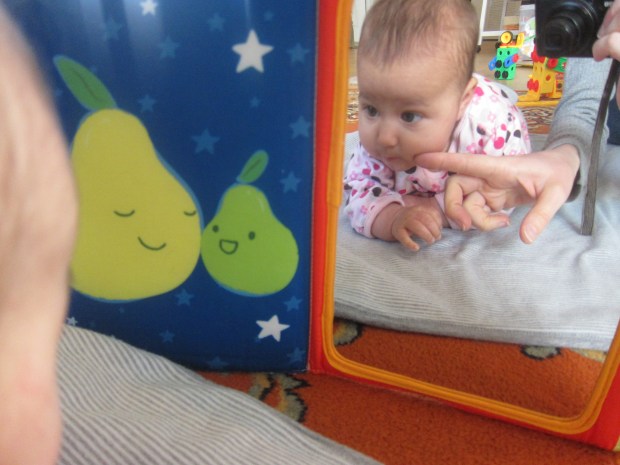 Then it was time to use the mirror for some real magic: making Veronika disappear and reappear. I placed a scarf over the mirror…
.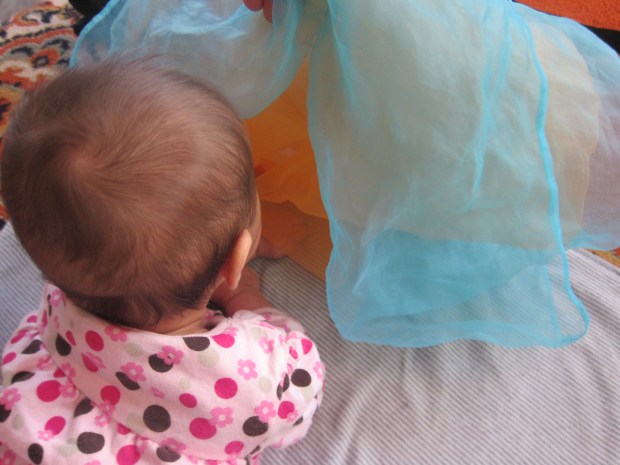
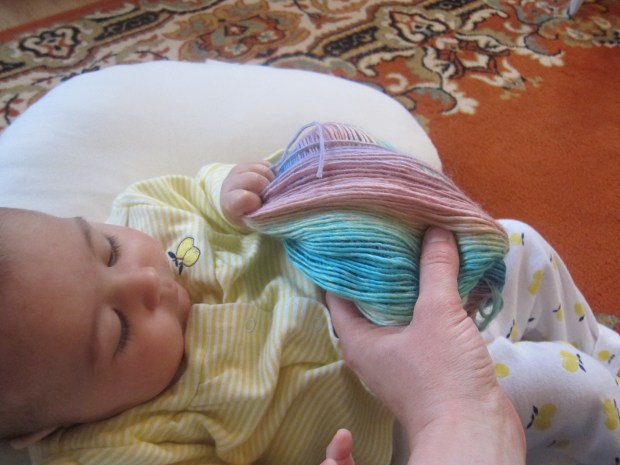
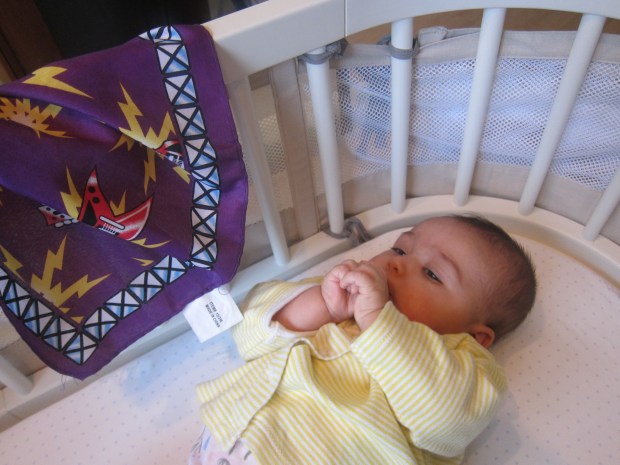
…then peek-a-boo!
What other mirror games do you play with baby? Please share in the comments!