Easy Spanish Rice Burritos

Spanish Rice Burritos (1)

This flavorful rice can either fill bean burritos or be served alongside them to round out a hearty meal.

Ingredients:

For the rice:

  • 1 cup brown rice
  • 1/4 cup shredded vegan cheddar
  • 1/2 cup mild salsa

For the burritos:

  • 1 (15-ounce) drained and rinsed can black beans
  • 1 (4-ounce) jar carrot puree
  • 1 cup cooked and chopped Gardein chick’n strips
  • 3/4 cup shredded vegan cheddar
  • Whole wheat tortillas
  • Salsa for serving
  1. To prepare the rice, cook according to package directions. Remove from heat and stir in 1/4 cup cheddar and 1/2 cup salsa; set aside.
  2. Meanwhile, combine the black beans and carrot puree in a small saucepan over medium heat. Cook for about 5 minutes, until heated through. Remove from heat and mash with a potato masher, then stir in the chick’n and 3/4 cup cheddar.
  3. To serve, warm whole wheat tortillas according to package directions. Spoon the bean filling and cooked rice into the tortillas to taste, and roll up.
  4. Add a little extra salsa on top to serve!

Spanish Rice Burritos (2)

Advertisement

Textured Painted Letters

Textured Painted Letter (7)

This is a fun art project for siblings to do side by side, each child decorating the letter that begins his or name. The result makes a beautiful piece of art that can decorate a playroom or bedroom!

I picked up a wooden V and T at the craft store recently, thinking they might look nice hanging above the kids’ beds, and immediately knew we could turn into a fun art project, too. To start, I ripped up origami paper into small pieces. Veronika loved helping with the ripping, a classic toddler favorite!

Textured Painted Letter (1)

I also let her pick which patterns to include and had to laugh when she thought this one was “phones”.

Textured Painted Letter (2)

Once we had enough pieces, I showed her how to brush mod podge over the paper pieces on the wooden letter to glue them down. She did her own V plus a T for big brother Travis.

Textured Painted Letter (3)

Once the mod podge dried, we added coats of pastel paint to each letter, choosing blue for the V and green for the T.

Textured Painted Letter (5)

Let the paint dry and then hang up to display!

Textured Painted Letter (6)

Bug Fossil Play Dough

Bug Fossil Play Dough (3)

We’ve used playdough to make dinosaur footprint fossils in the past, but today Veronika had fun making full body prints of something much smaller: bugs!

A set of plastic bug toys was perfect for this activity. I showed Veronika how to flatten playdough into little pancakes, and then to press down one bug at a time.

Bug Fo7)ssil Play Dough

Lift up…

Bug Fossil Play Dough (5)

…and reveal the imprint! Because the full body of the bug will fit on the playdough discs, these really do look like fossils of ancient creepy crawlies. It also turned into a fun matching game, helping her match each imprint to a 3-D object. I would hold up one “fossil” and ask her which bug it matched. Was this one the ant?

Bug Fossil Play Dough (6)

No, the cockroach! Next she found a match for the centipede.

Bug Fossil Play Dough (4)

Of course bugs aren’t the only thing that leave fun tracks in play dough. We finished the game by rolling a bumpy ball over some of the play dough discs. Perhaps this “fossil” belonged to some very mysterious ancient creature.

Bug Fossil Play Dough (9)

And then she made her toy figures walk through the playdough and loved seeing their footprints!

Bug Fossil Play Dough (10)

What fossil will your mini archaeologist dig up? Please share in the comments!

Make a Masterpiece

Make a Masterpiece (7)

Here’s a fun way to turn the side dish at your next meal into arts & crafts! Not only will this cooking project engage children’s artistic side, but you might just get them to try a new food, too.

To start, I sliced a variety of veggies and fruits (yes, you can roast fruit), resulting in a hodgepodge of rutabaga, beets, apple, pear, and oranges. I tried to cut each item into different shapes, like triangular rutabaga pieces, semi-circle beets, circular orange slices, and apple wedges.

Make a Masterpiece (1)

I then set everything out for Veronika alongside a baking sheet lined with parchment paper and encouraged her to arrange the items however she wanted. She looked so proud as she chose where to place each piece of food.

Make a Masterpiece (2)

She especially loved the beets because they made her fingers pink!

Make a Masterpiece (3)

I demonstrated how some of the items could be arranged almost like images from a kaleidoscope (oranges surrounded by apple wedges were pretty, for example), but mostly I left the design up to her. She talked about the shapes as she worked; meanwhile ‘rutabaga’ and ‘beets’ were new vocab for her and she quickly latched on to these new words.

Make a Masterpiece (5)

When her design was finished, I drizzled with about 2 tablespoons olive oil and sprinkled with a dash of salt, then roasted at 400 degrees F for 30 minutes.

Make a Masterpiece (8)

The resulting mix made a perfect side dish to a winter meal! You can try this with any number of root veggies or fruits, and see what combination your little artists like best.

Make a Masterpiece (4)

Penny Playdough

Penny Play dough (8)

This simple twist on playdough play turns your toddler into a mini archaeologist!

Veronika has wanted to play with playdough every morning this week, so today I wanted to make it a little different. I took the loose change from my wallet (a mix of pennies, dimes, and nickles) and “buried” them in pieces of play dough. I made sure she saw so she knew that “treasure” was waiting for her, although you could also keep it a surprise.

Penny Play dough (1)

I then pulled out a variety of playdough tools, including plastic knives, forks, chisels, and spatulas. The challenge was up to her to see if she could dig to the coins!

Penny Play dough (4)

She immediately was into the game, testing the different tools to see which worked best. Or sometimes she just used her fingers!

Penny Play dough (9)

We tried burying the money in different ways, too, sometimes balled up in the middle, sometimes stuck in like little quills that she could pull out. “Help, help!” she pretended the little pennies were crying.

Penny Play dough (2)

This was a great game for imagination and fine motor skills, and kept her so busy for over half an hour!

Penny Play dough (3)

Turn Soy Milk into Tofu!

Milk into Cheese (2)

Travis and I spotted a neat way to turn cow’s milk into cheese on Kiwi Co’s website, by adding an acid (lemon juice) which makes the proteins clump up (the curds) out of the leftover liquid (the whey). All thoughts of Little Miss Muffet aside, we wondered if we could make this work with soy milk!

To start, place 1 and 1/2 cups soy milk in a pot over medium heat. Continue to cook, stirring constantly, until the soy milk is frothy and hot, but do not let it boil. Immediately remove from heat and add 2 tablespoons lemon juice. Travis and I were thrilled to see it seize up immediately, like tiny flecks of crumbled tofu.

Milk into Cheese (1)

We strained the mixture through a fine-mesh sieve over a bowl, resulting in a small bowl of fresh soy “cheese” left behind in the sieve. We added a sprinkle of salt and a drizzle of agave nectar, and did a curious taste test.

Milk into Cheese (3)

Travis’s expression pretty much says it all; he declared this simultaneously “good but weird”. I don’t recommend this over purchasing tofu at the store, but it was a neat chemistry experiment!

Milk into Cheese (4)

Monday Through Friday Letter Learning

Mon-Fri Letter (3)

When Travis was two years old, I embarked on an ambitious Letter of the Week curriculum that took us on a journey from Z to A (yes, we went in reverse) full of activities, games, and field trips each week. I have beautiful memories of it, but it’s far too ambitious a project for child #2! That said, Veronika is very into letters right now and I want her to be able to devote a week to each letter, even if not in so immersive a fashion.

I was thrilled, therefore, to find this activity-a-day program at Hands on As We Grow, and this week Veronika tested it out on letter A with a few adaptations for her young age.

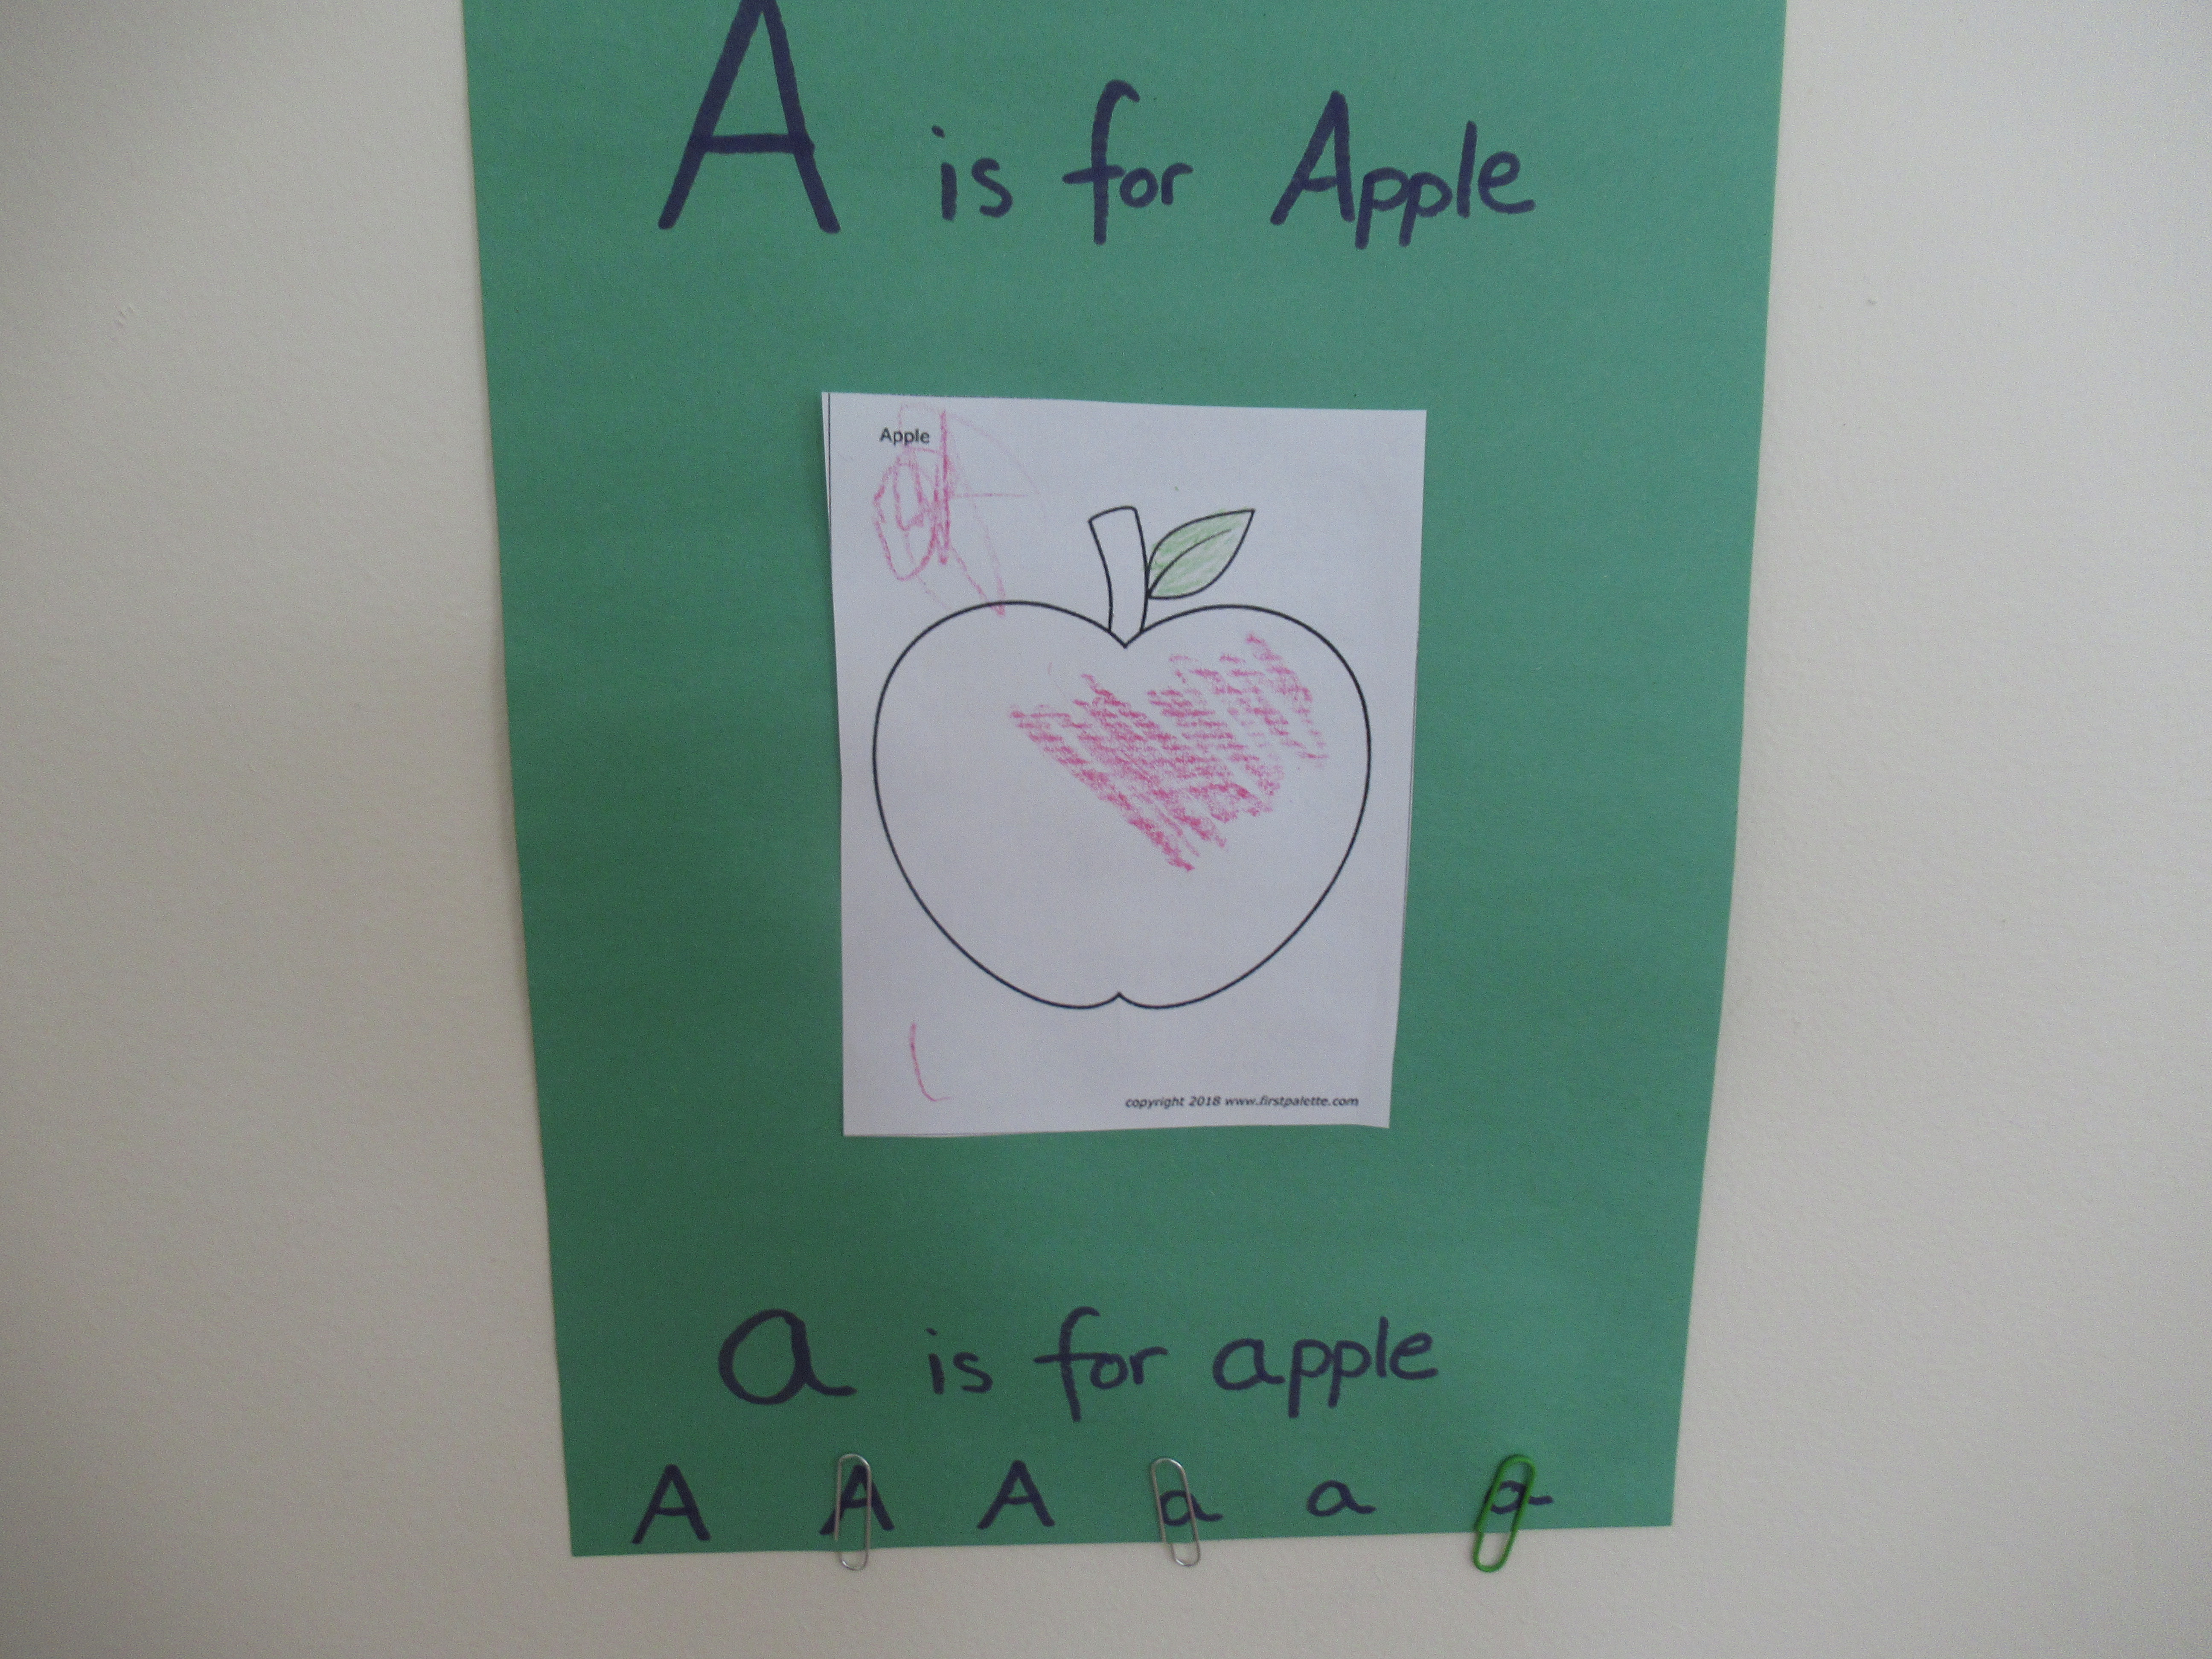
Monday: Letter Poster

Mon-Fri Letter (1)

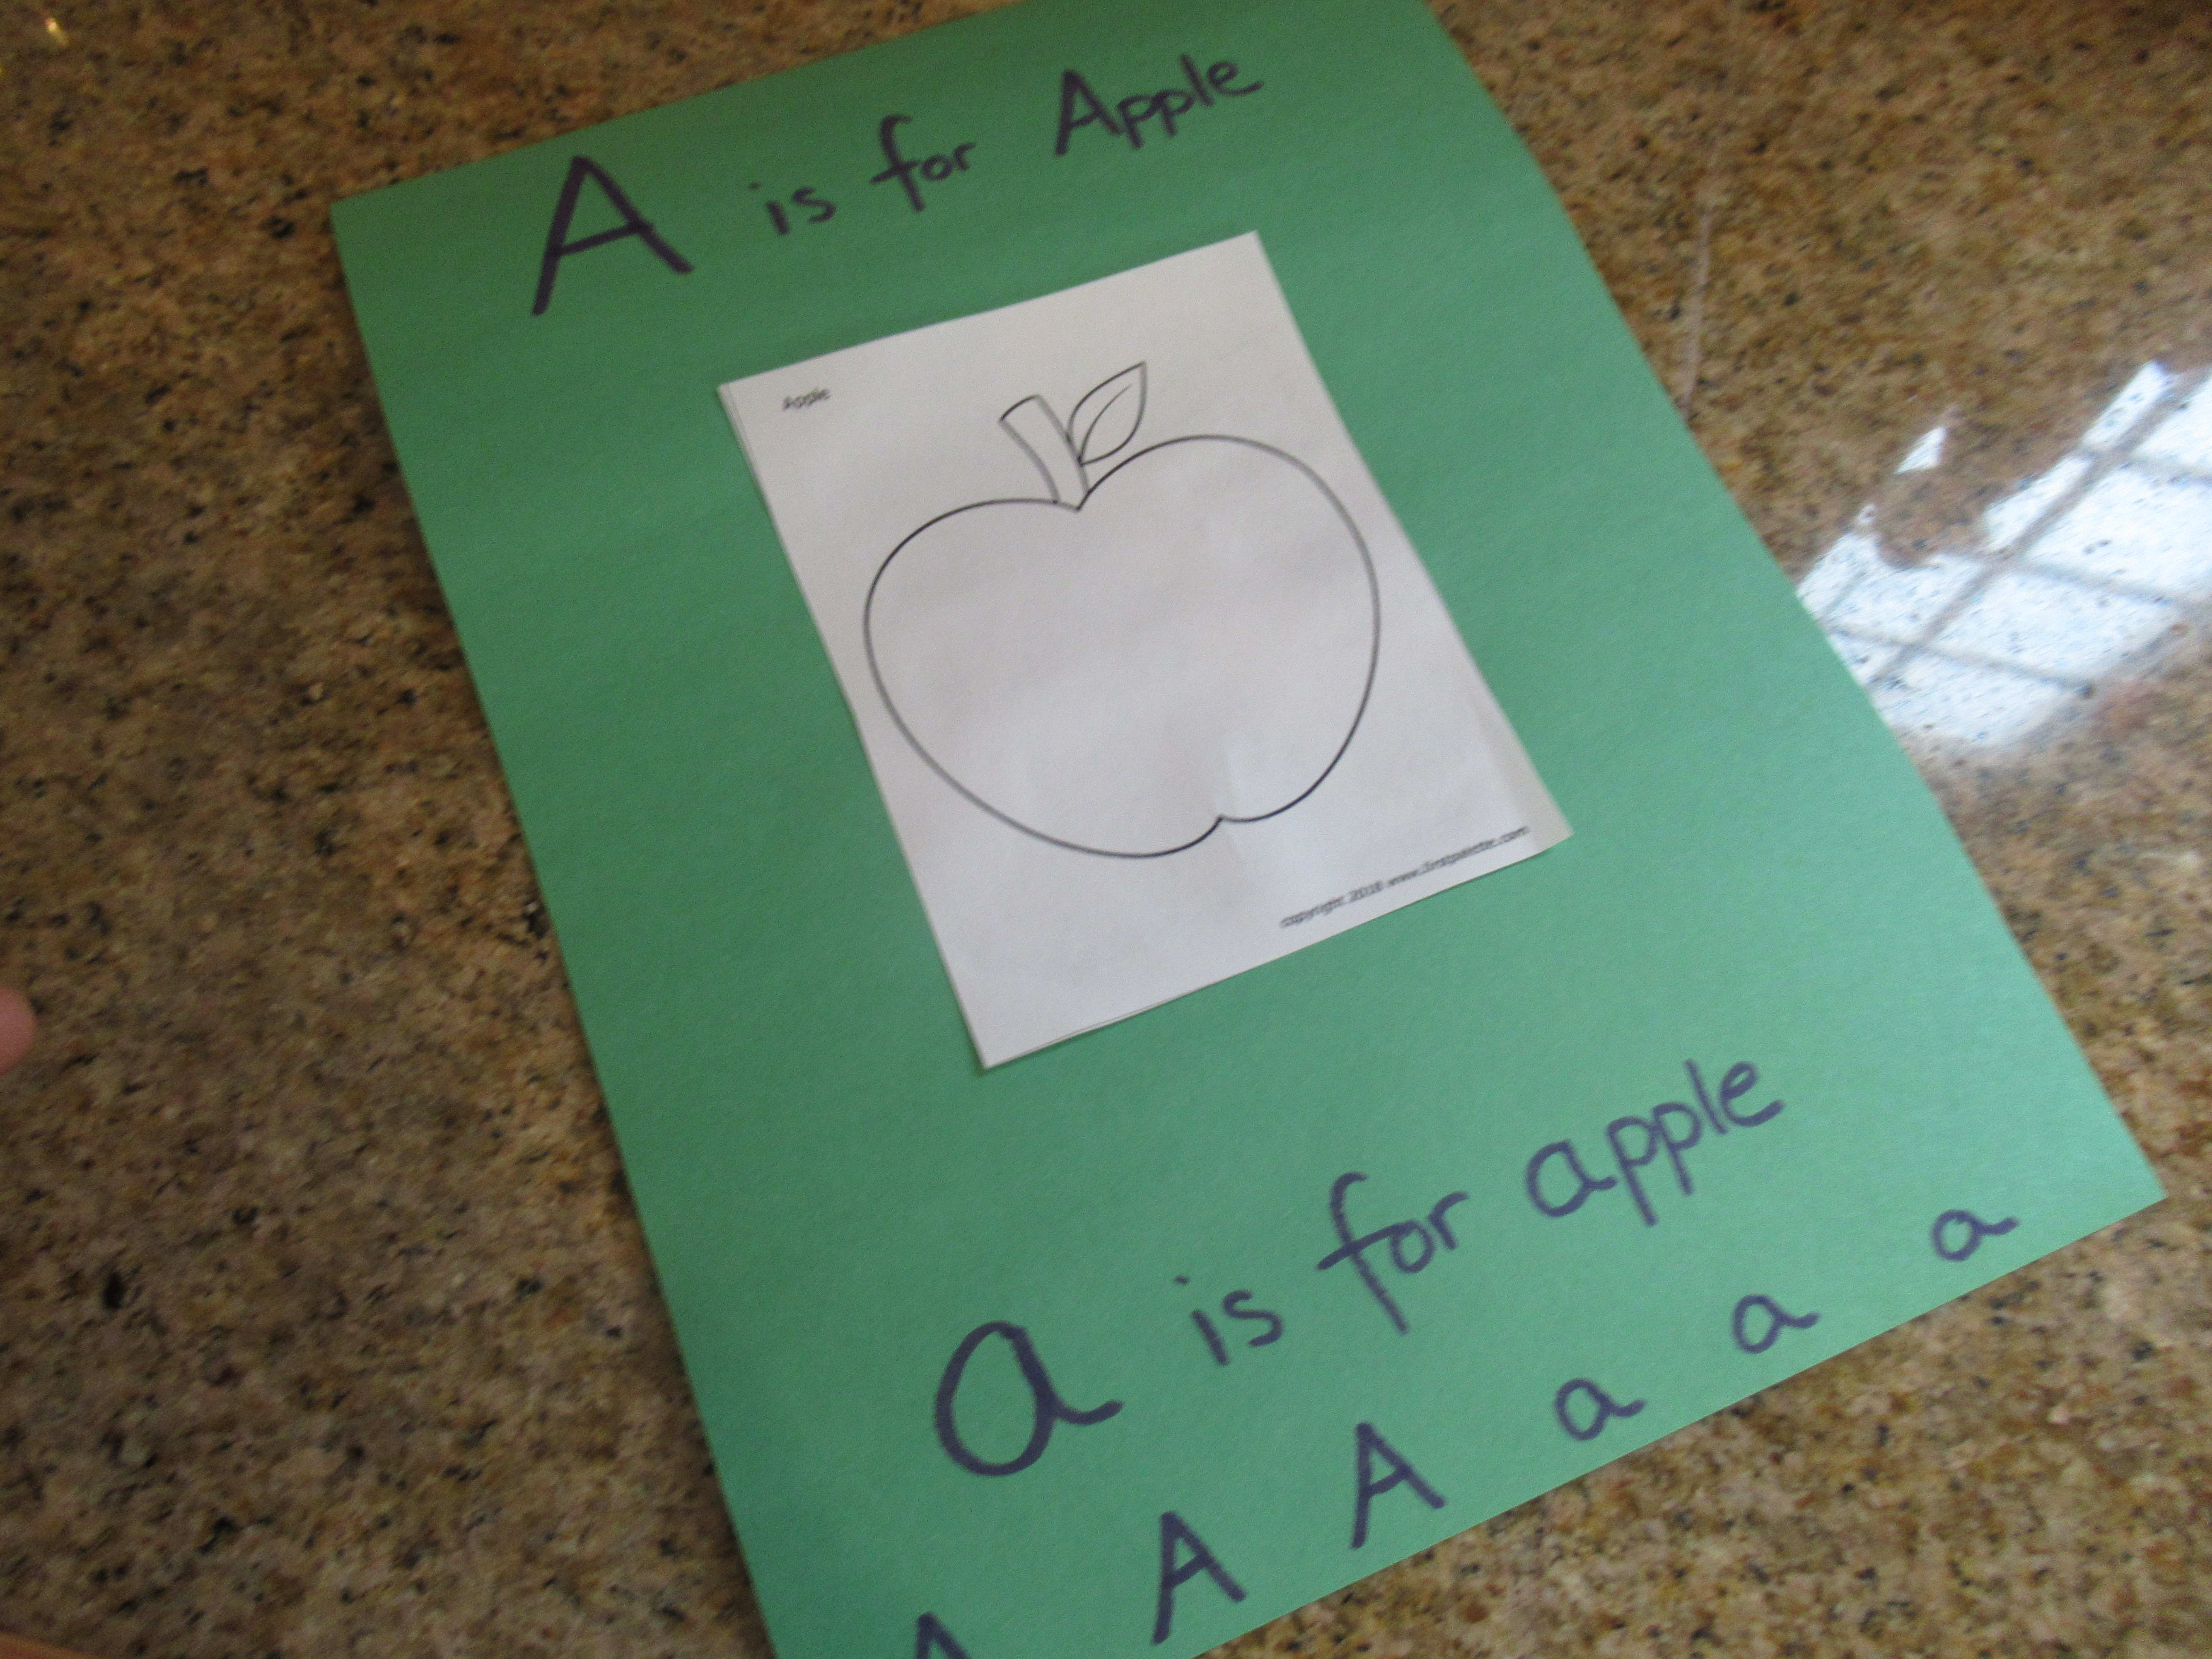
I started the week printing a picture of an item corresponding to the letter (in this case an apple picture for A), then gluing it to a piece of construction paper and writing out “A is for Apple, a is for apple”. I then wrote a few capital and lower case A/a along the bottom edge of the paper and encouraged Veronika to add a paper clip to each for some fine motor skills.

Mon-Fri Letter (2)

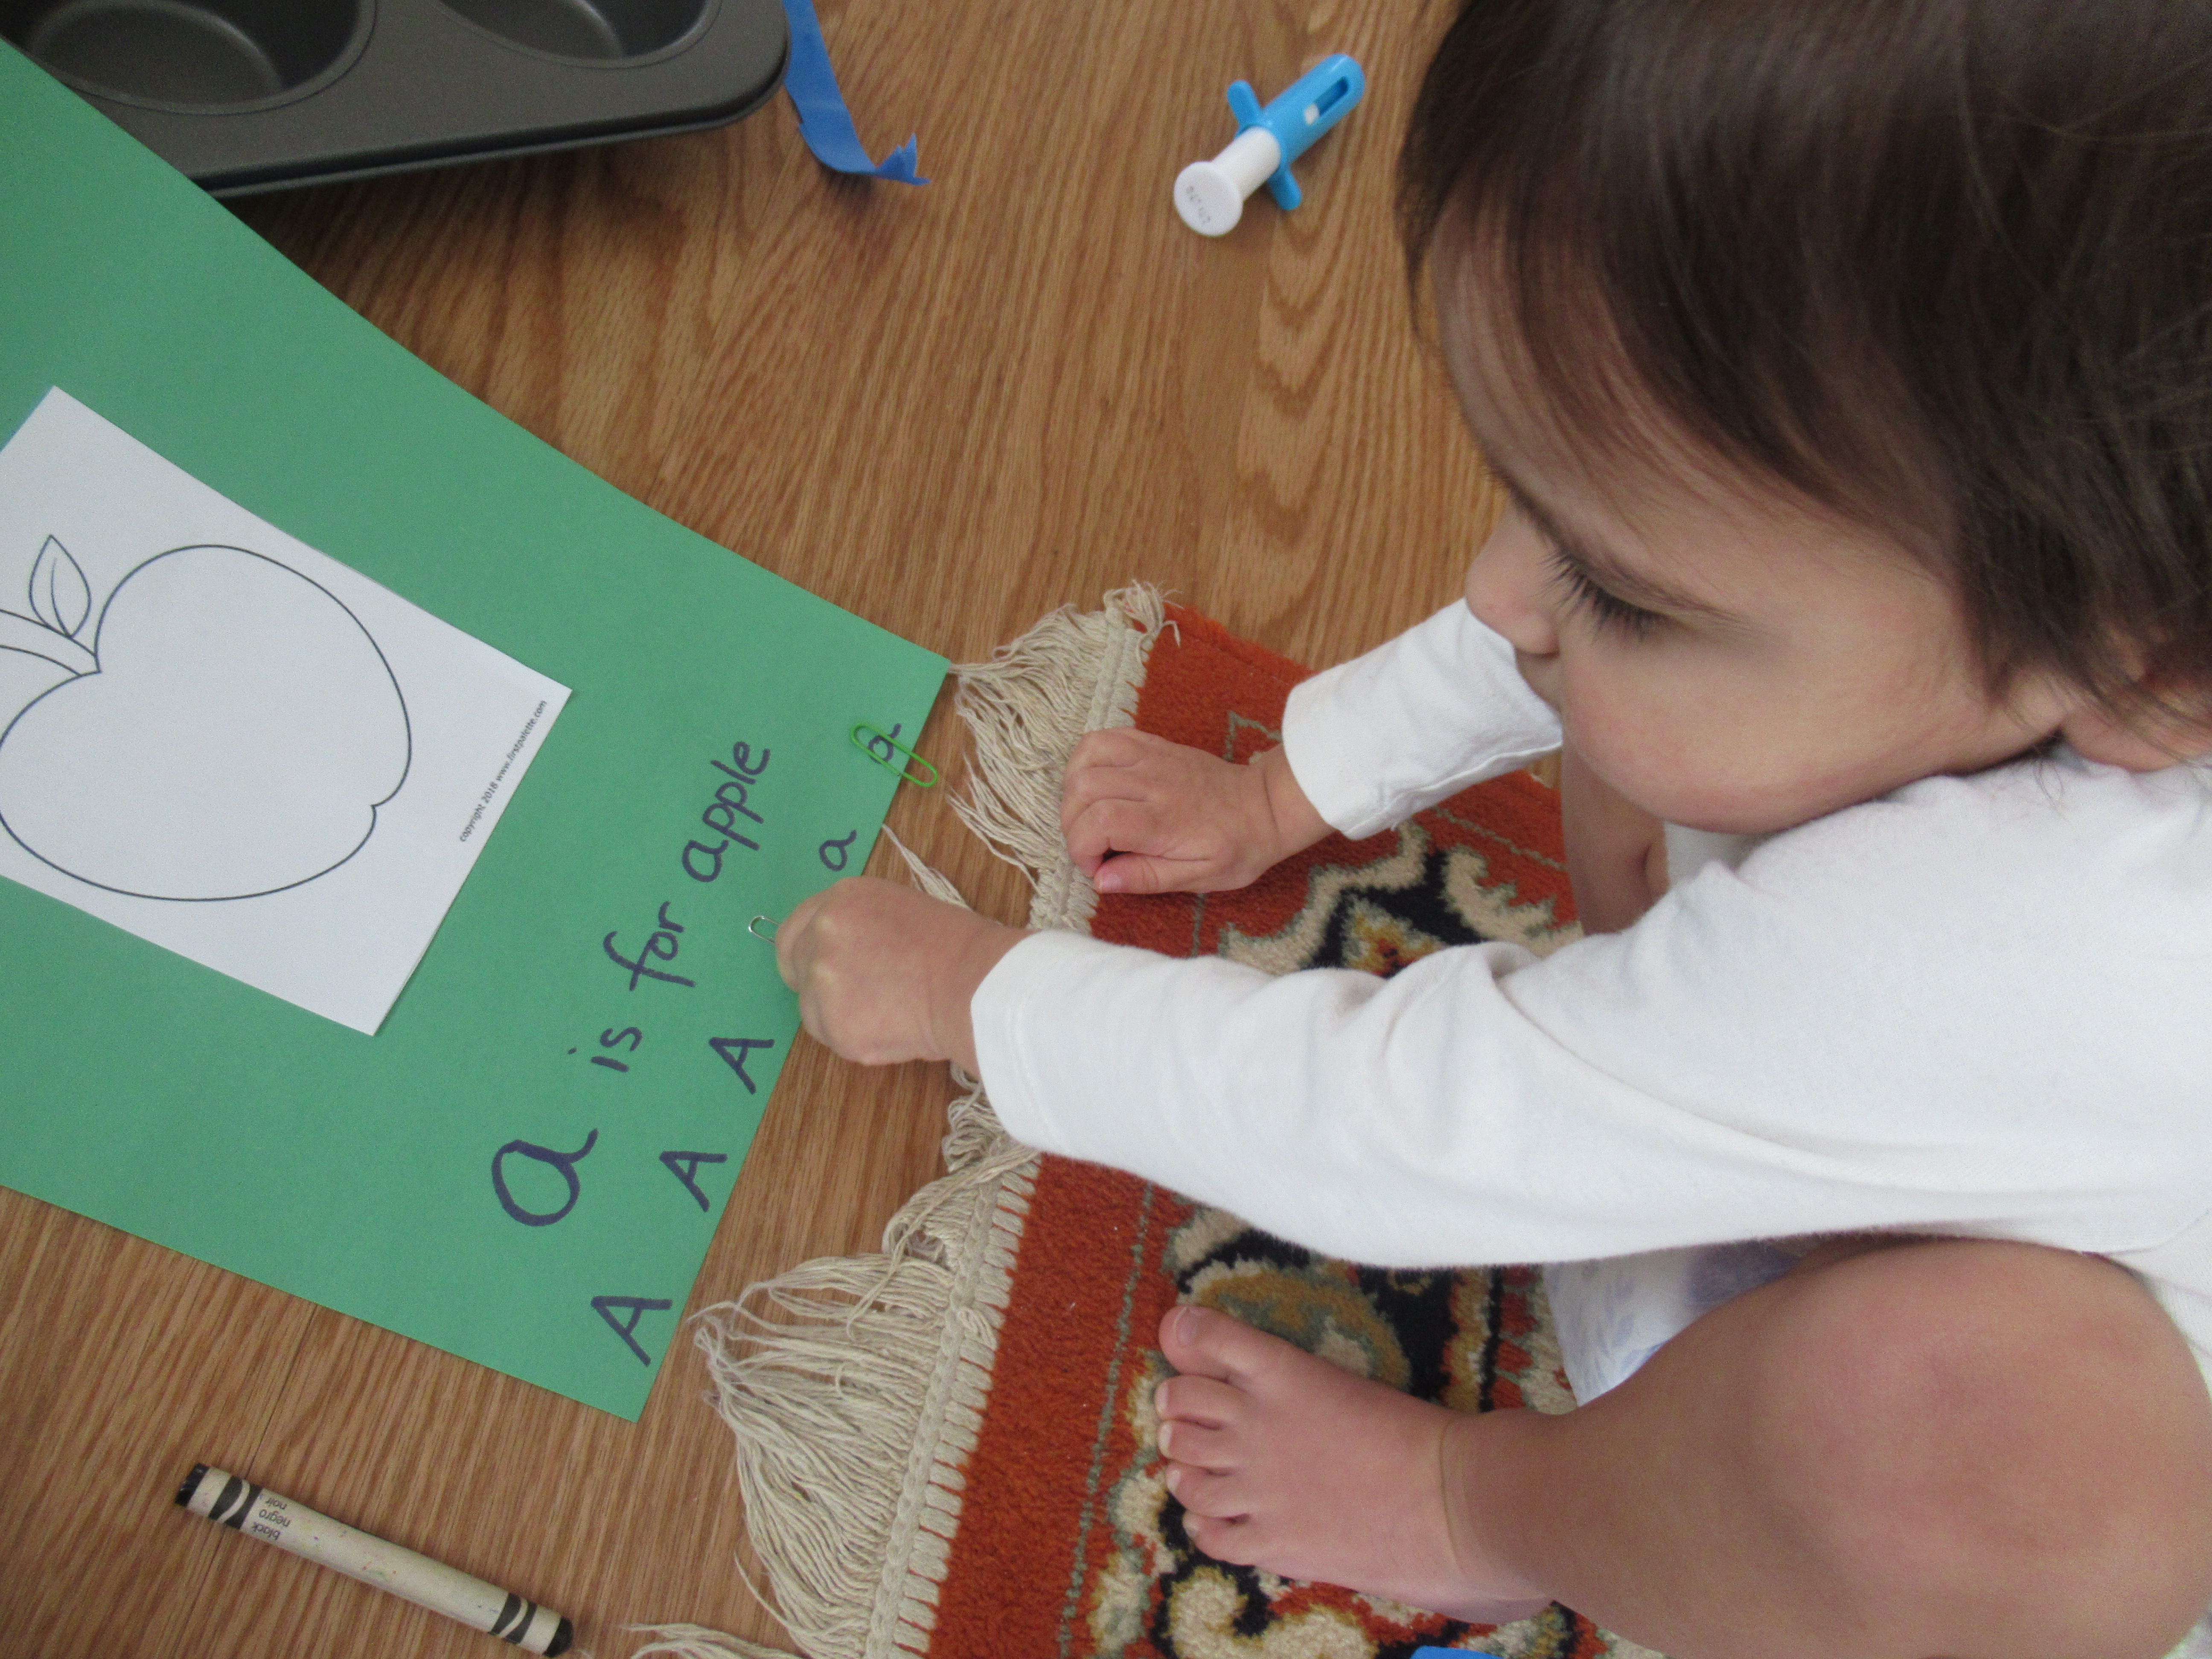
If your child is older, you can hide those As among other letters to make it more of a search. Veronika finished by coloring in the apple, then we hung the poster on the wall to serve as a reference point all week. I was so happy that she already recognized A, tentatively naming it for me when I asked.

Now that we had established A as the Letter of the Week, it was on to…

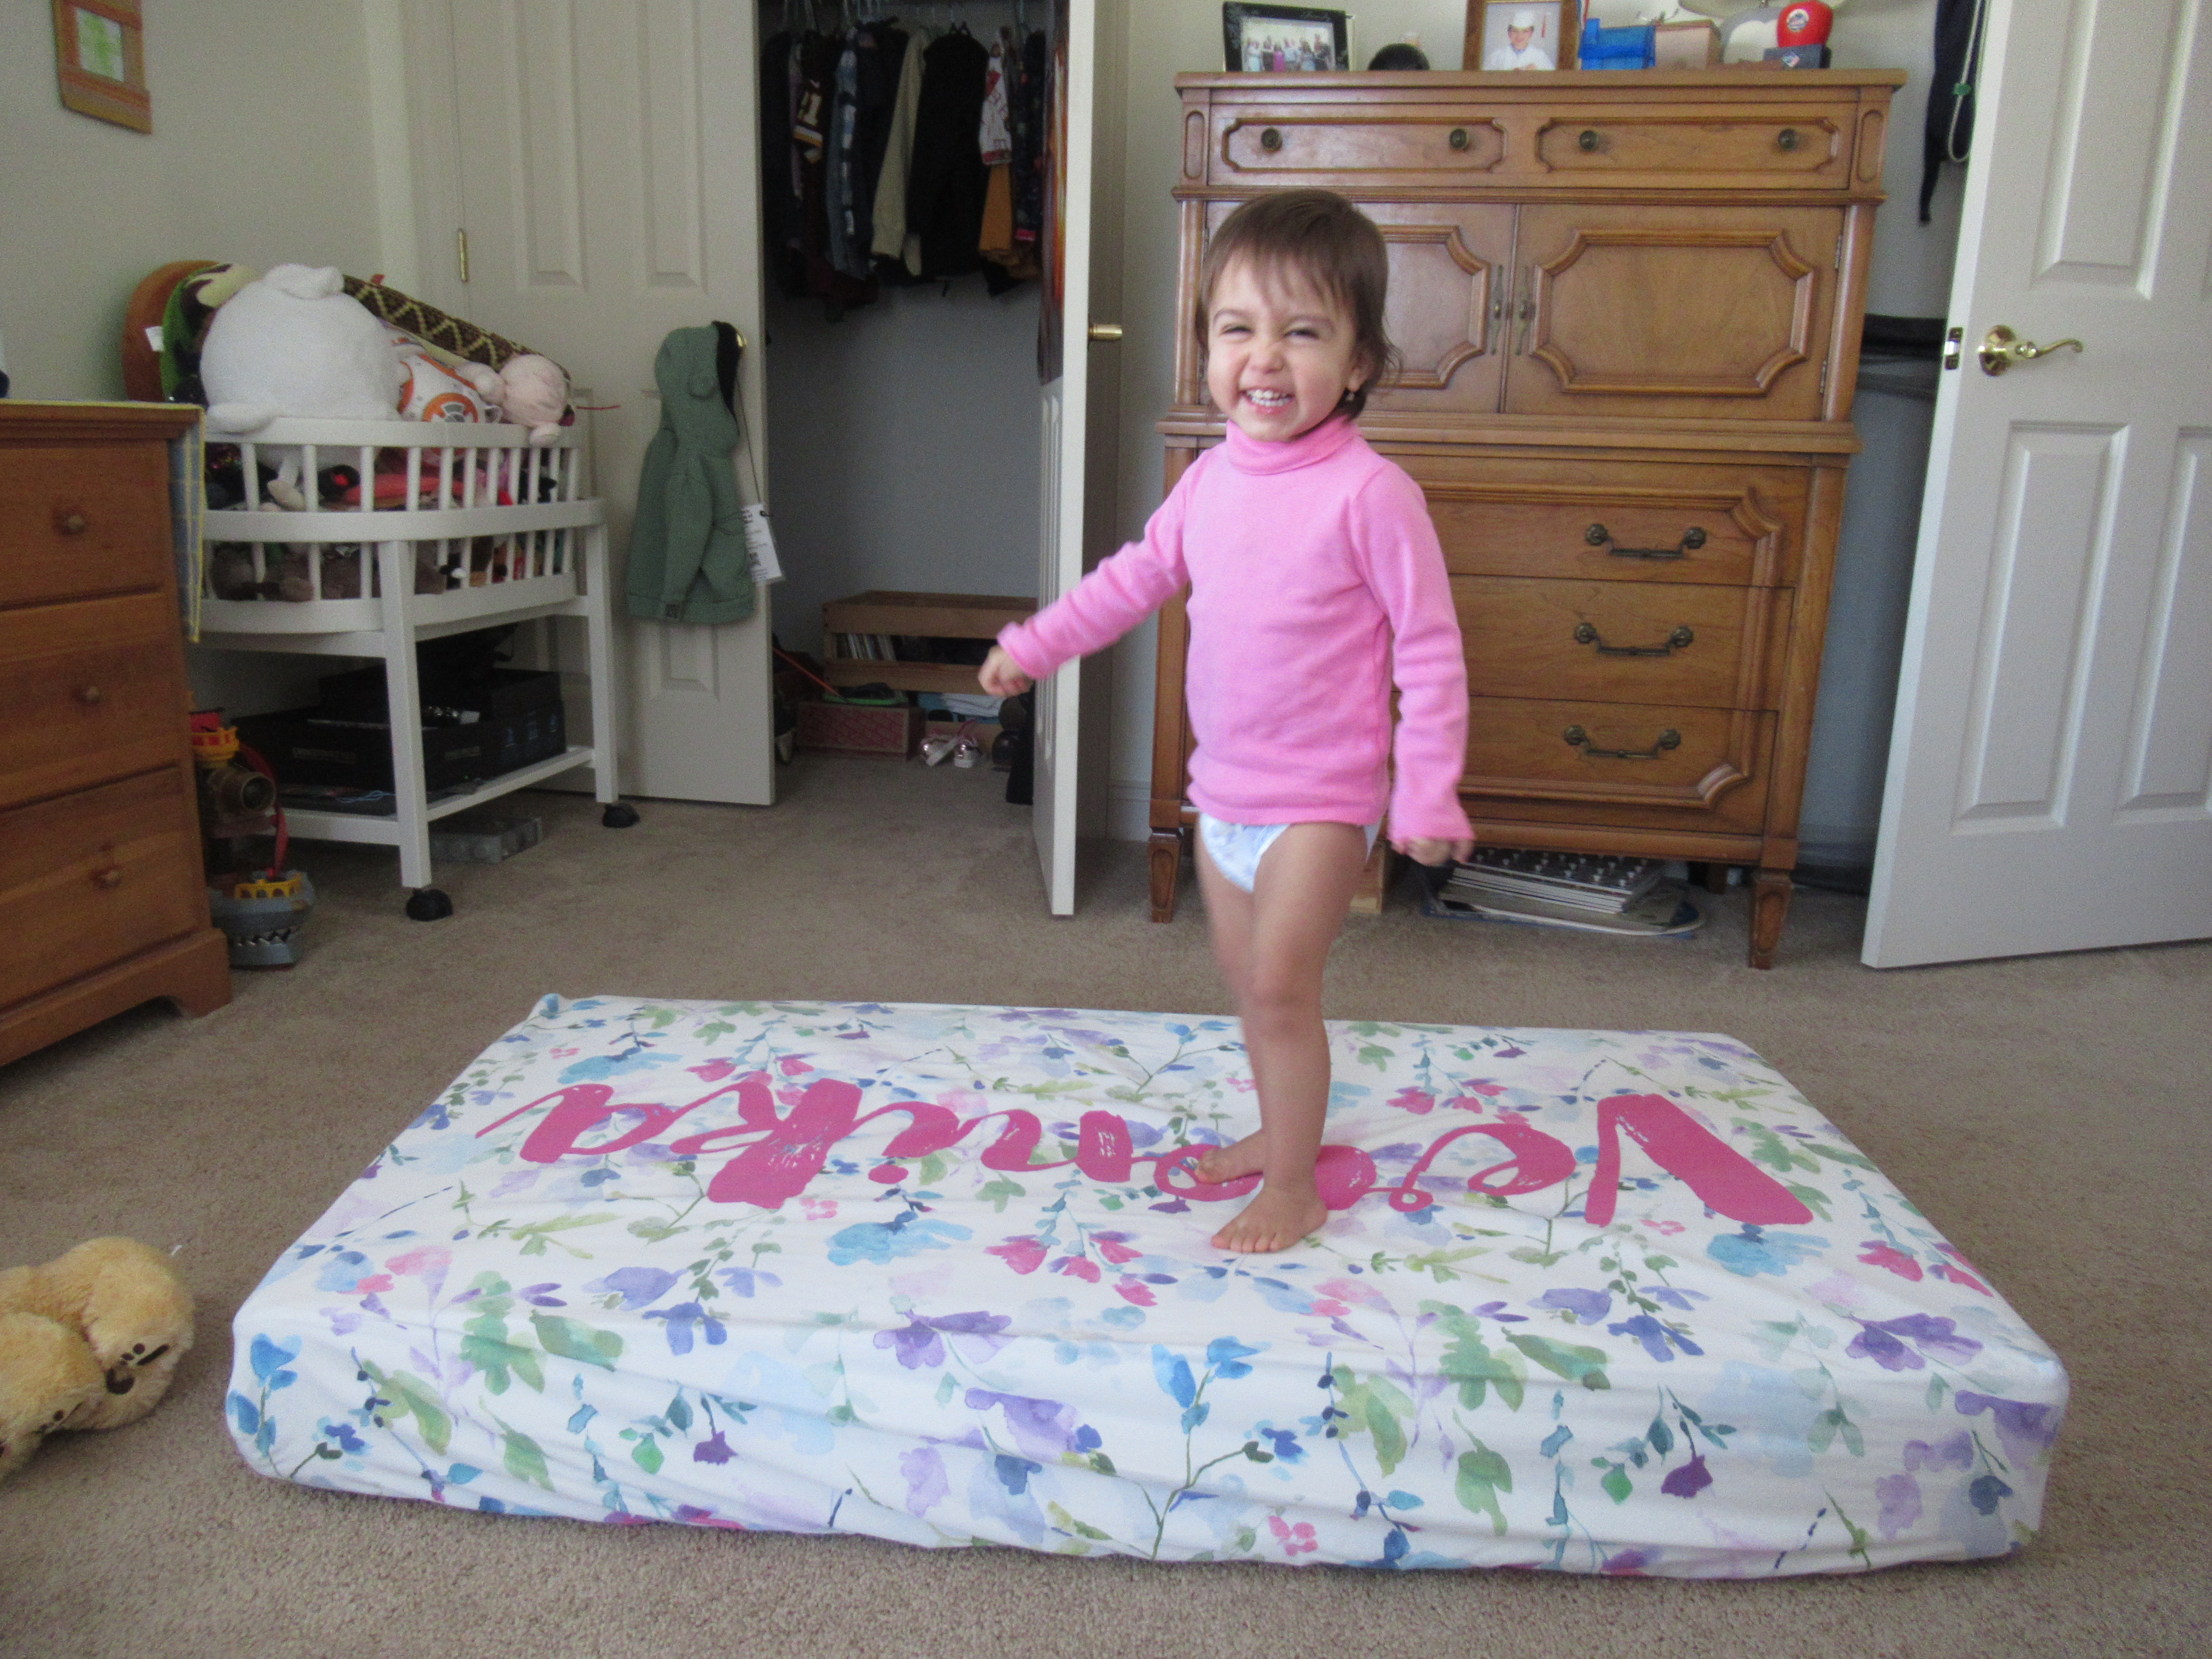
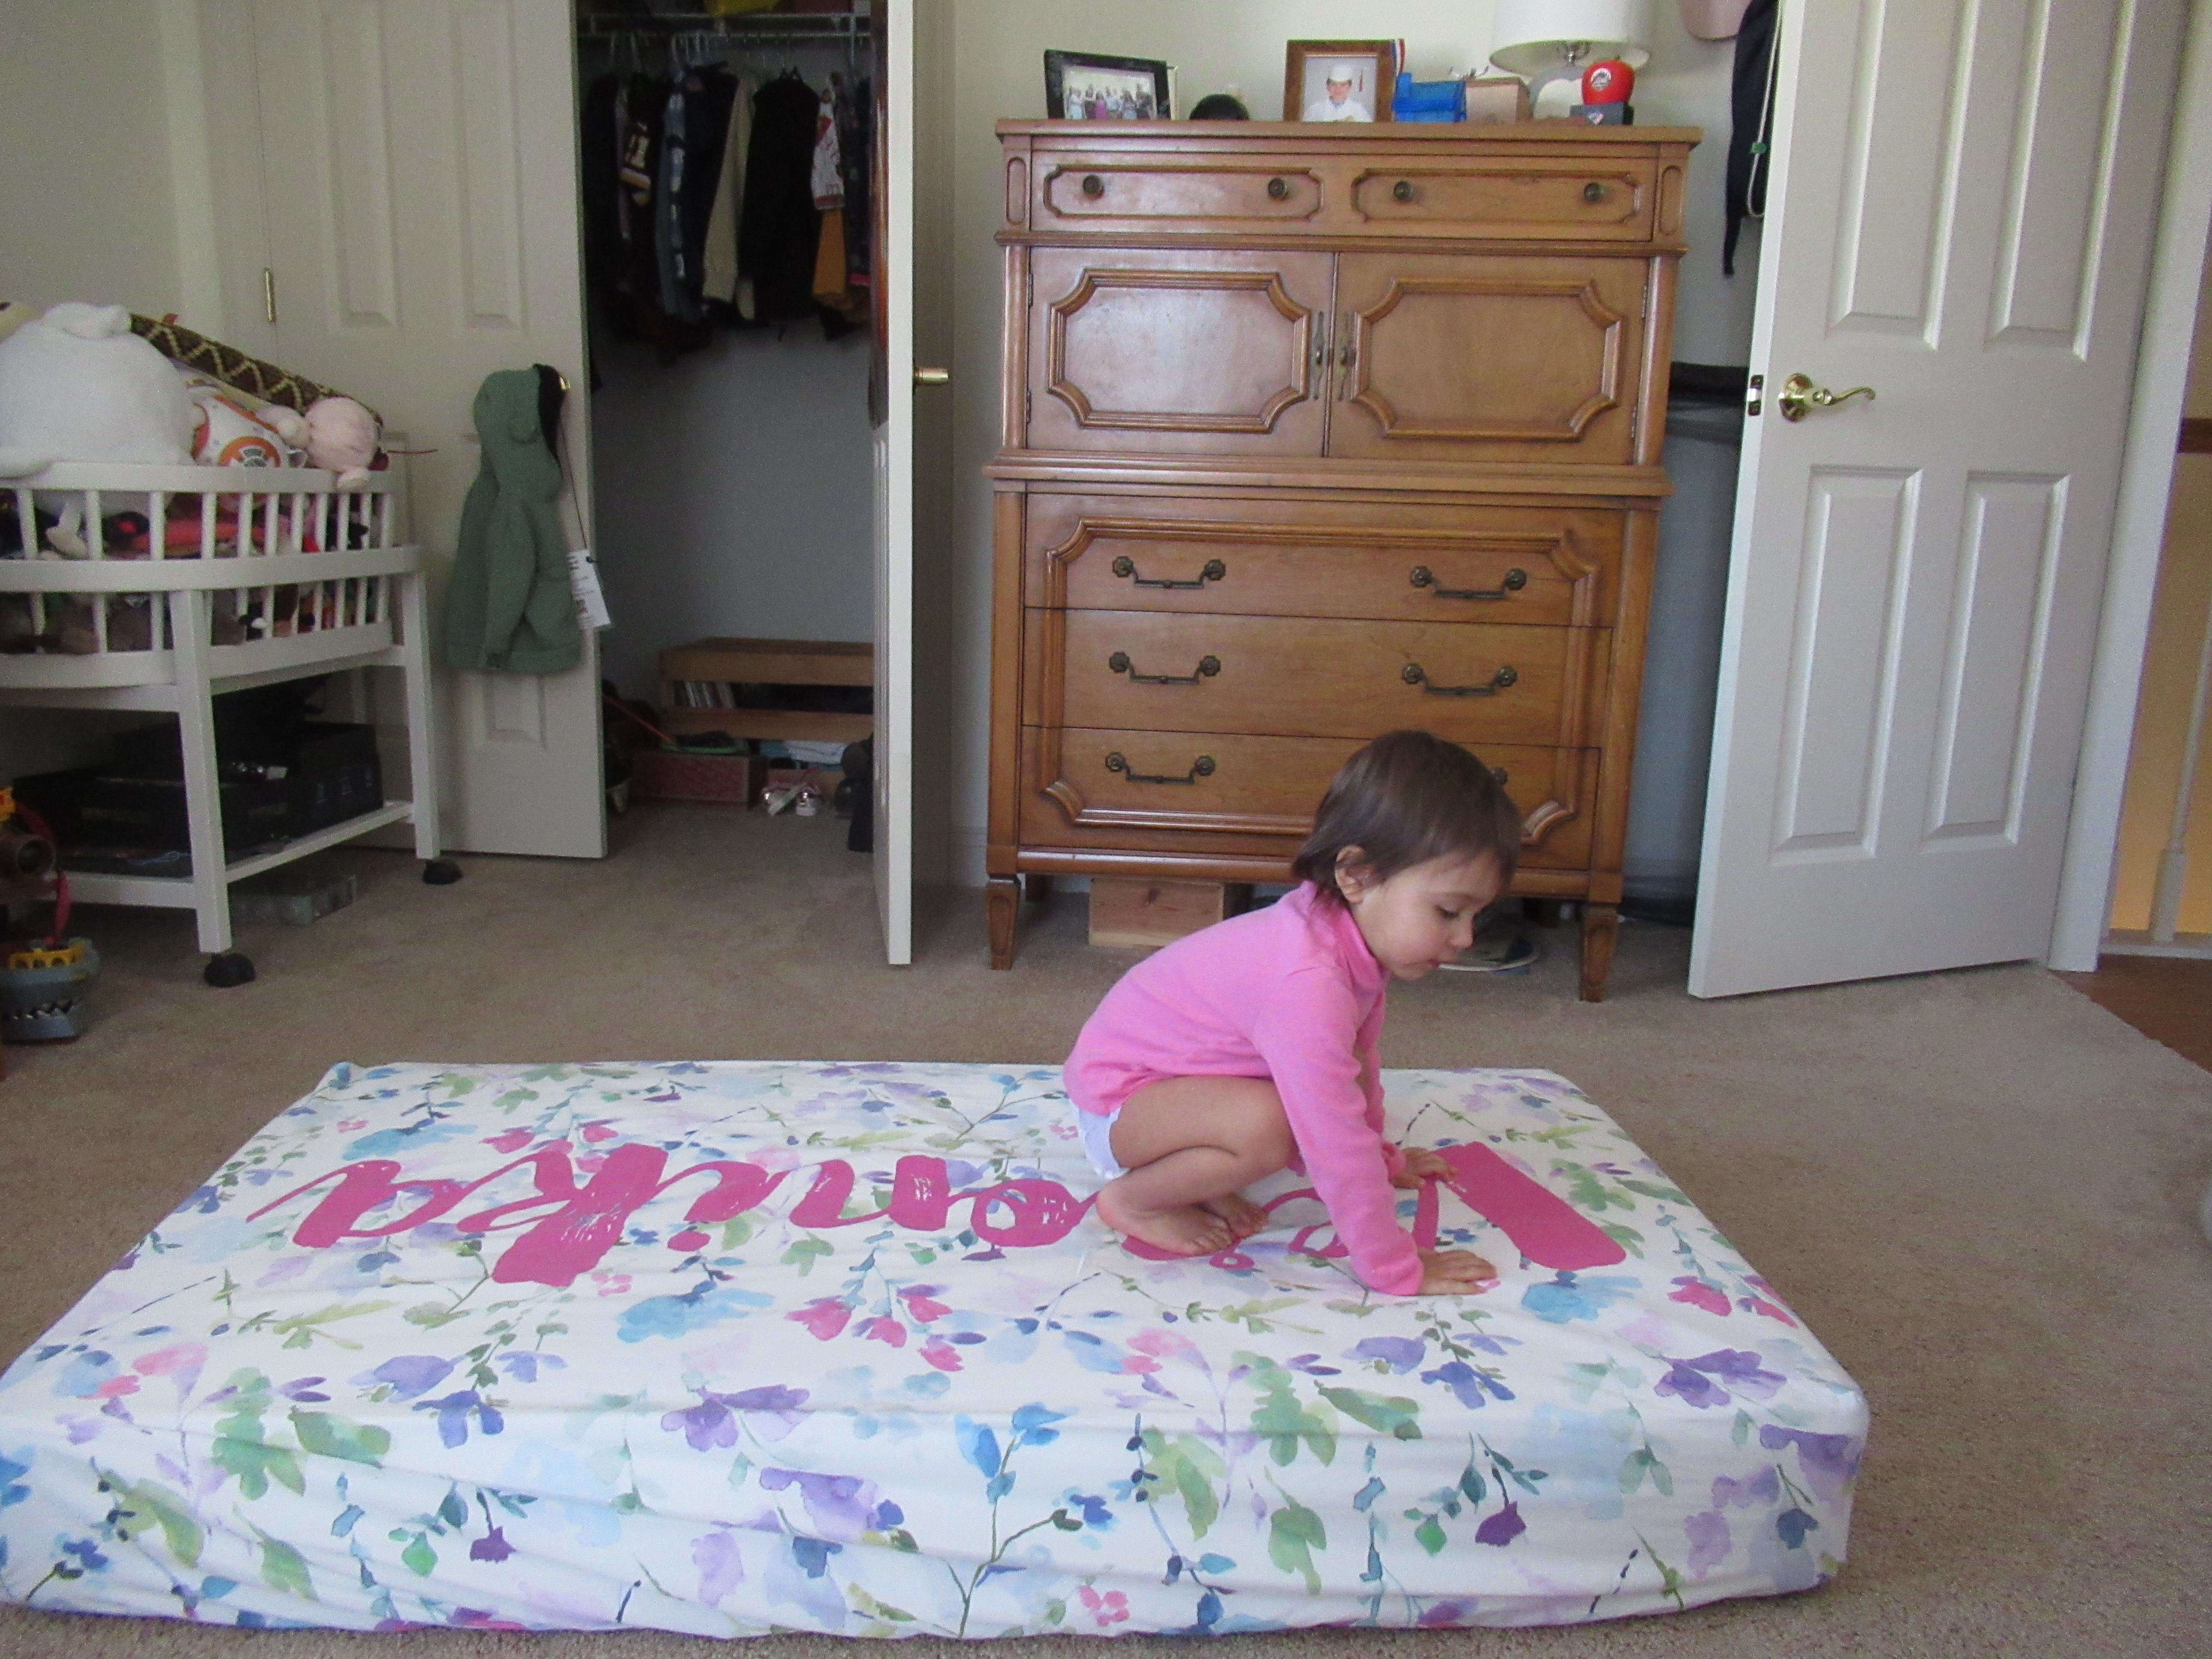
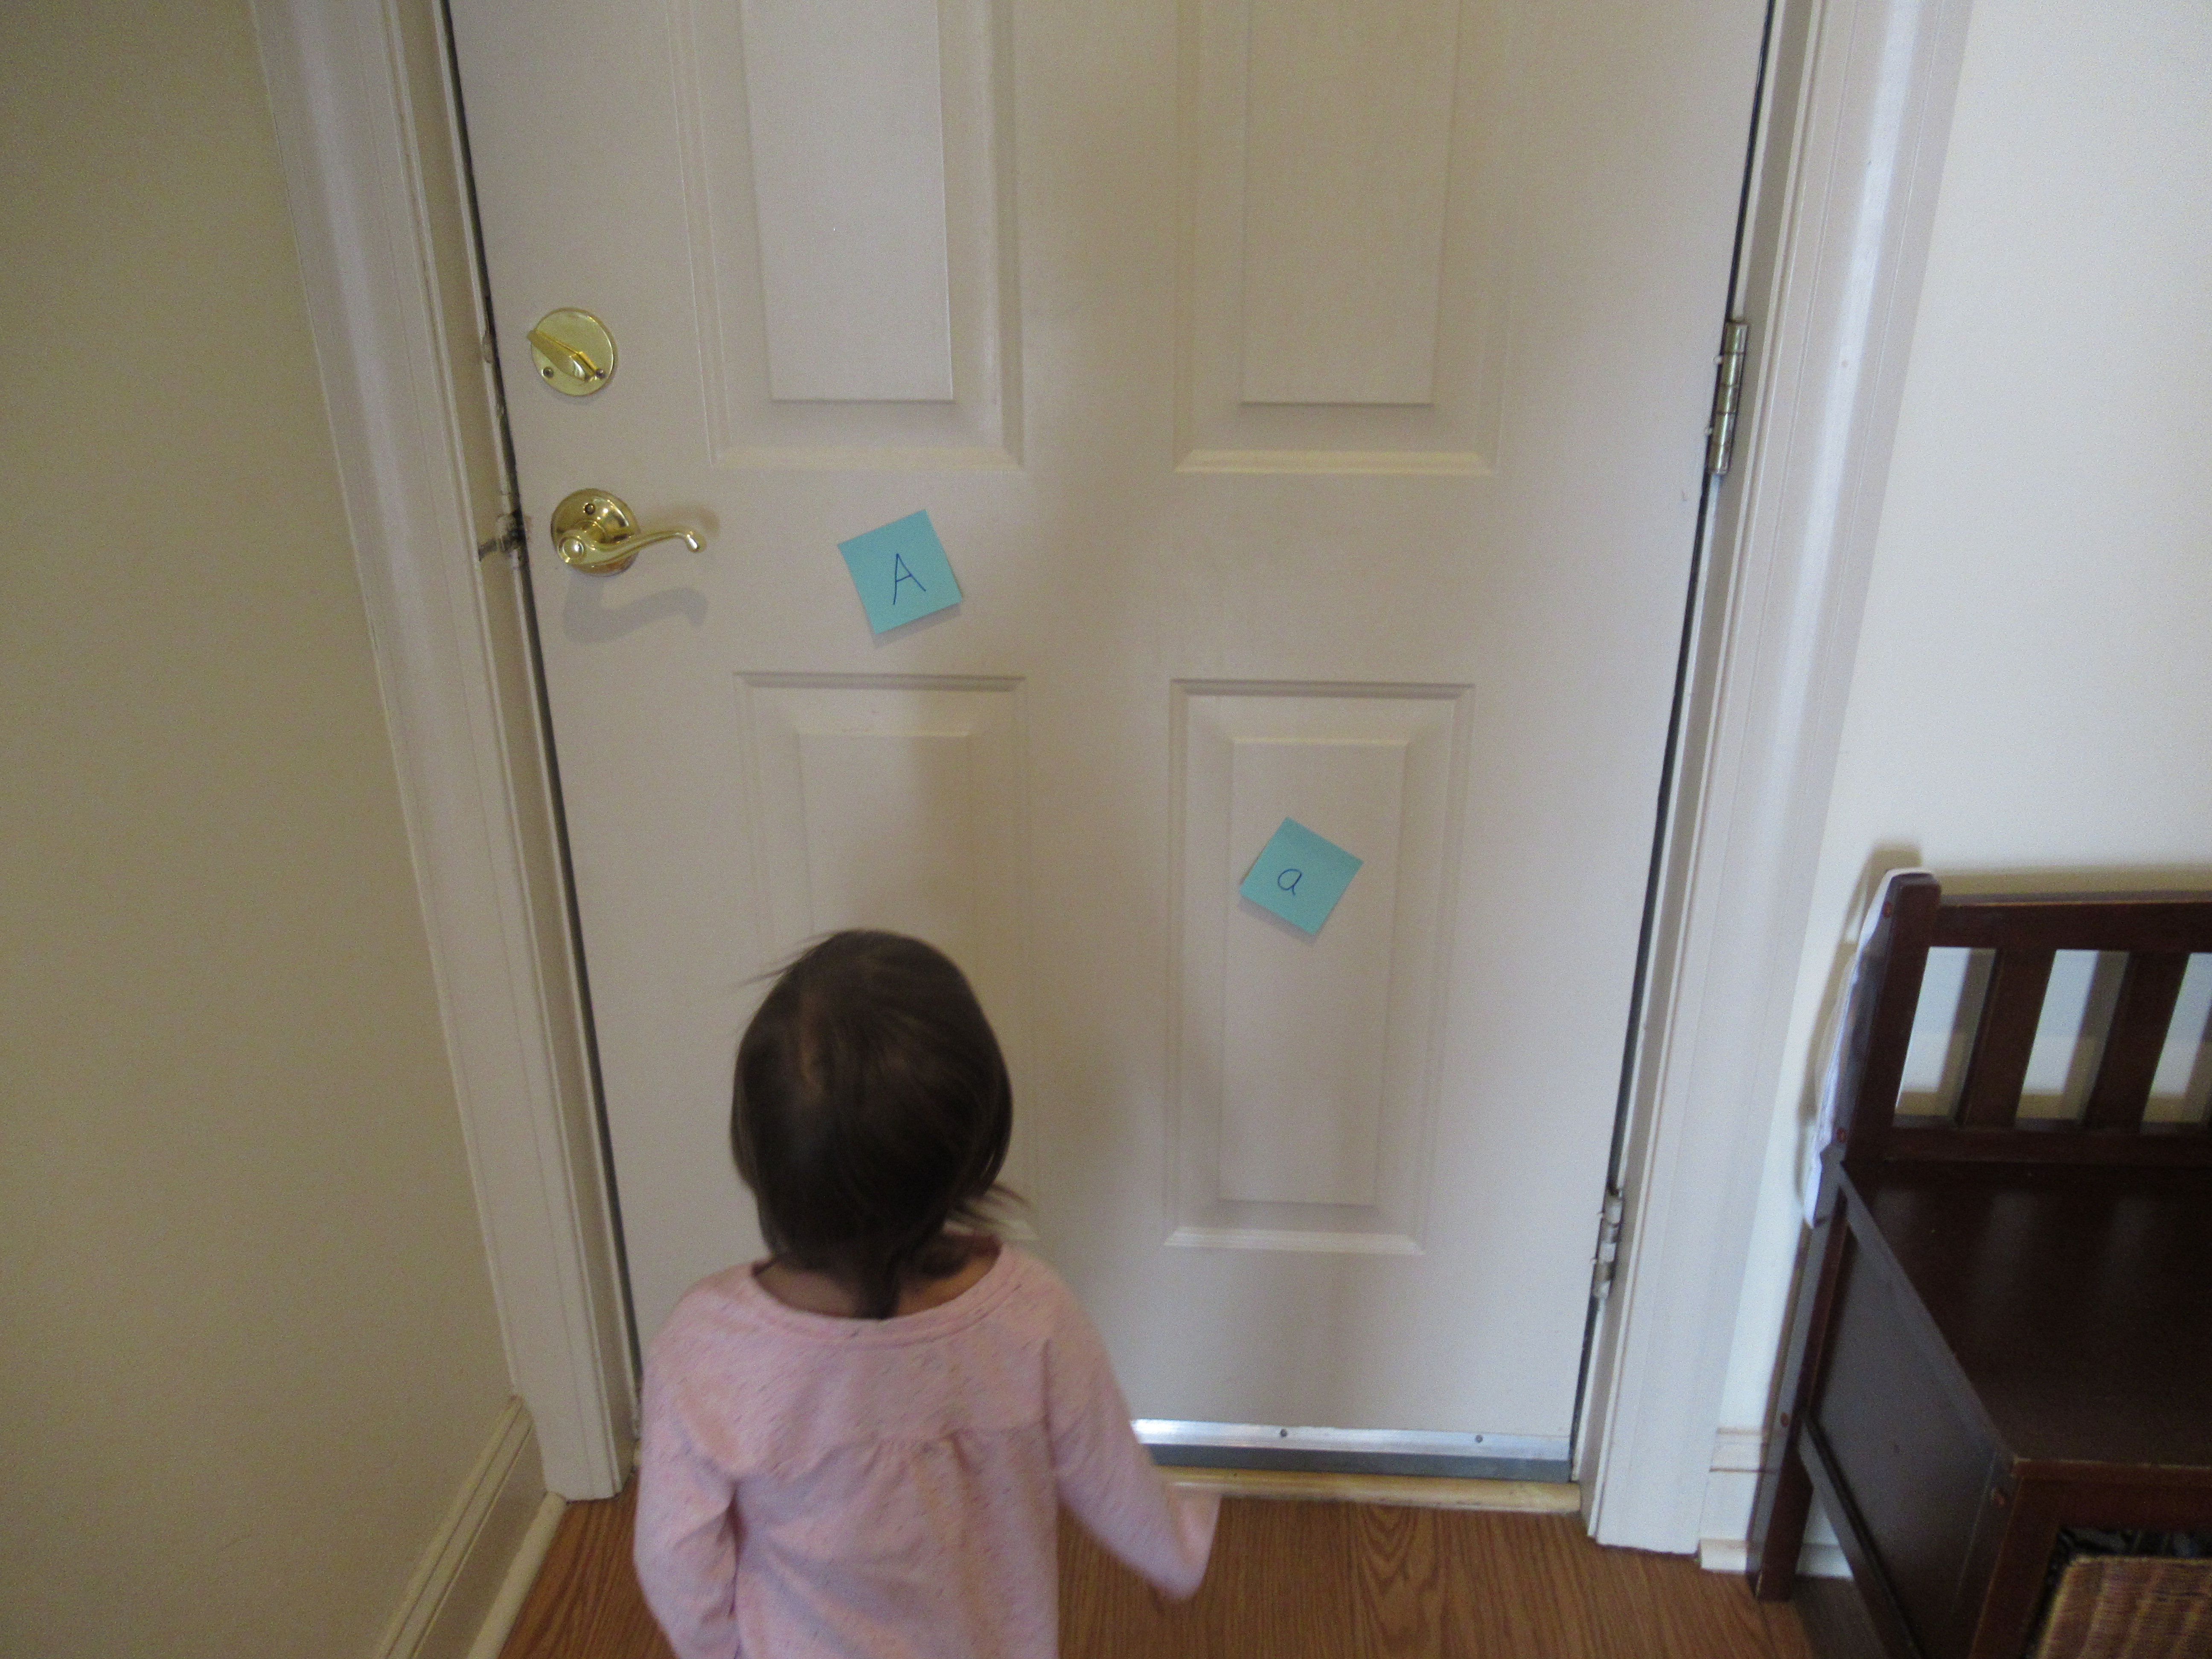
Tuesday: Stomp Obstacle Course

Mon-Fri Letter (5)

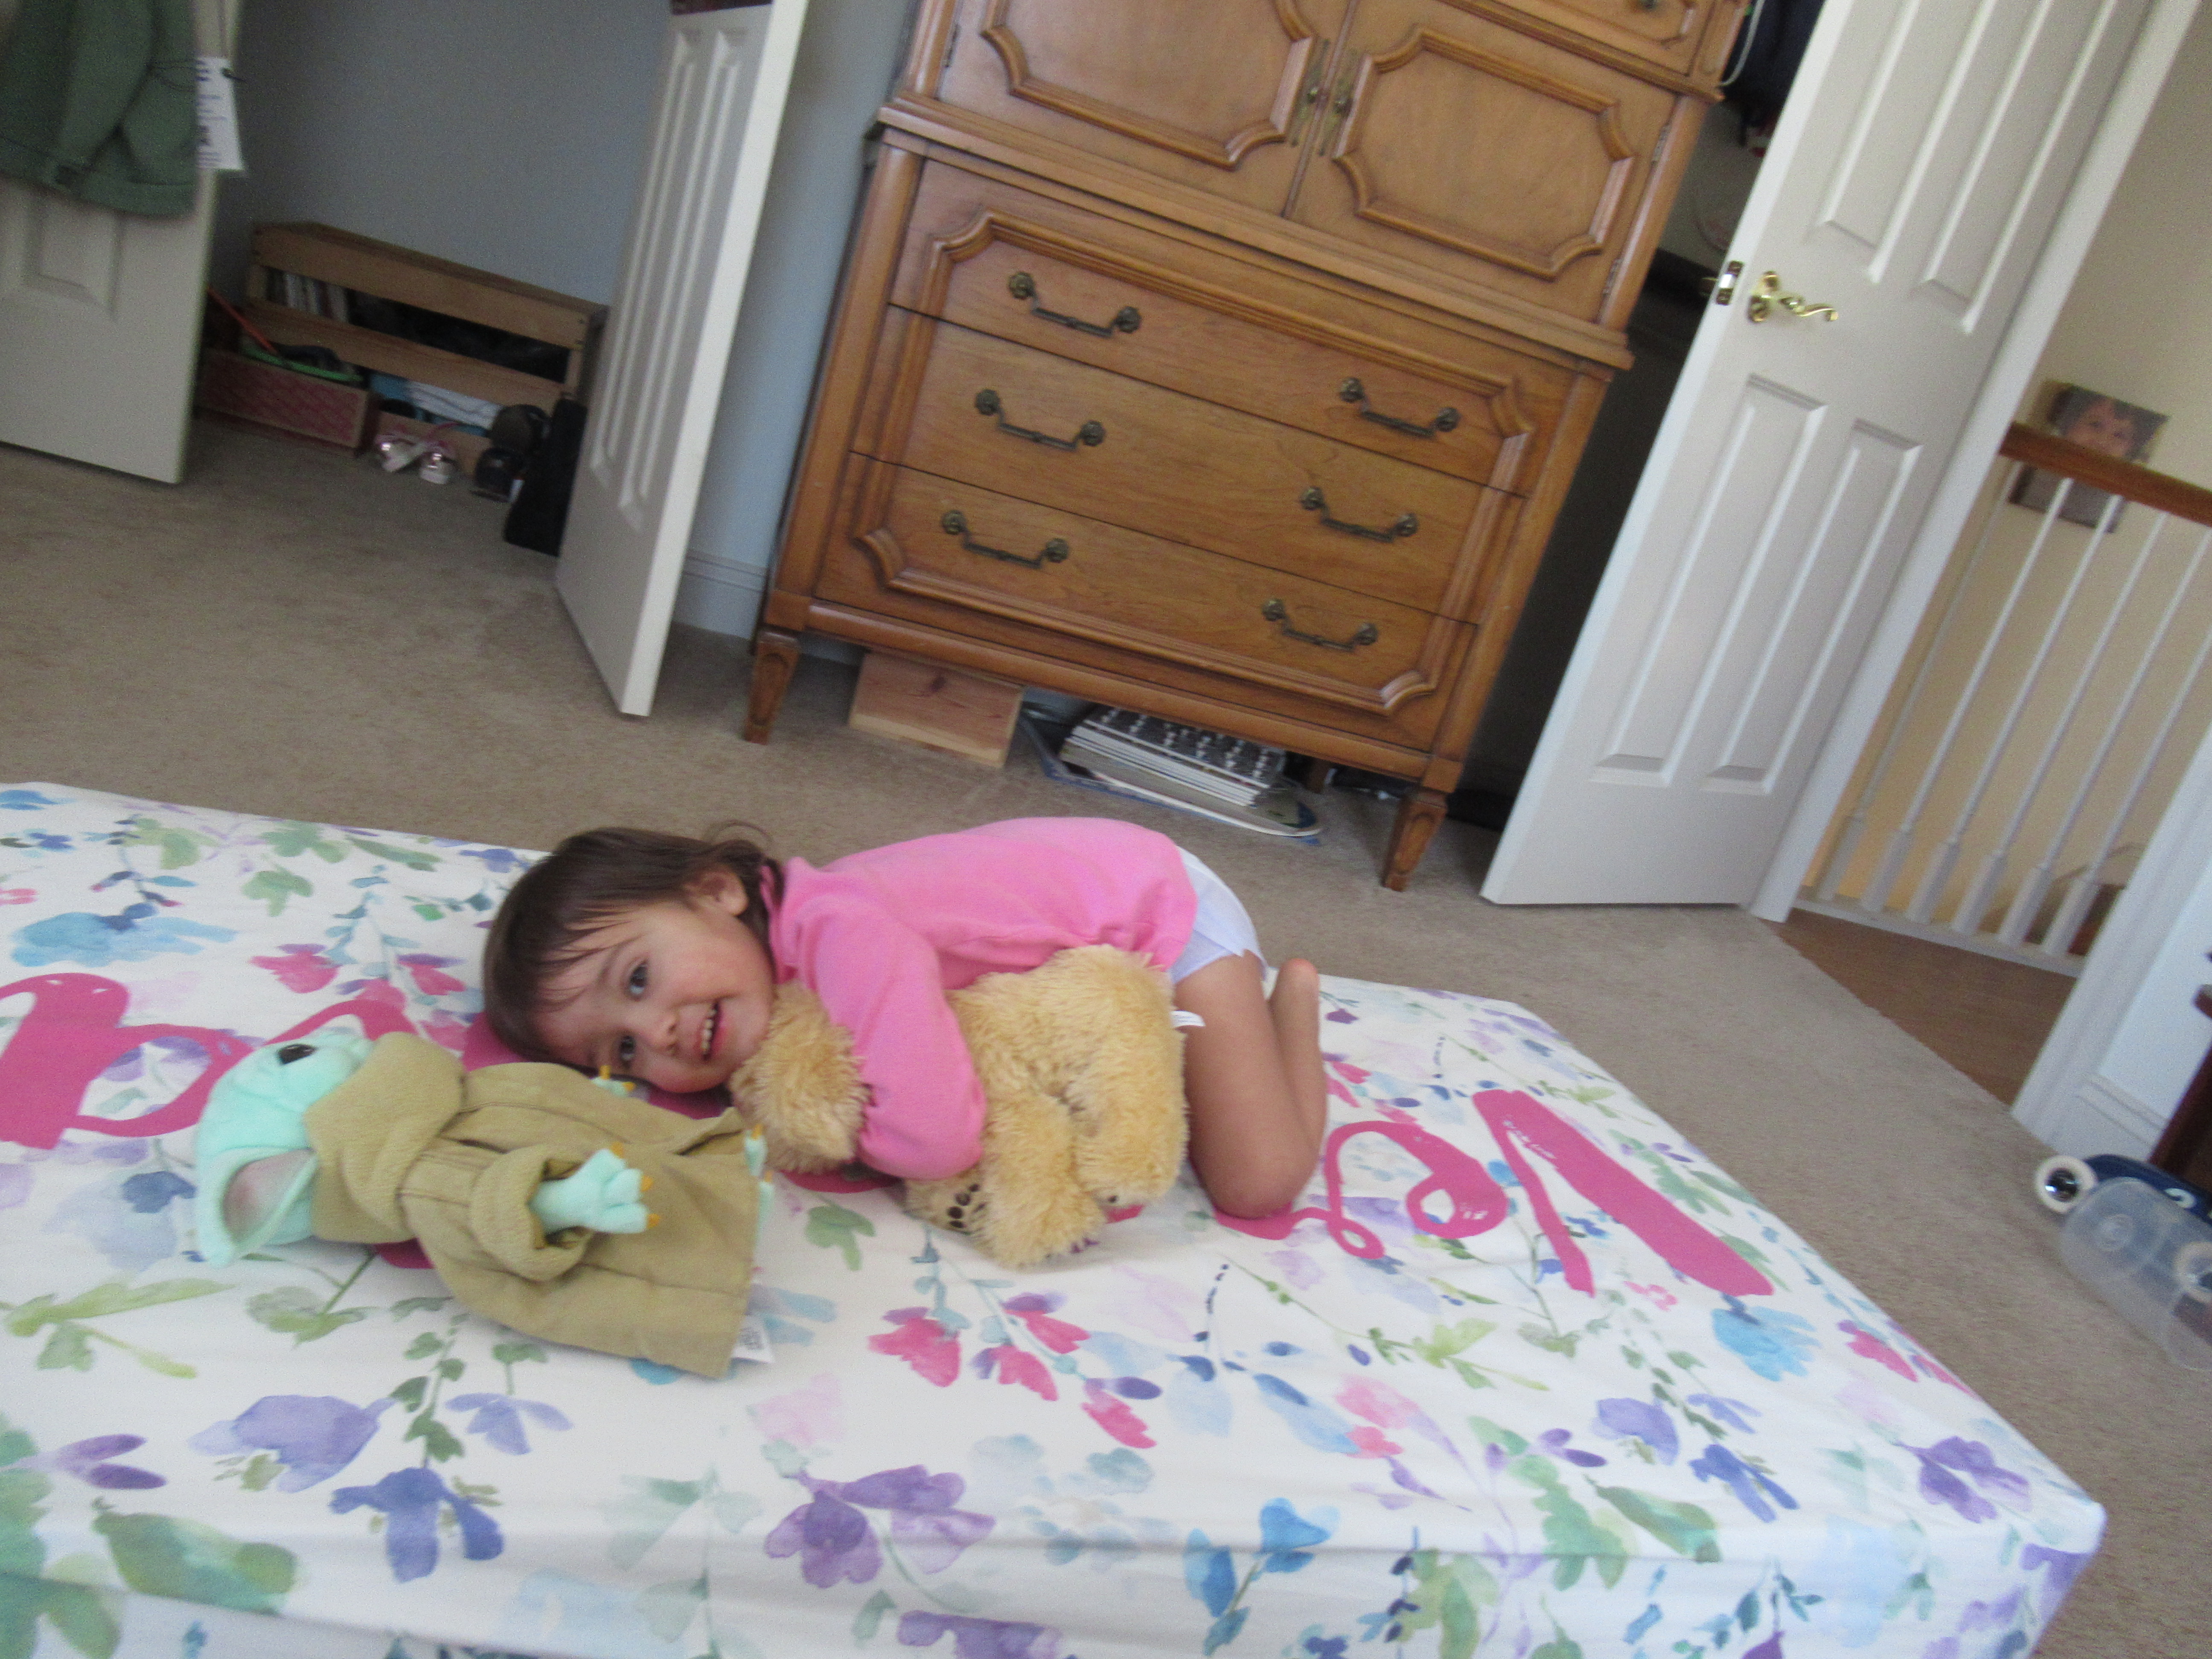
Monday was fine motor skills and Tuesday was for gross motor skills, specifically: stomping! I wrote A and a on post-it notes (I used seven, but you can go wild and do lots) and placed them around the house. Veronika’s job was to tap them if they were against the wall or stomp them with her feet if down low. She loved dancing on the floor ones, and racing to the door to tap these two:

Mon-Fri Letter (6)

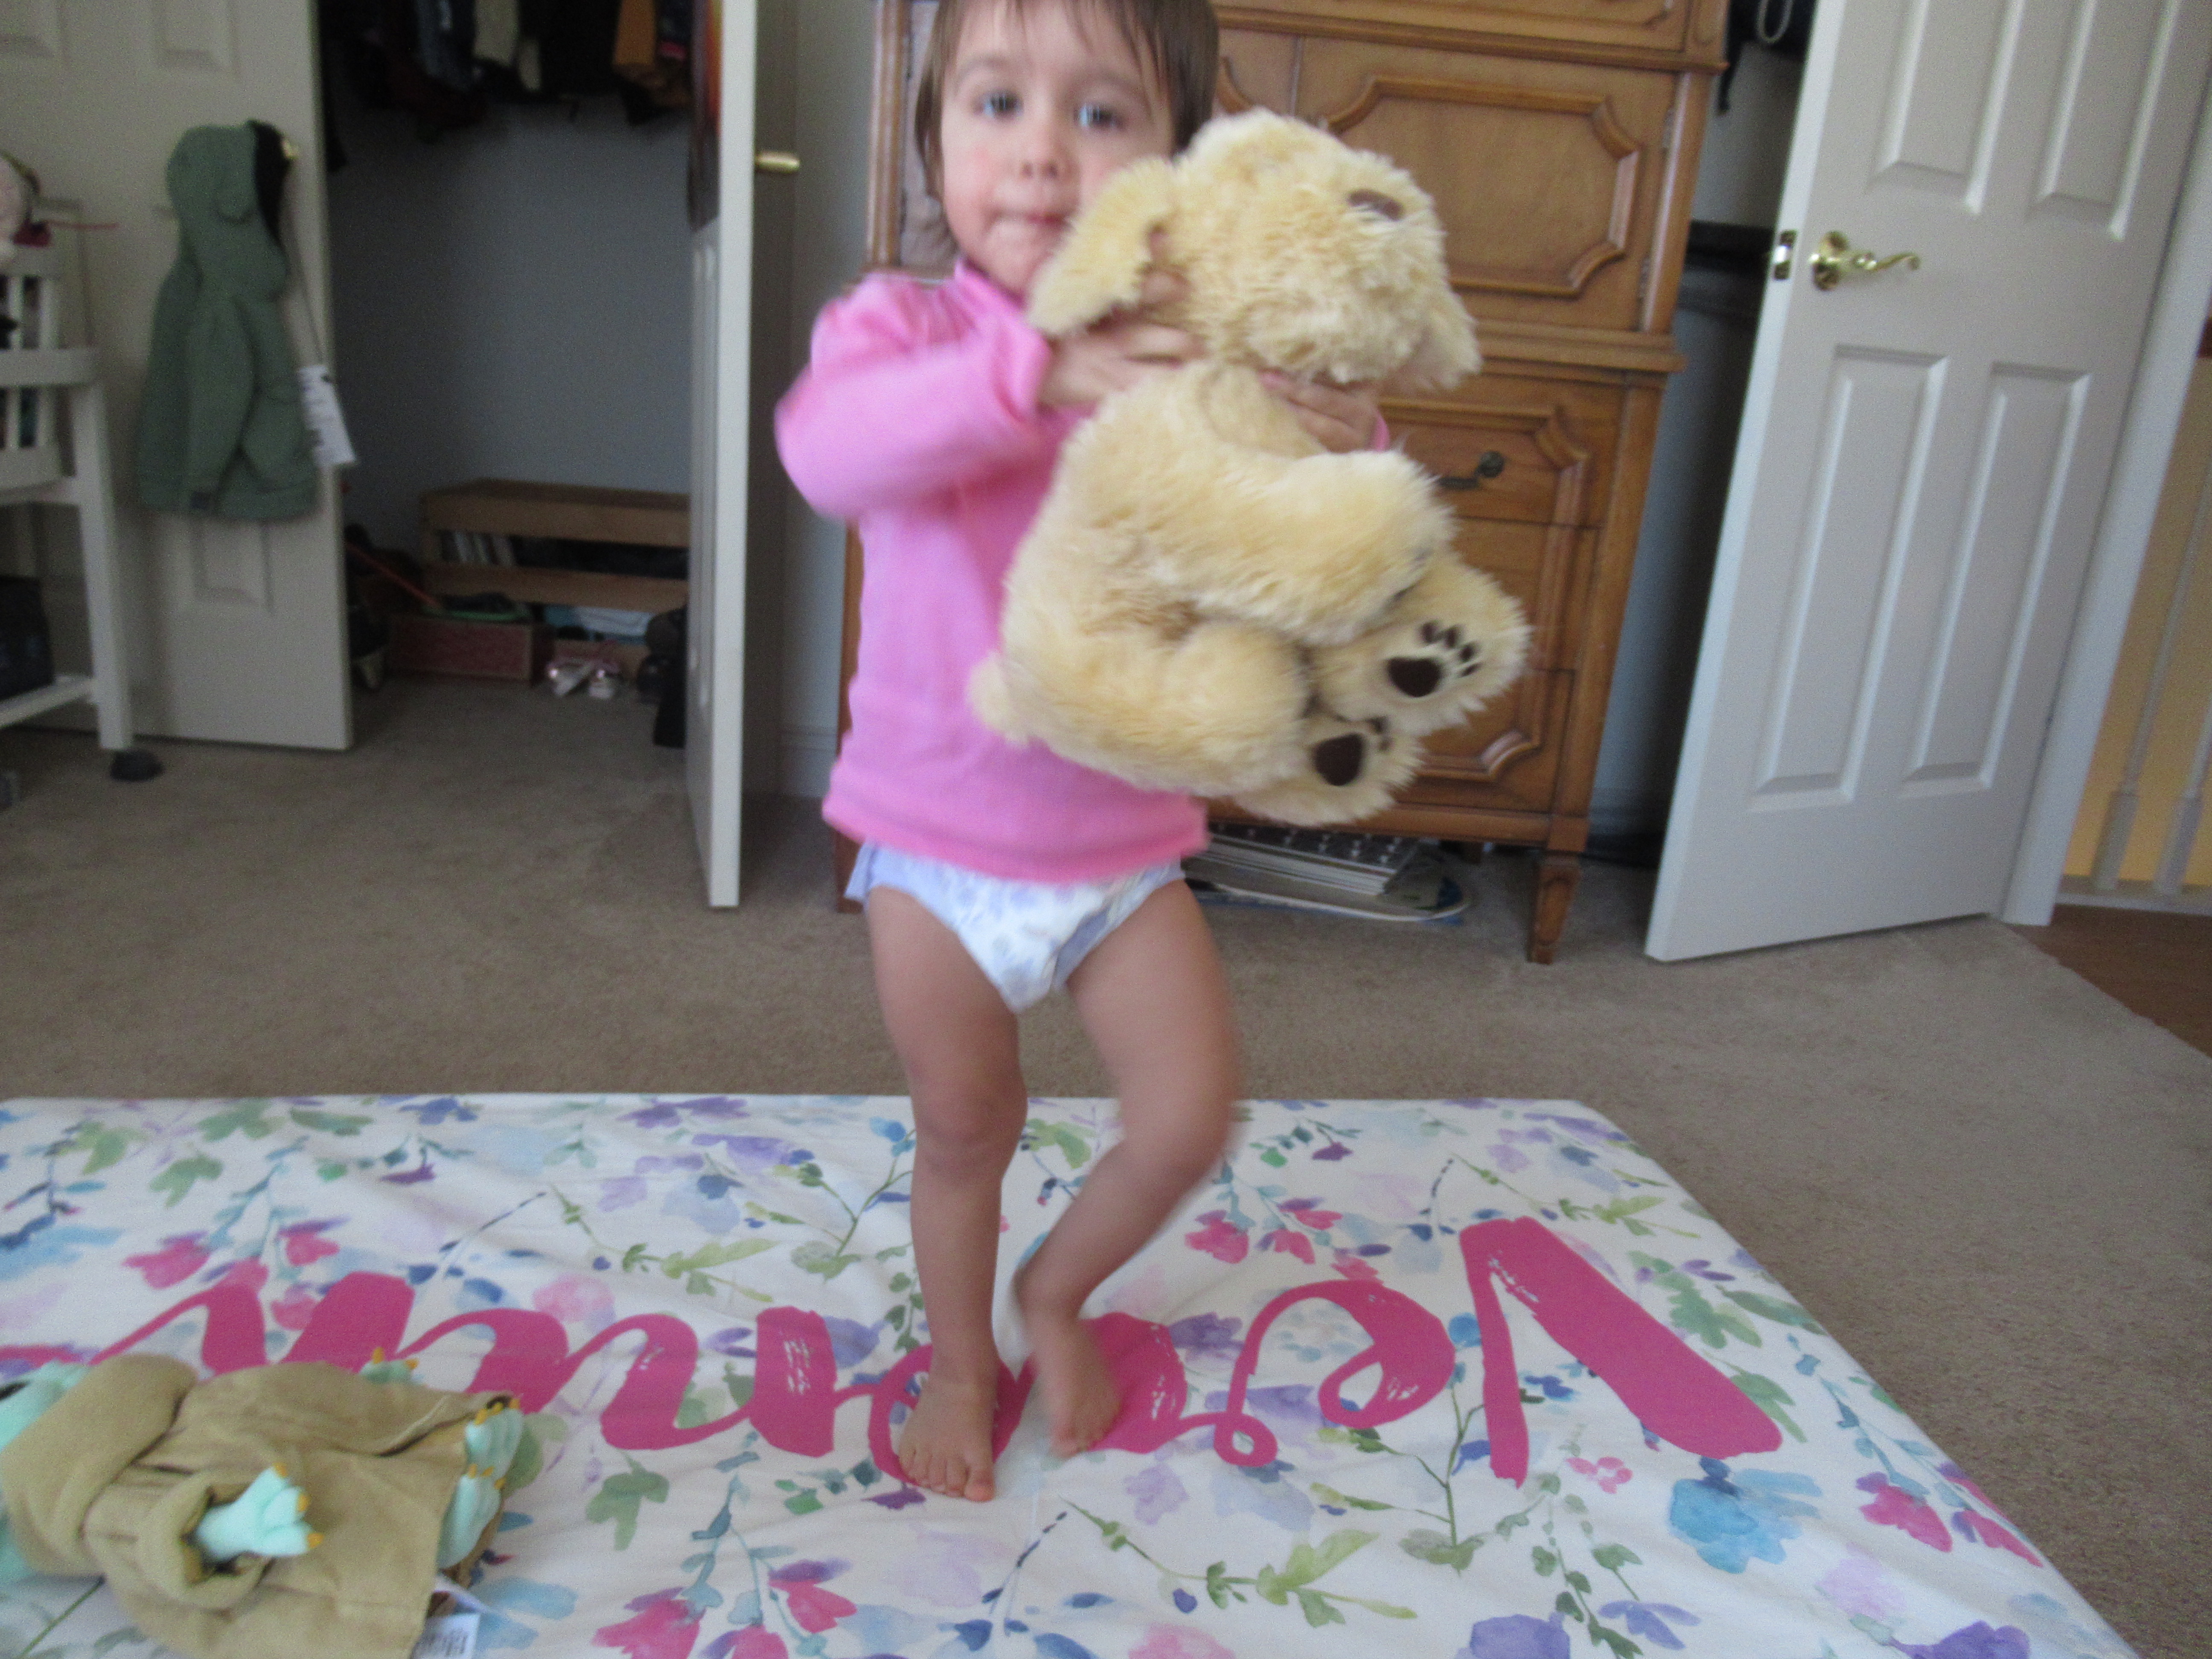
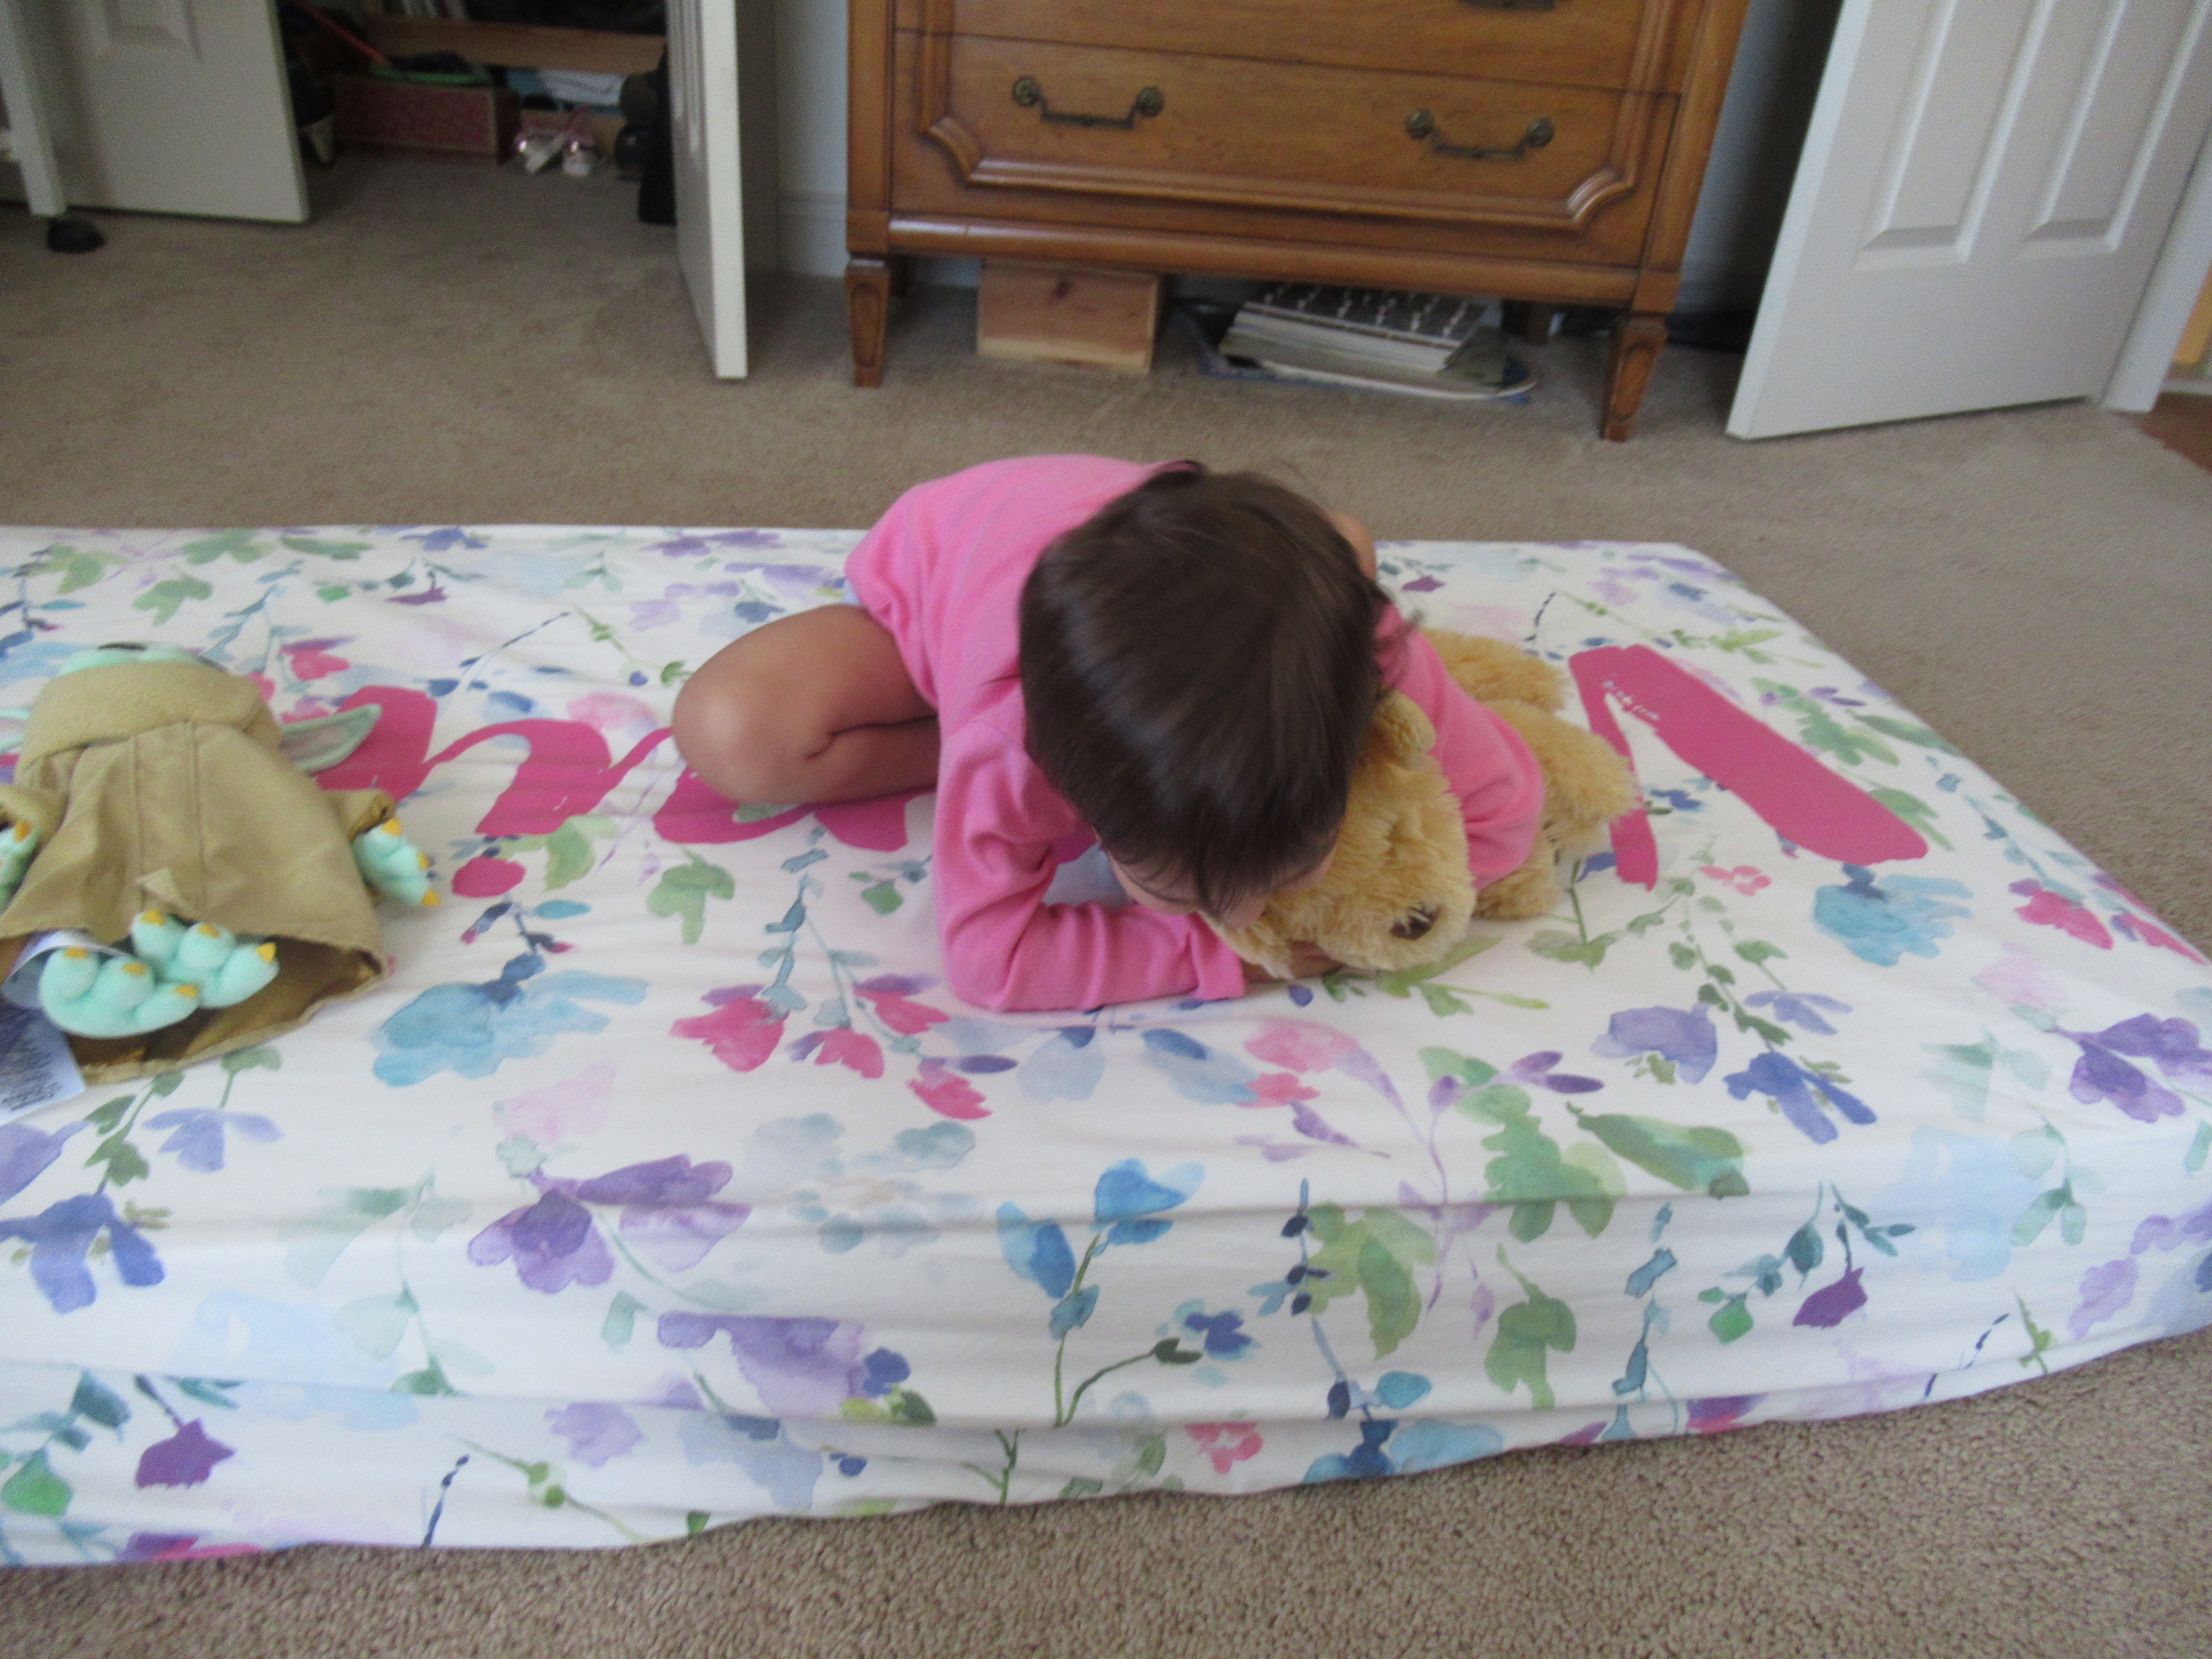
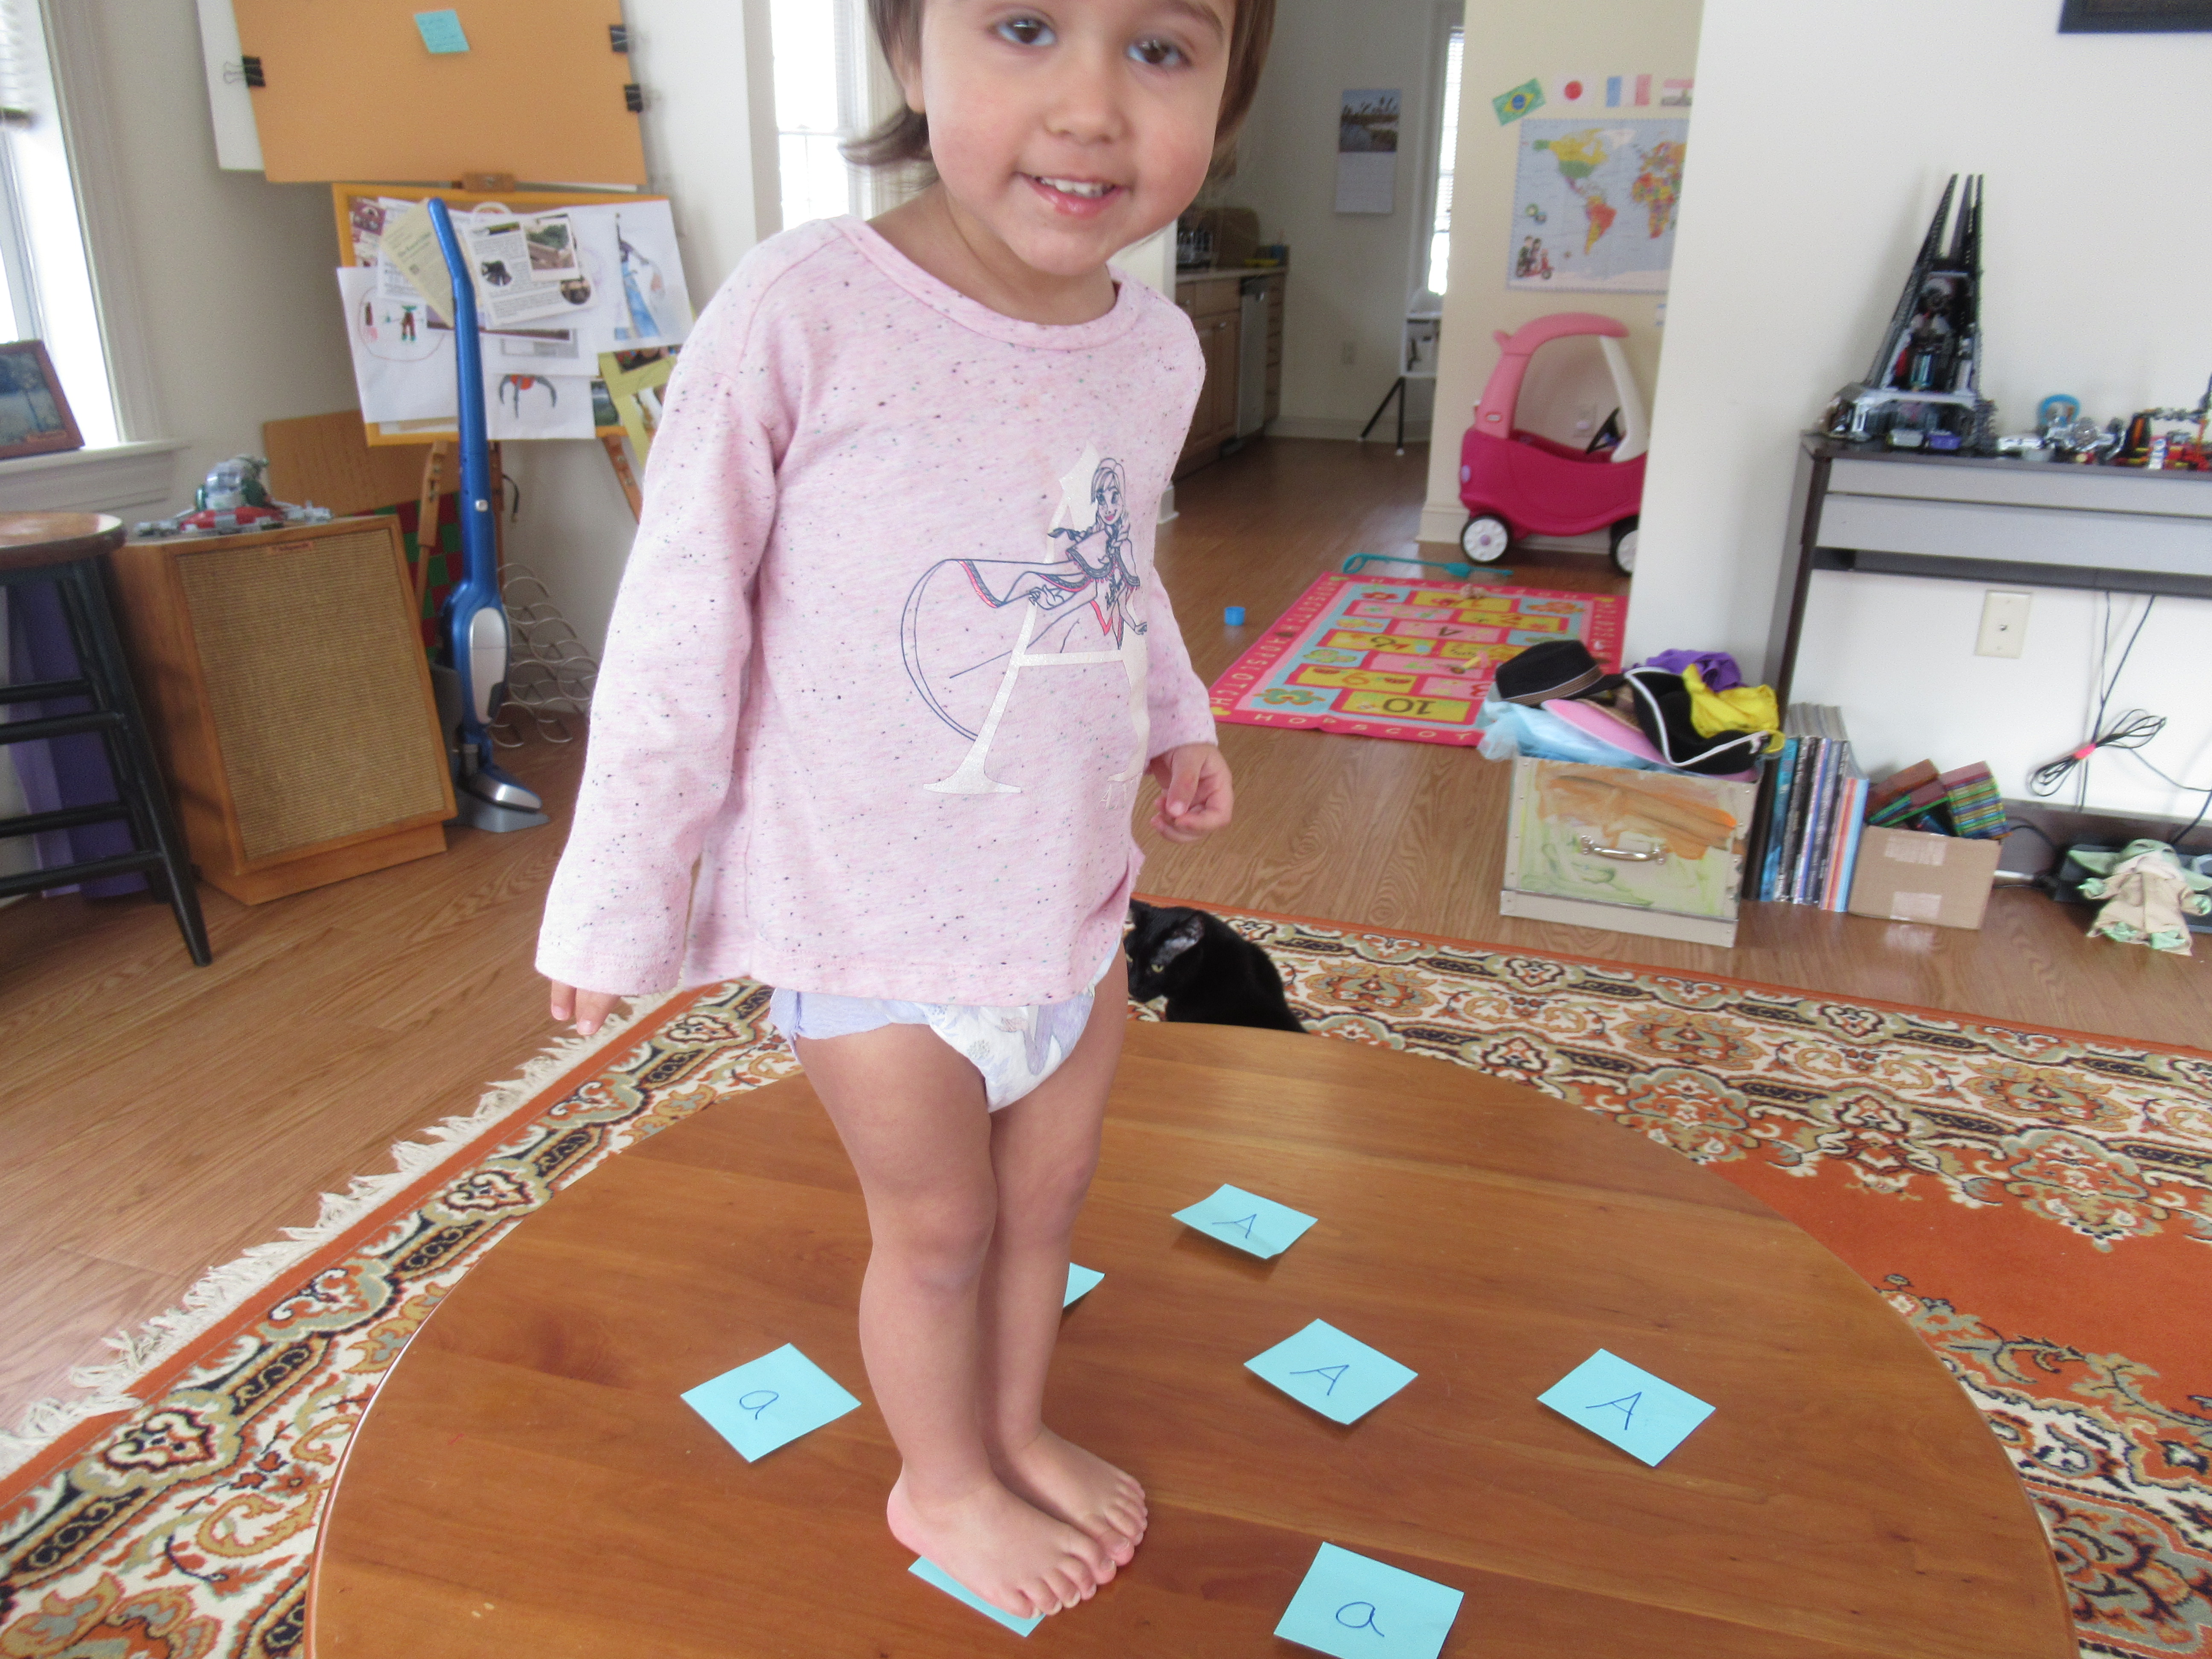
As she found each A, I asked her if it was upper case or lower case, a great way to help learn both versions of a letter. Once she had collected them all, we put them on the coffee table for a table stomp, normally a no-no (you can see that big grin!)

Mon-Fri Letter (7)

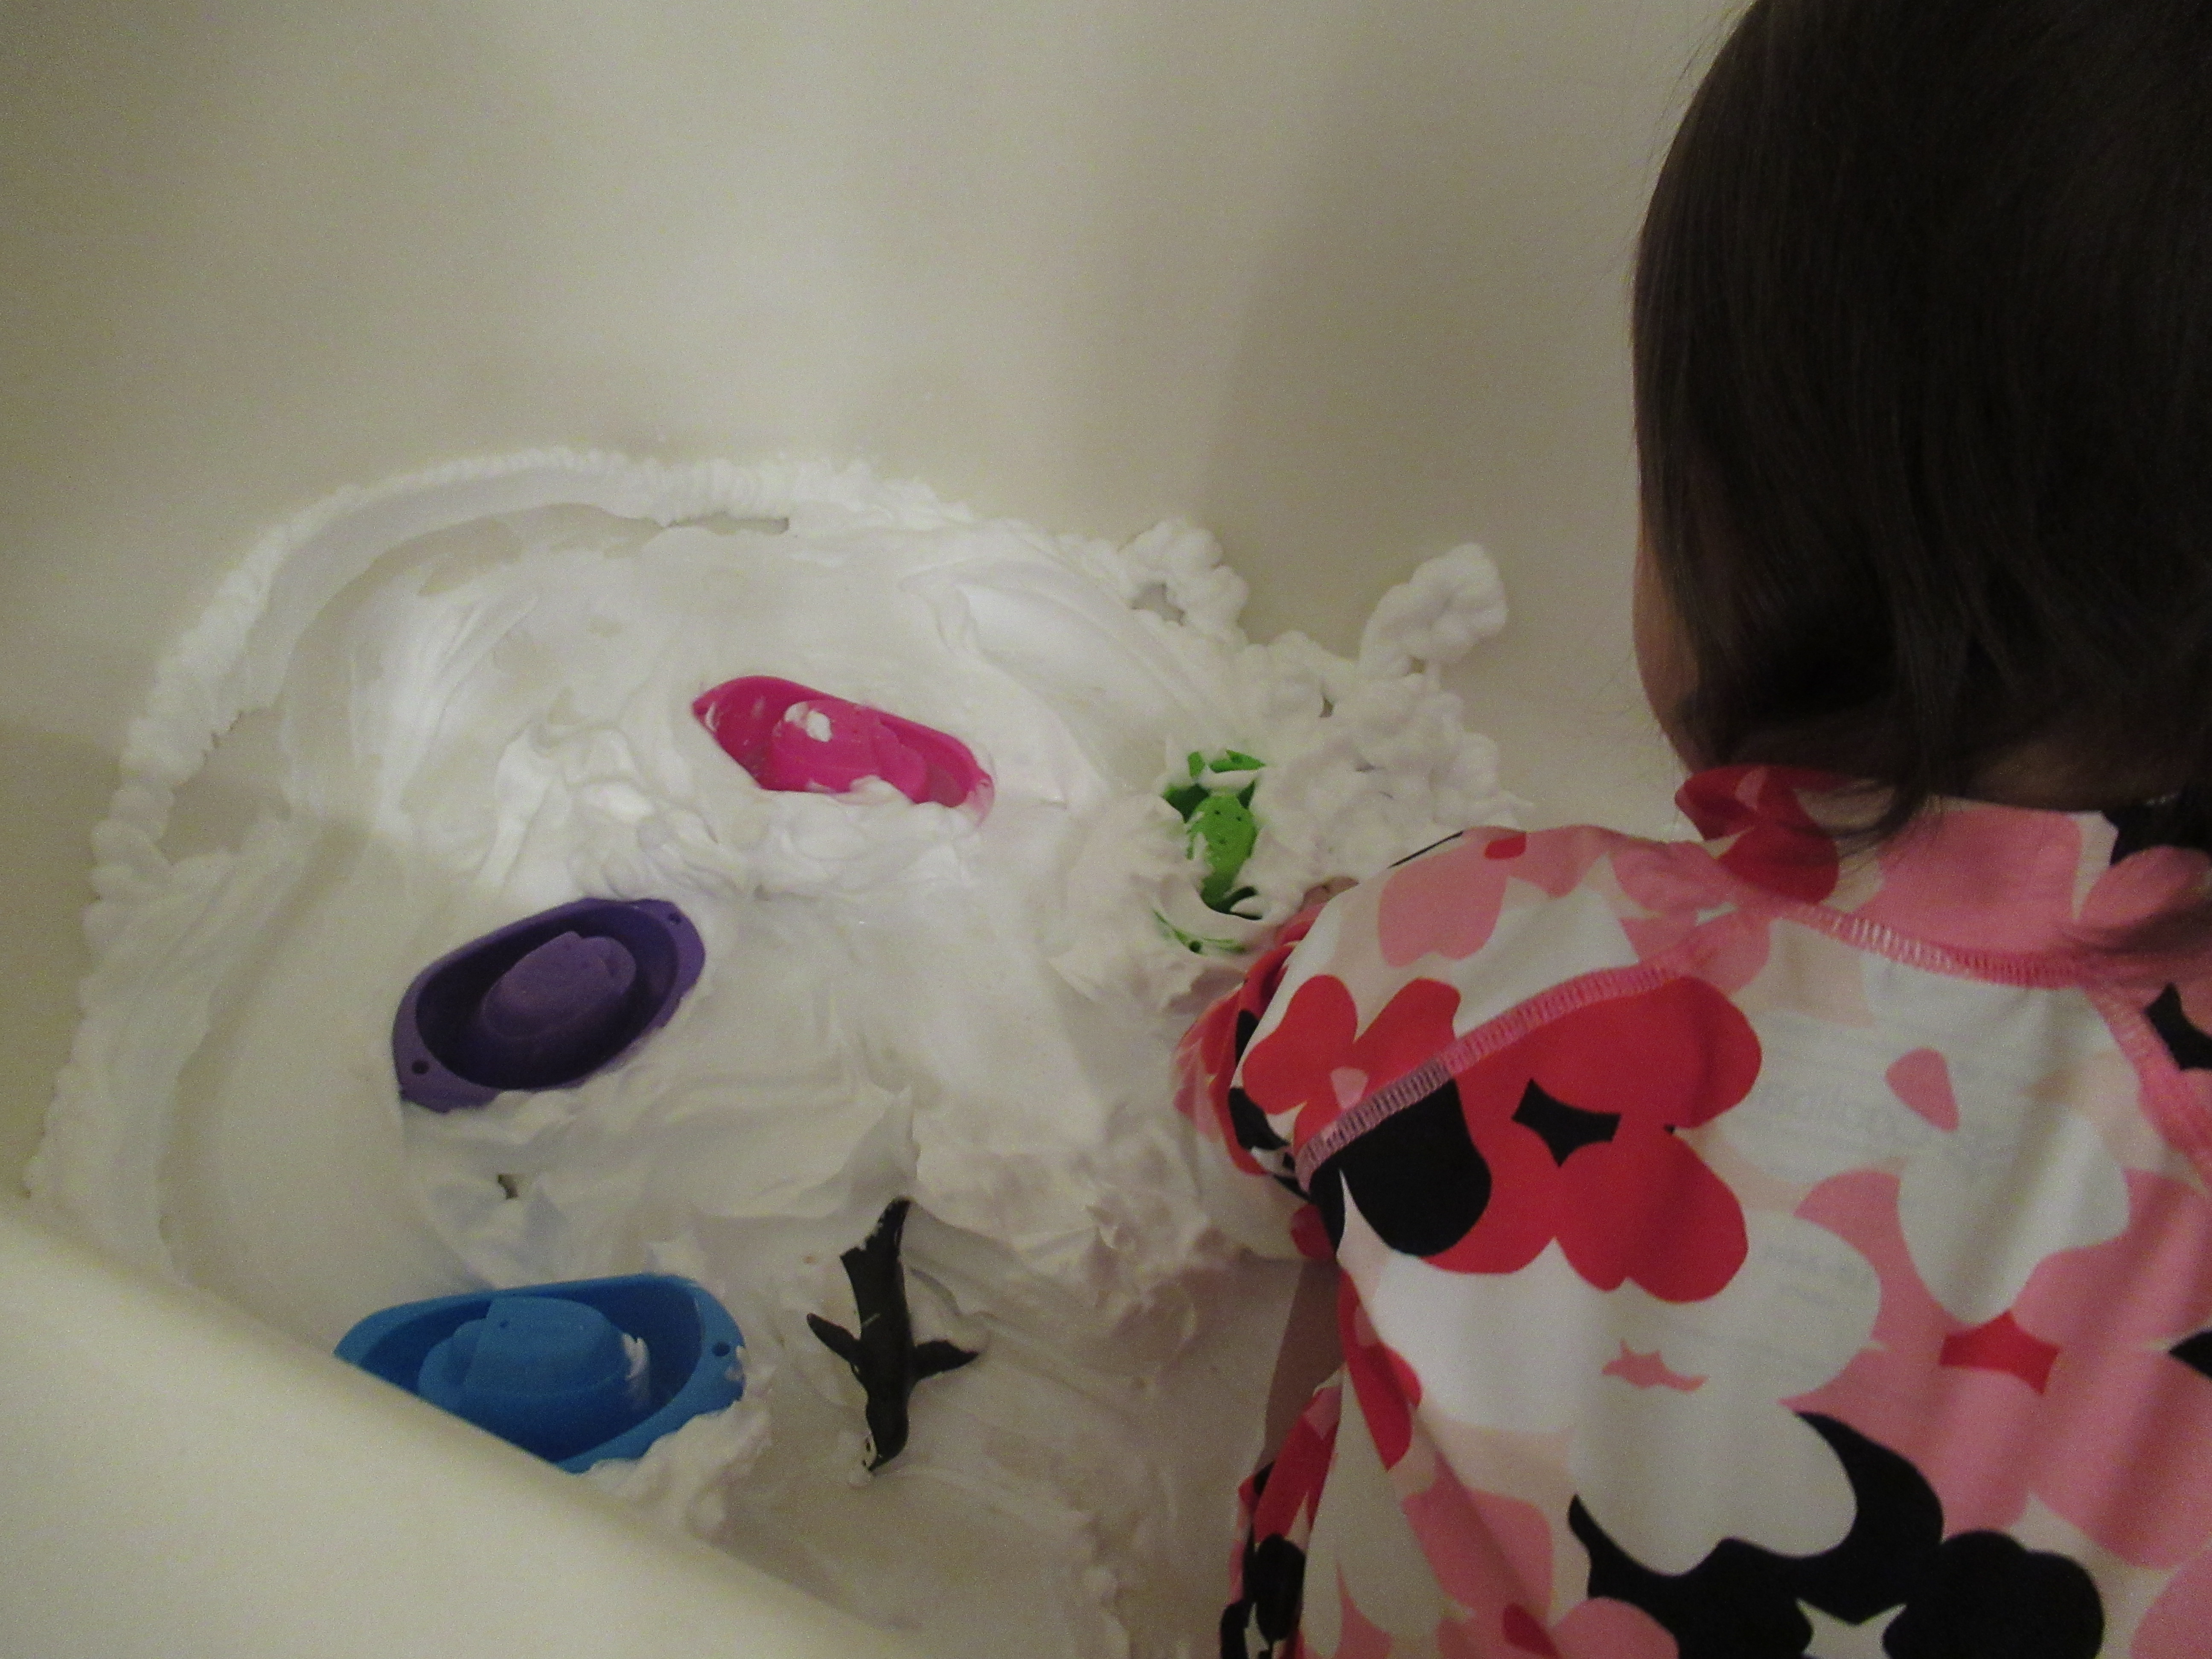
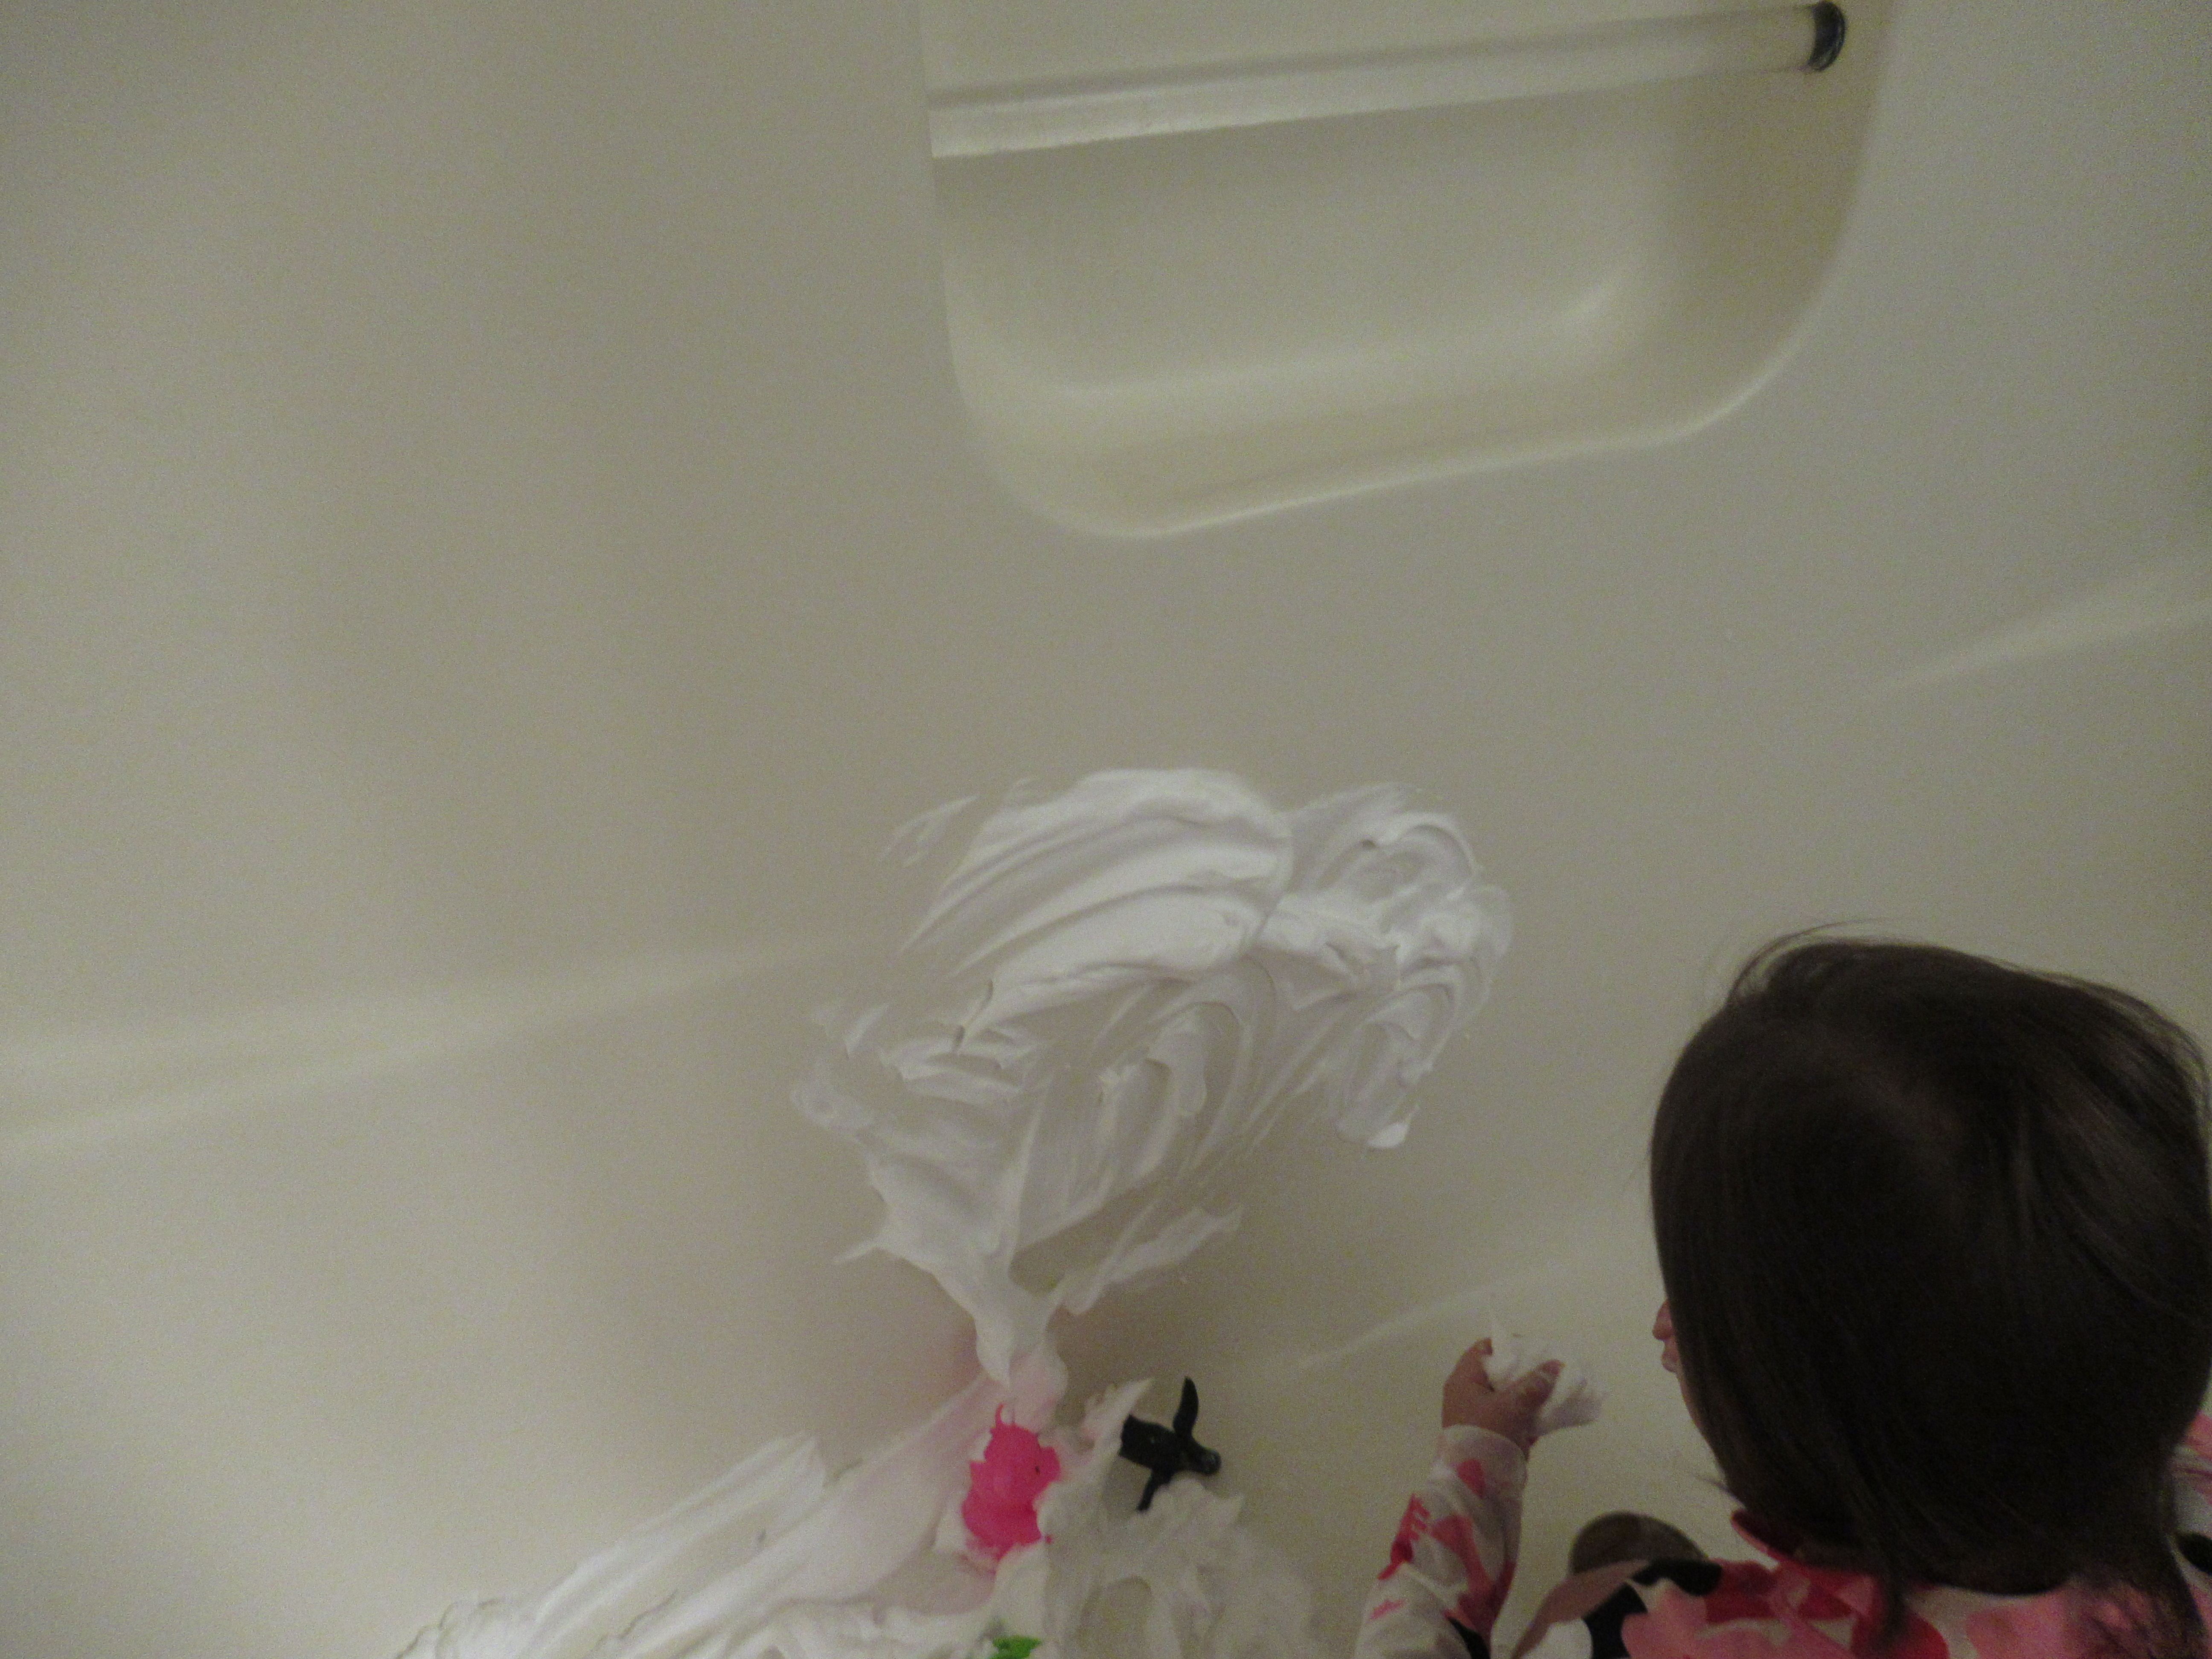
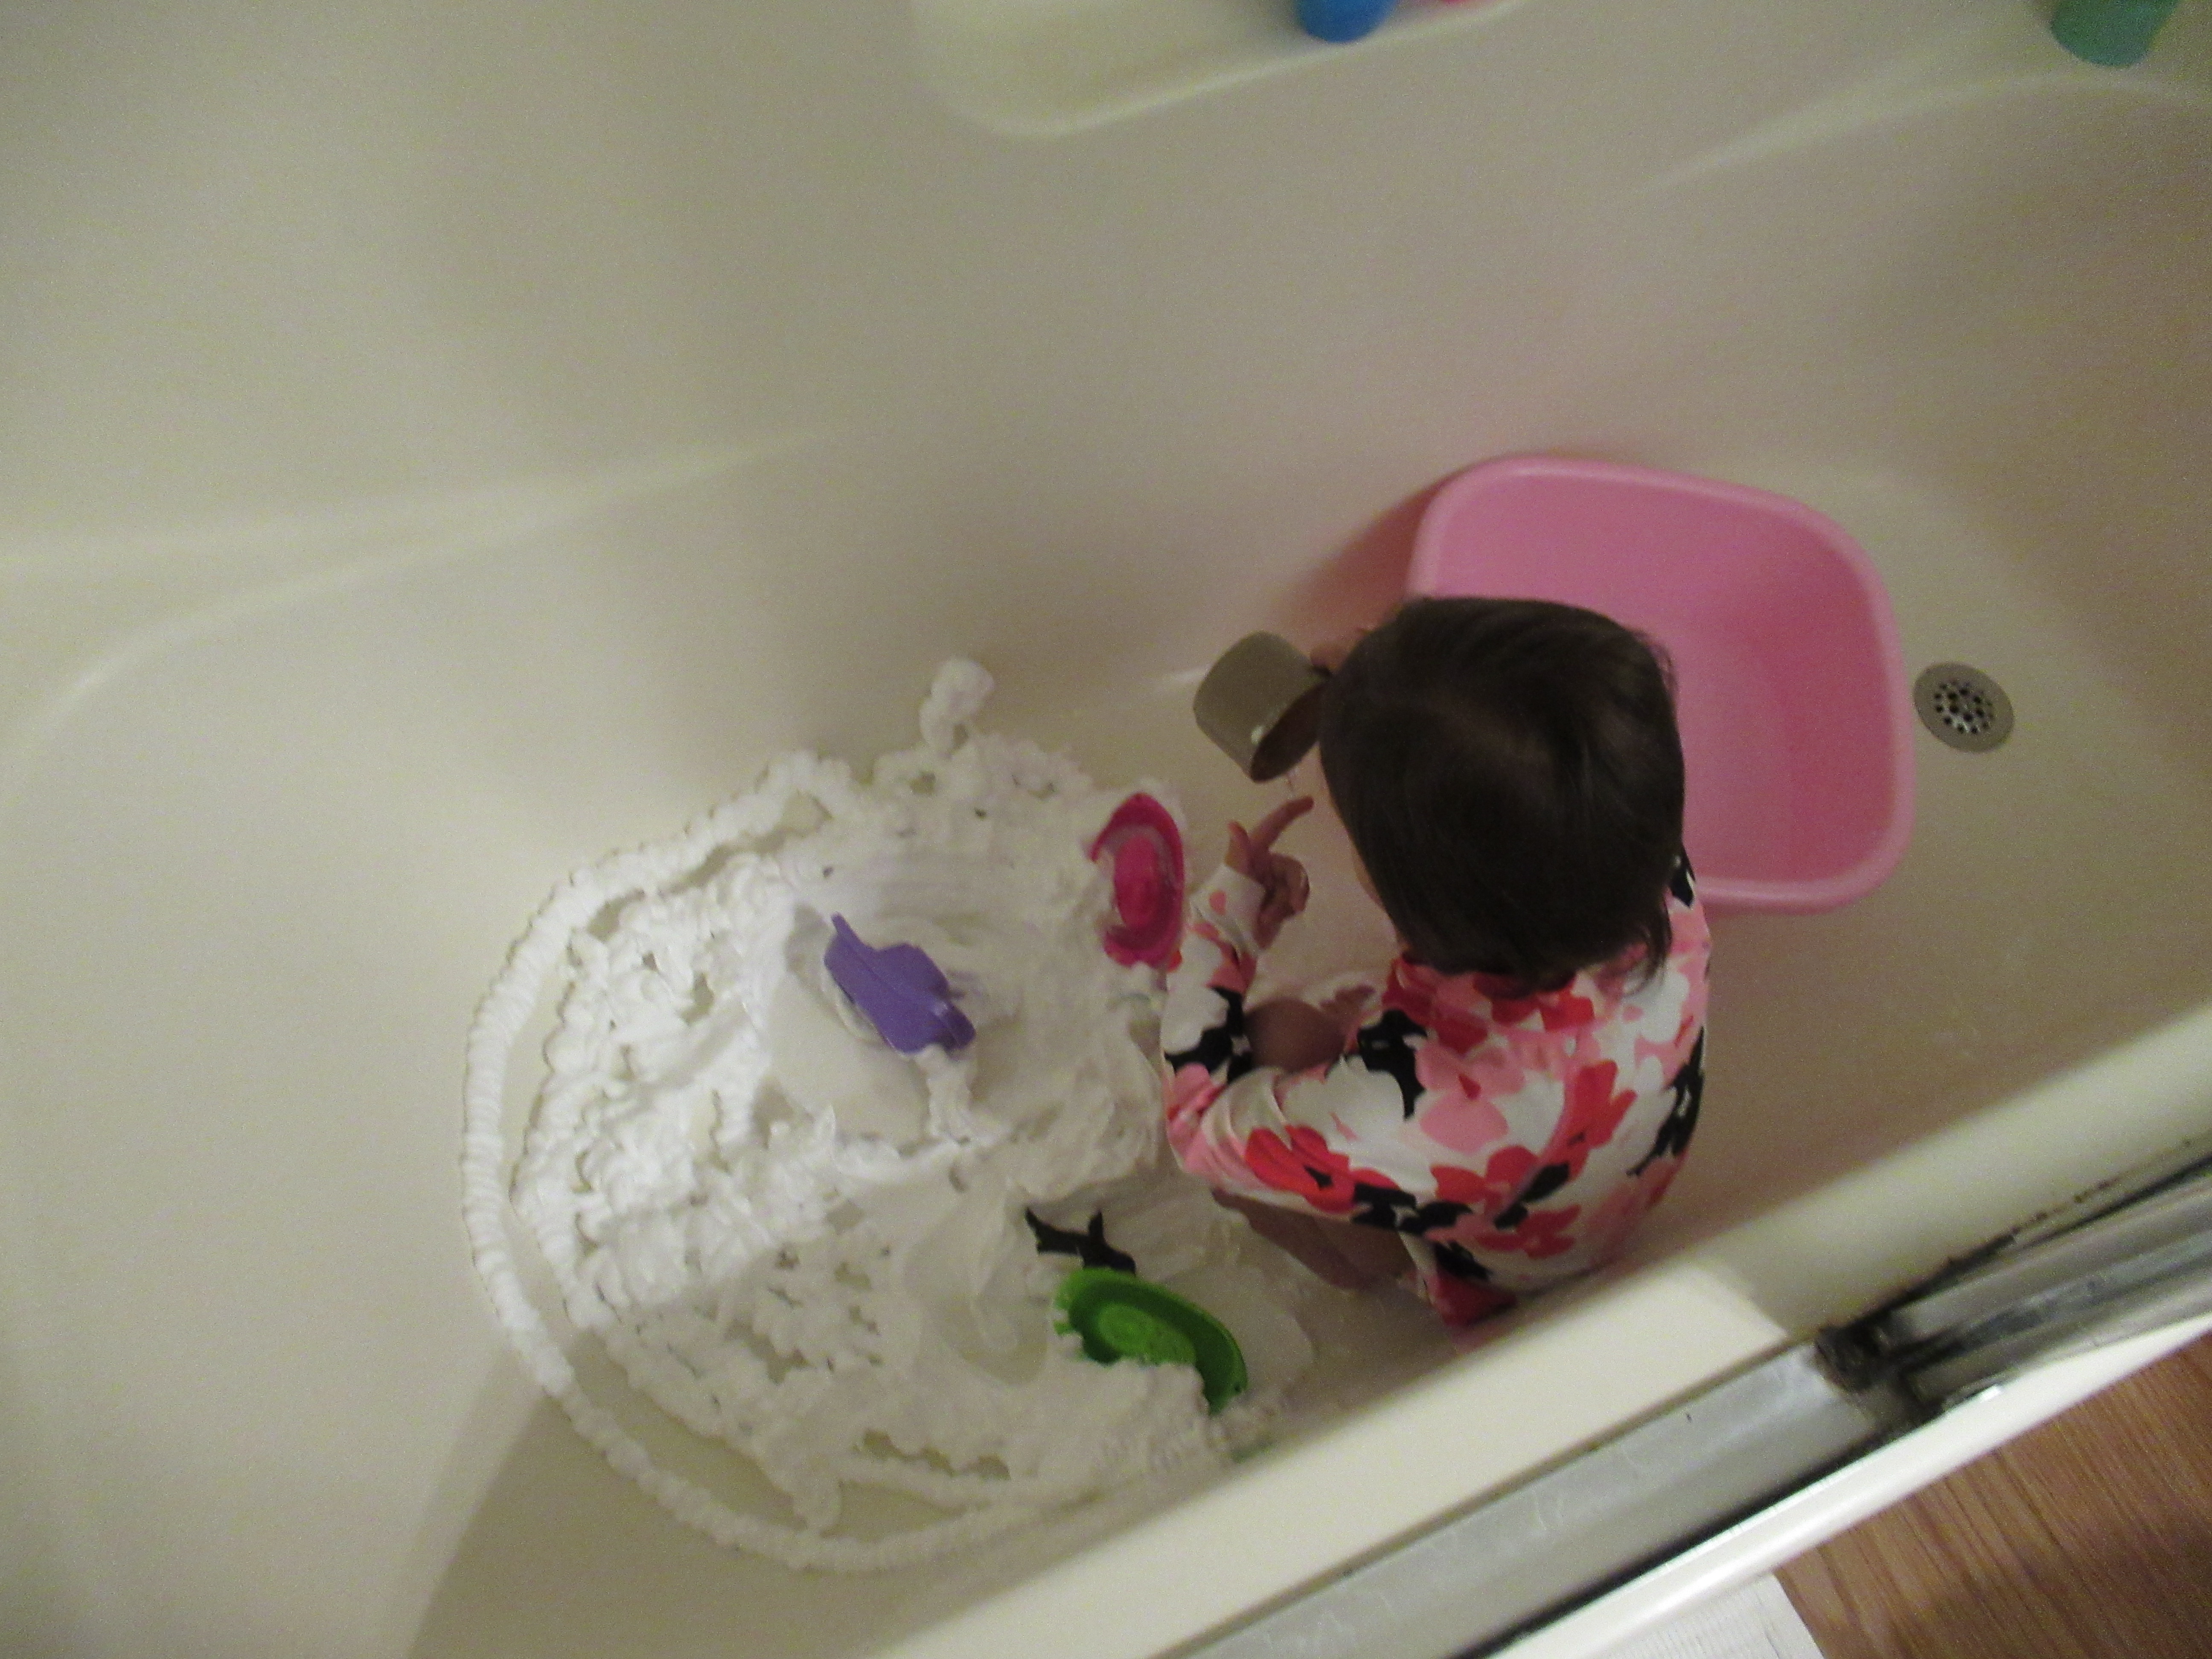
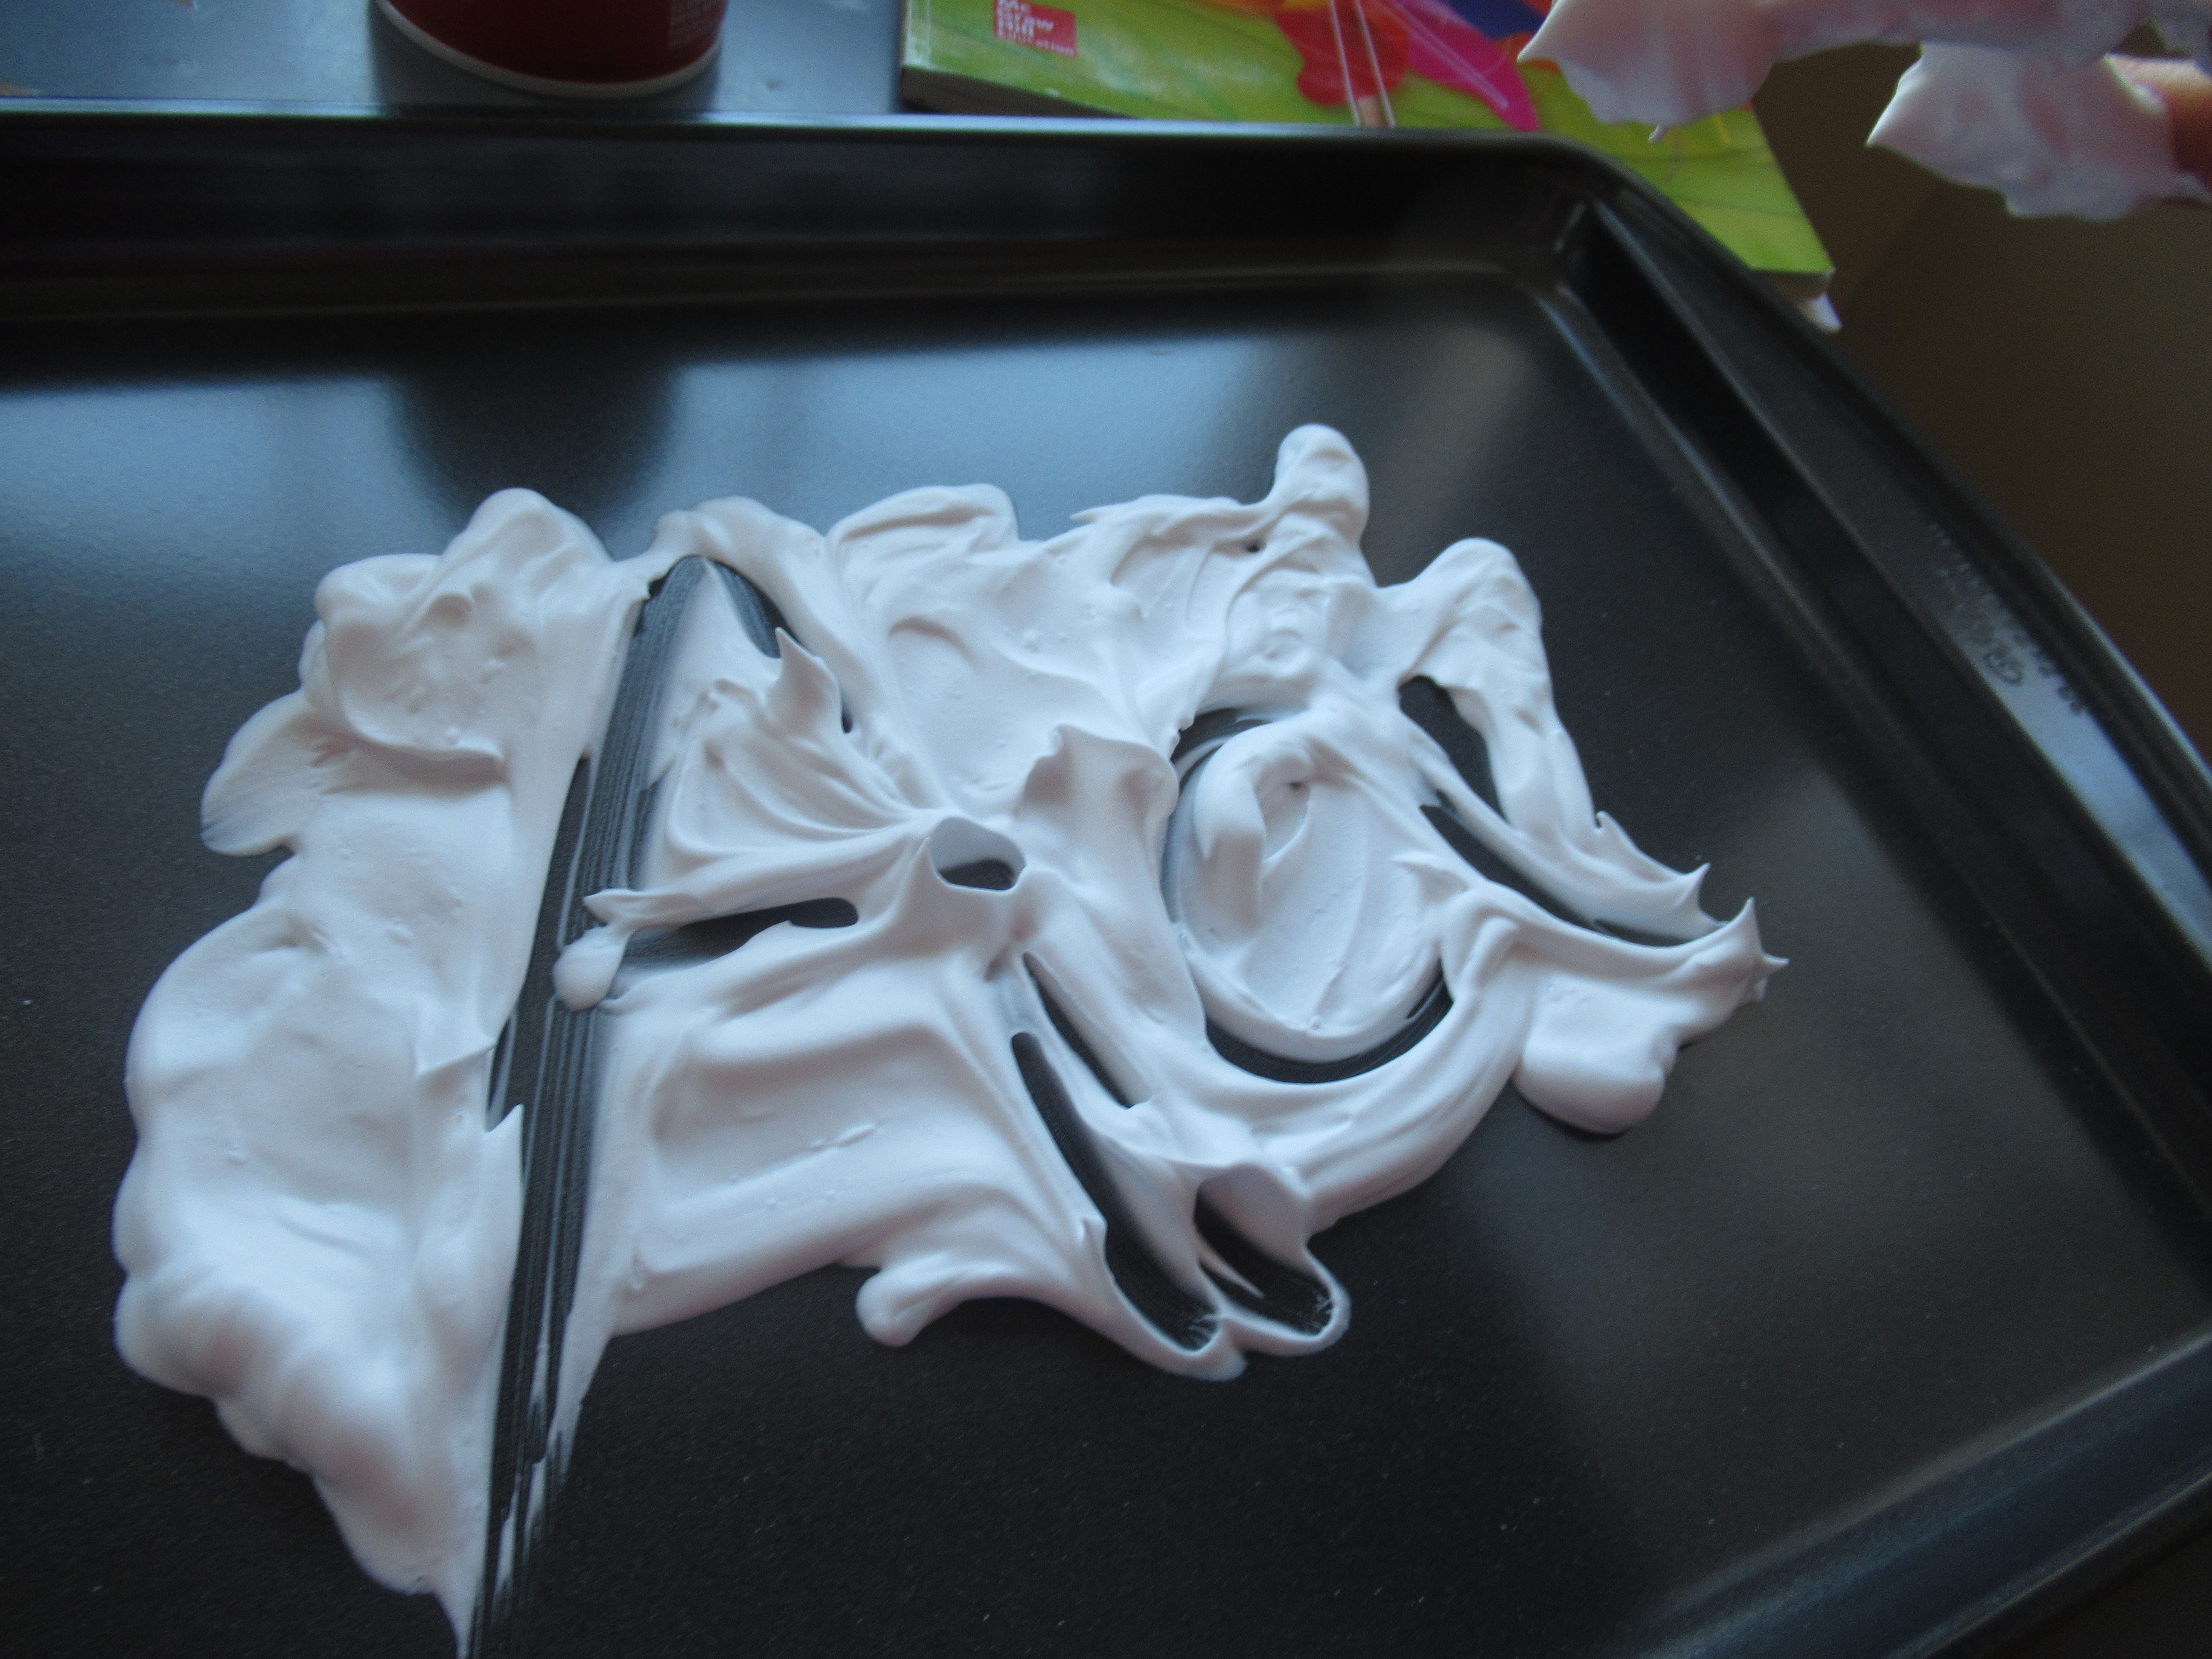
Wednesday: Write in Shaving Cream

This was Veronika’s least favorite of the week, though I thought she would love it! I squirted a thin layer of shaving cream onto a craft tray and then wrote out A and a. My intention was for her to trace over these since she’s too young to form the letters herself. But she was surprisingly squeamish about it and only briefly traced them with a paintbrush instead.

Mon-Fri Letter (13)

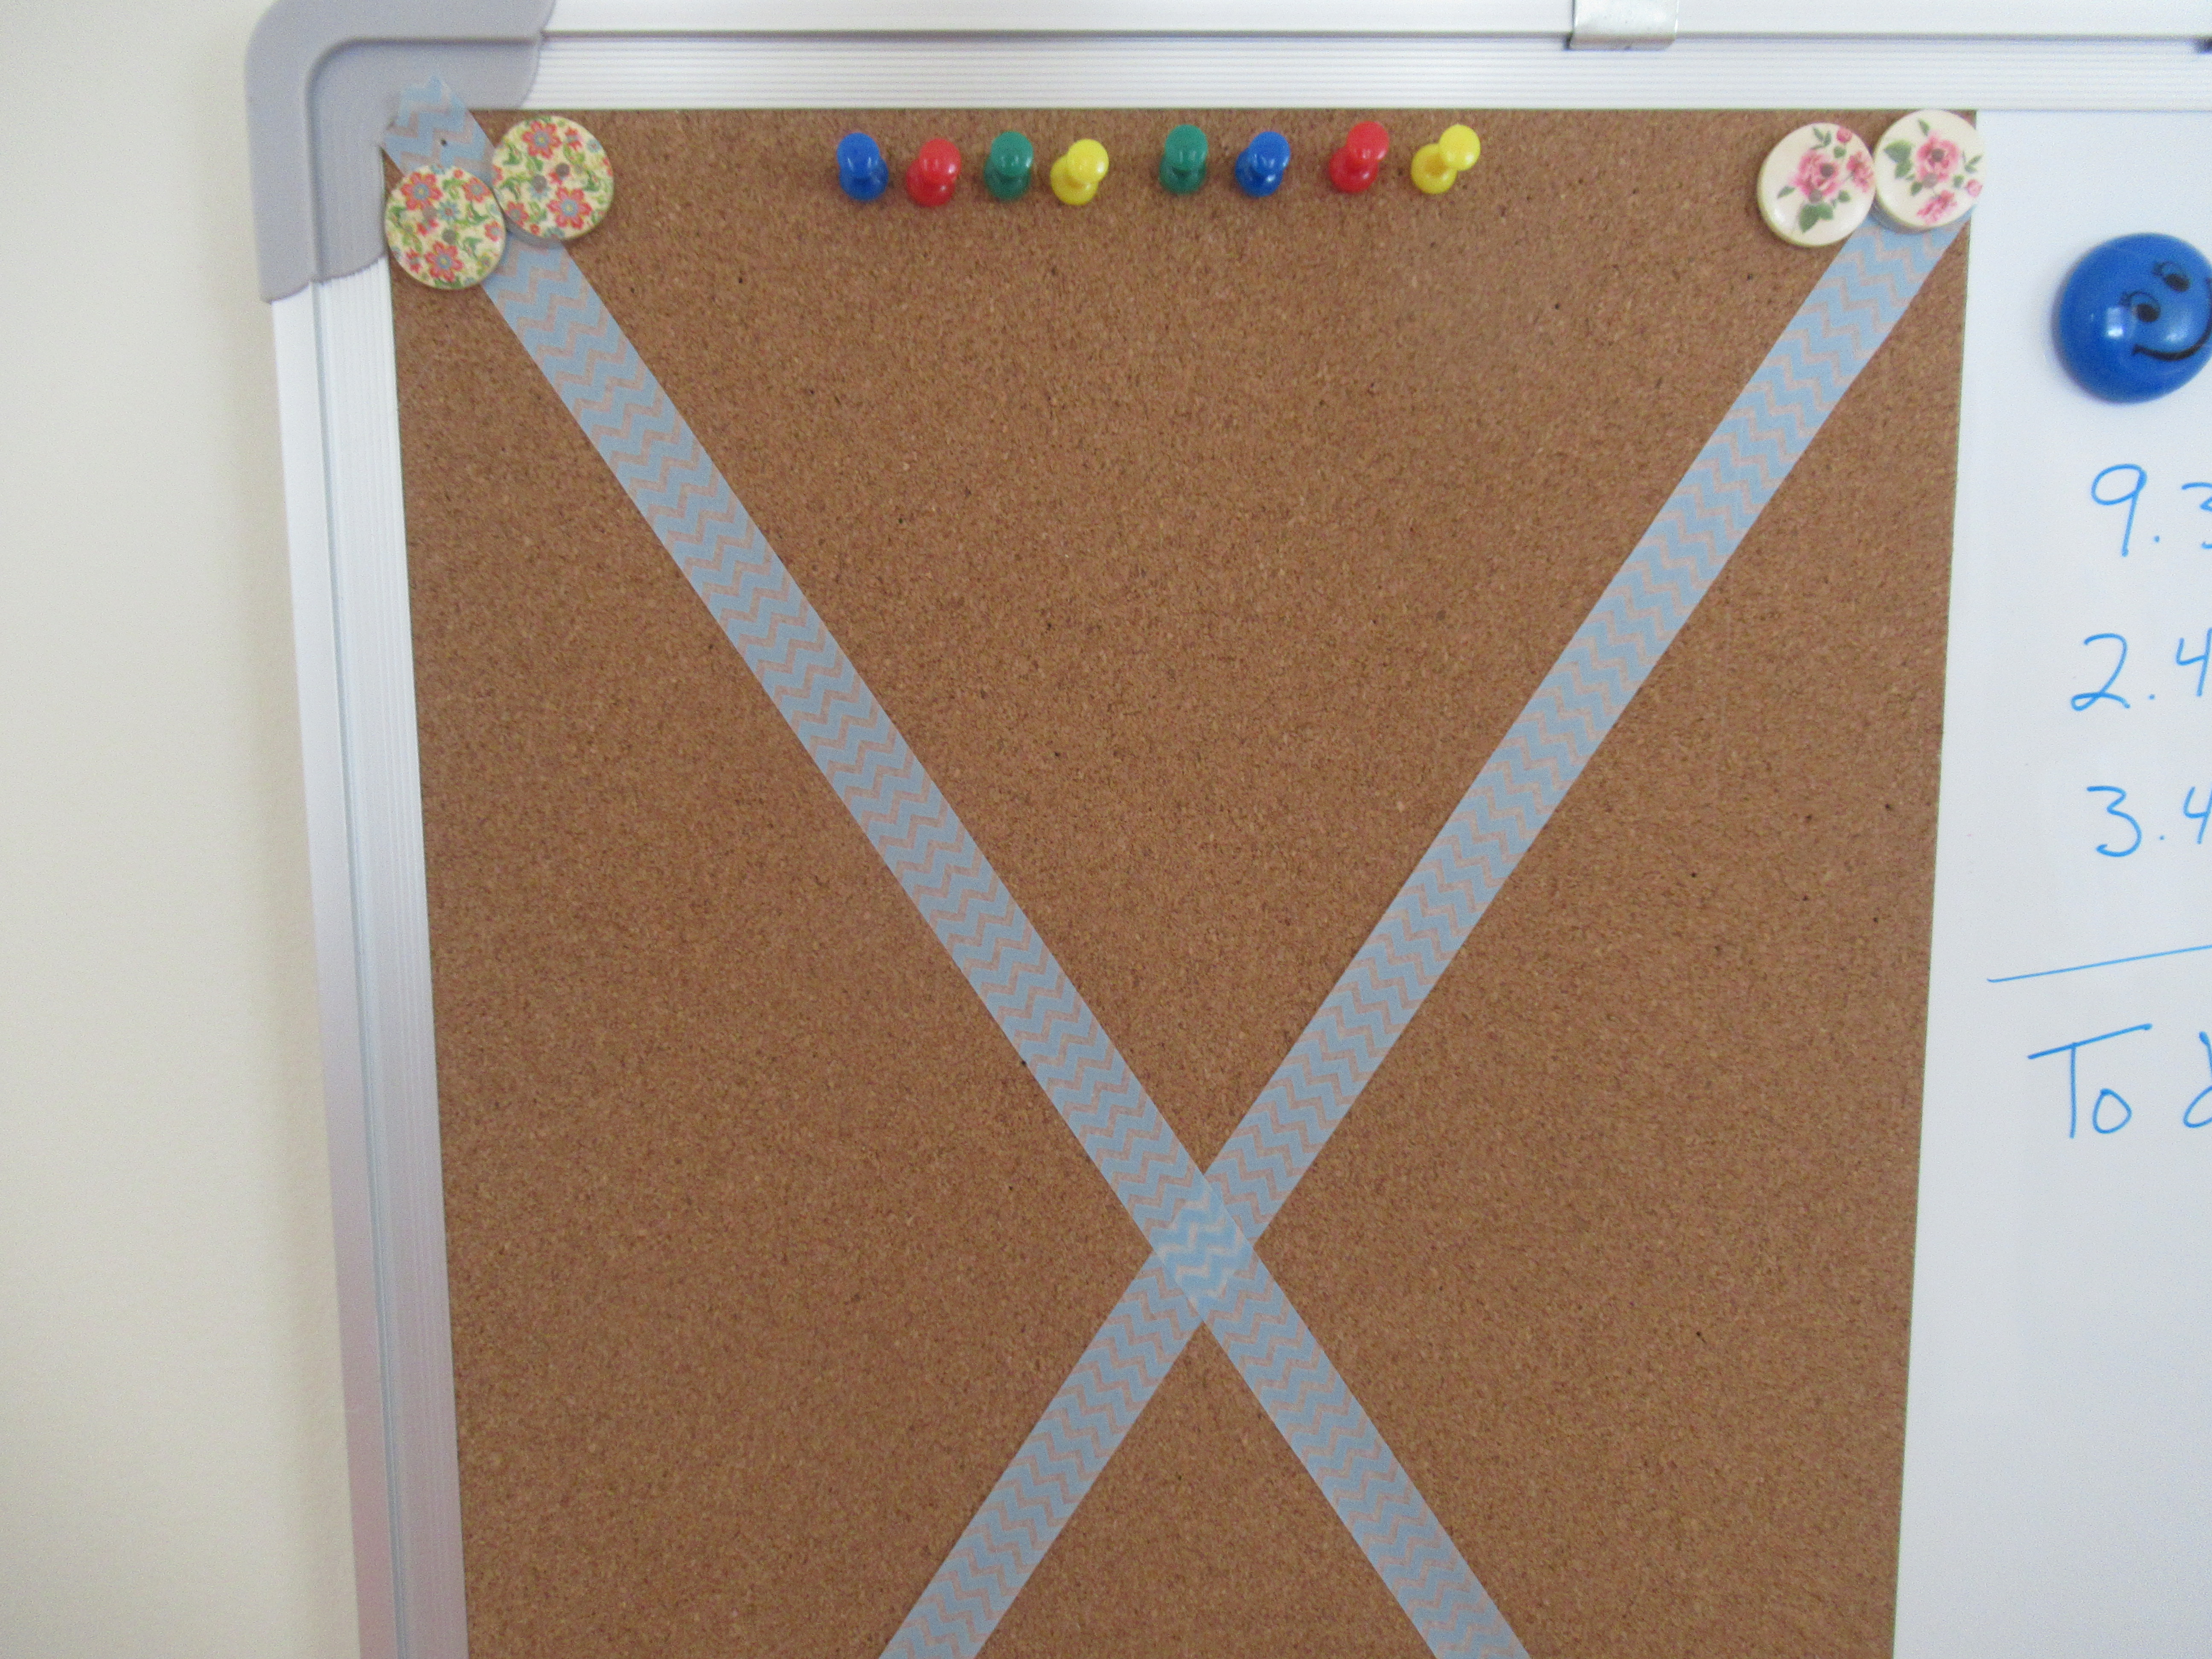
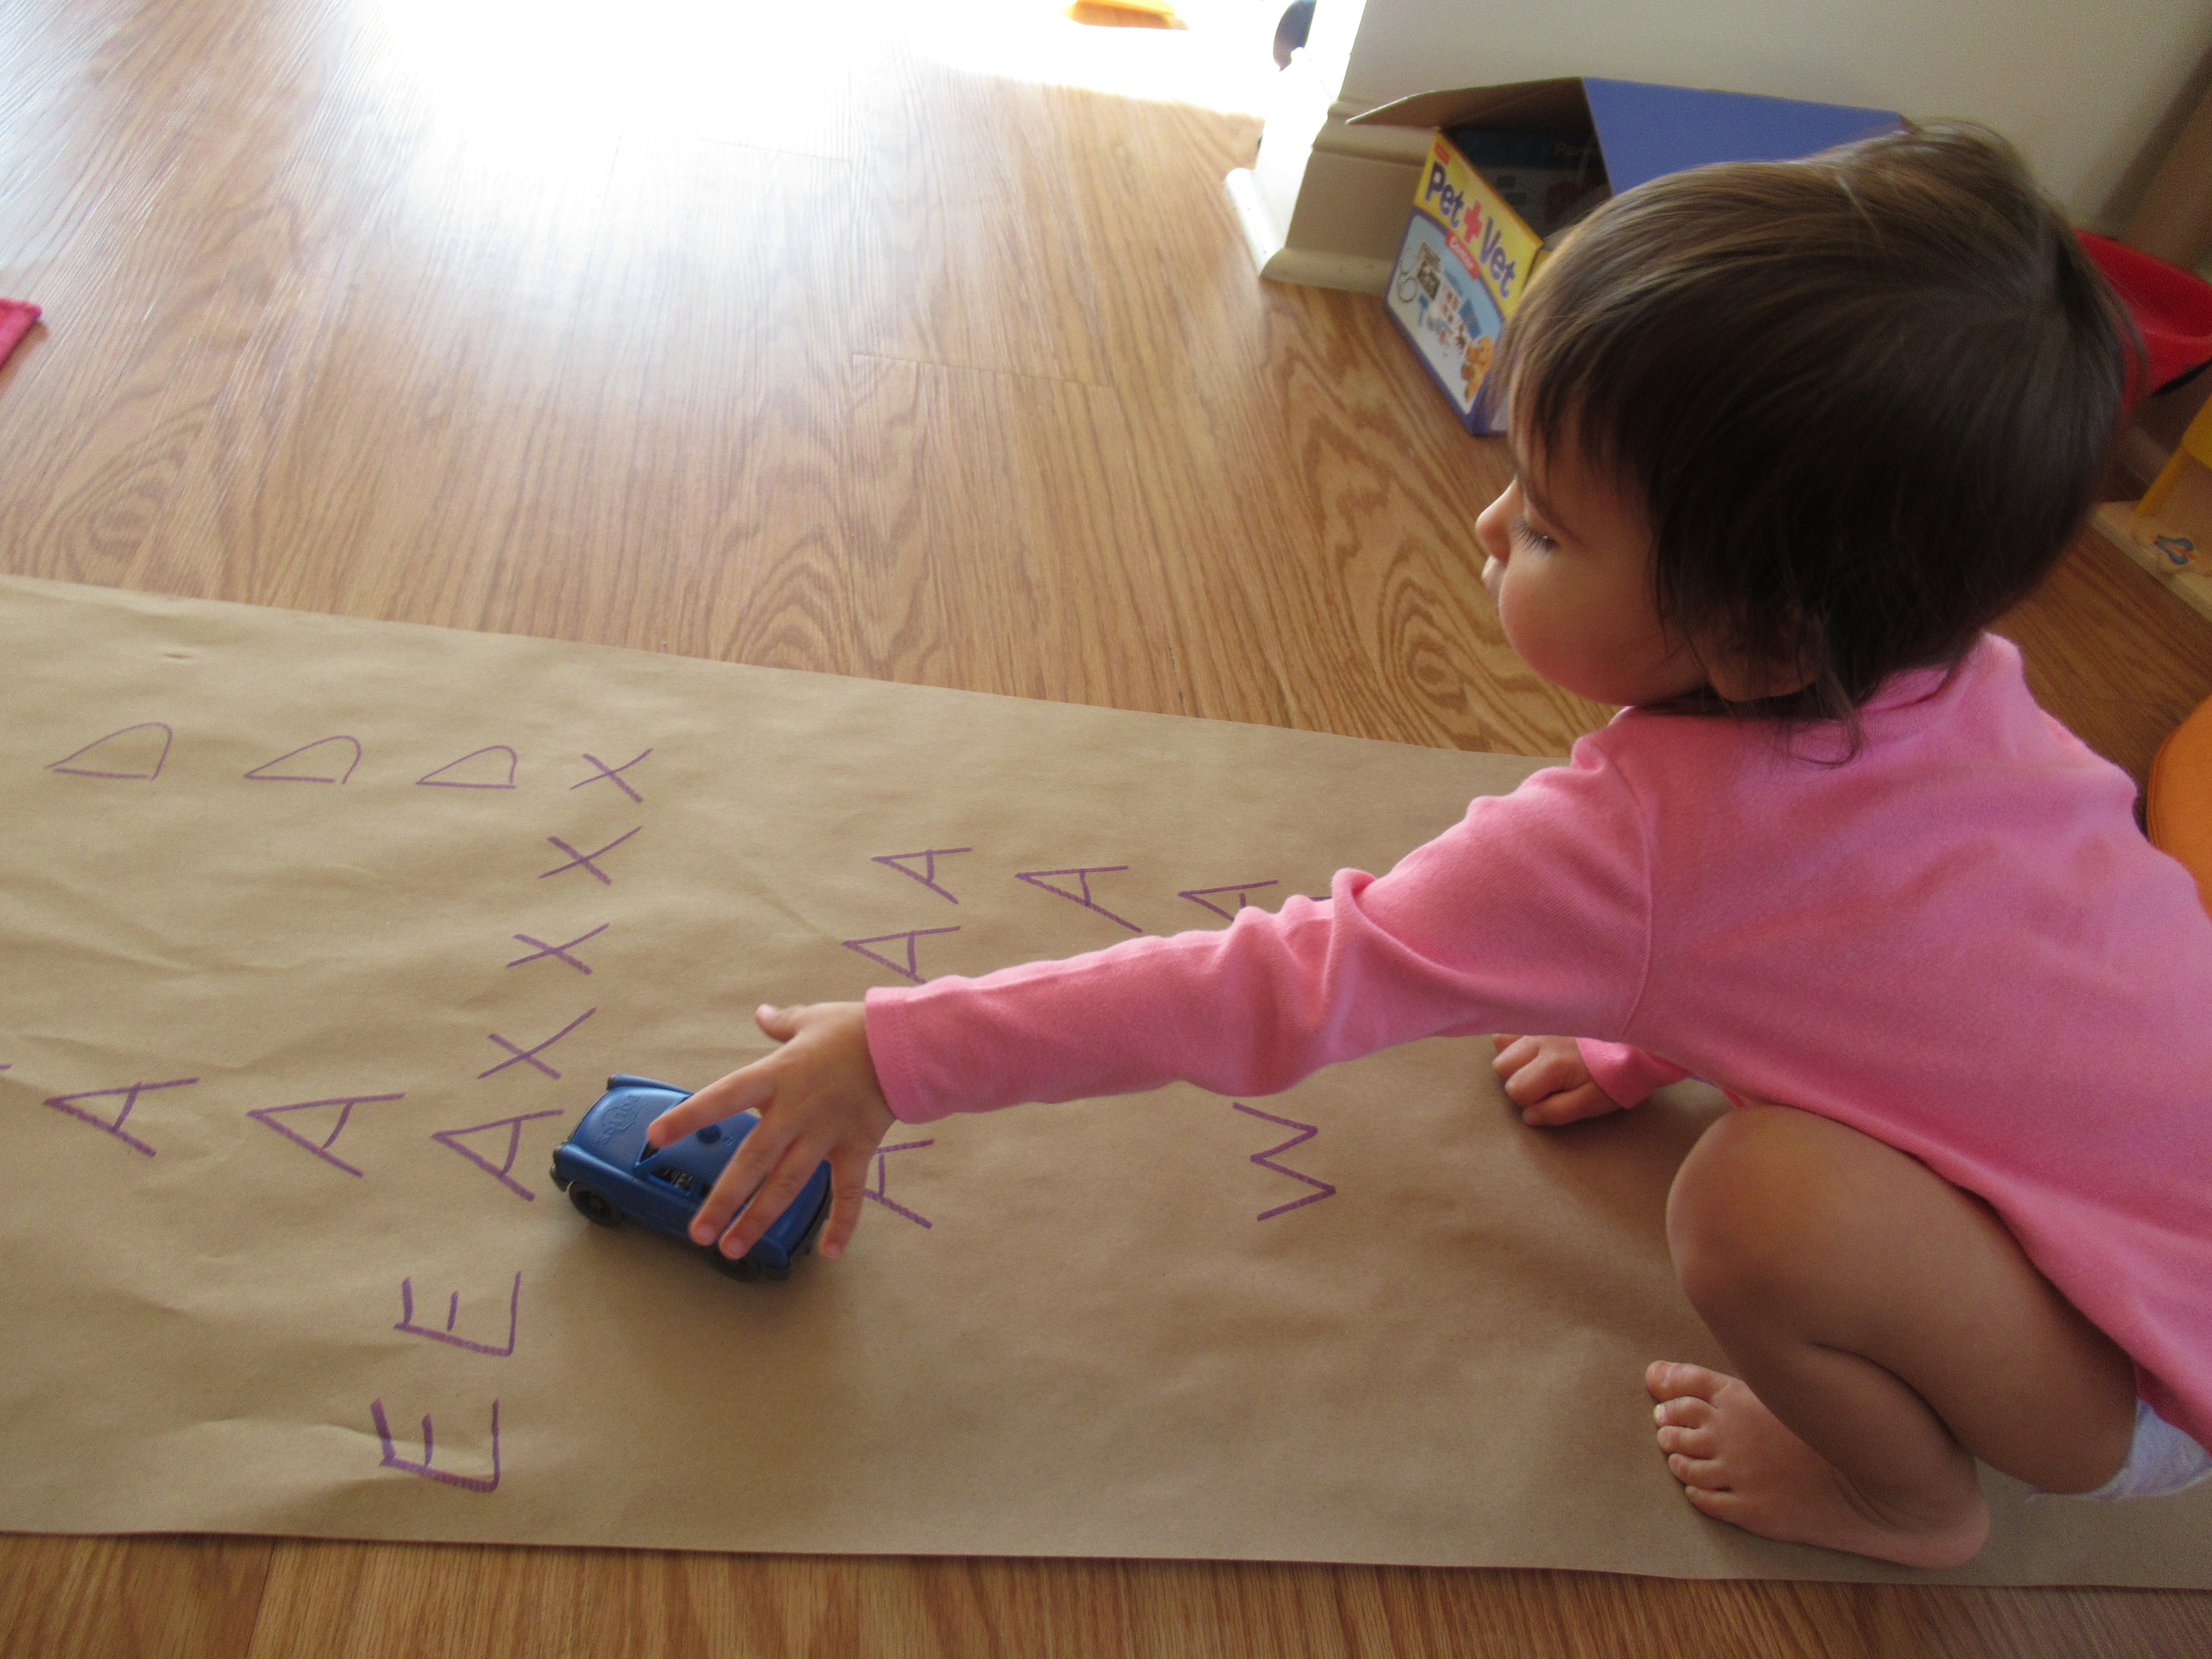
Thursday: Follow the Letter Grid

Mon-Fri Letter (12)

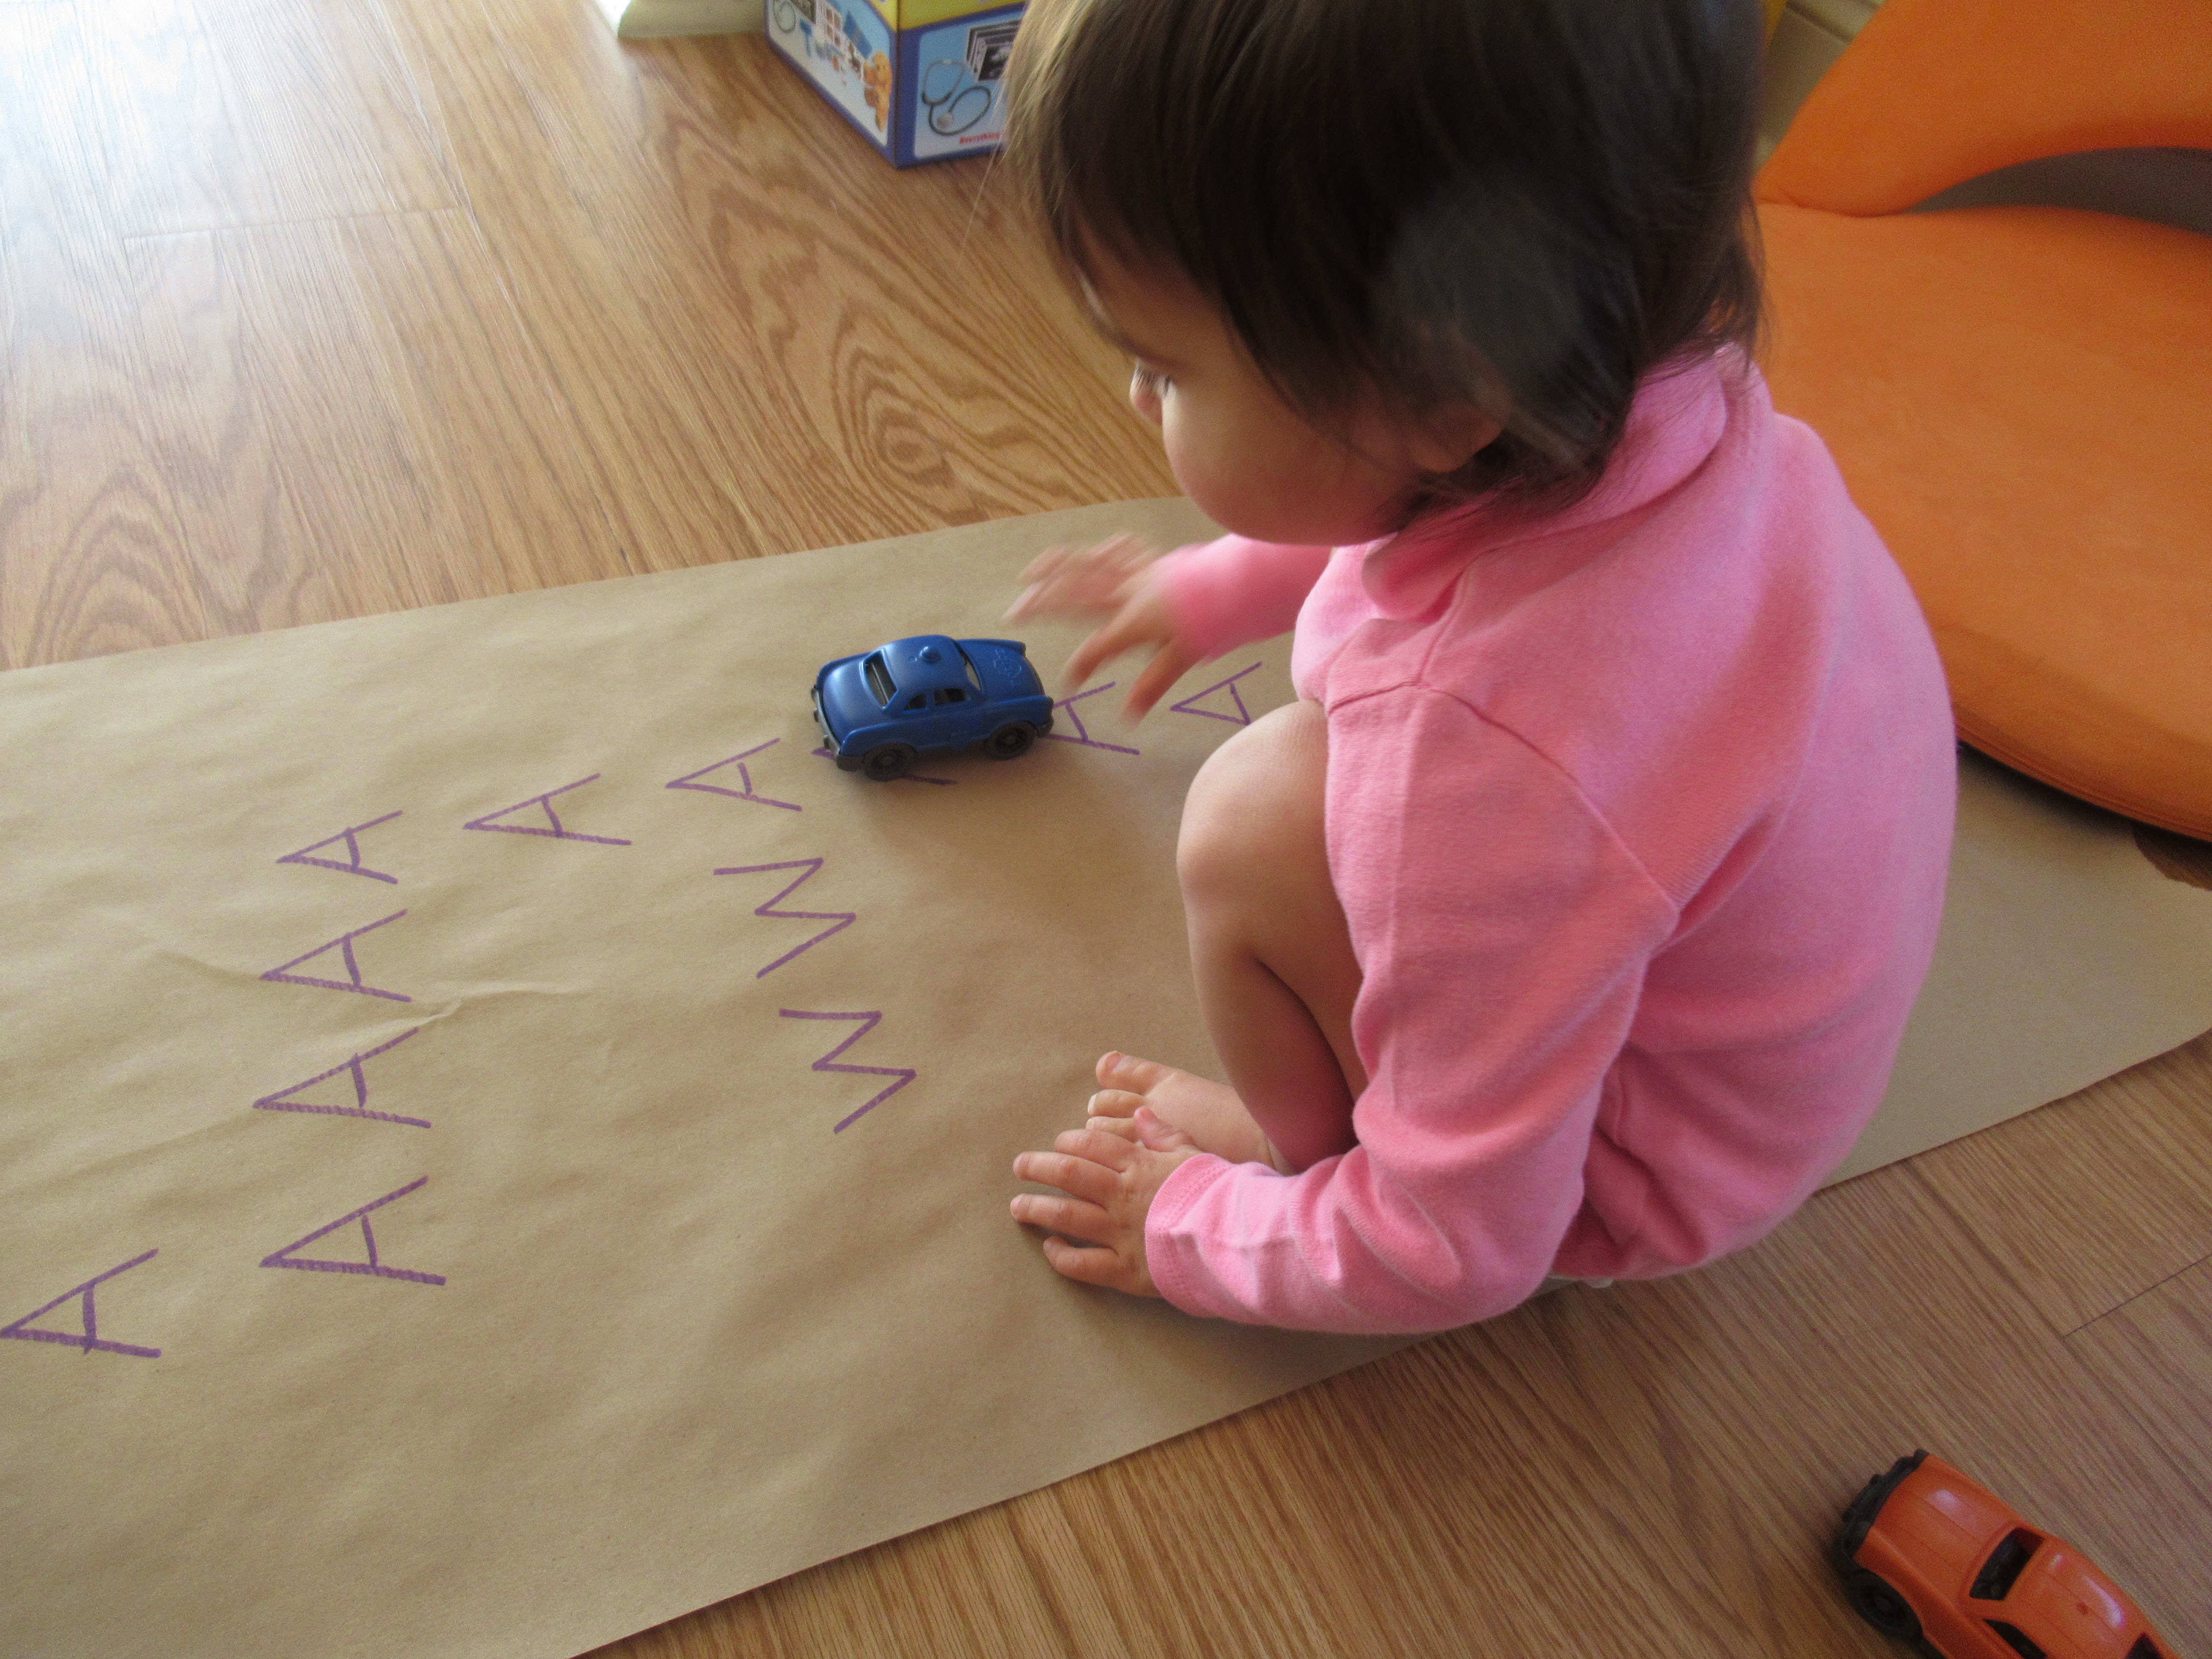
I wrote out a series of As (using only capital letters this time) on a long sheet of butcher paper, then added a few “false” trails of other letters off to the side. You can make this increasingly harder depending on your child’s age. Kids can either walk along the maze, tape along it with painter’s tape, or (in Veronika’s case), drive cars along it. She immediately recognized the A and loved scooting her cars on the “road”.

Mon-Fri Letter (11)

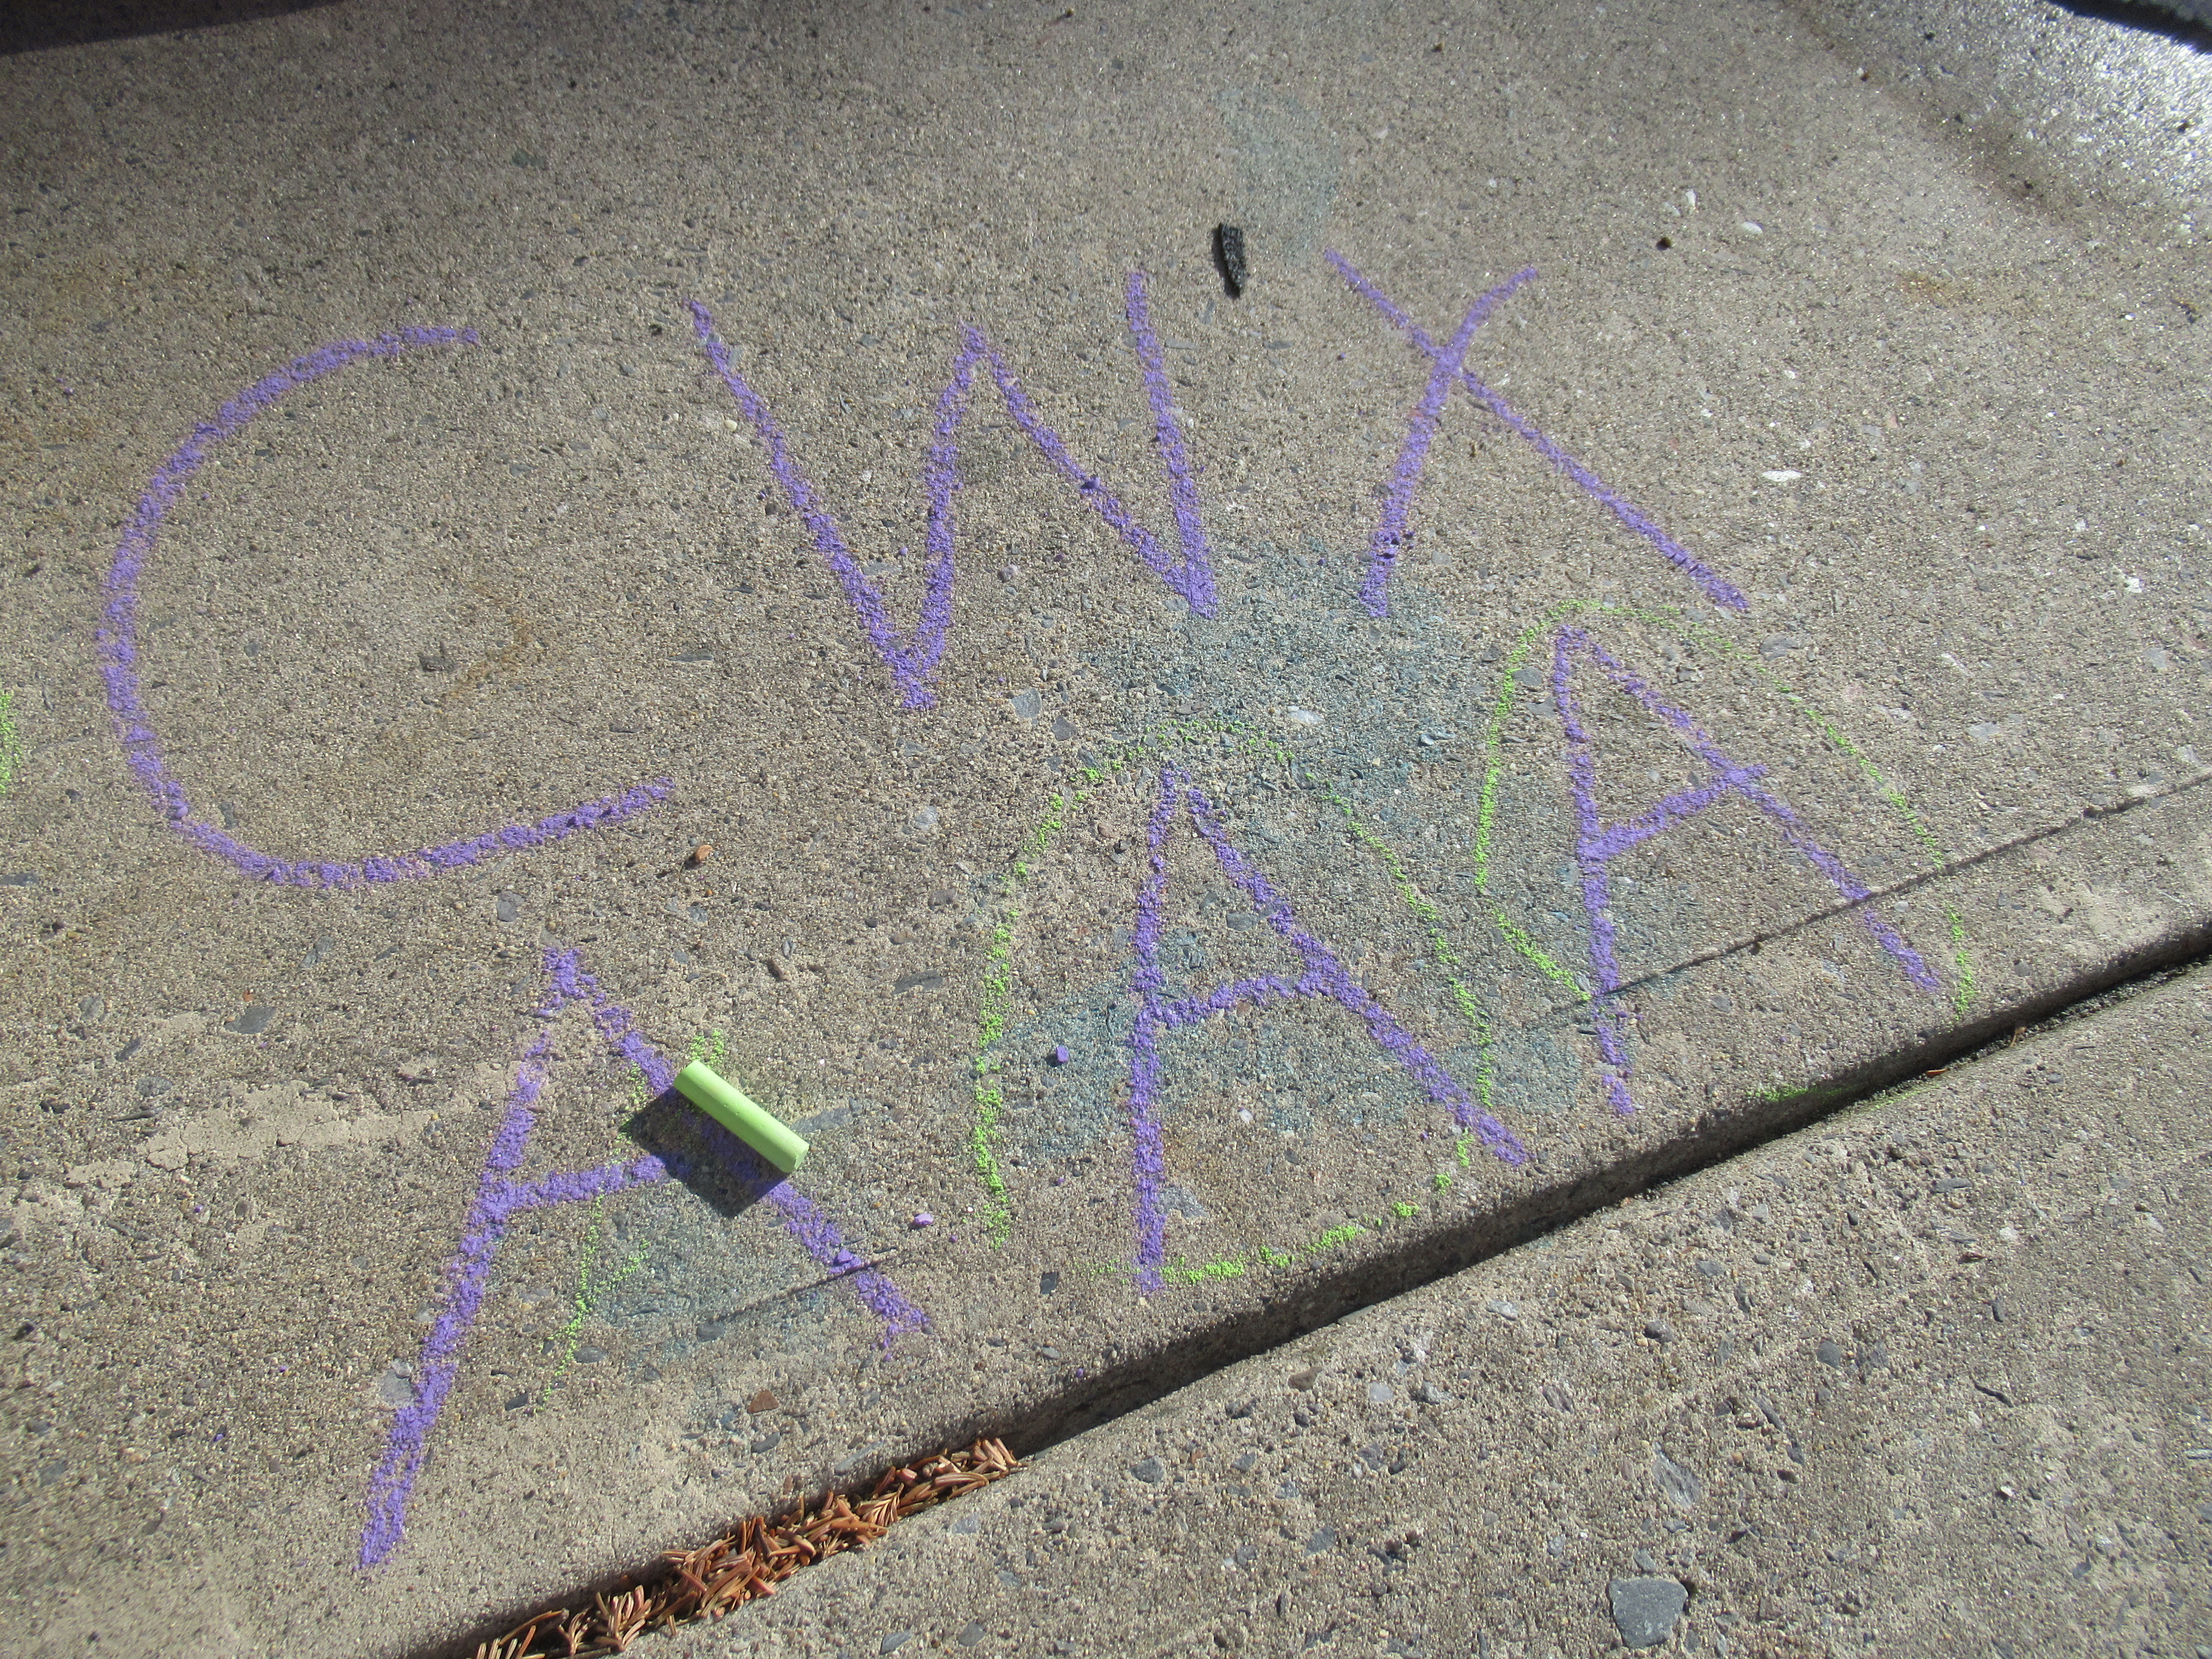
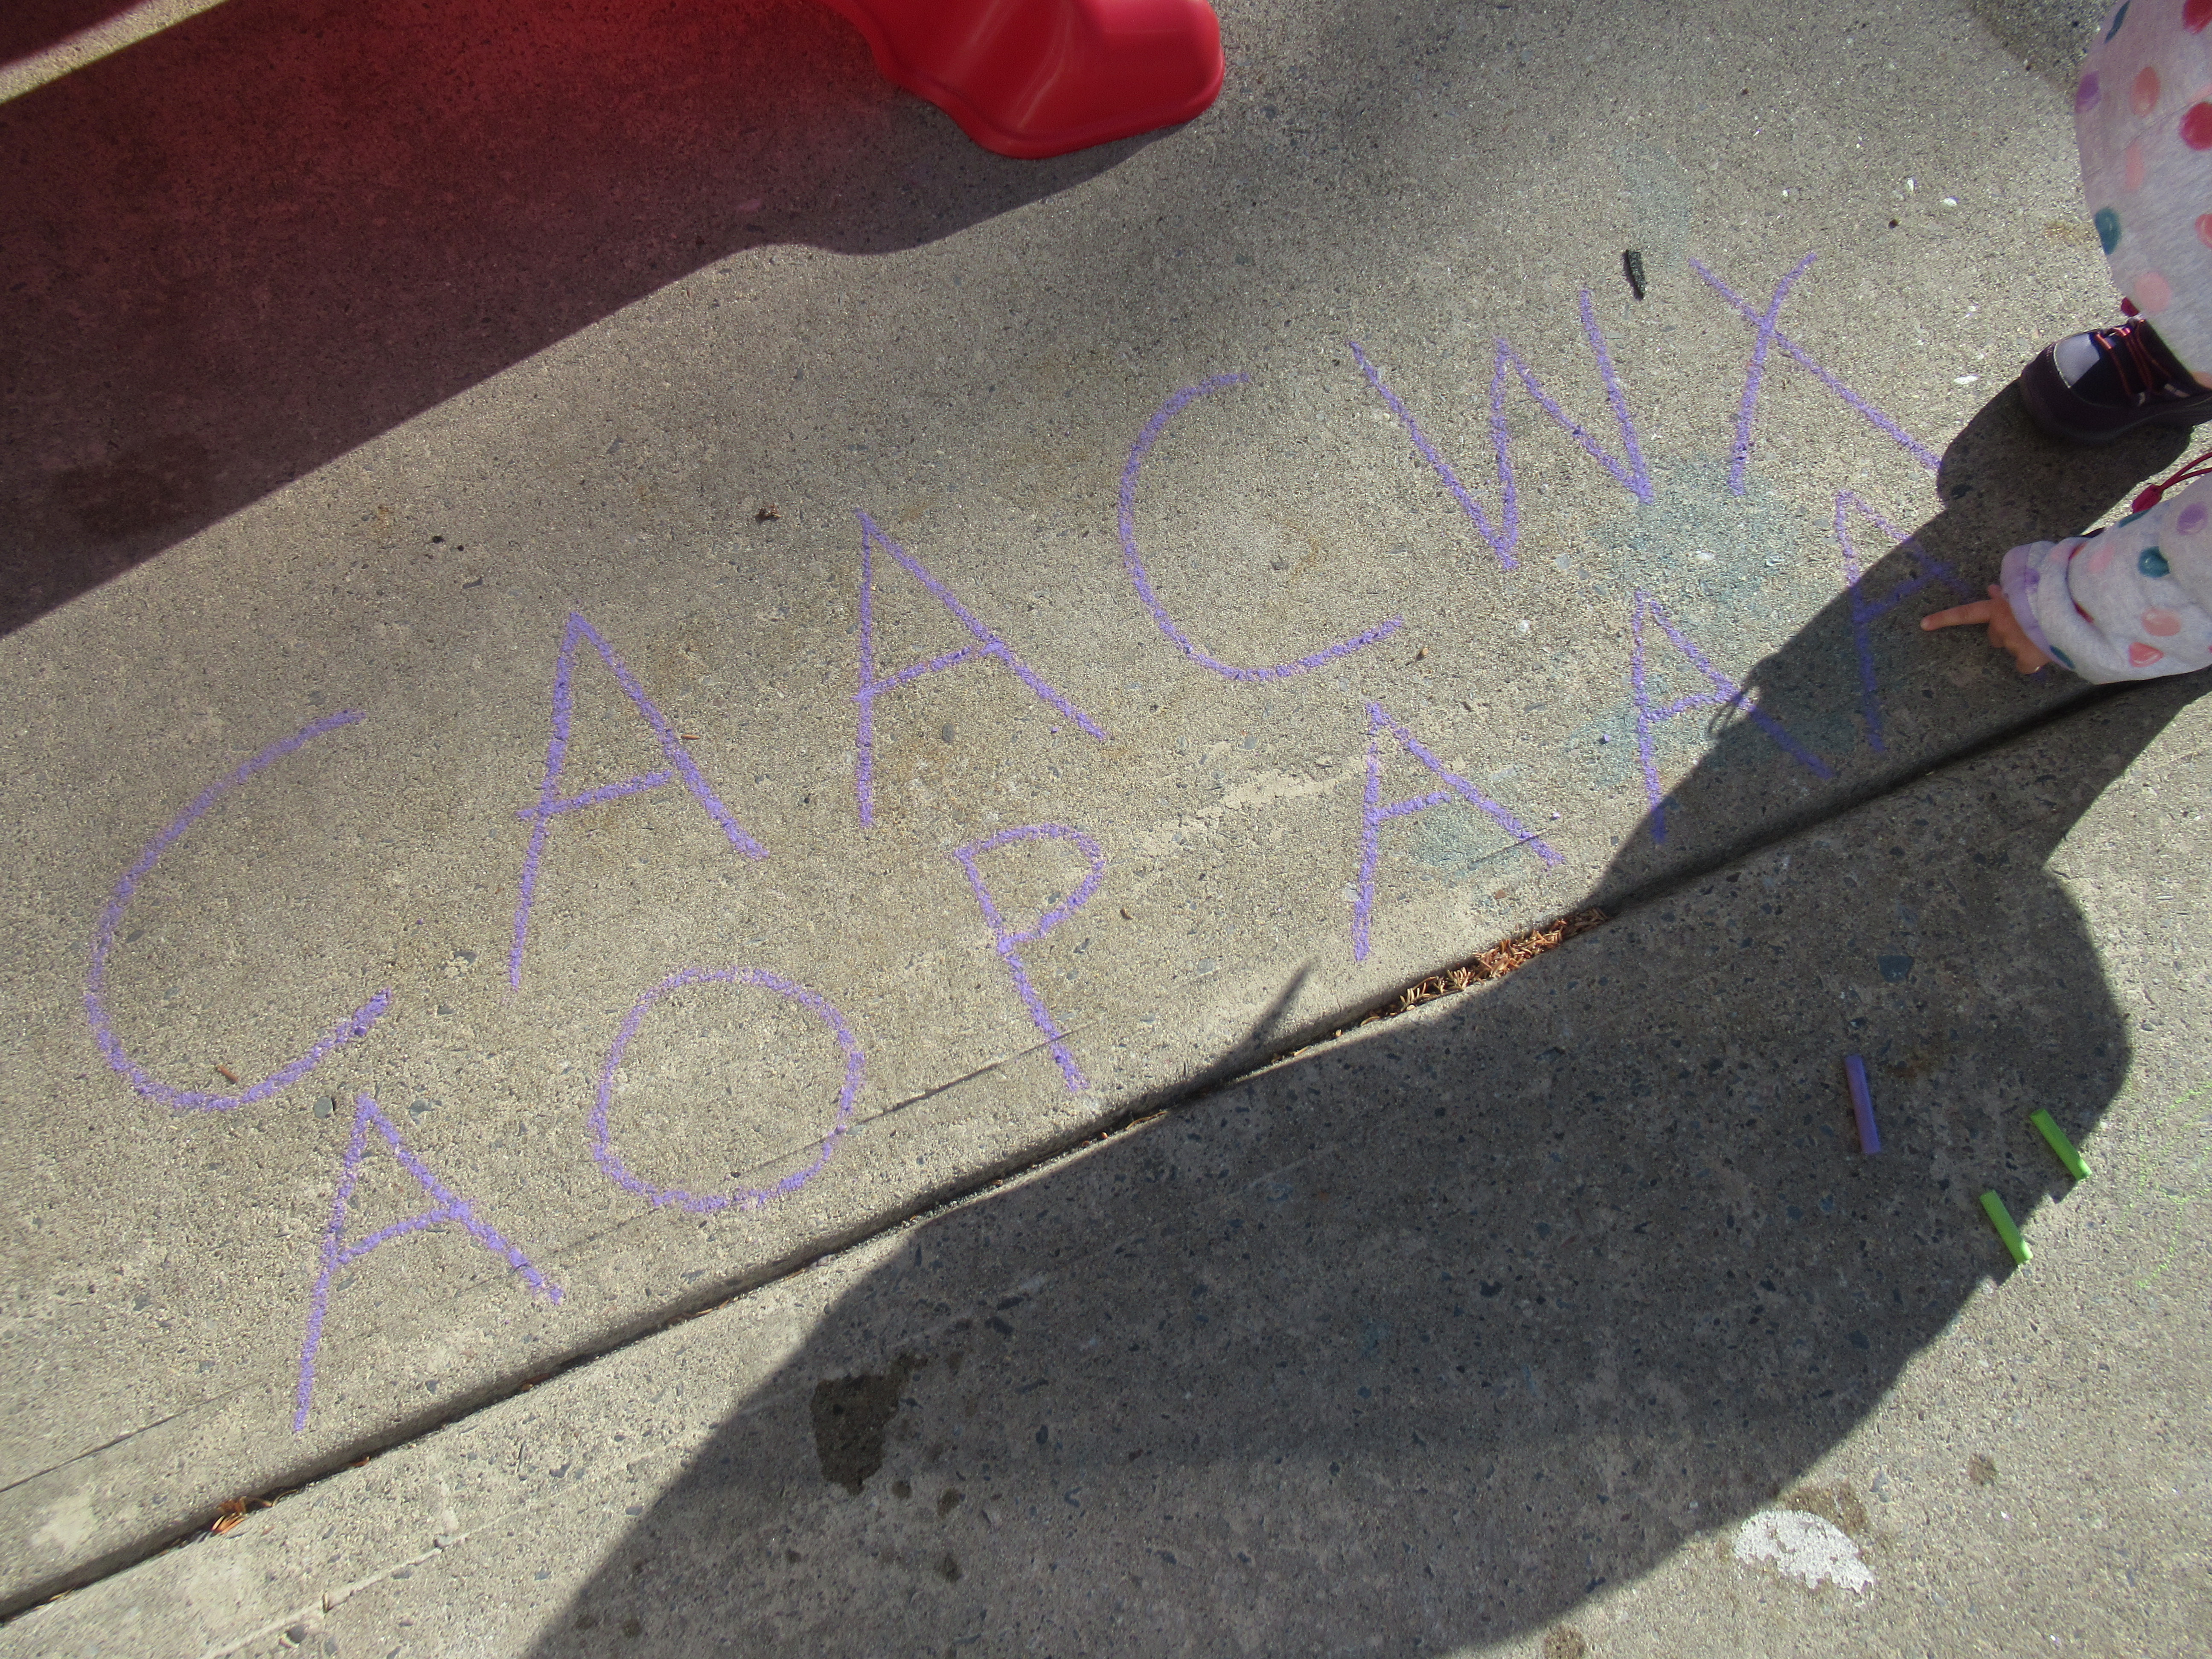
Friday: Chalk Letter Search

This last activity was perfect when we got a burst of early spring weather! We headed out to the back patio and I wrote several As hidden among other capital letters. “Can you find an A?” I asked Veronika. “A!” she said proudly, pointing.

Mon-Fri Letter (8)

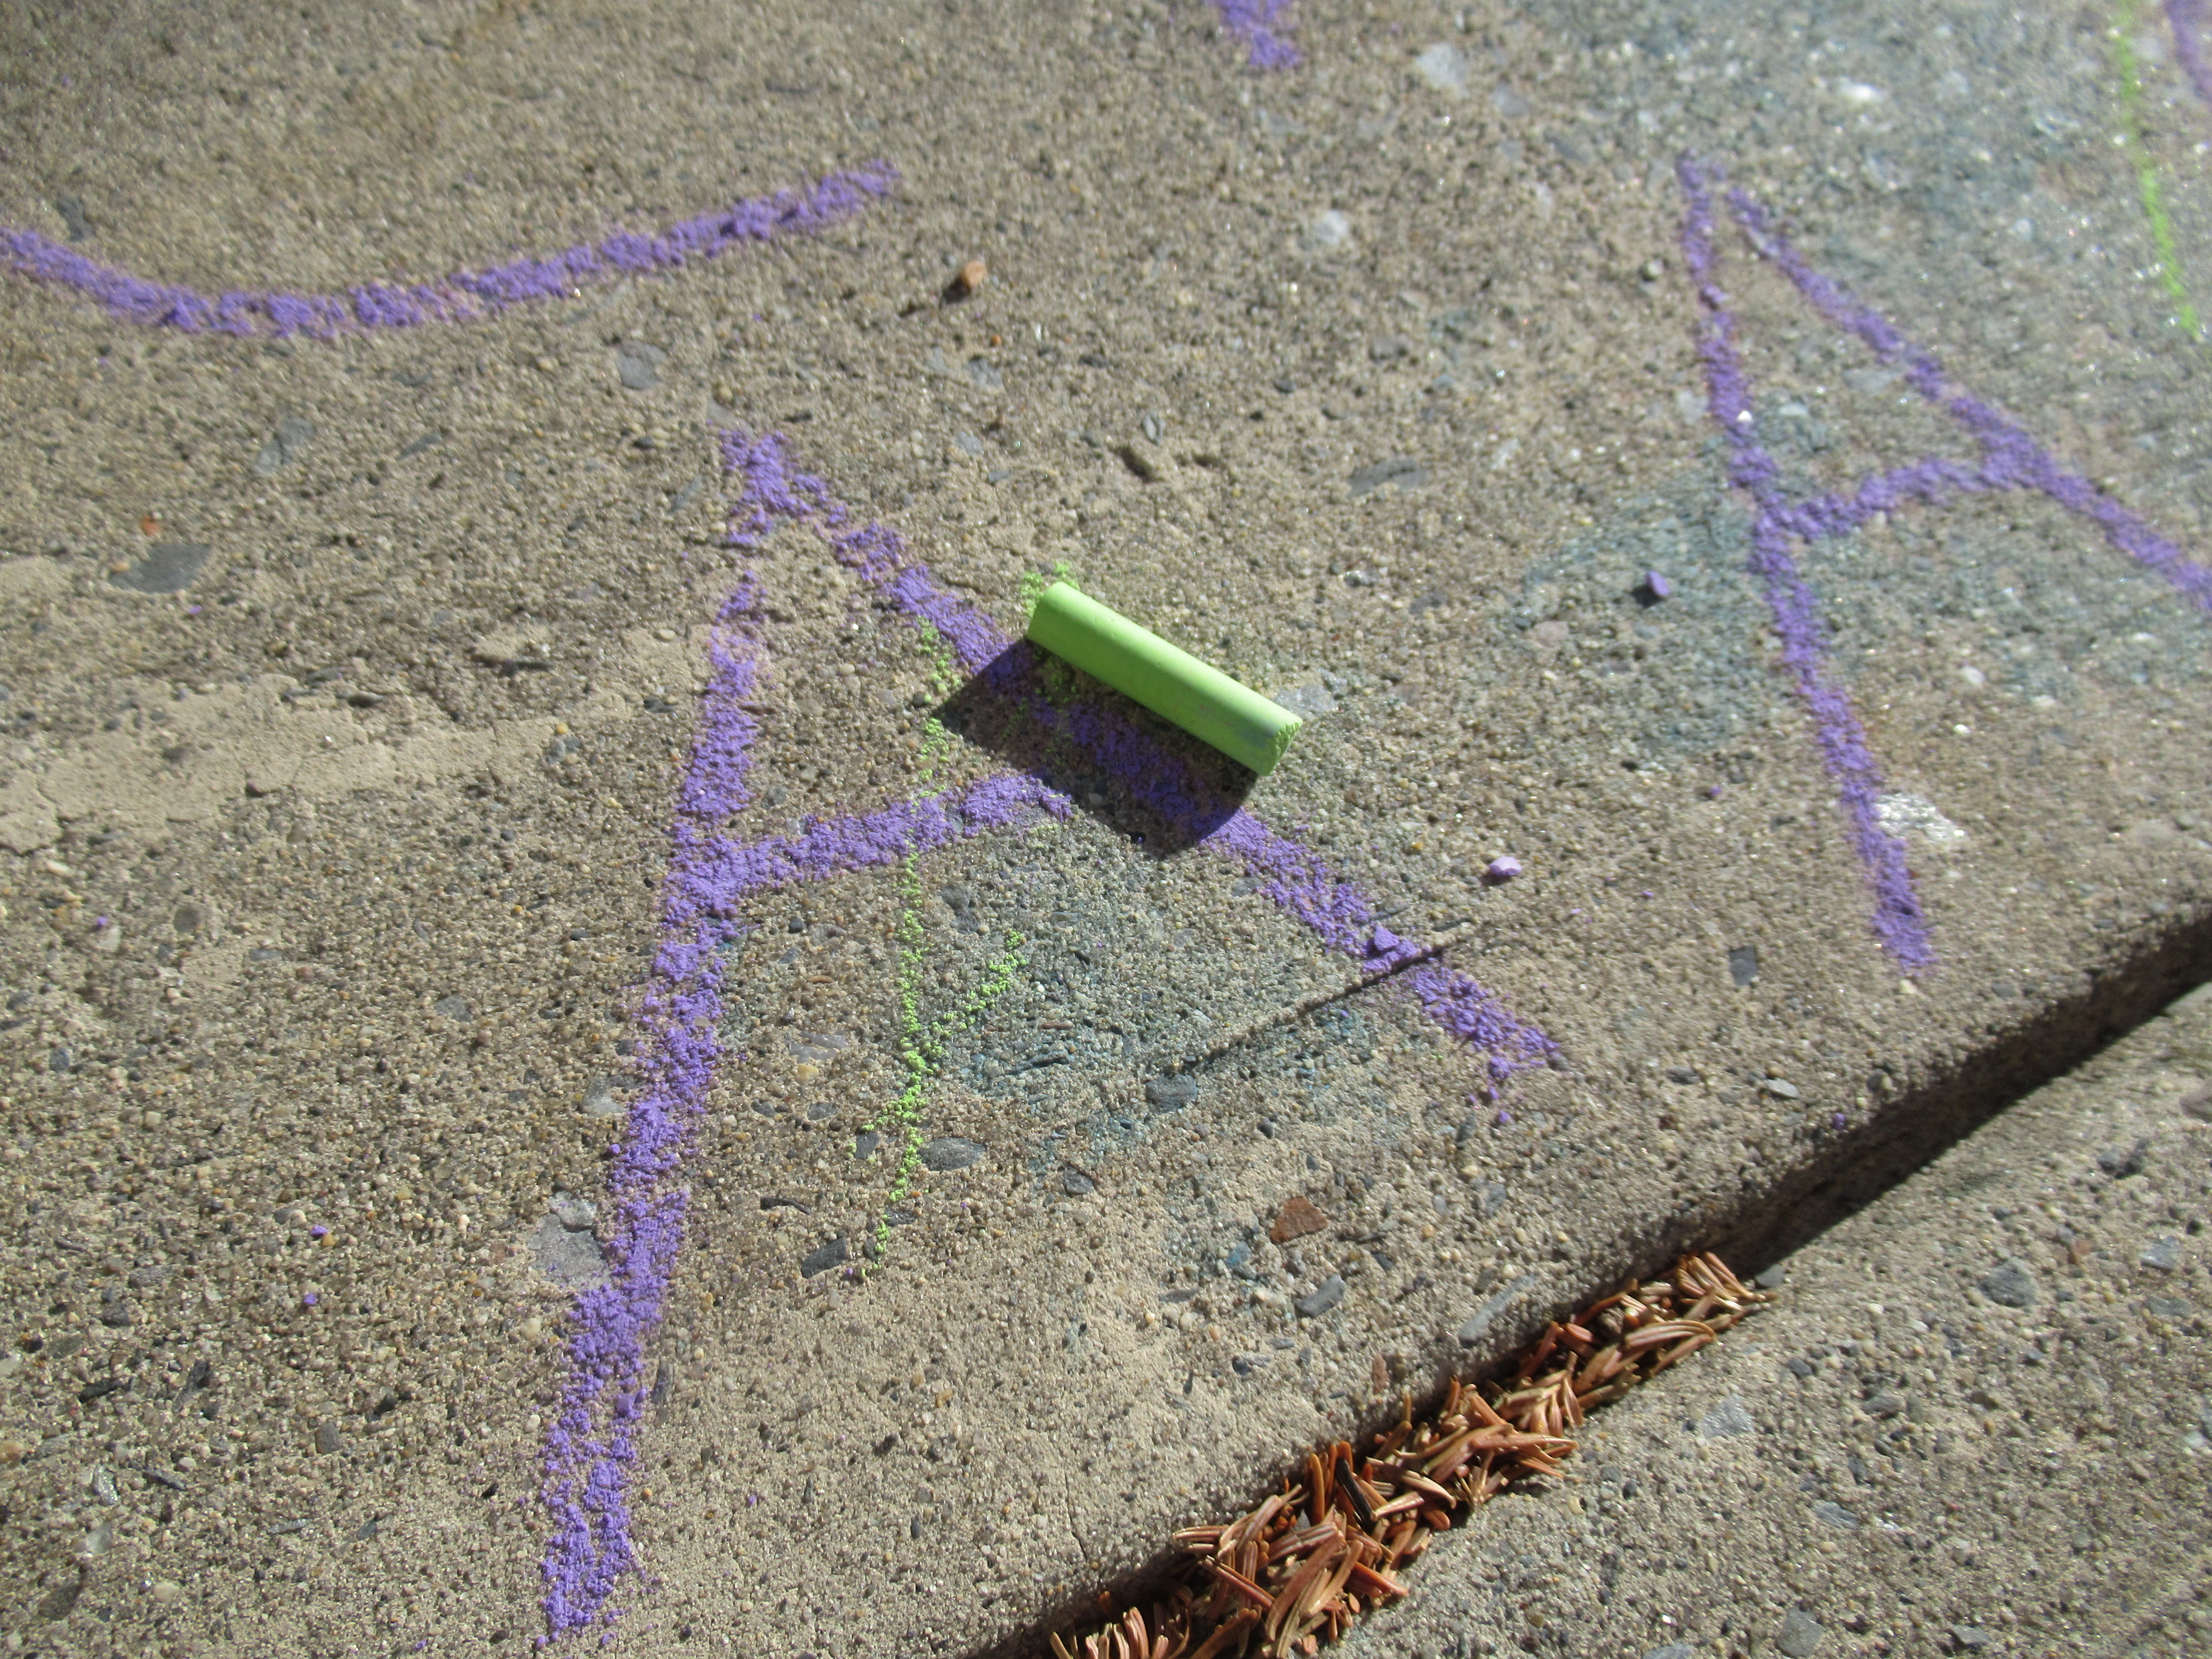
I wondered if she could circle it with a second color of chalk, and then had to laugh when she took my suggestion to “put green on it” literally.

Mon-Fri Letter (9)

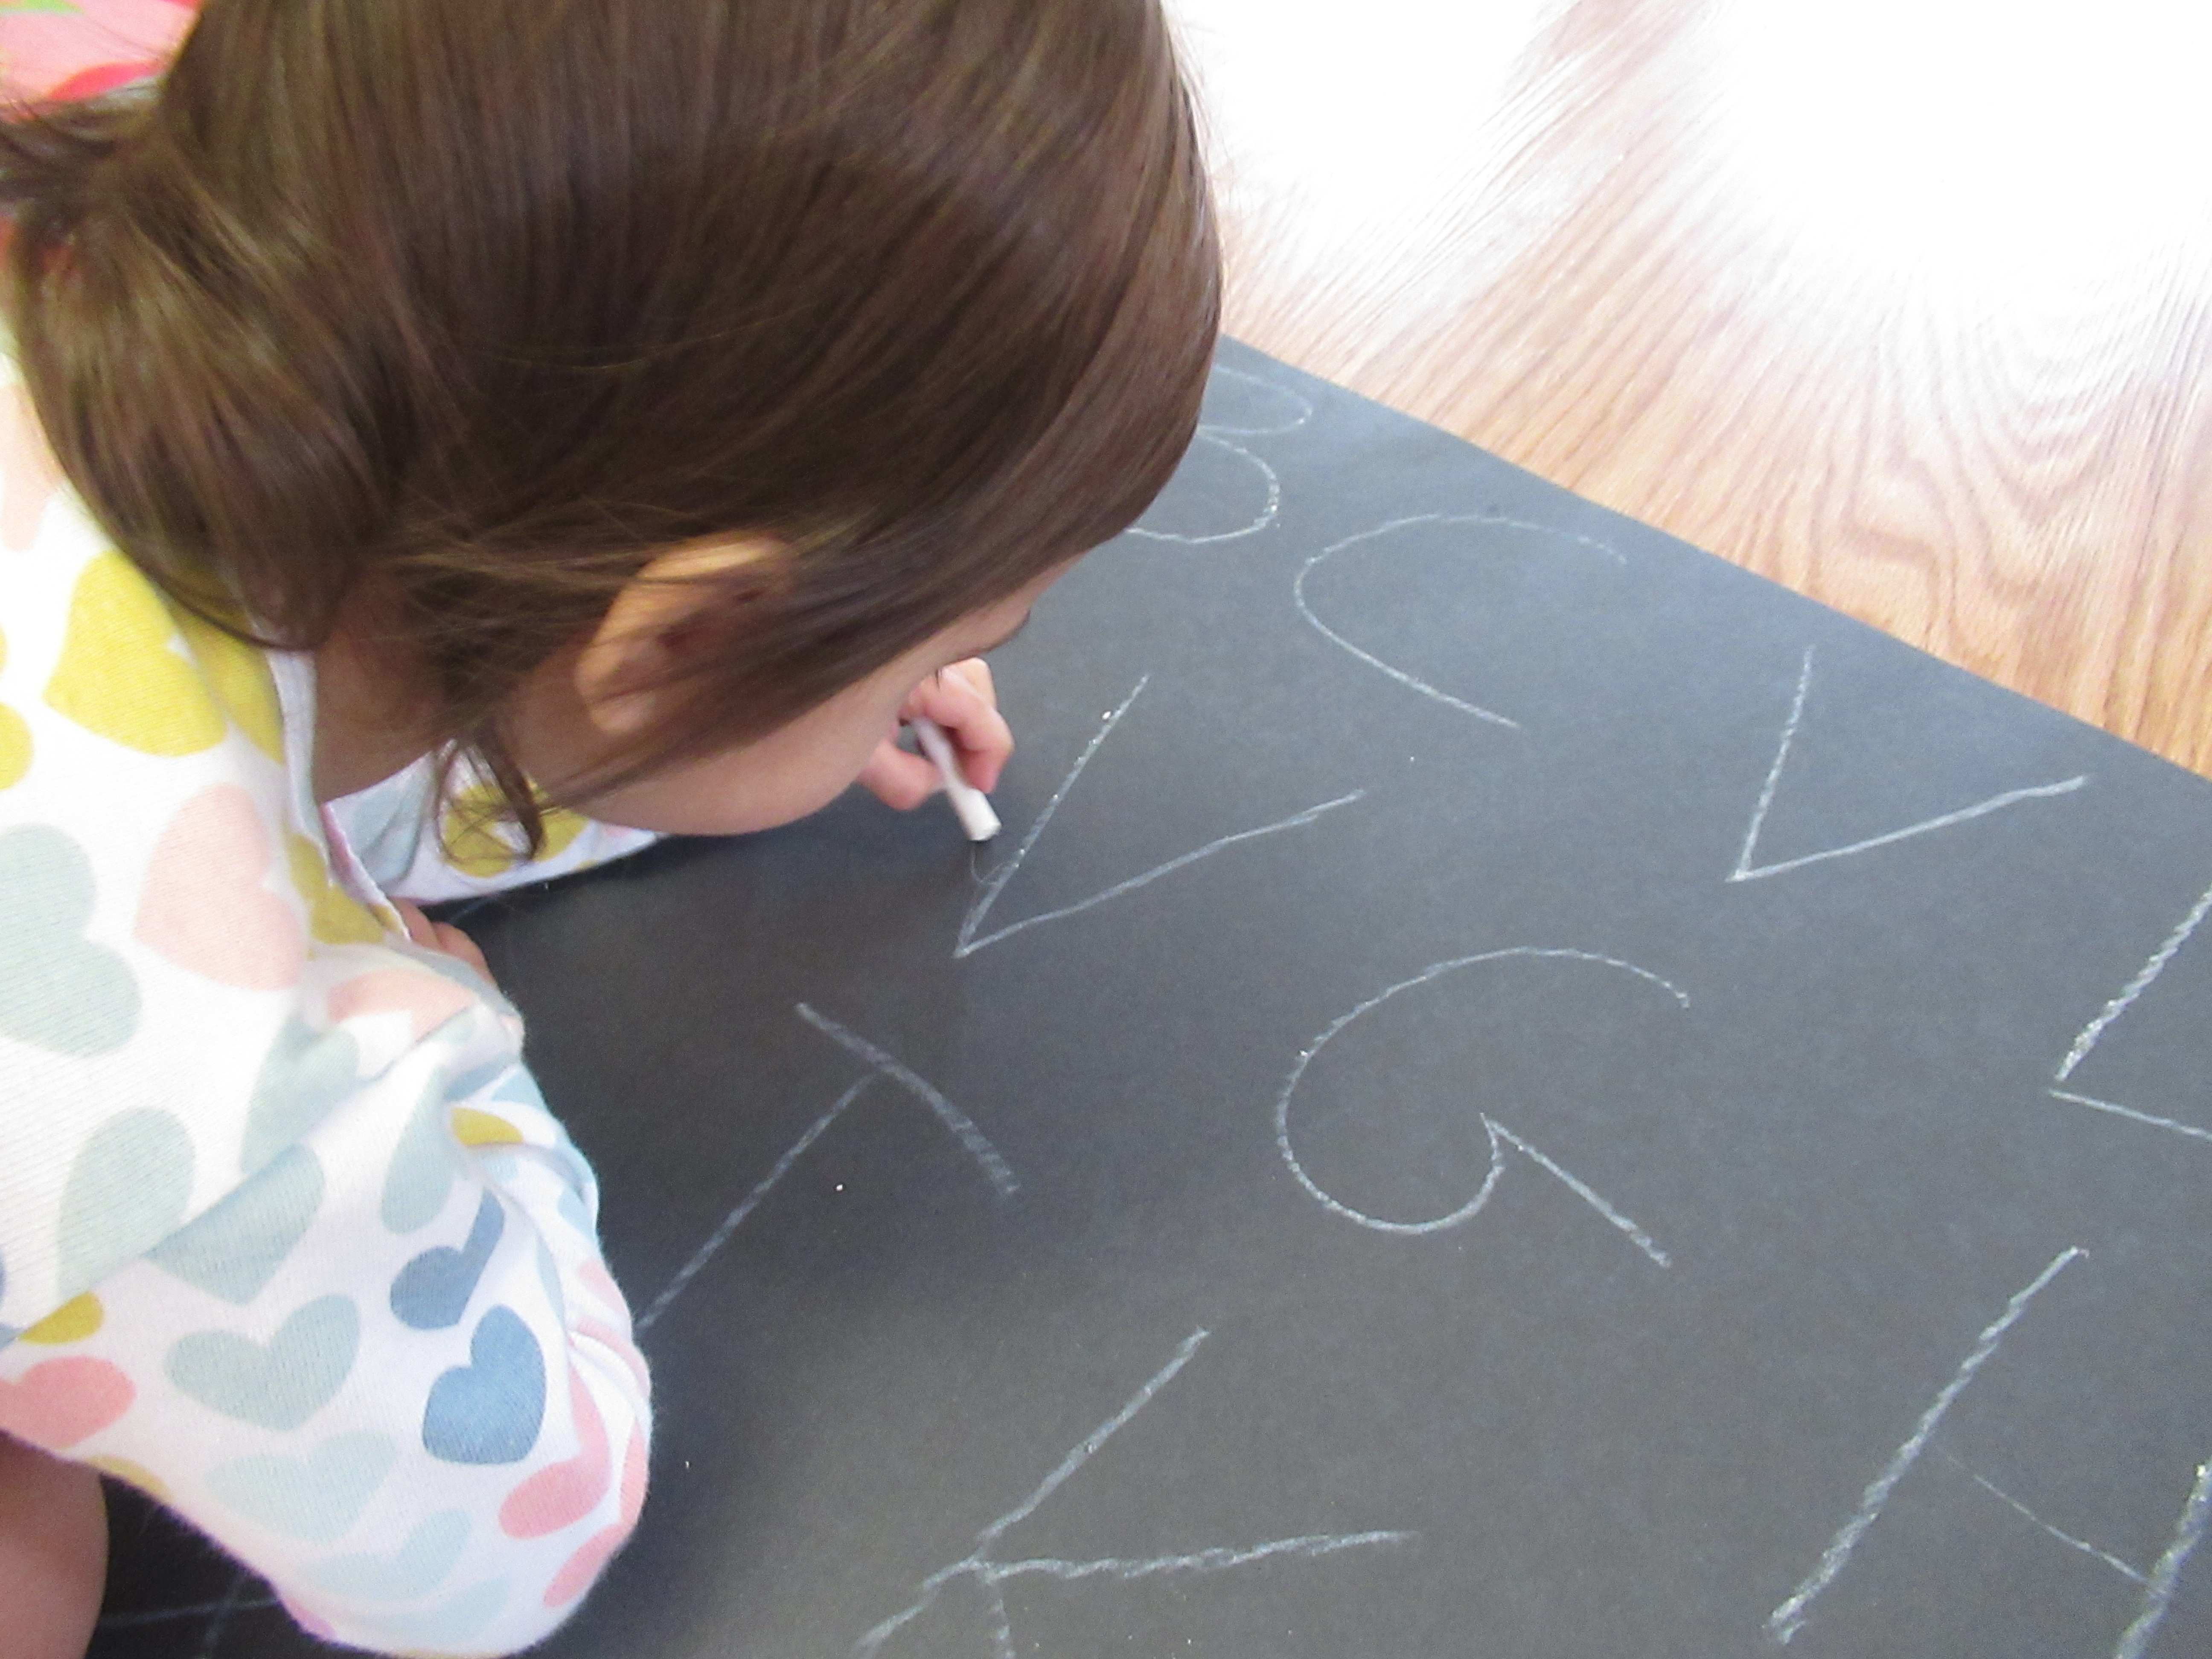
Note: If it’s not warm enough for chalk outside, you can do this activity on an indoor chalkboard, or even black poster board with white crayon in a pinch!

Letter Search for Toddlers (4)

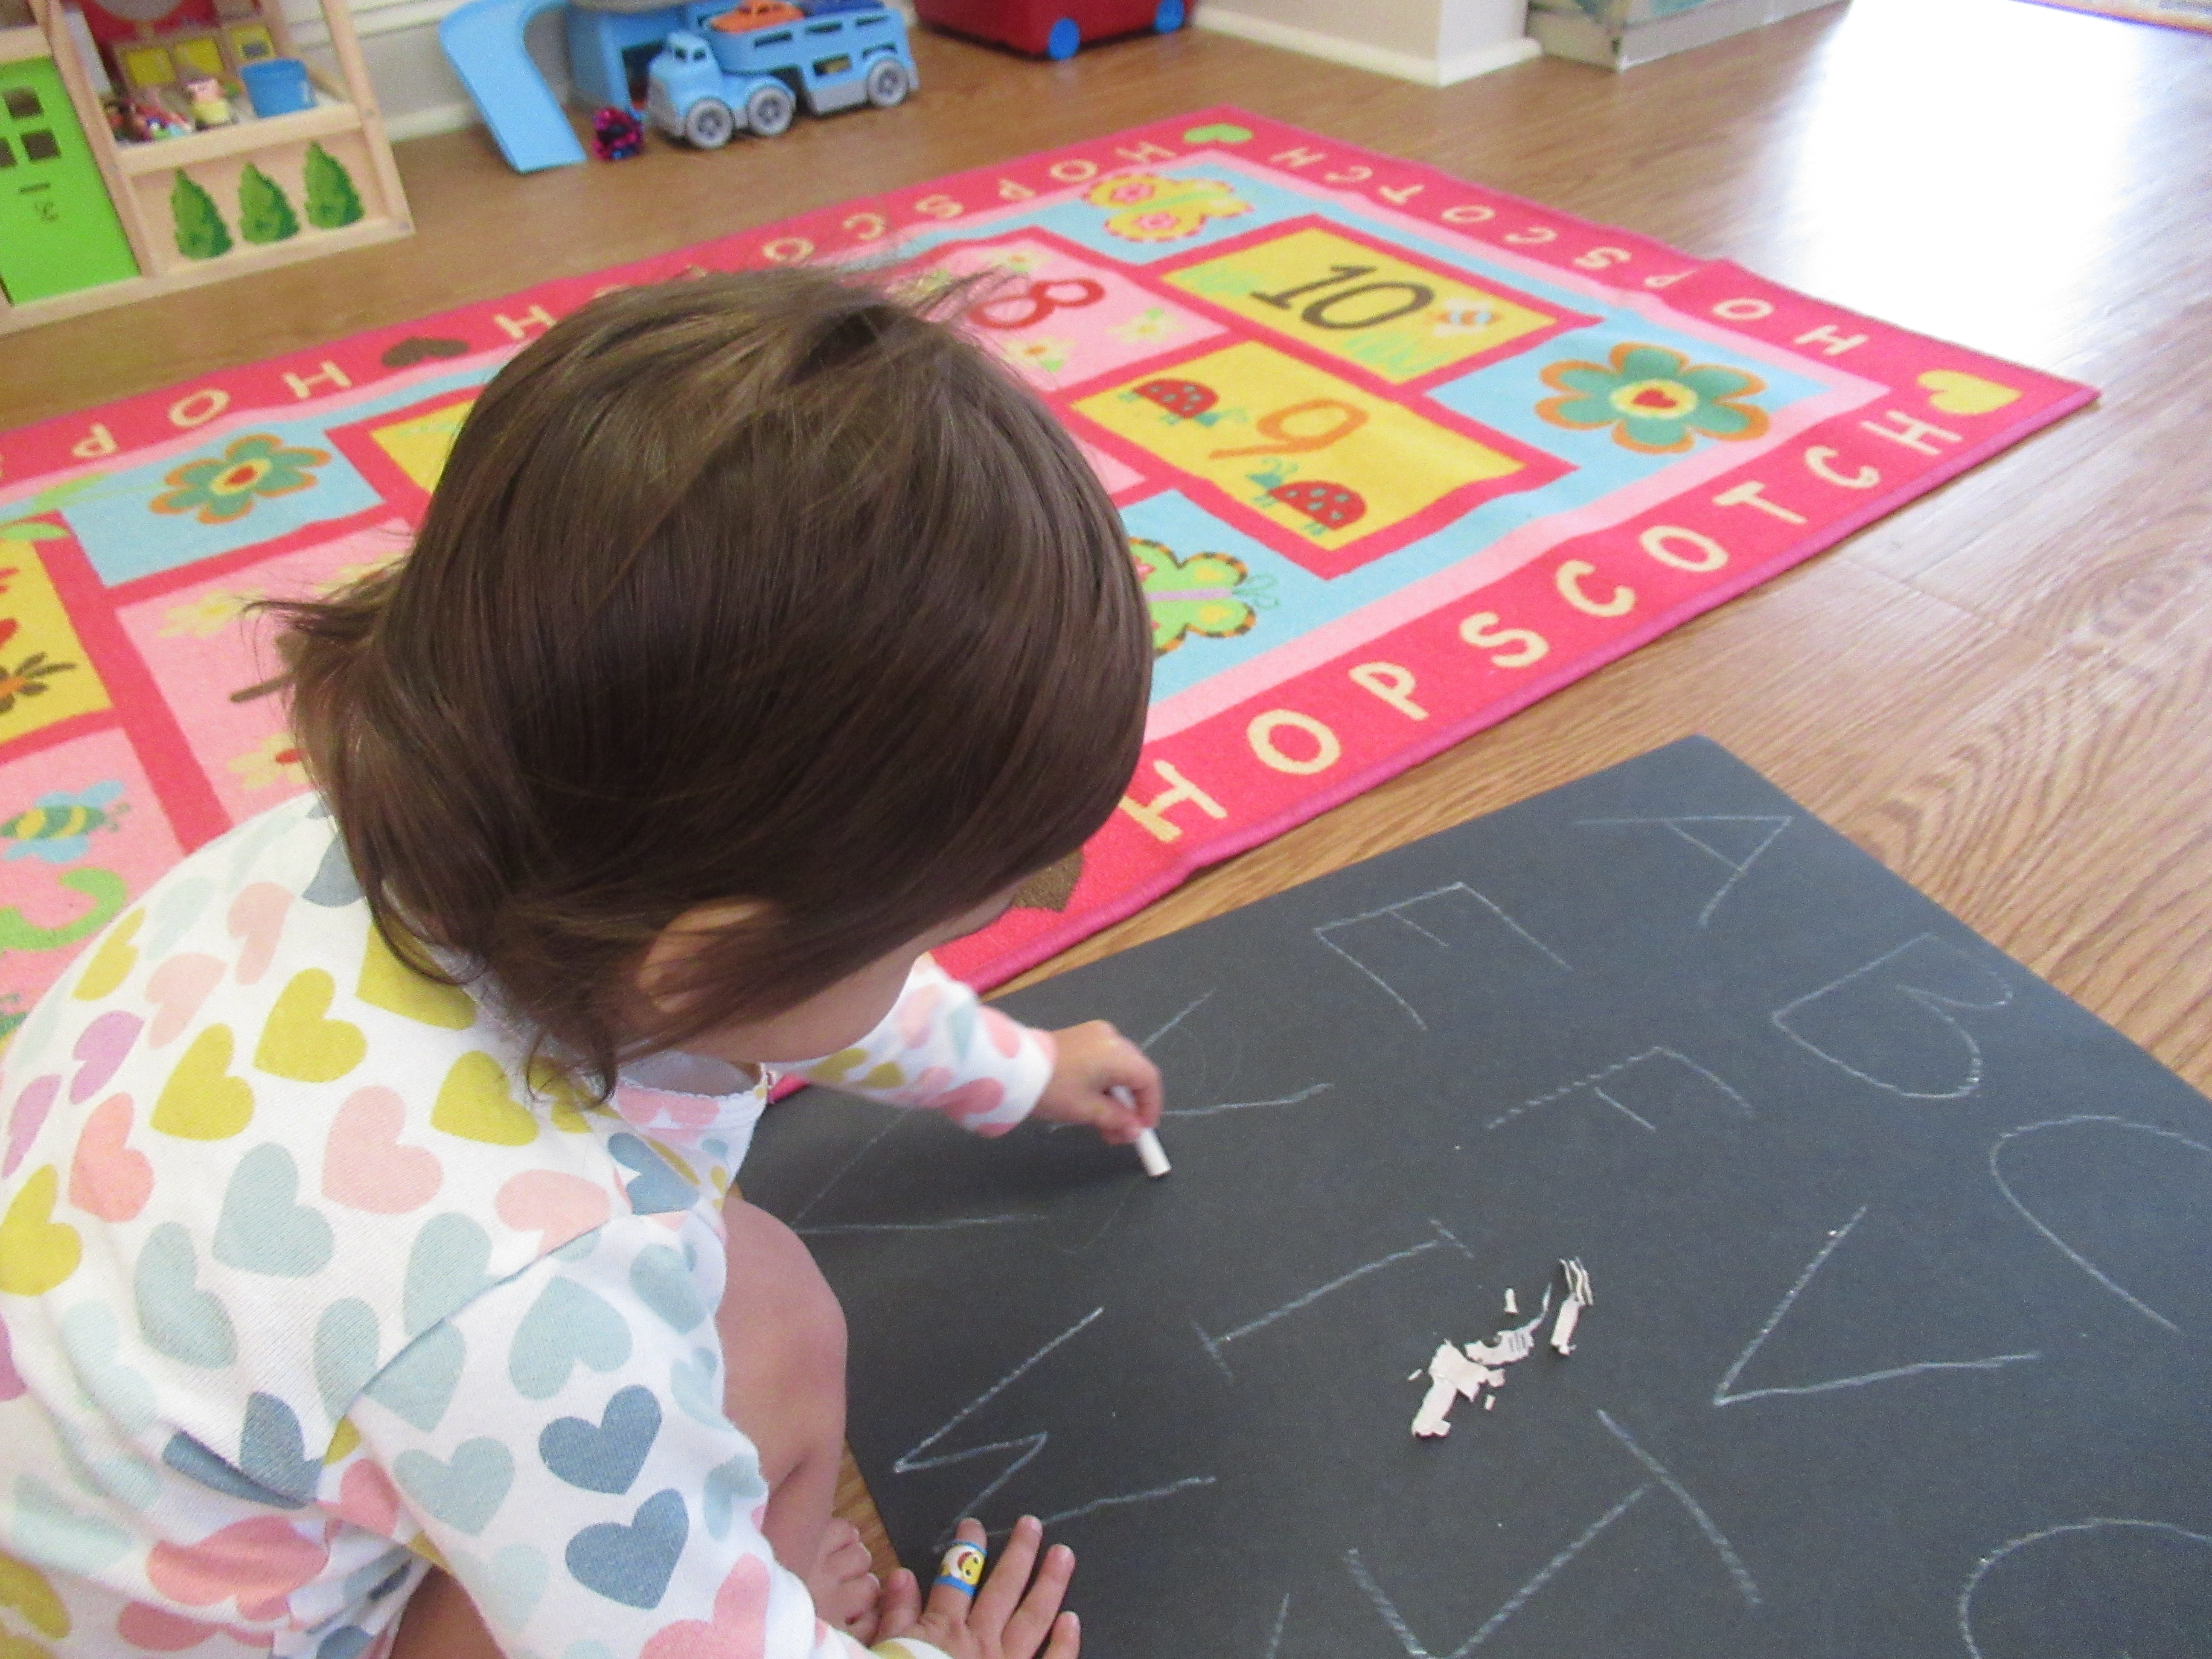
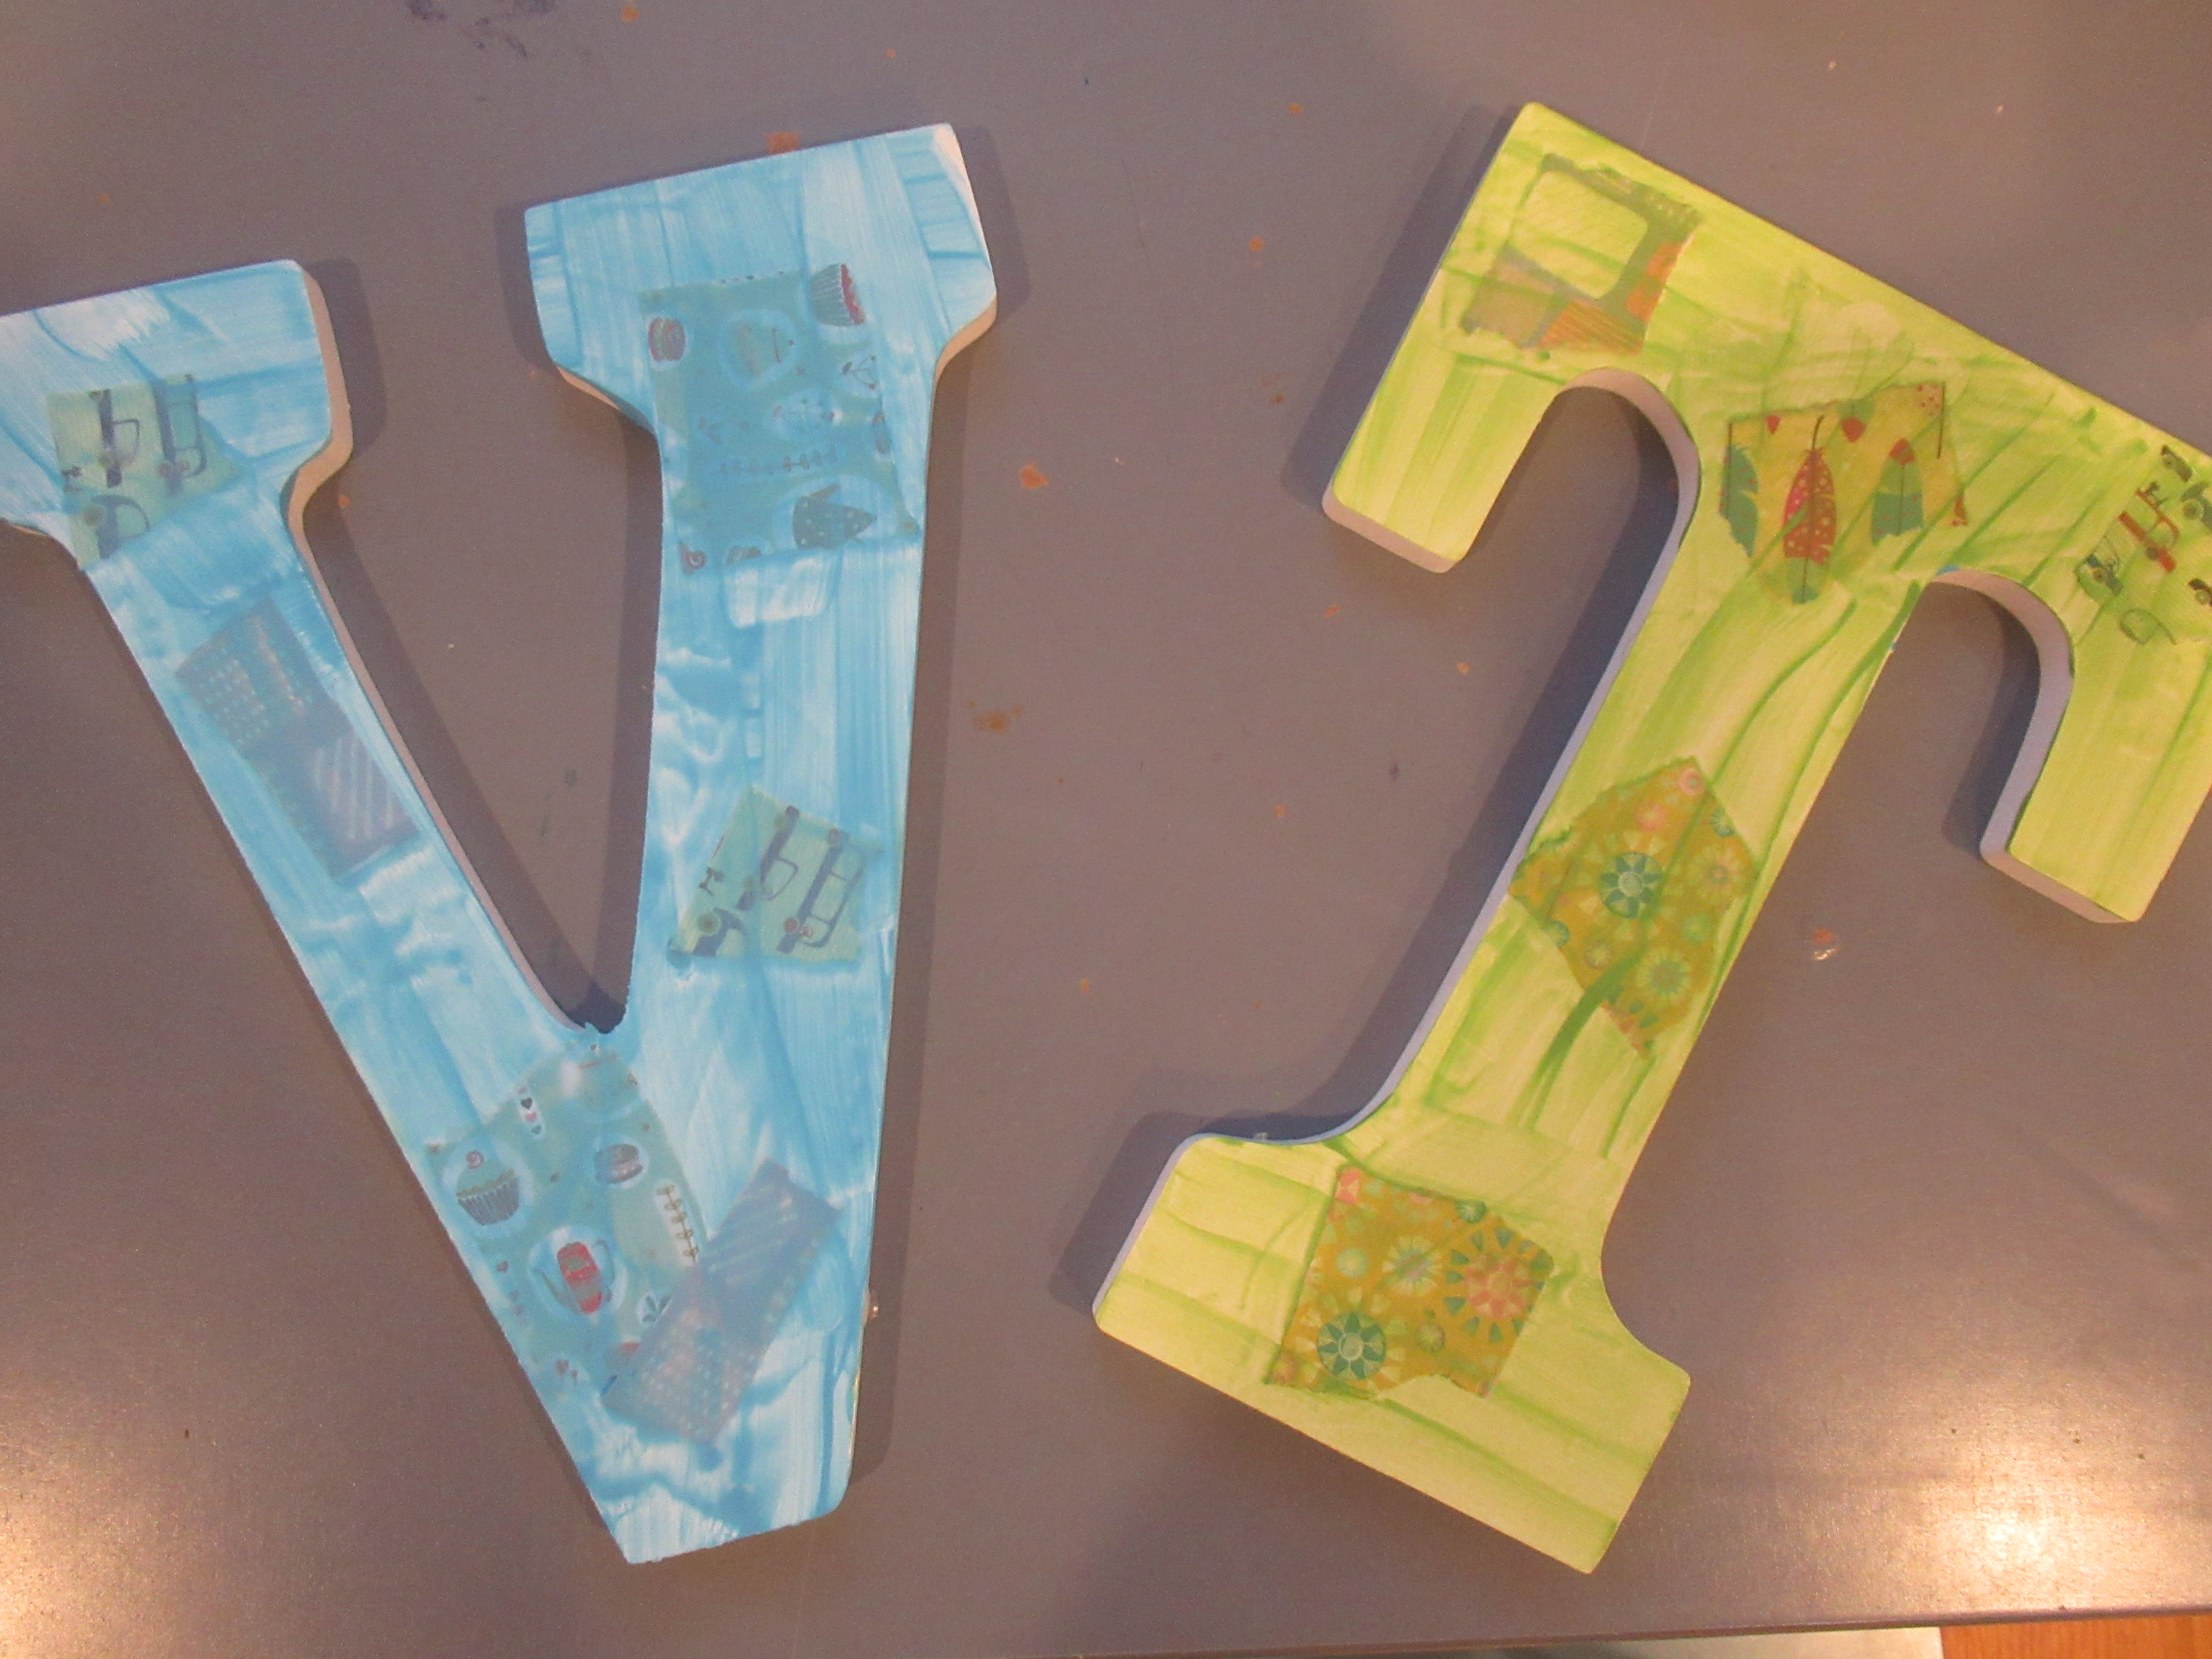
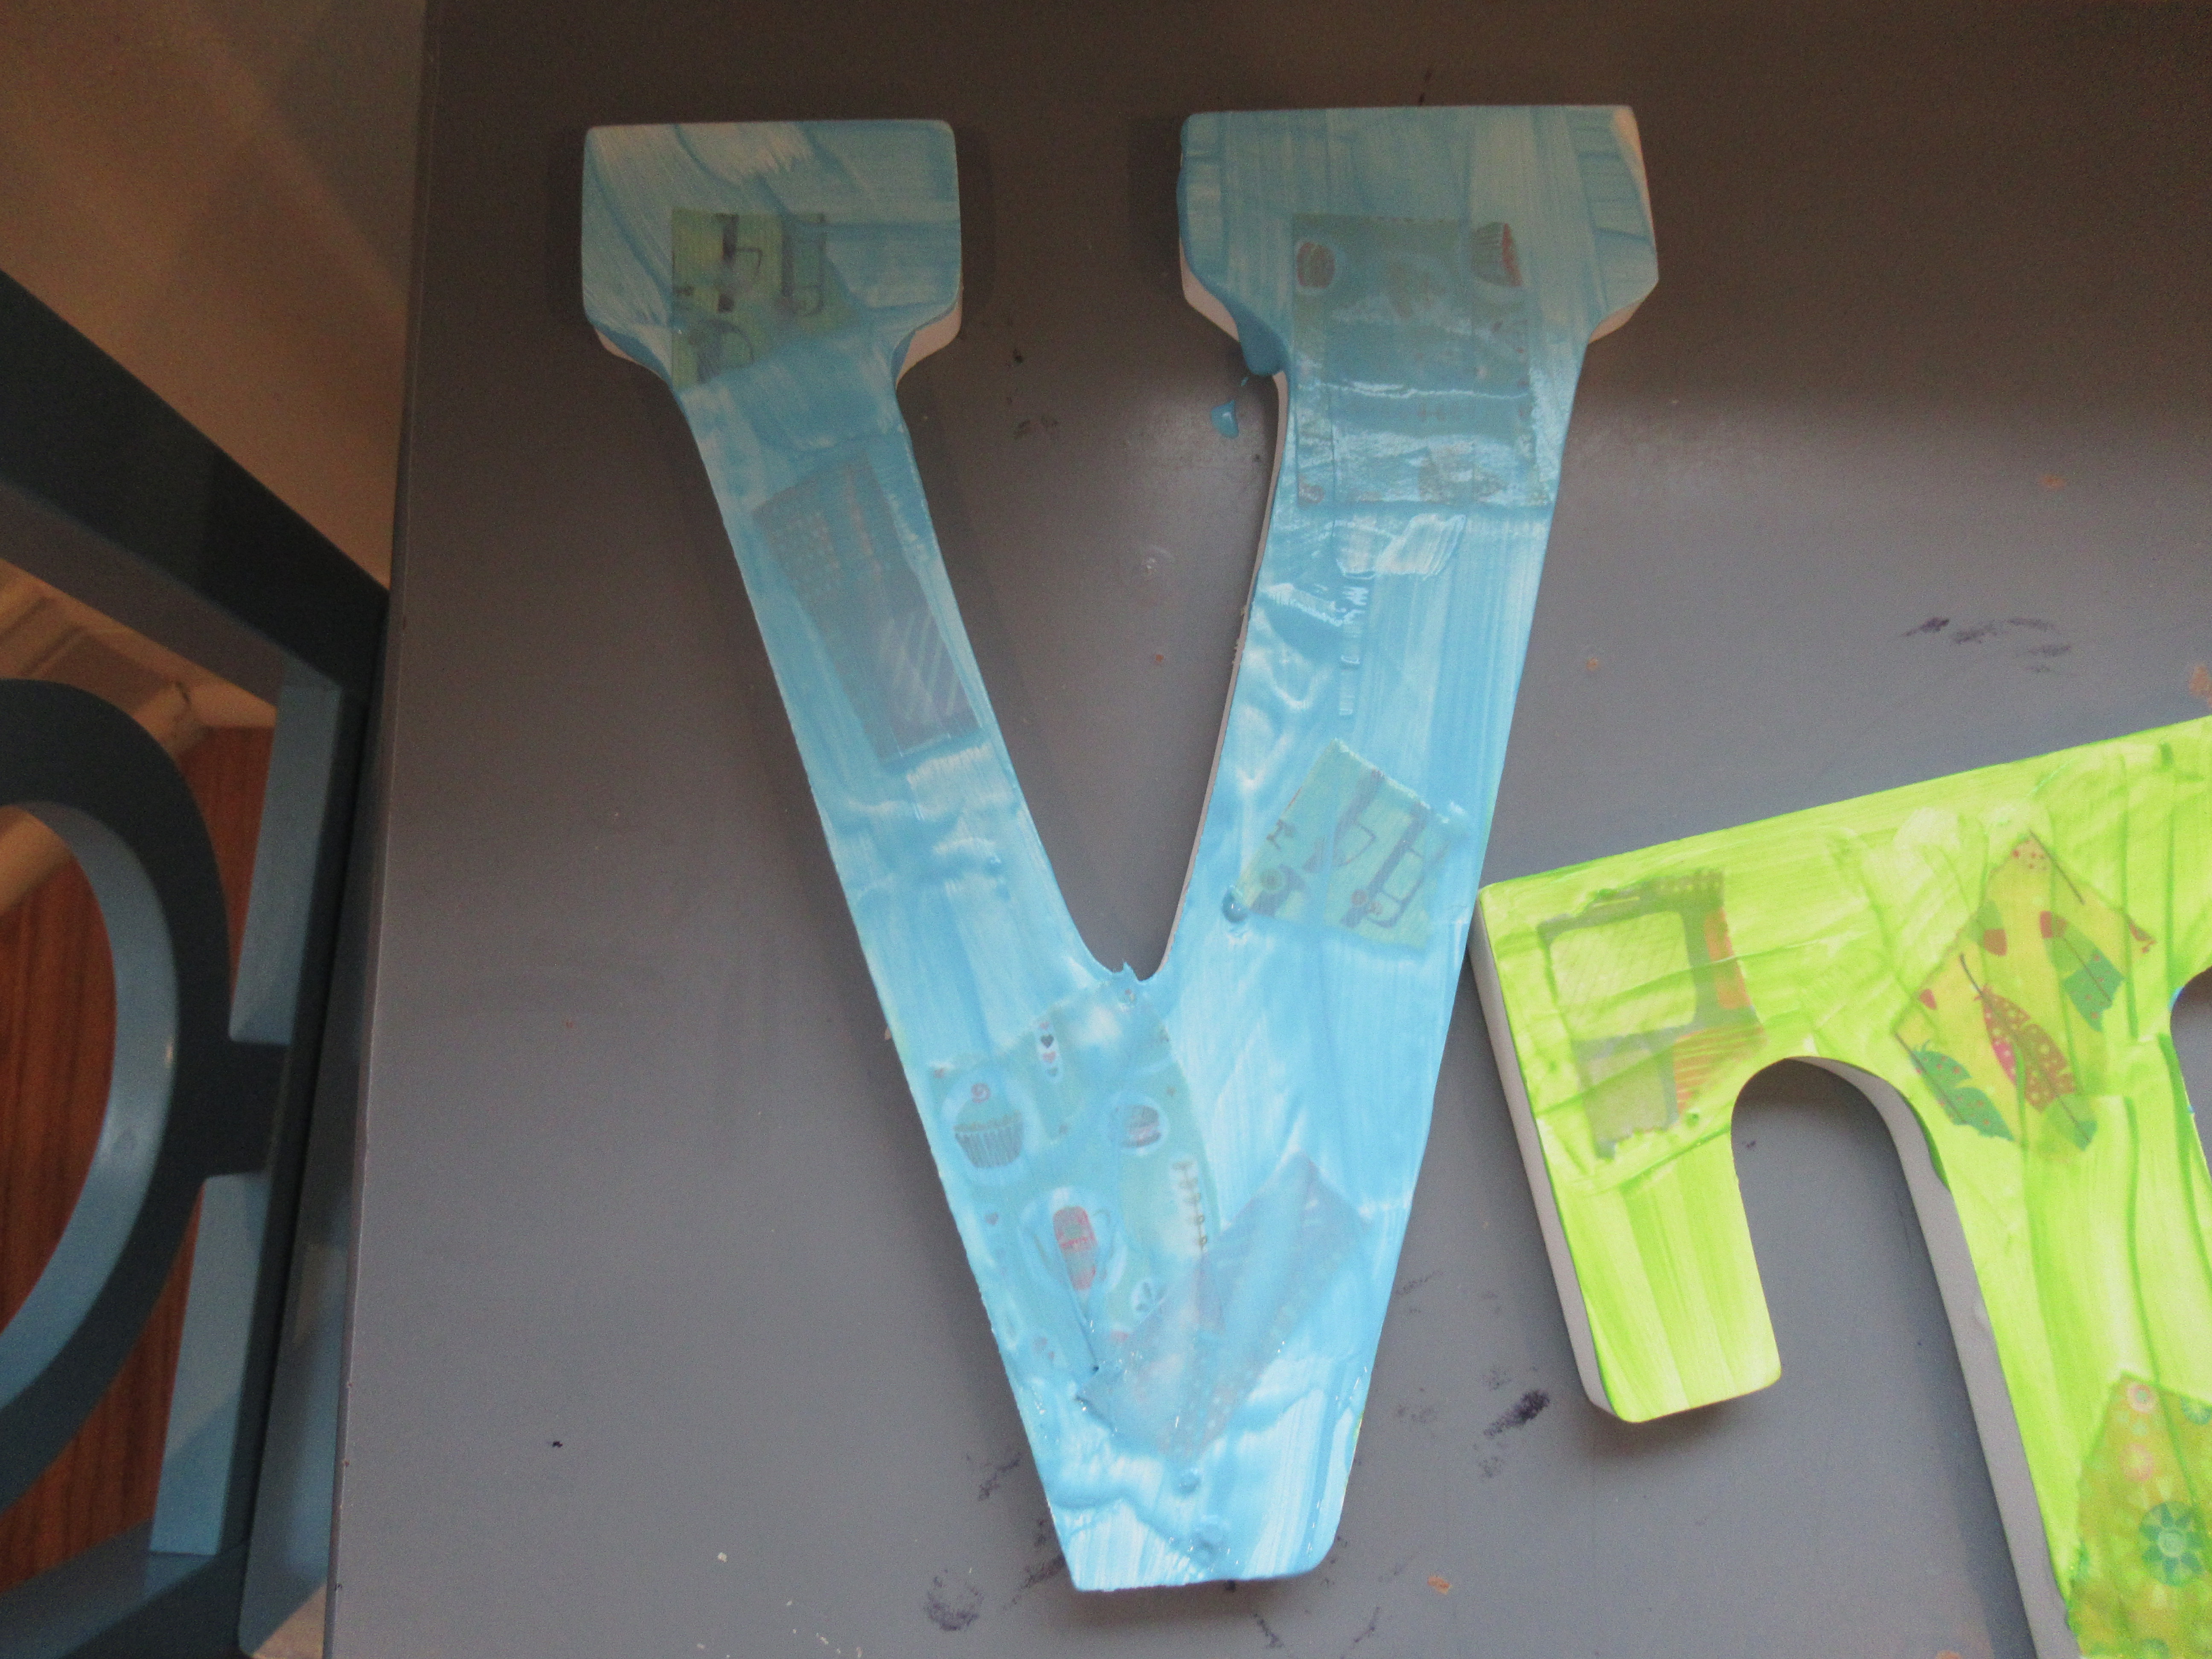
We played that version recently to help her find V for Veronika among a sea of other letters.

Letter Search for Toddlers (3)

Hands On suggested a few other letter activities like Bubble Wrap Pop or Follow the Tape Maze, making the full suite of activities take 7 days instead of 5. But Veronika is on the young side for those options, and I like that this set gives her the weekend off.

Will we keep this up for all 26 letters moving forward? I may simplify things, but overall this is a great and doable plan with a young toddler!

Mon-Fri Letter (10)

Toddler Trampoline

Toddler Trampoline (2)

It can feel like a chore to lift down Veronika’s heavy crib mattress on sheet day, but here’s a way to make lemonade out of lemons if you find yourself feeling the same. While that mattress is on the floor, it becomes the perfect toddler trampoline!

Veronika is learning how to jump (right now she goes up to her toes but hasn’t gotten any lift yet), and is so proud of her efforts. So I when I set down the mattress today, I encouraged her to step up on it and jump! Of course there’s the thrill of jumping on the bed, since normally that’s taboo. She was quite impish as she started prancing around.

Toddler Trampoline (1)

Pretty soon, stuffed animals wanted to jump, too!

Toddler Trampoline (5)

Of course she needed a pause for a puppy hug.

Toddler Trampoline (4)

She loved “jumping” and then flopping down with a flourish.

Toddler Trampoline (3)

If you’re at all worried about your toddler falling off the sides of the mattress, just surround it with a few pillows. When the sheets are clean, the mattress goes back in the crib and the fun ends until next time!

Toddler Trampoline (6)

Mommy White Board Project

JaMie Board (3)

This blog is almost entirely about the games and activities I organize for my children, but very rarely do we as caregivers remember to do something for ourselves. I’ve been wanting a better organizational system for a while (right now I scribble everything on post-its!), but it always felt too indulgent to purchase a big wall planner. Well, it was time to change that! I draw so much inspiration from the fabulous mom behind Hands on as We Grow, so when I saw she had put together this white board system for herself, I knew it was worth the splurge.

I purchased a wall organizer that is half white board and half cork board. You can get super-crafty and hot glue on fabric, or further subdivide the planner with ribbon or buttons. Not being nearly that artistic, I simply dressed mine up a bit with strips of washi tape and then used hot glue to add decorative buttons in a few corners.

JaMie Board (5)

I love that I can wipe off every item of my To Do list now, and I blocked out sections of the white board for our daily schedule, chores, and work-related items.

JaMie Board (4)

The cork side is for pinning up current project or recipe ideas, or school-related notices for the kids.

JaMie Board (7)

Perhaps the best part is that this board is going to save me so much paper in the long run, making it environmentally-friendly, too! No more loose pieces of paper stuck under too many magnets on the fridge.

JaMie Board (6)

Shaving Cream Bonanza

Bananas with Shaving Cream (3)

Today, Veronika went bananas with a shaving cream bonanza! Much like finger painting in the tub, this activity is perfect because you’re exactly where you need to be to rinse off at the end. In fact, your tub may be cleaner than when the game began, thanks to the soapy shaving cream.

I dressed Veronika in her bathing suit and placed her in a dry tub, then simply squirted out shaving cream: lots! I probably used about three-quarters of a container, but this was so fun that I might use a full bottle or two next time.

Bananas with Shaving Cream (1)

First, Veronika had fun with her tub toys in the oceans of foam. Plastic boats looked like they were in an icy sea!

Bananas with Shaving Cream (2)

She also liked adding bath toys like a penguin and dolphin, which could romp through the soapy waves.

Bananas with Shaving Cream (5)

Your kids might want to play with the shaving cream on the floor of the tub or to smear it on the walls. For the latter, you could even take the opportunity to draw shapes or letters, but honestly we skipped that part today.

Bananas with Shaving Cream (6)

Instead, I placed a basin of warm water next to Veronika and she loved scooping water up in cups and pouring it over the toys. This was neat because it made some of the shaving cream dissolve each time. She then decided it was more fun to scoop up shaving cream in her hand, rinse in the basin, and repeat. She got into such a groove solo with this activity for a while, which is exactly what I was hoping for.

Bananas with Shaving Cream (4)

As she was finishing up play, we turned it into clean-up, simply rinsing each toy and watching the shaving cream go in runnels down the drain. A quick rinse for her hands and feet and clean-up was done!