Avocado Summer Salad

Take advantage of summer’s bounty for this salad. If your kids don’t like strawberries and nectarines, just swap in other berries or stone fruit instead!

Ingredients:

  • 2 ripe avocados
  • 3 tablespoons fresh-squeezed lime juice, divided
  • 2 ripe nectarine, diced
  • 1 cup diced strawberries
  • 1/2 cup diced sweet onion
  1. Halve each avocado and remove the pits. Scoop out the flesh with a spoon and cut into slices, then arrange on a platter. Drizzle with 2 tablespoons lime juice and set aside.
  2. In a bowl, combine the nectarine, strawberries, and onion. Spoon over the avocado slices and drizzle with the remaining tablespoon lime juice.

We love these with grilled Beyond Sausage and baked beans for a summer barbecue!

Advertisement

DIY Road Map

It’s been a while since Veronika showed interest in her toy cars. So hoping to spur some play with them, today we made a whole town for her to drive cars through!

To start, I unrolled a long sheet of butcher paper on the ground, taping it at the corners. (Note: I’ve also seen this activity done on a table with a white board top, in which you can use dry-erase markers and wipe clean when finished). Veronika was delighted as we piled cars onto the paper to populate our town!

I started with a long black line for the main road, and showed her examples of buildings we could draw, including a few simple houses. Before I even prompted her, she drove a purple car to the purple house…

…and a green car to the green one!

We added buildings based on the other vehicles in our bin, including a school for the bus and a fire station for the fire trucks. At this point, you can encourage preschoolers or older kids to draw their own favorite buildings or destinations.

Next Veronika wanted to walk along the road. There was a giant in town!

Then she requested a beach, jsut like the one we visit in real life. That’s the brilliance behind the DIY road map, because kids can add their own favorites to this make-believe world. We also needed a construction site full of “dirt” (yellow and black marker) for her dump truck and digger.

Don’t forget to throw in a little learning about road safety. To wit, we had an octagonal stop sign at our town’s main intersection.

Once the drawing and creating is complete, a giant road like this can lead to imaginative play all day. Big brother Travis even got down to play with cars, which he hasn’t done in ages.

Make Pasta Noodles

Make Pasta (5)

I’ve tackled many homemade recipes with kids, but we’ve never properly made fresh pasta noodles. Today was the day to take the leap! Technically, I knew this recipe wasn’t going to turn out “right” with a toddler, but mostly the intention was for Veronika to have hands-on flour-y fun.

To start, I placed down several sheets of wax paper to protect the floor, then scooped out 2 cups flour. Instant fun! Veronika helped mound this into a volcano shape in the center of the wax paper.

Make Pasta (1)

I then whisked 4 tablespoons flaxseed into 12 tablespoons cold water for flax “eggs”, although honestly you could just use water. Veronika loves when we make vegan eggs like this, though, and is proudly in charge of the whisking.

Make Pasta (4)

Make a well in the center of the flour mound and begin adding the flax mixture, a little at a time.

Make Pasta (2)

Veronika loved helping stir with a fork after each addition; the flour begins to pull into the liquid in a way that’s quite neat to watch! Eventually you’ll need to start to using your hands, kneading until it forms a ball. I was so proud of Veronika for getting her hands right in there after a moment of hesitation.

Make Pasta (3)

Wrap the dough in plastic wrap and let stand at room temperature for 30 minutes. While a pot of water comes to a boil, roll the dough into a rectangle with a rolling pin. Veronika “helped” with this part, although mainly by jabbing at it with the rolling pin.

Make Pasta (6)

At this stage, things turned more into sensory play, so I wasn’t able to cut the noodles as suggested by online sources like Parents magazine. But I did slice off little bits of dough that we cooked up in boiling water anyway, just to see! Cook for about 3 minutes (until they float to the surface), then serve warm with marinara sauce. The kids declared the noodles yummy, although a bit odd in texture!

Make Pasta (7)

Make a Sailor a Boat

Sailor a Boat (8)

Veronika recently played with a box in a very free-form way, where we let the box serve as a prompt for imagination, but with almost no embellishments. Today’s play was the opposite, carefully crafting an upcycled box for a specific use: A boat!

I started with details like the sail and mast first, because I knew Veronika would be antsy to climb in for a ride and not want to wait for paint to dry. Use tape (or hot glue) to rig up two dowels one one end of the box, then attach tissue paper or fabric for the sail. We used the latter, with a fun whale print that was just right for the open seas.

Sailor a Boat (1)

Next, cut a steering wheel shape from construction paper and tape to a craft stick, then attach at the end of the box opposite the sail.

Sailor a Boat (3)

Don’t forget to cut out circles for portholes, too!

Sailor a Boat (2)

Veronika couldn’t wait to cast off from shore! The box was just the right size for her and one stuffed animal passenger to sail around the globe (well, apartment).

Sailor a Boat (5)

Once she’d had her fill of sailing, I did take the time to paint. Black, blue, and white stripes gave the box a quick nautical sheen! Now she was content to wait before hopping in for another sail.

Sailor a Boat (4)

Anchors aweigh!

Sailor a Boat (7)

Moon Journal

The last time Travis made a moon journal, he was still in preschool, meaning I was in charge of the drawings, and he was mostly along for the ride! As a first grader, this time he was in charge of the project from start to finish, not only enjoying the art aspect, but understanding on a deeper level, too.

We started when the moon was a waxing quarter, Travis eagerly peered out the window at the night sky and chose his colors carefully before proudly presented his first drawing. Don’t forget to add the date!

Each successive night for a week, we checked on the moon just before bed. Travis took careful stock of how the moon had changed since the night before: the first night a thumbnail, the second night bigger but not quite half, and so on. He also marveled at how the position in the sky changed (by the end of the journal, he had to switch windows!)

Aside from frustration one night about cloudy skies, he loved the process.

We ended when the moon was just shy of full, and he proudly made a giant yellow circle.

This is a great way for kids to observe so much about how the moon changes, not just its size and shape, but also where it is in the sky, what time it appears, and more.

Pop Art Popsicles

Today we made popsicles that really popped, just in time for a 90 degree day.

To start, add gummy candy to popsicle molds. Parents magazine demonstrated with Airheads, but we used vegan sour rings from Whole Foods, thinking the sour combination would pair nicely with sweet juice.

That said, don’t use too sugary a liquid, since the sour rings are still loaded with sugar. We filled half of our molds with coconut water and the other half with lime seltzer. Freeze until set. (Ours took about 8 hours).

When it came time for the big reveal, the kids were wowed by the candy circles trapped in frozen liquid!

Half the fun was looking at them but the other half was in eating them of course, unlocking each candy circle in turn before moving on to the next. What candy will you freeze for pop art pops? Please share in the comments!

Sunny-Day Clay

We’ve made homemade playdough before, but haven’t ever tried our hand at homemade clay! This version comes together fairly easily and has a fantastic texture.

To start, have your kids squeeze in some quick math by helping measure out 2 cups baking soda, 1 cup cornstarch, and 1 and 1/4 cups water into a saucepan.

Cook the mixture over medium heat for about 5 to 10 minutes. By the end, it should pull away from the sides of the pan and look almost like mashed potatoes. Let cool completely.

We divided the clay into 4 portions, with the intention of adding a different color to each portion before starting to roll out sculptures.

Travis thought it was much more fantastic fun to squeeze tons of food coloring onto the white clay, however, which meant soon we had a goopy mess!

There was a brief moment where the subtle color in the clay was just right…

(I managed to snap a quick pick of this shamrock)

…before there was so much food coloring that the clay became a squishy mess. This thrilled Travis of course, but for actual sculpting and building purposes, I rather wish we’d left it white!

As a side note, the texture of this homemade clay is wonderful. I find that store-bought clay has a tacky feeling and sticky residue, whereas this was silky smooth.

Press Homemade Paper

The idea for this messy hands-on play came from Parents magazine, although I had to adapt the activity slightly based on materials in our house. Still, it filled a morning of play for Veronika in the best, messiest way!

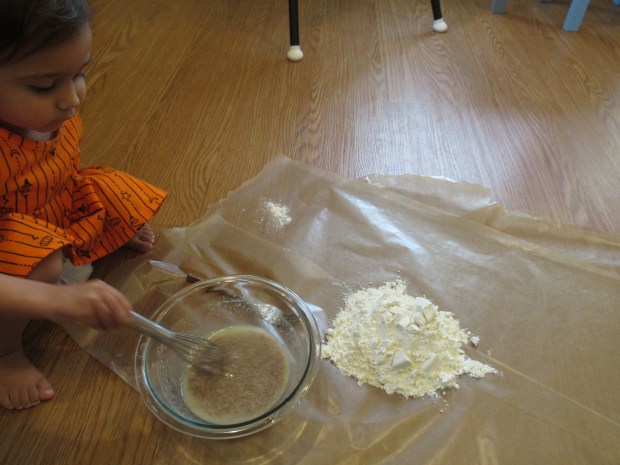
To start, Veronika helped tear up sheets of colored construction paper. Even better was pouring water from the watering can over the pieces until covered. Let soak for at least a few hours.

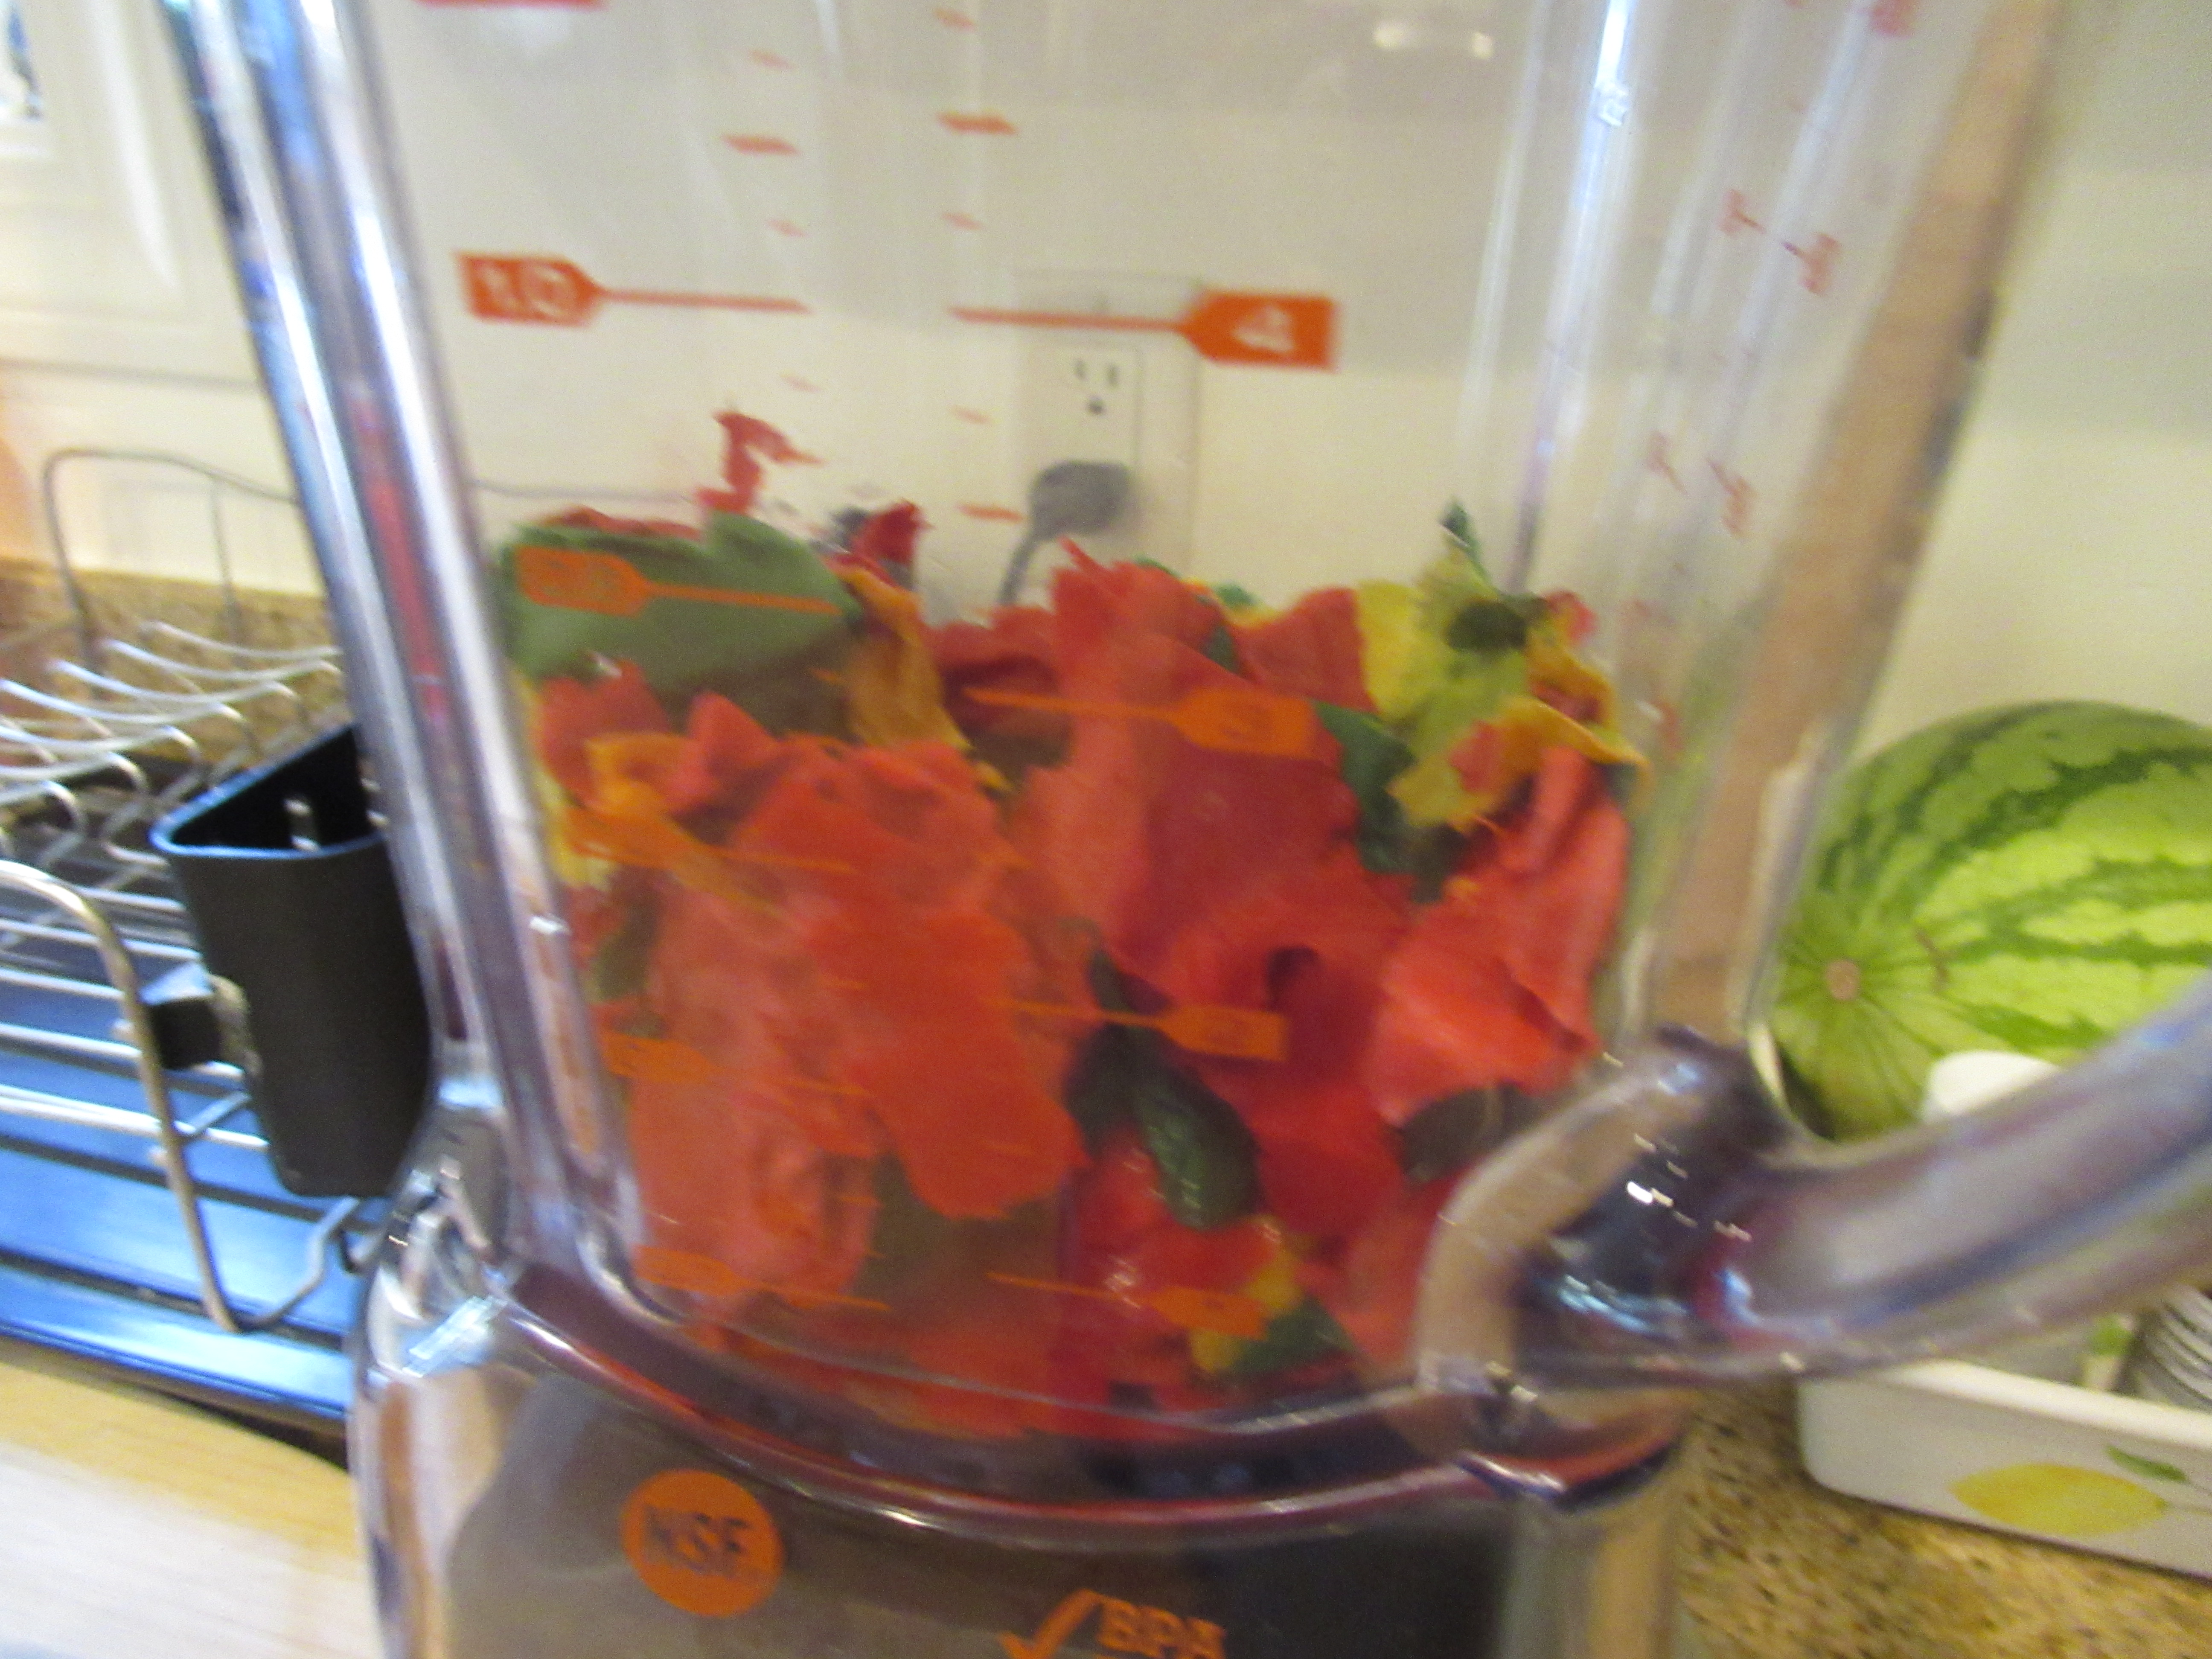
We headed out for a few activities, then came home to check on the paper. Nice and soggy! We transferred it to a blender, along with a little extra water. Blend until you have a thick paste. I didn’t measure the water, so just eyeball this until it seems right; you don’t want the mixture to be soupy, but you also don’t want it to seem too dry.

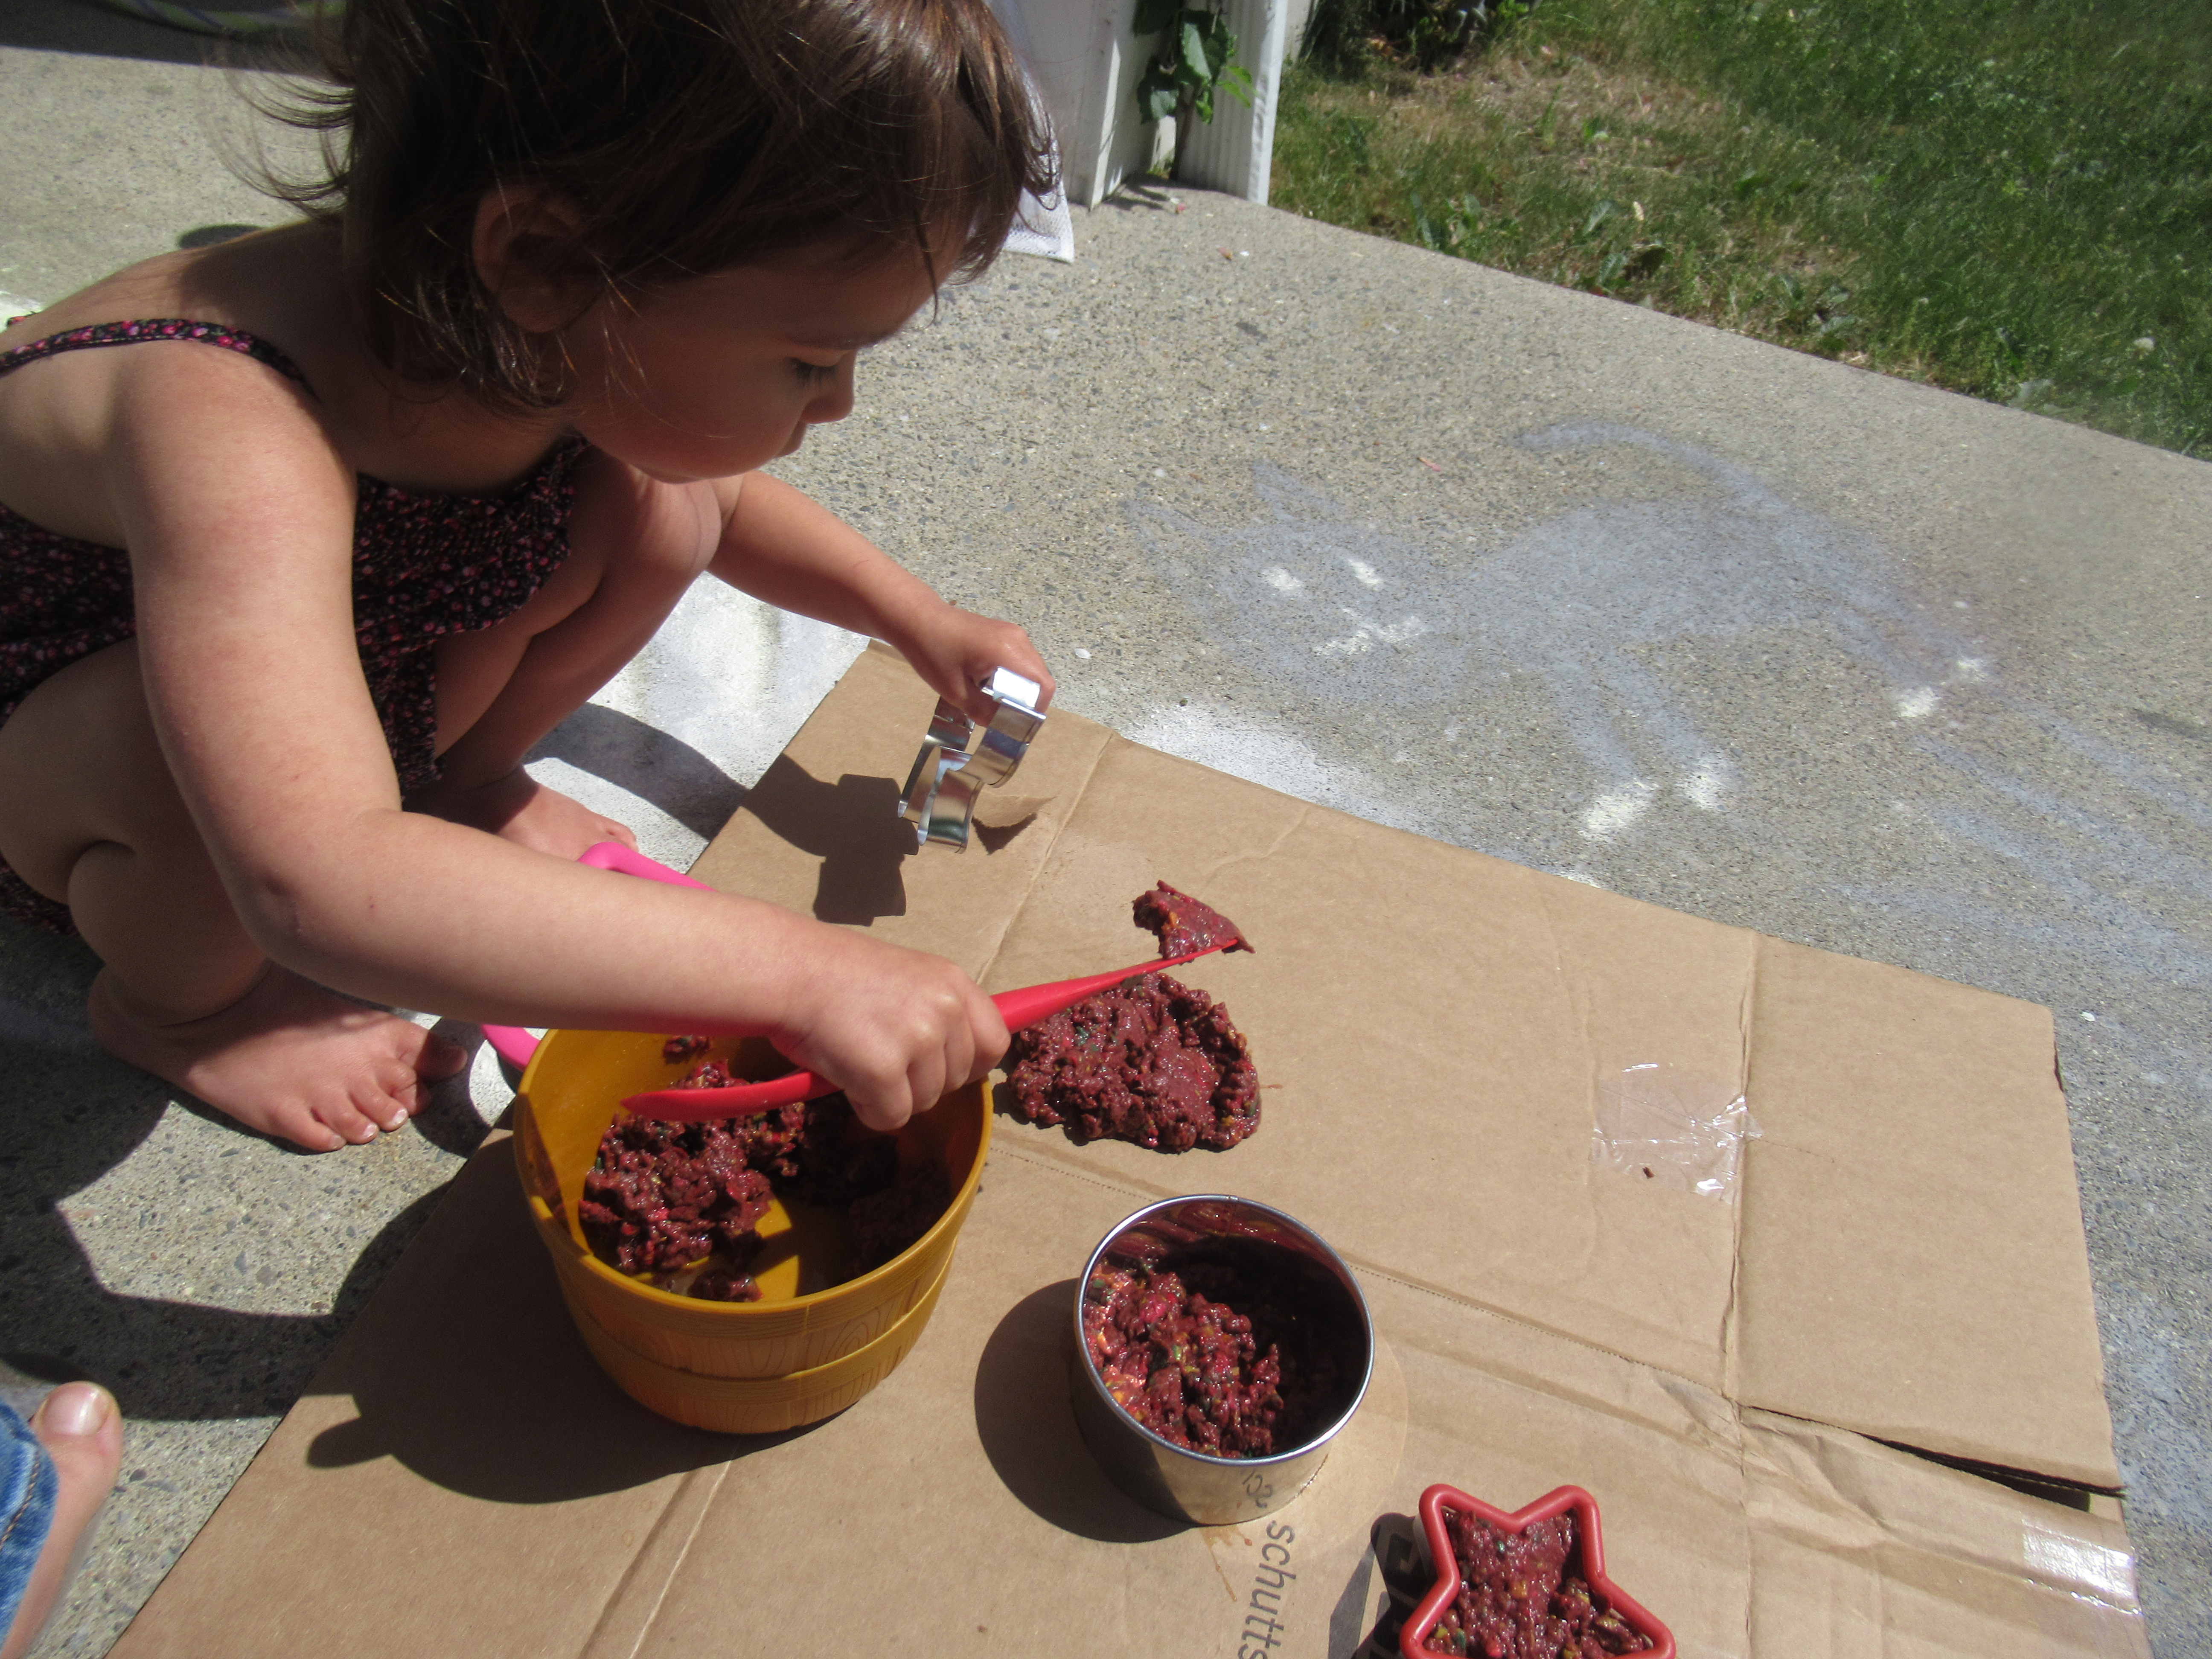
Transfer back to a bowl and stir in a packet of flower seeds, then head outside! Here’s where I needed to improvise; ideally, I would have set out the paper mush on an old window screen (or in a pinch, even a nylon stocking stretched over a hanger frame. Having neither, we just worked on a piece of cardboard, which I hoped would absorb the excess water as our paper dried.

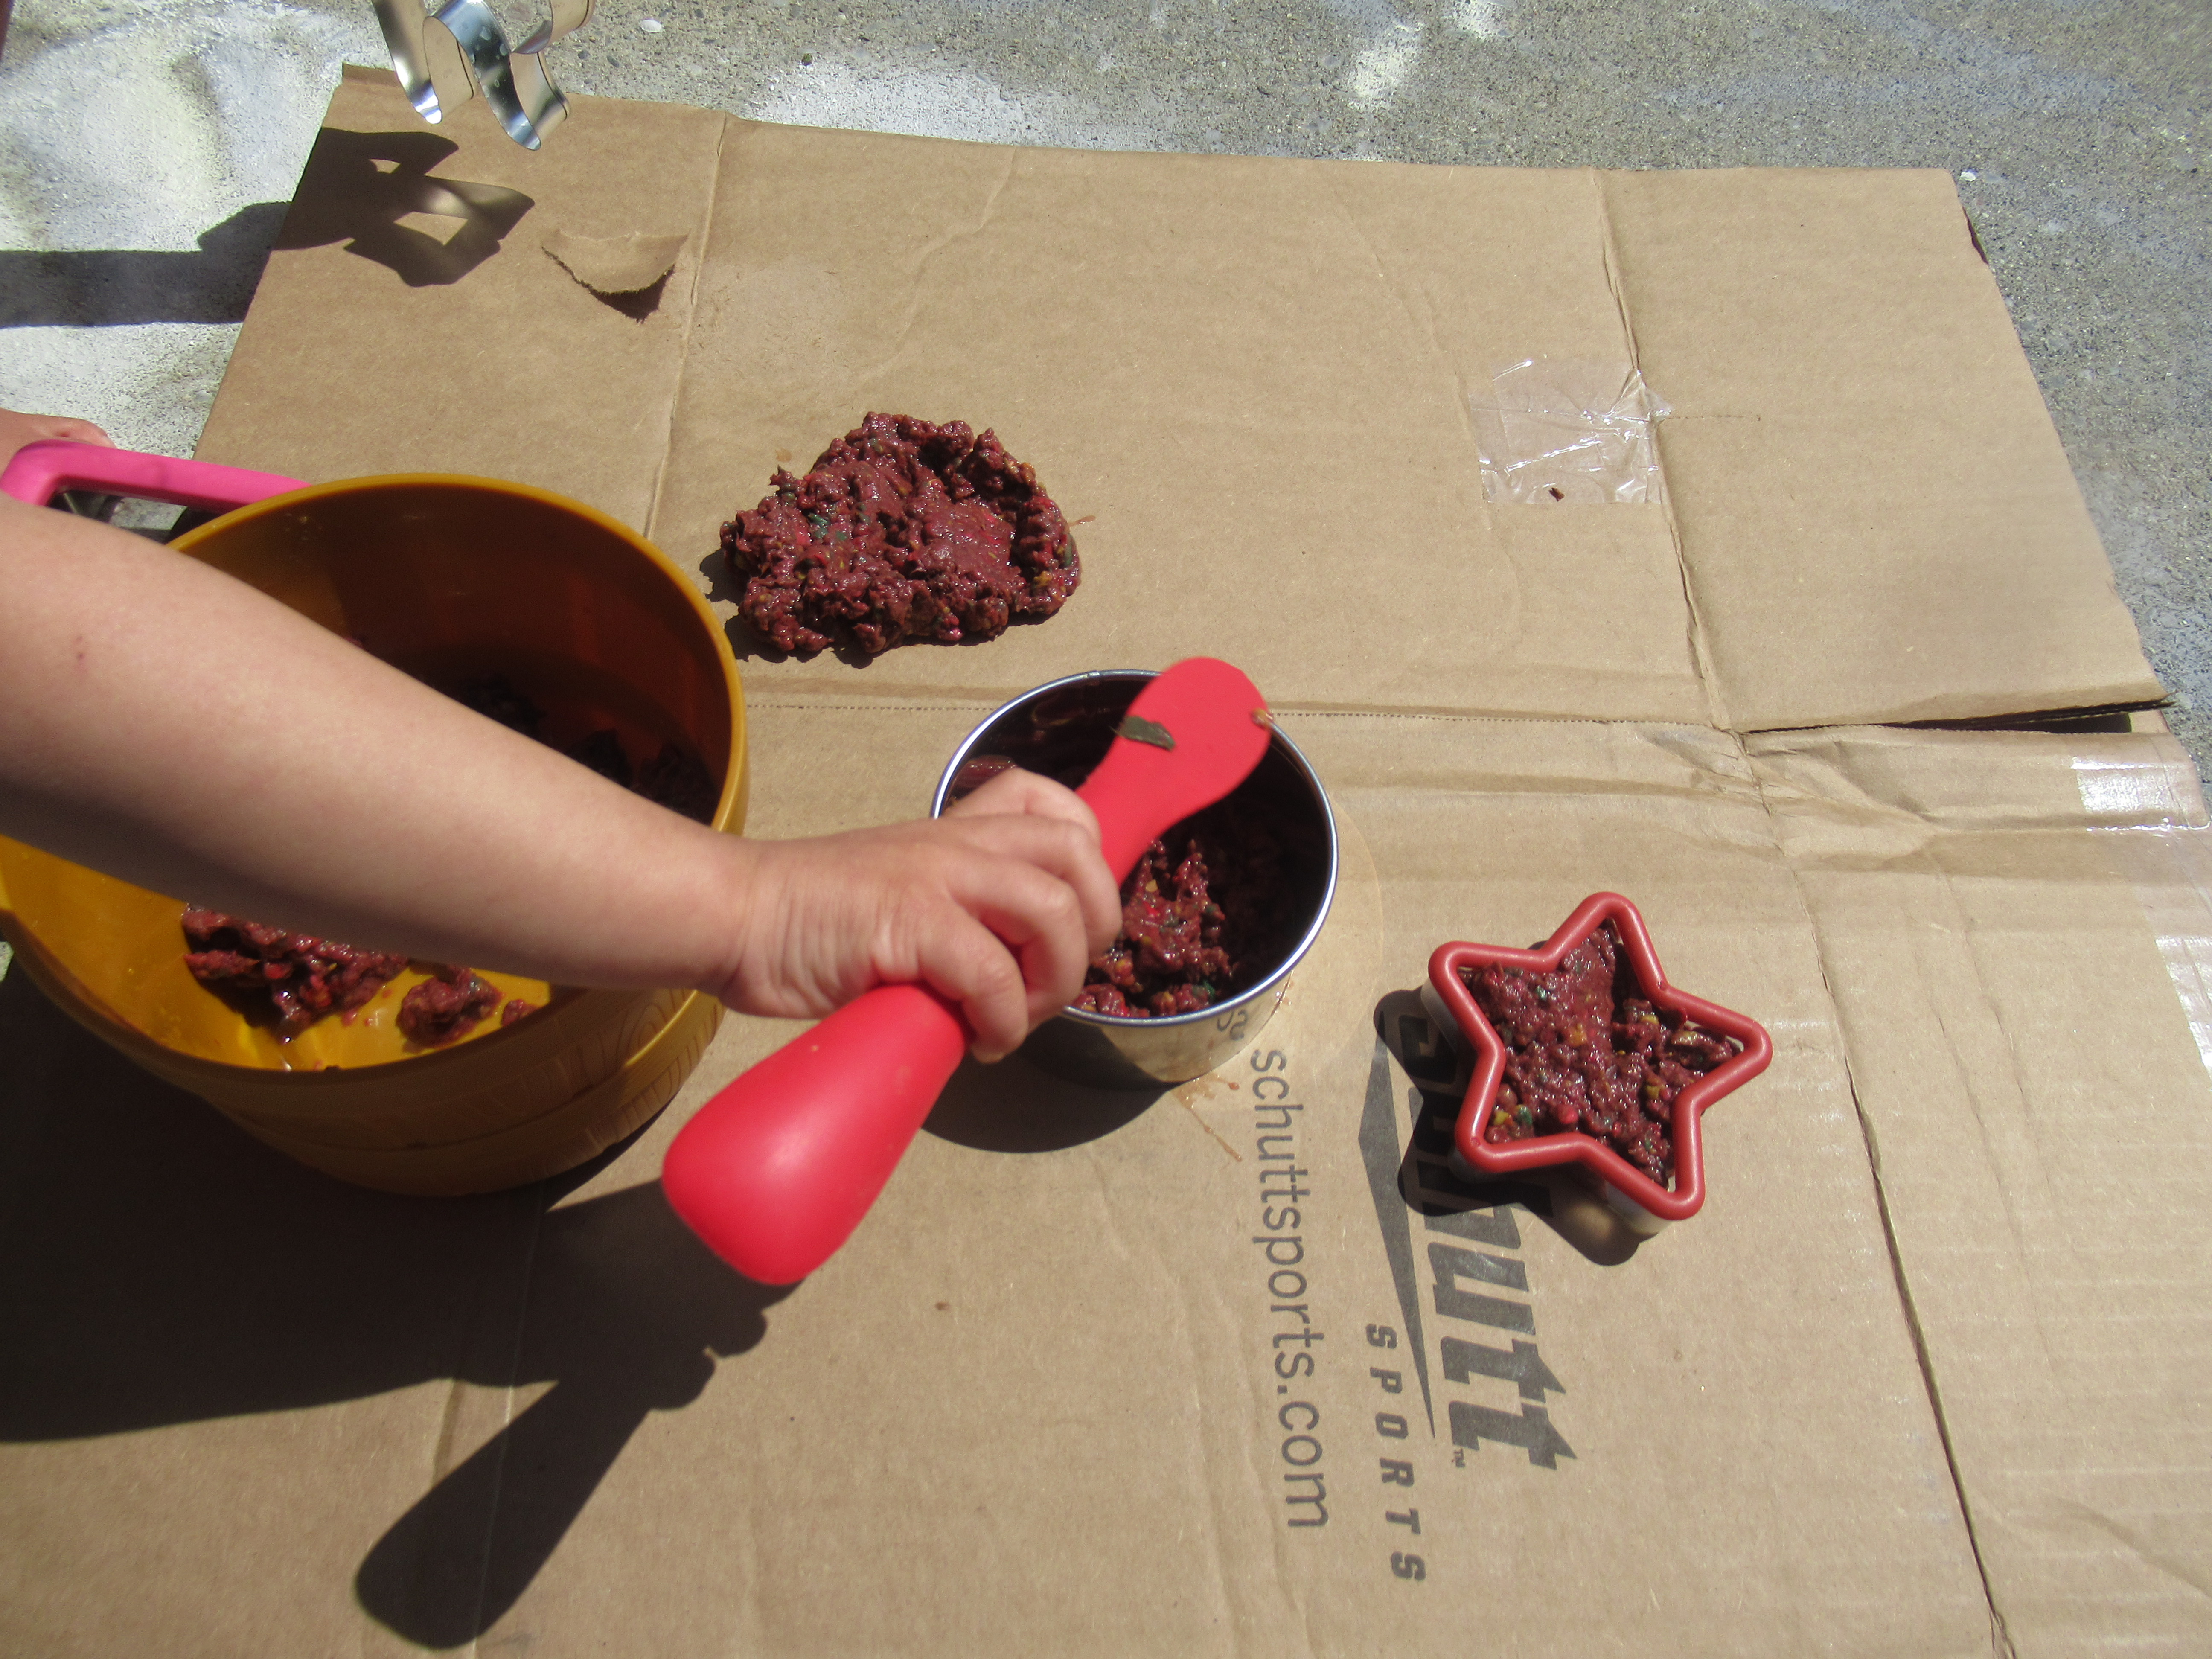
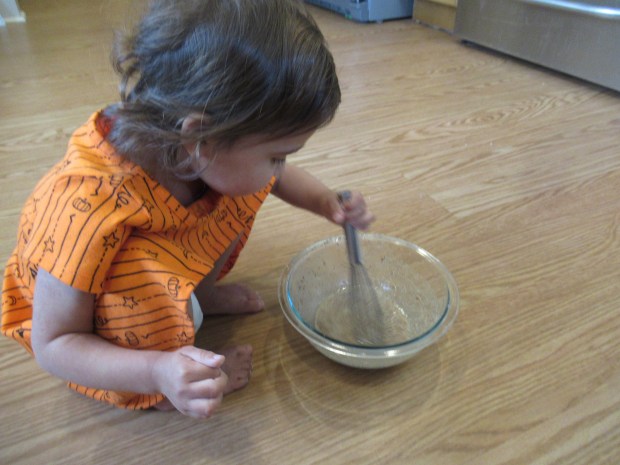
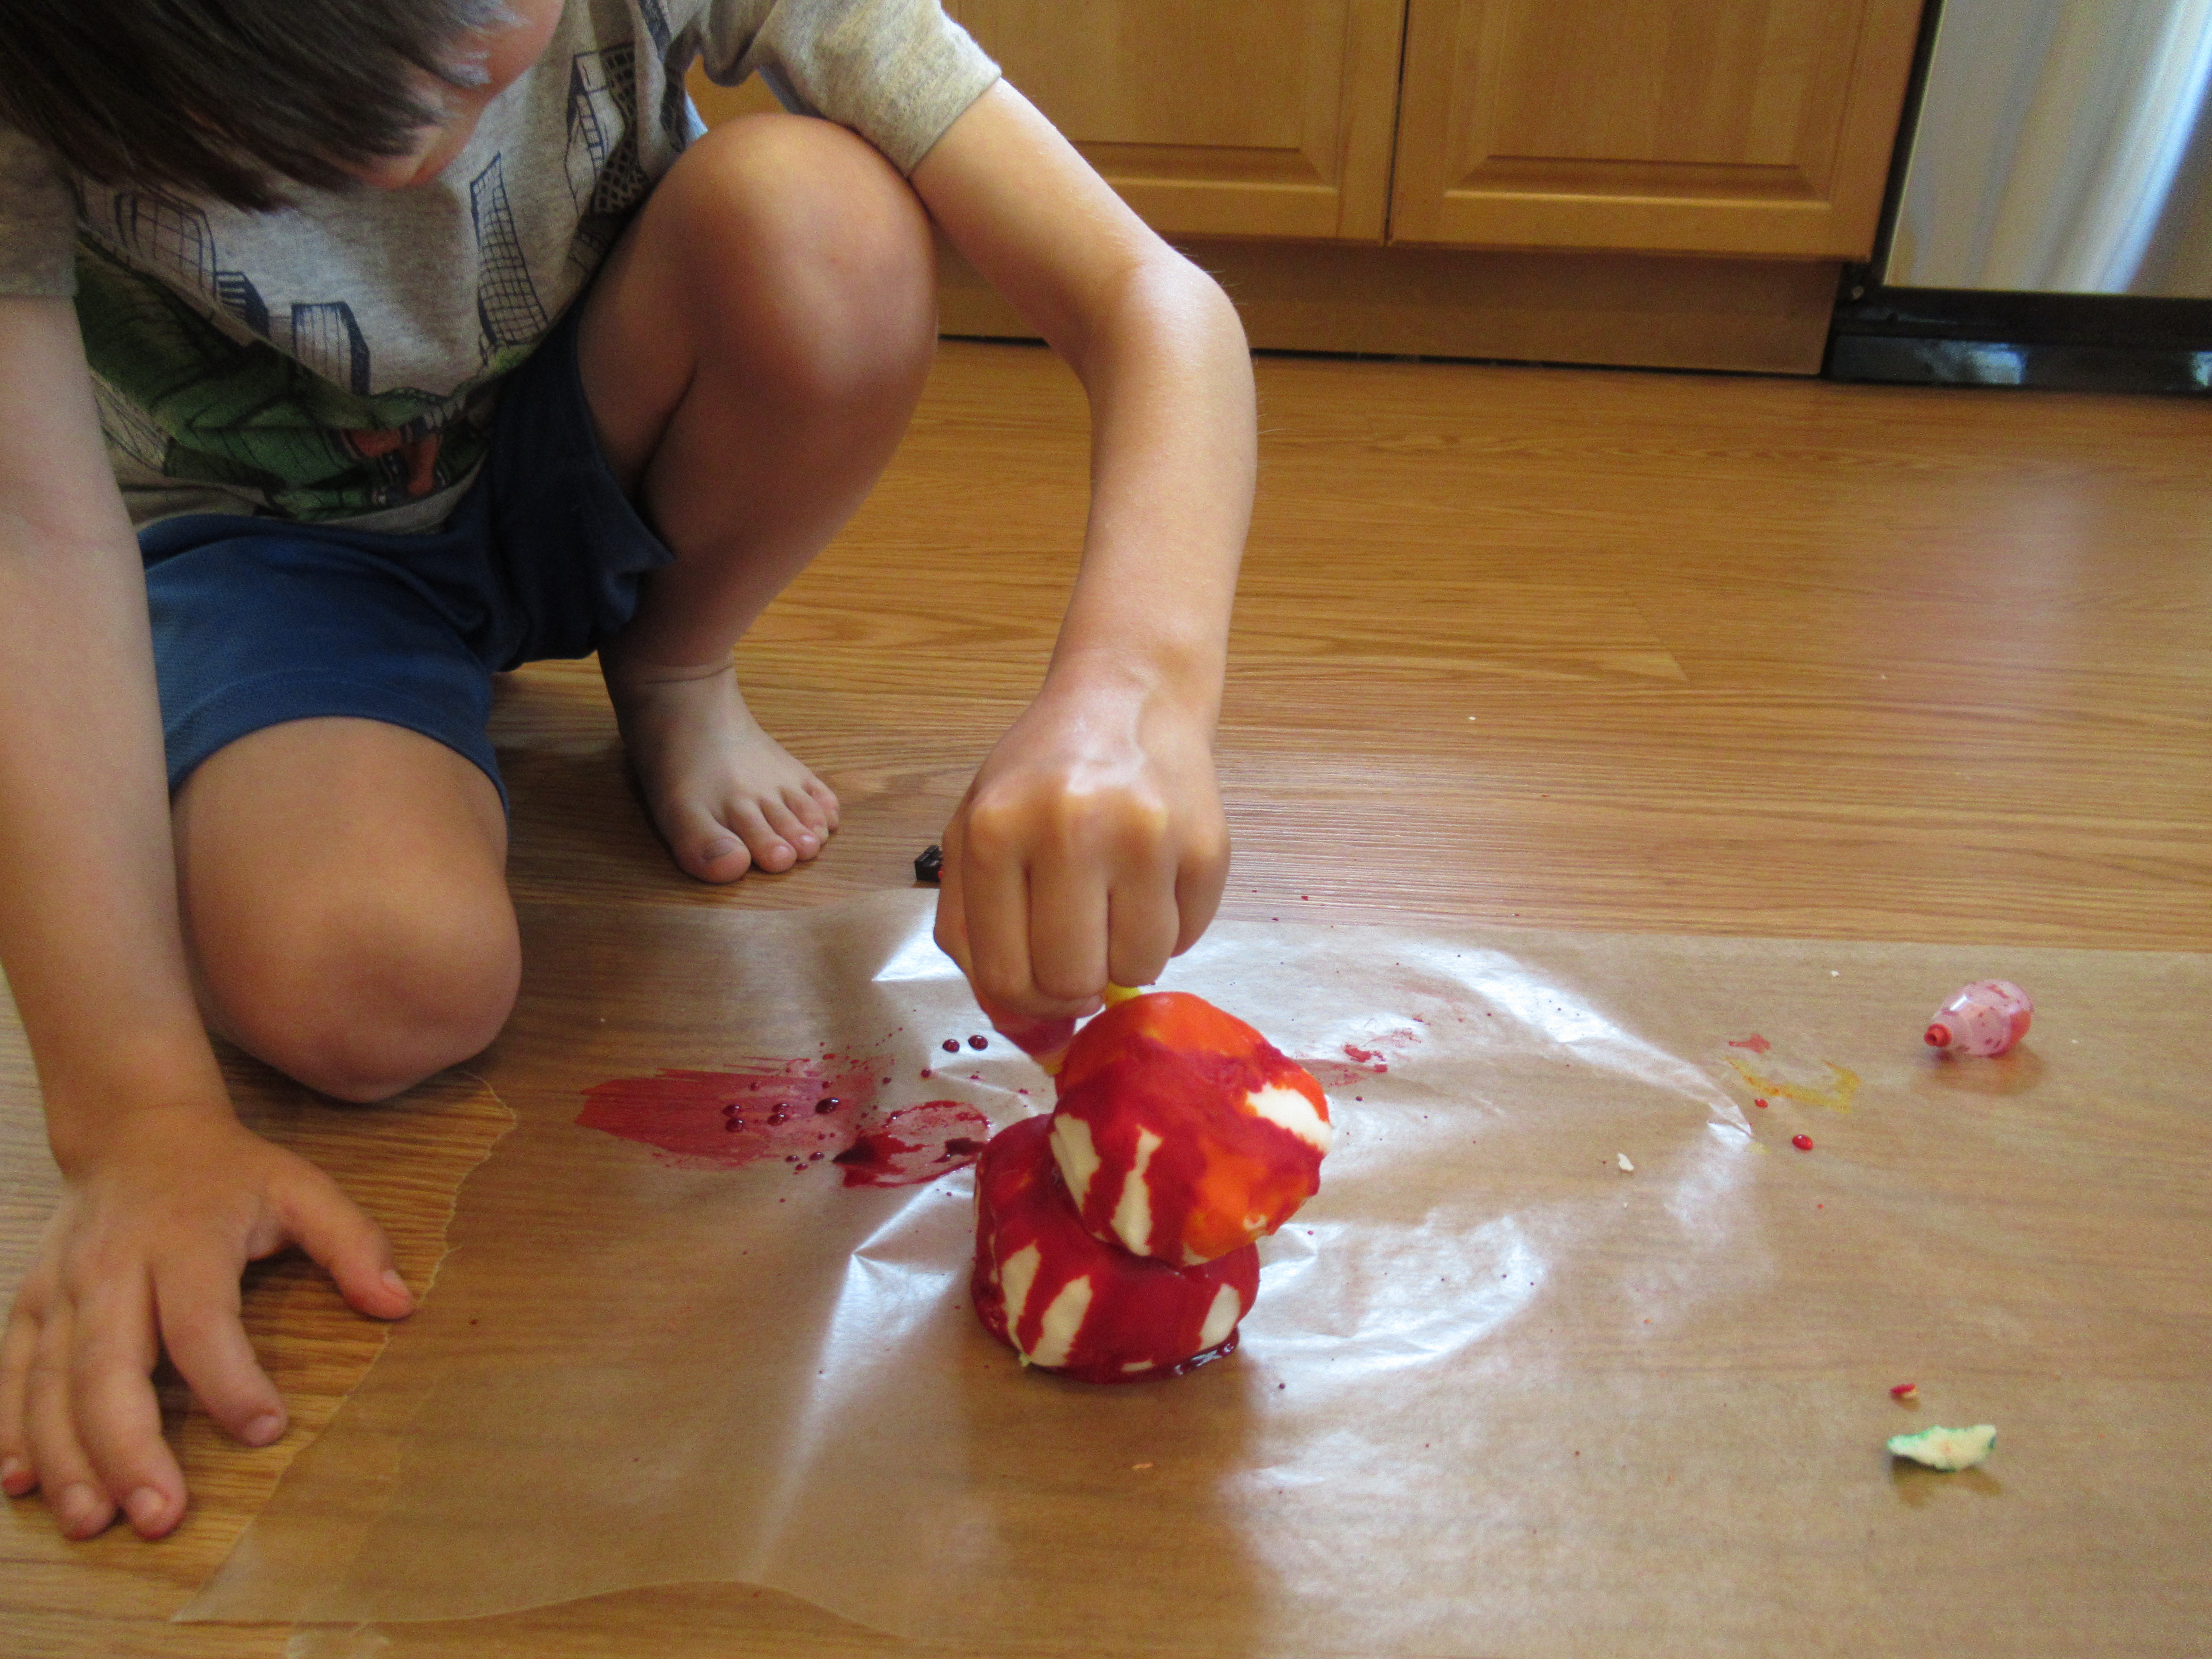
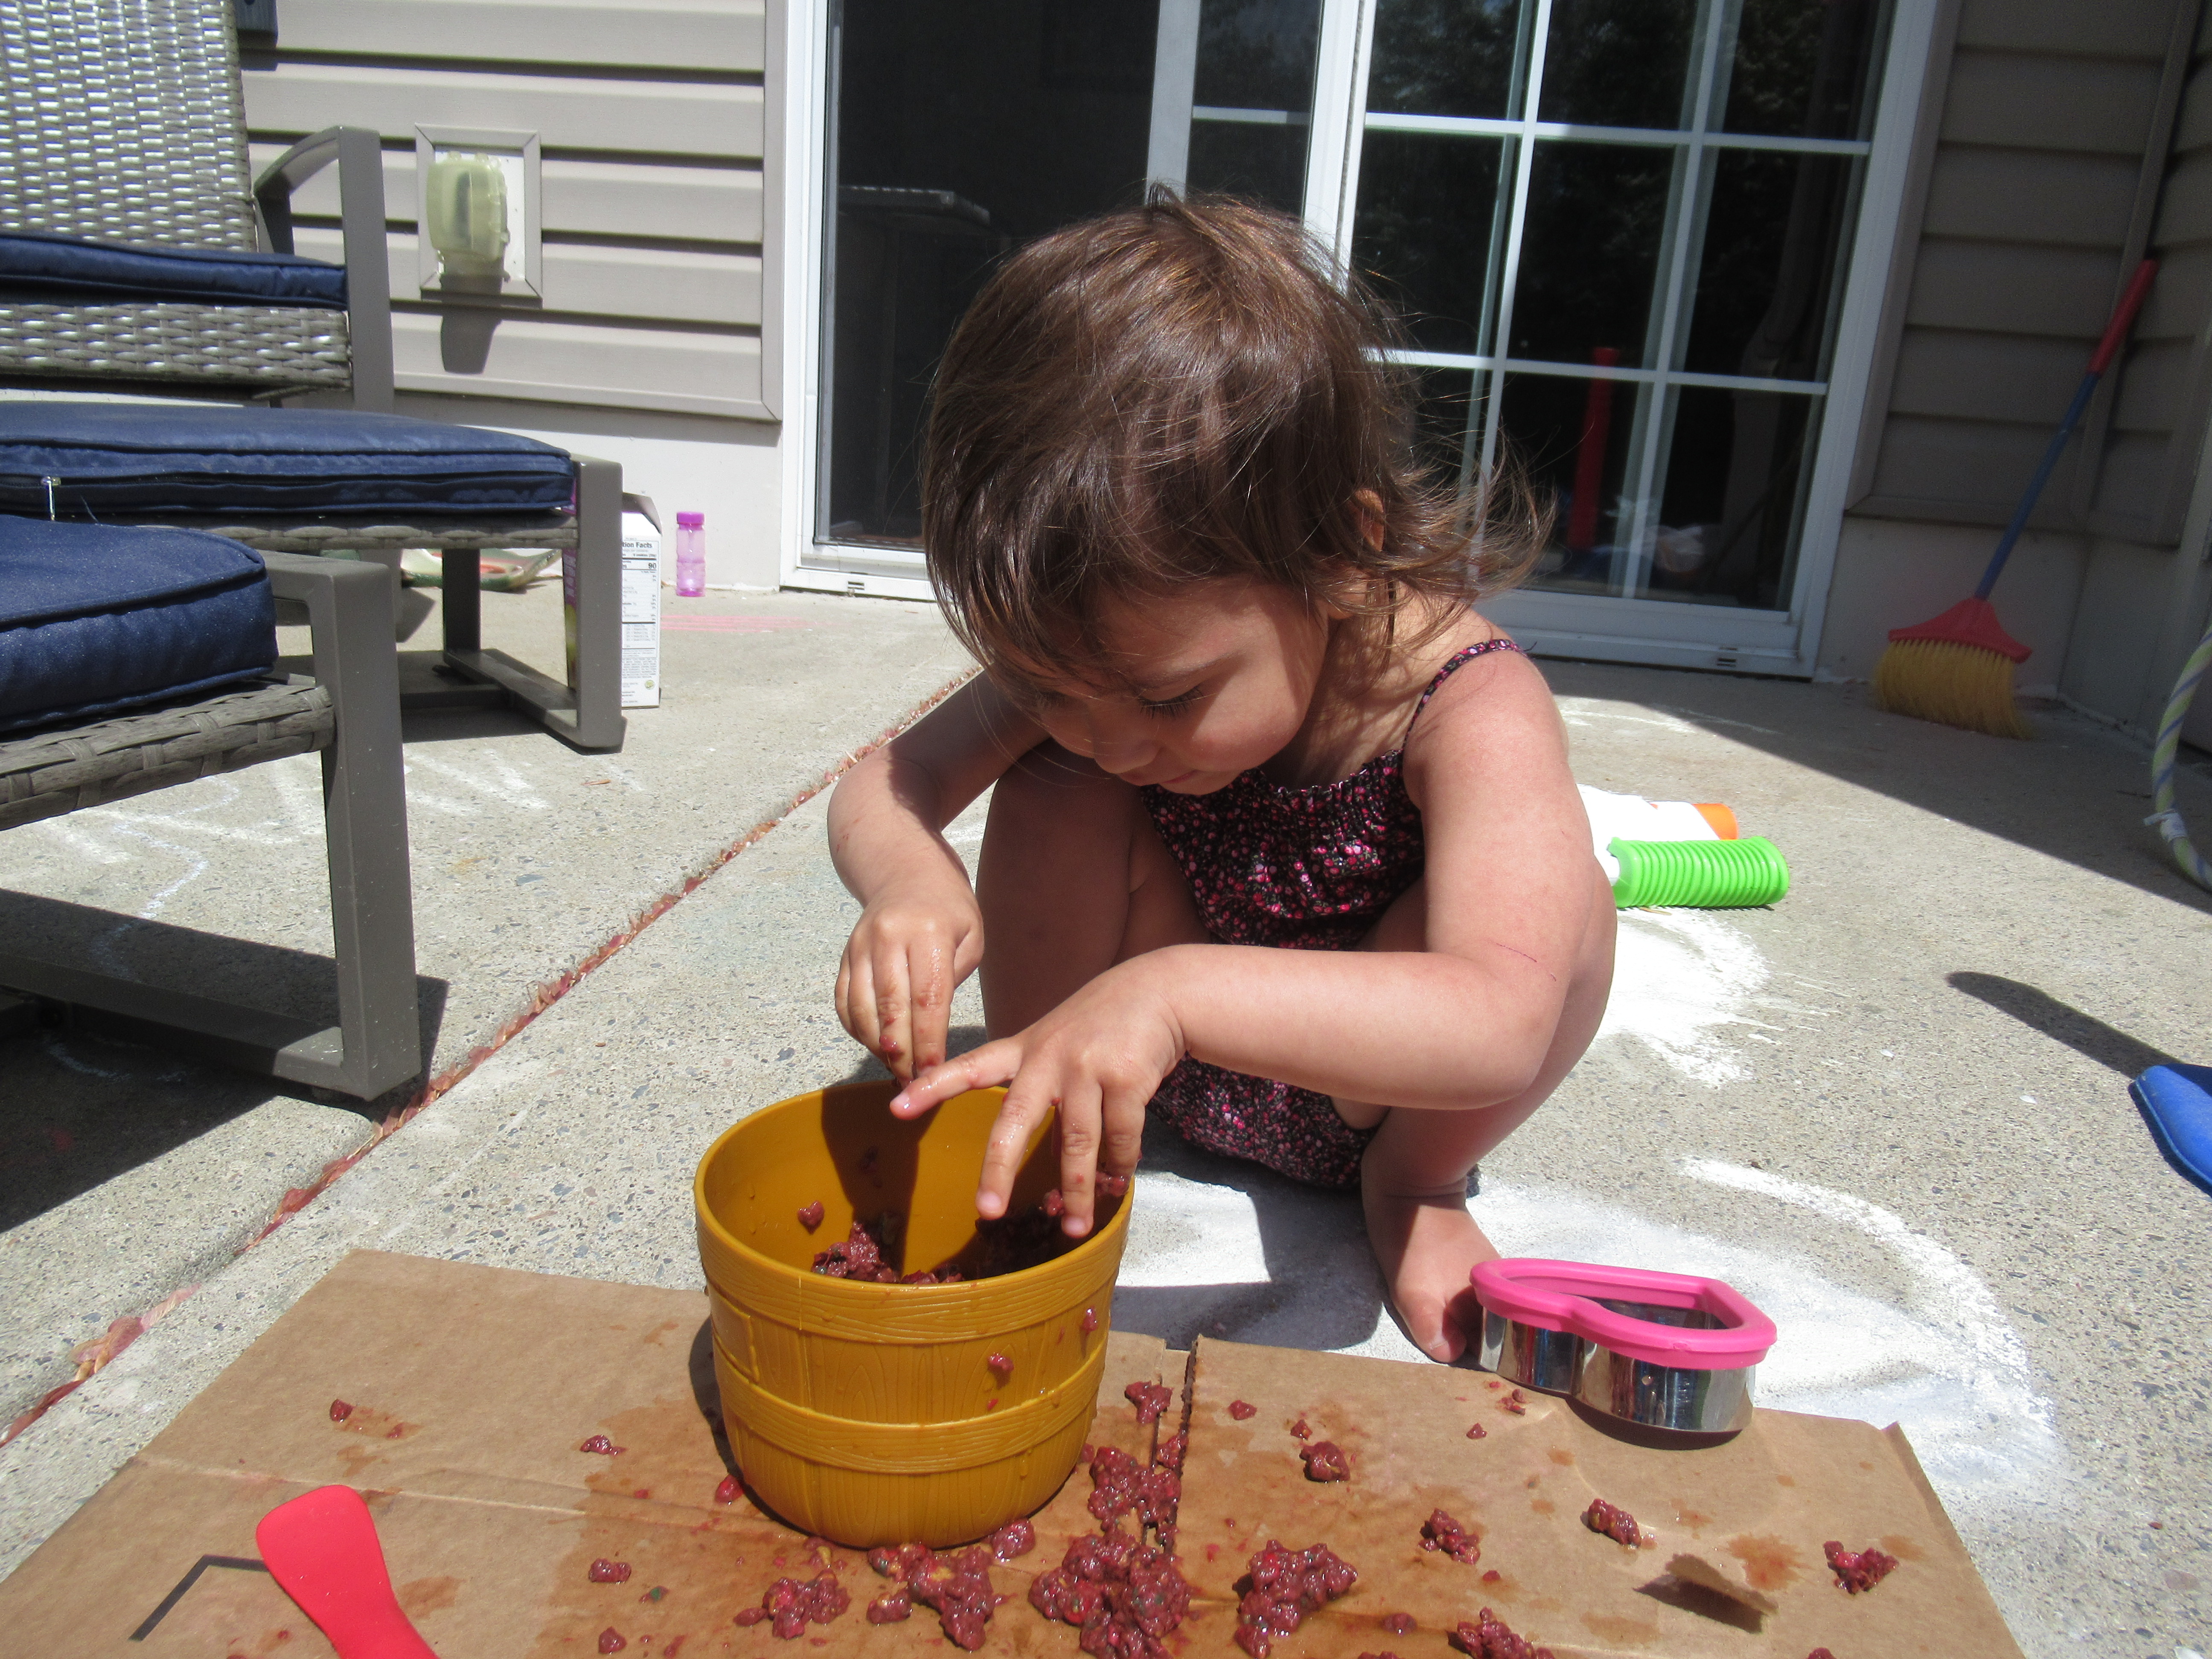
I set out cookie cutters to press the paper pulp into, and Veronika briefly scooped some of the mush into them. But she was much too interested in this goopy mixture for it to stay in the cookie cutters for long! She loved scooping the mixture in and out of the bucket. At first she was hesitant to get her hands in it, but I demonstrated that you could pick up handfuls, squeeze it, and yet still have remarkably clean hands.

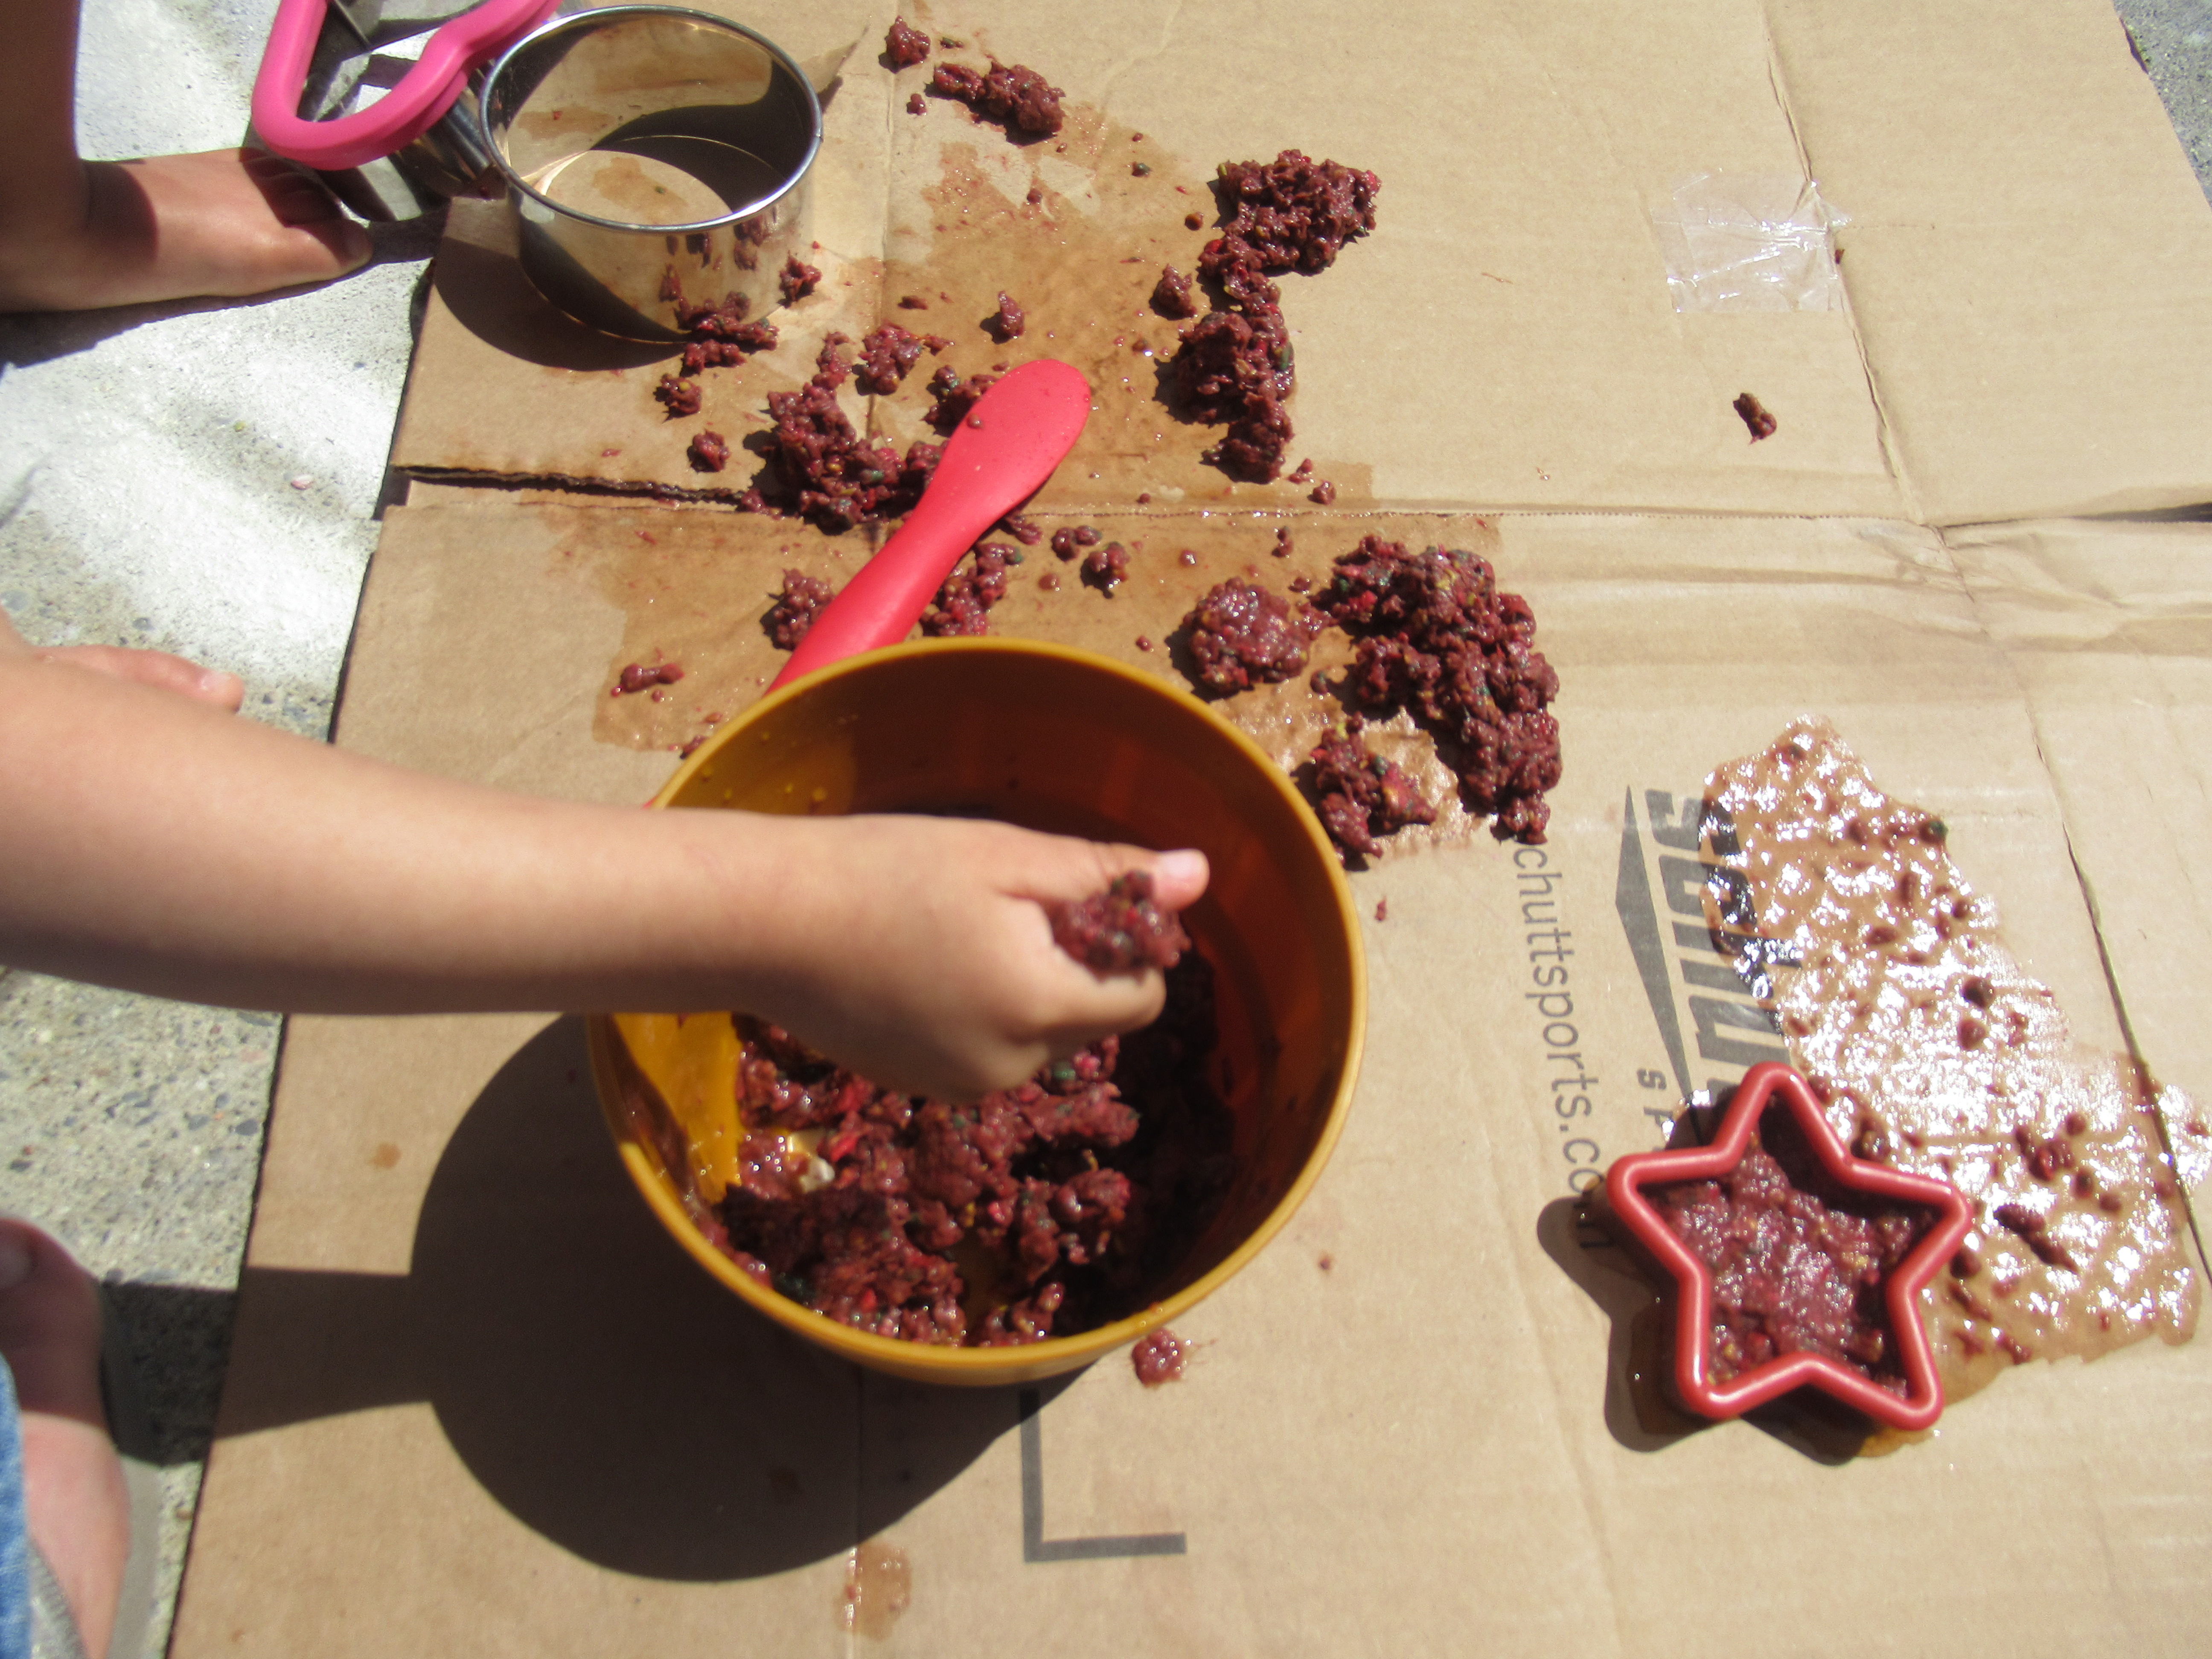
“I did it with my hands!” she said, and that’s exactly what she did for the next half hour. She picked up the paper pulp, squihsed it, filled the bucket, dumped it, and began all over again.

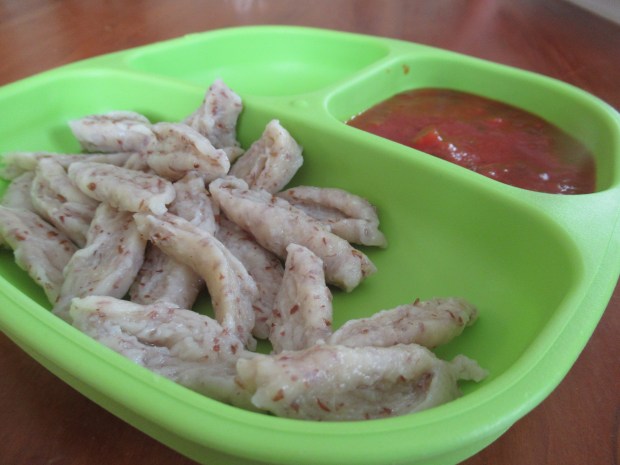
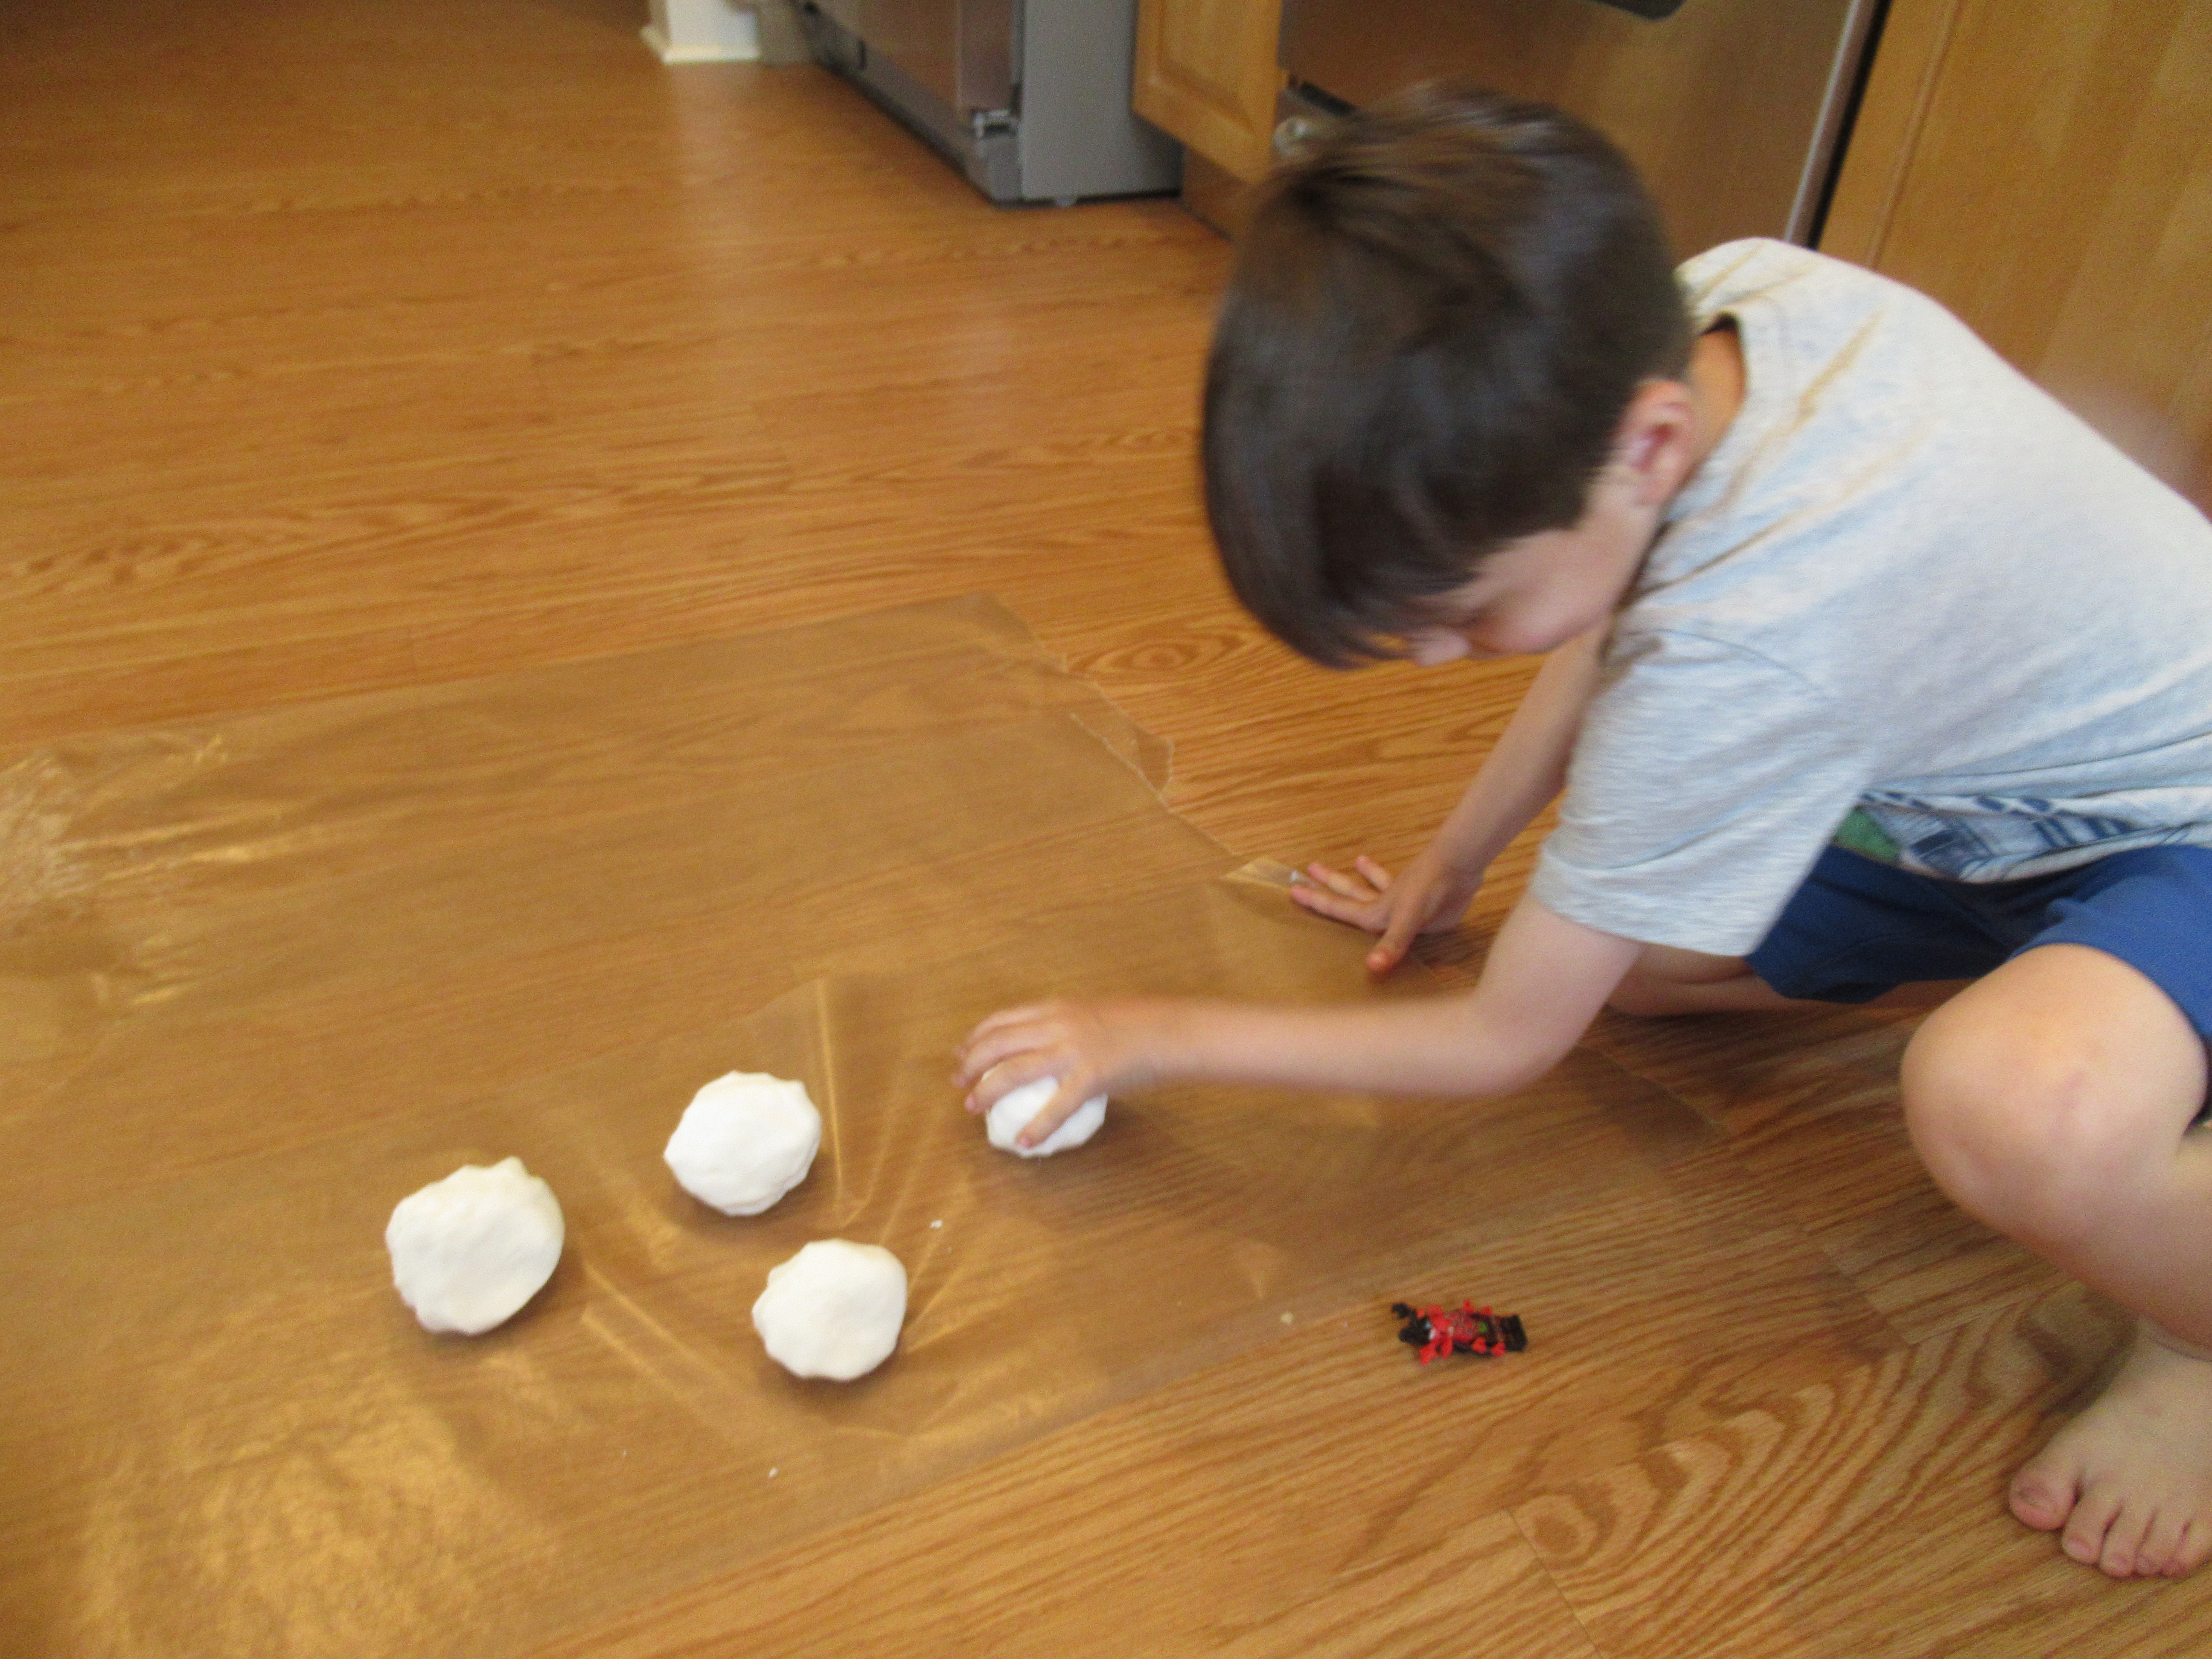
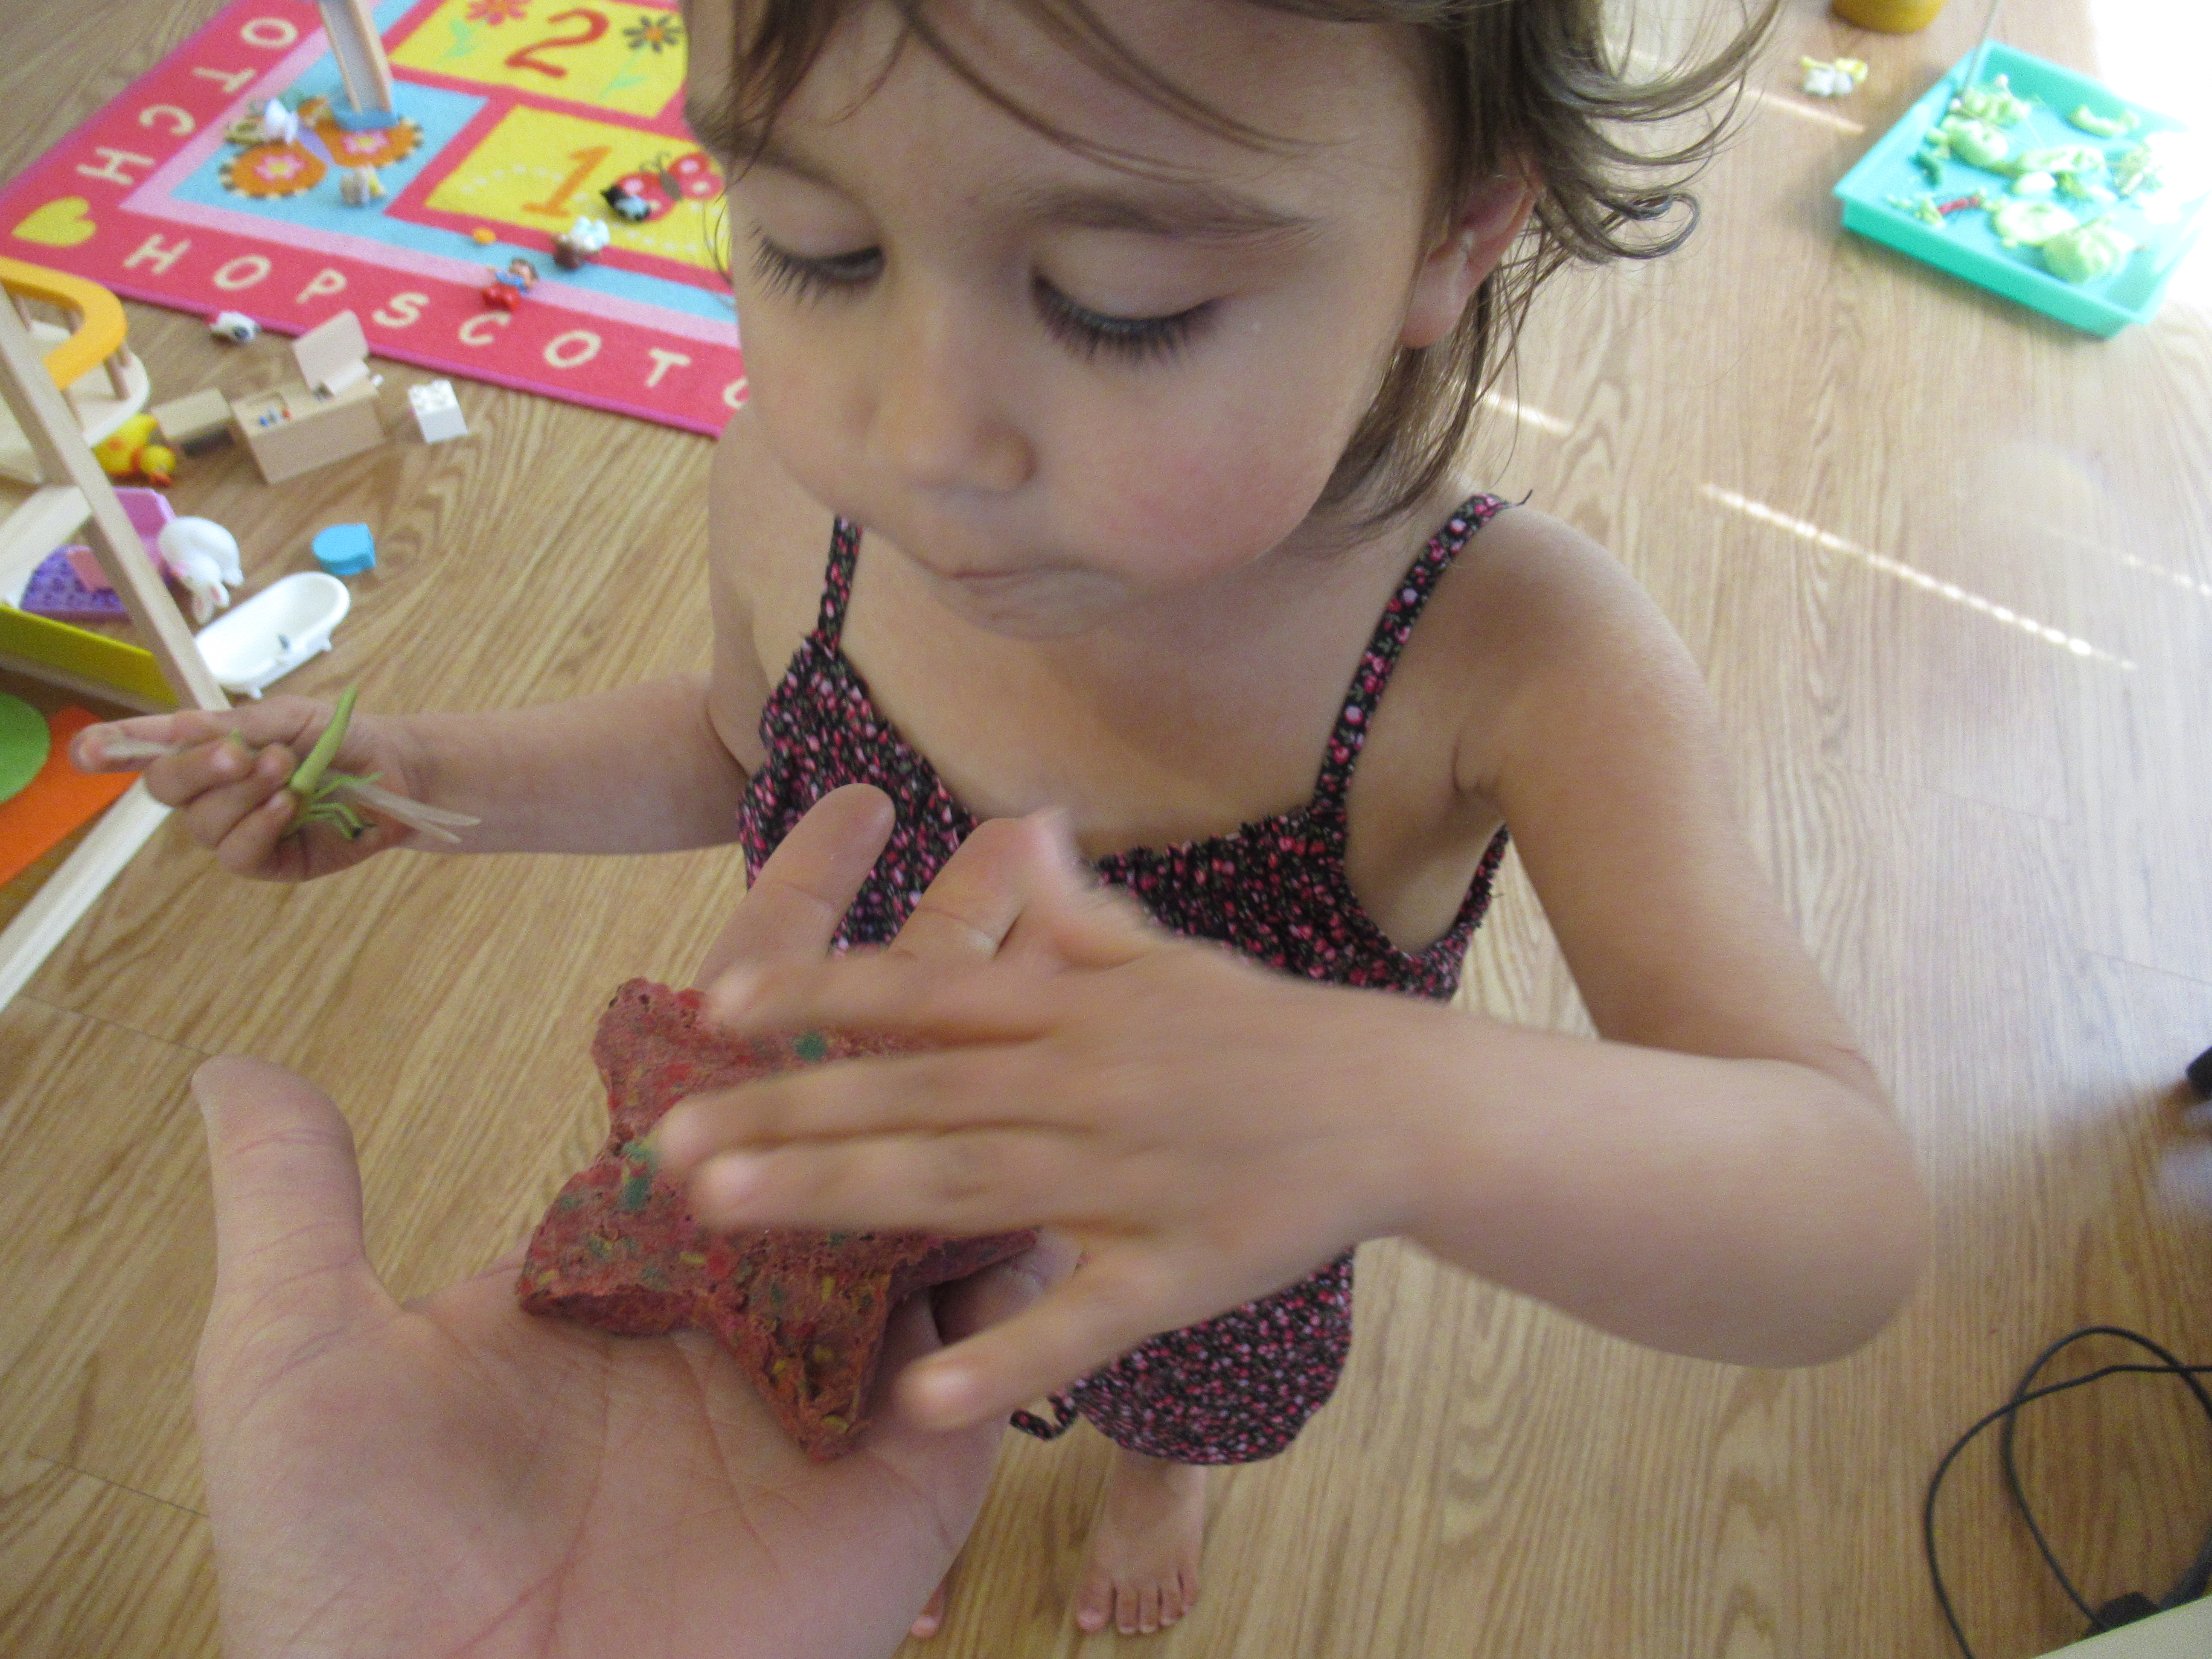
Luckily, I did manage to salvage two cookie cutter shapes: one star and one circle, and left these to dry in the sun. After about 5 hours, we checked on the shapes. They weren’t completely dry, but had set enough that we could remove the cookie cutters and then finish the drying process inside.

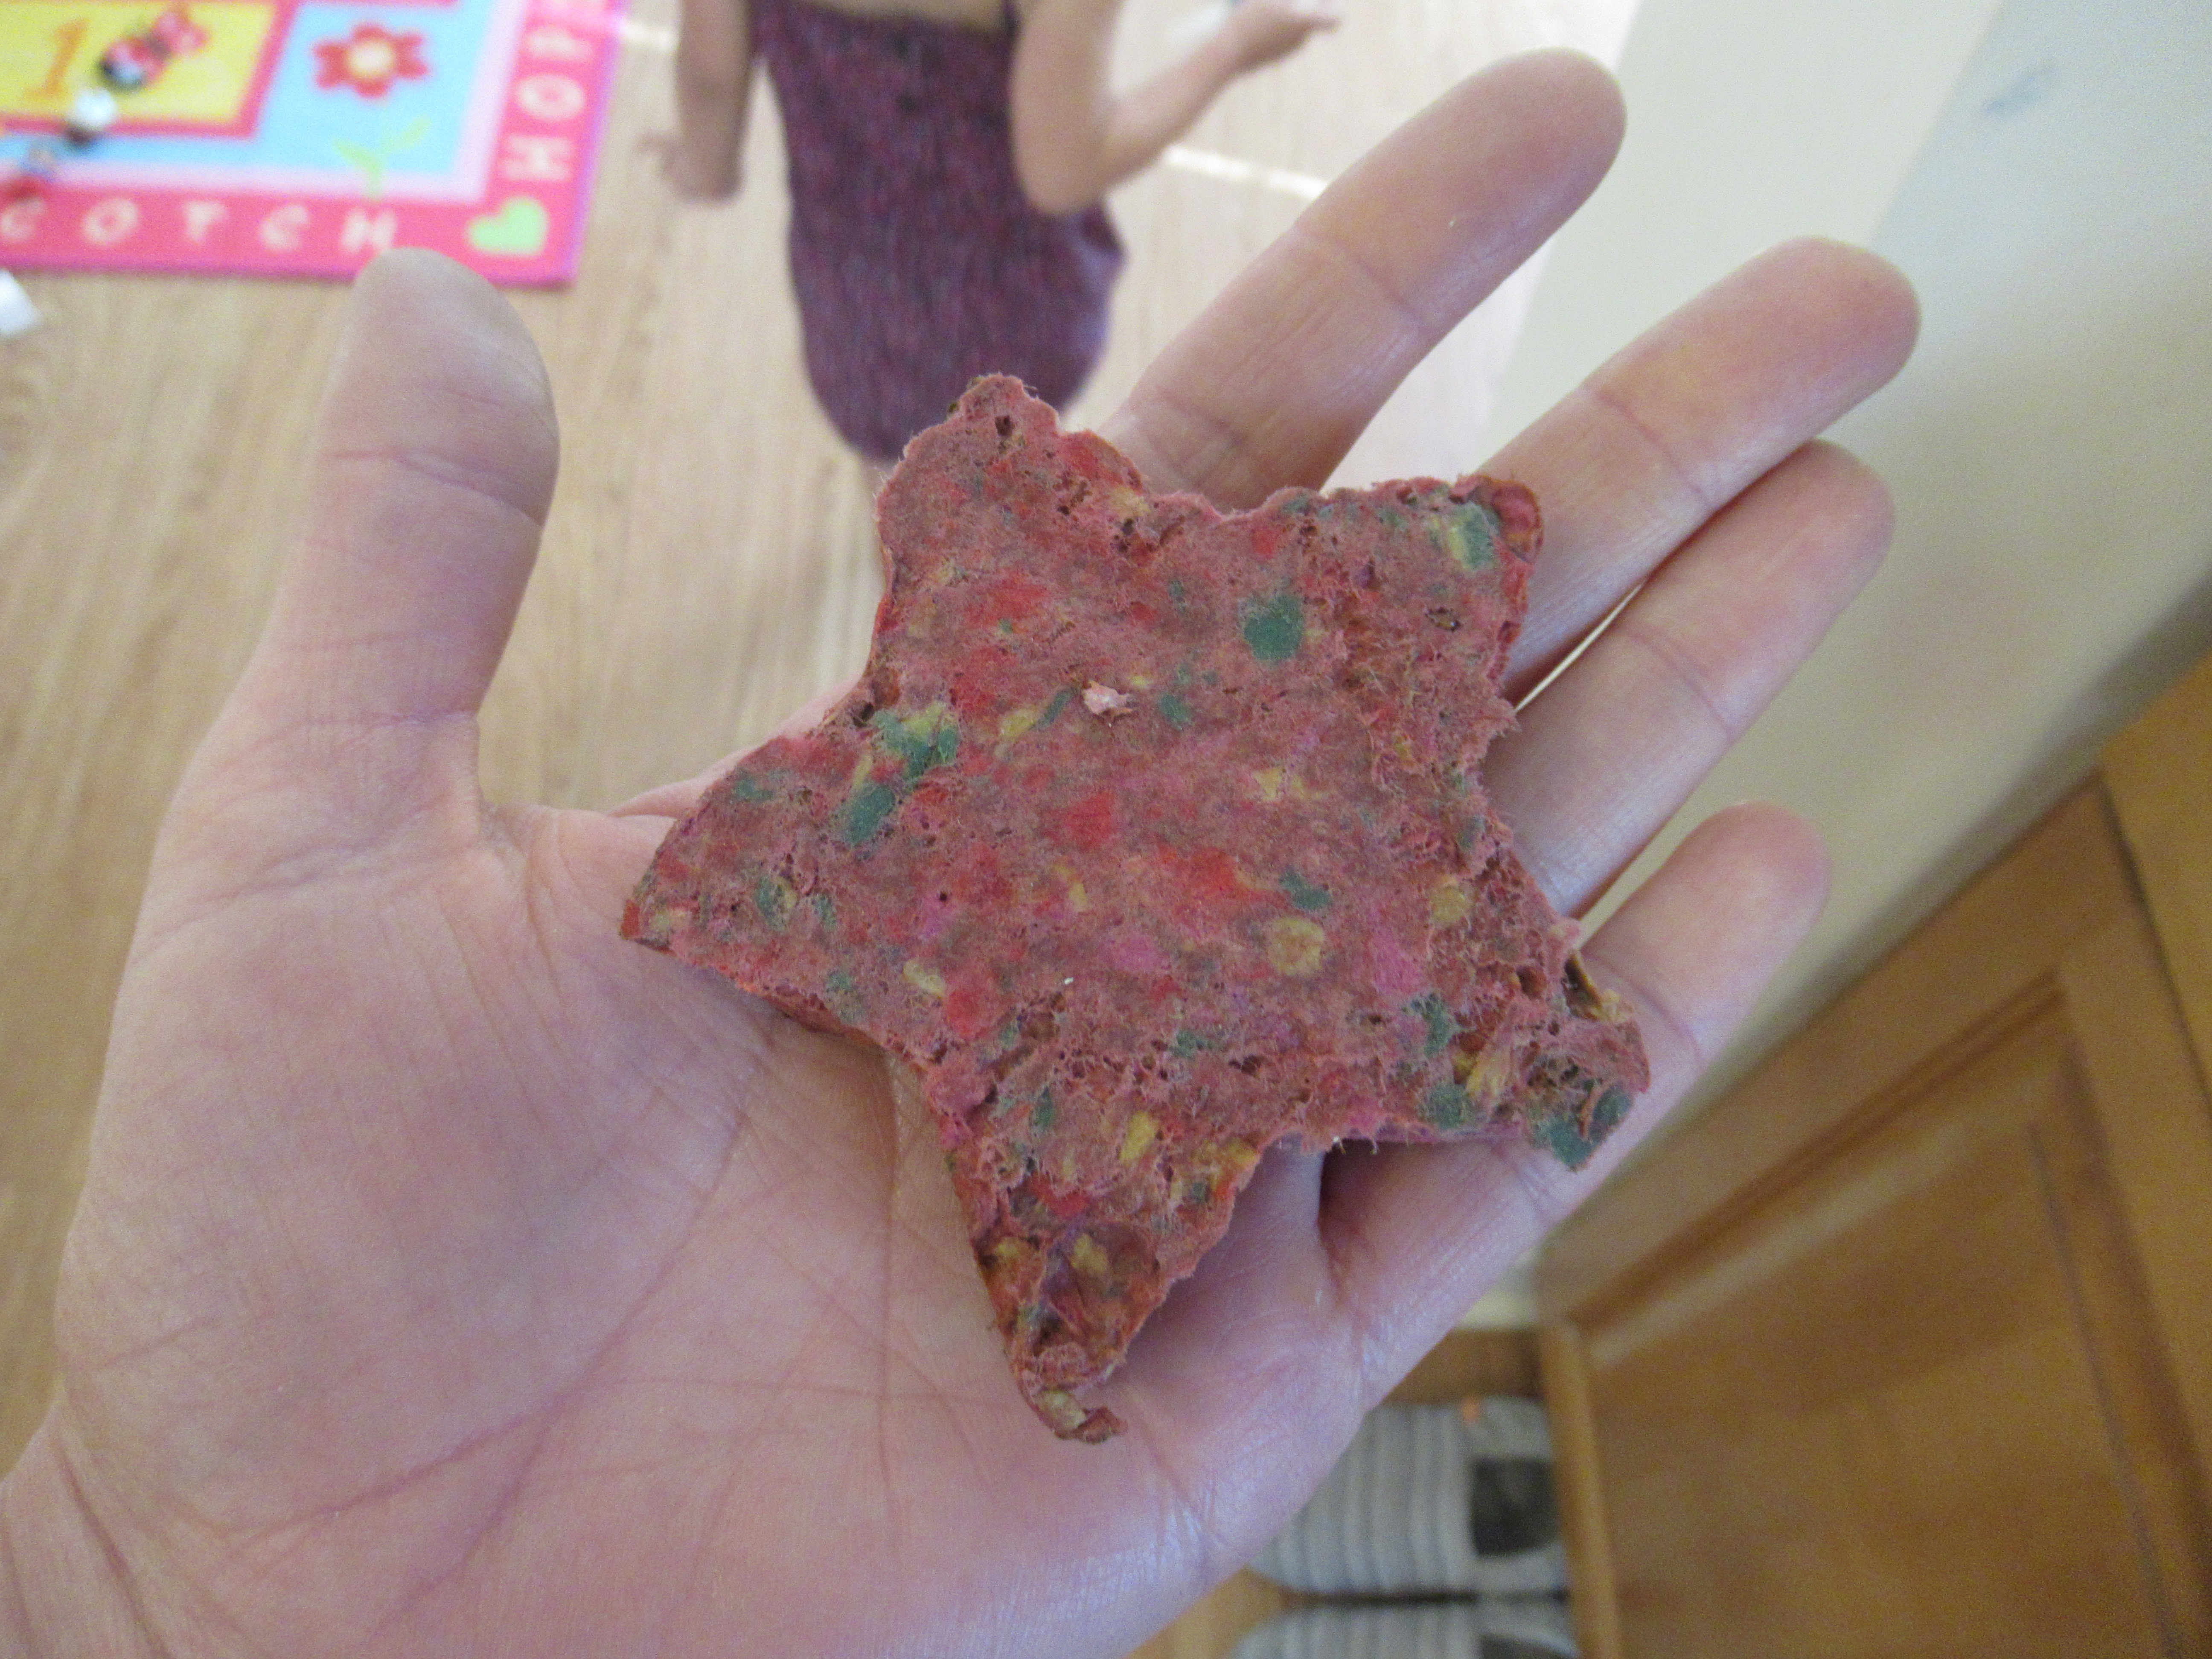
Veronika marveled at the texture as she touched the paper she had made!

Even better, we plan to actually plant these later in the summer, and see if the flowers grow. Stay tuned!

Sprout Some Beans

Sprout Some Seeds (5)

Spring is the classic time of year when elementary school kids learn about gardening, parts of the plant, and the process behind sprouting seeds. Although we’ve planted seeds in the past, Travis and I tested out a step-by-step method this year for a scientific spin on the activity.

To start, soak kidney beans in a cup of warm water for about 3 hours. Drain.

Travis selected a few of the beans to place on a wet paper towel. Fold the towel up over the beans, then place inside a zip-top plastic bag and seal. We set this inside a cabinet for 2 days. (Note: Any similar warm dark place will work fine).

Sprout Some Seeds (1)

Two days later, we checked to see if the roots had started to grow.

Sprout Some Seeds (3)

They sure had! Travis was amazed at the curly root we could see coming from each bean.

Sprout Some Seeds (4)

Now, plant the seeds in a bit of dirt with the root pointing down. Set some place sunny and add a little water each day. Then just watch the plants grow!

Sprout Some Seeds (6)

In addition to the hands-on portion of the activity, I had Travis write down a few things about the experiment, to work on conceptual knowledge. First, he listed all the supplies that were needed. His list included:

Dirt

Cups

Paper Towel

Plastic Bag

He also answered conceptual questions, like what happened after each consecutive step, or his observations at the end. A perfect project for a budding (ha) scientist.

Target Practice

Kids seldom need an excuse to bring out the water guns on a hot day, and today we had temps above 80 shortly after breakfast. Here was a fun way to combine water play with some hand-eye coordination.

As targets, I set up a few empty plastic water bottles in a line on the patio and then placed a ping pong ball on top of each.

I showed Veronika how to take aim with our smallest water gun. It was hard for her to pull the orange handle by herself, but a mommy-daughter team could knock off the balls.

Big brother Travis wanted a turn, and was so proud to squirt water right on target, watching the balls go bouncing into the grass.

Needless to say, pretty soon the kids wanted to water the grass, the patio, their feet, and more! A special note to add that this game was for water fun and to cool off only.