Rainforest Crate!


koala rainforest (14)

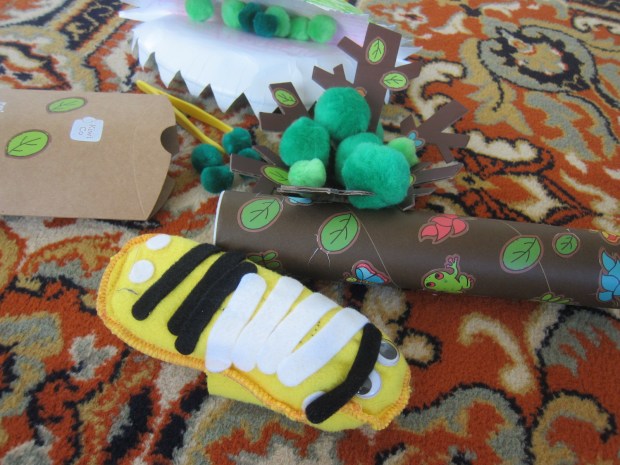
Coinciding with the hot, humid summer weather, our latest offering from Koala Crate was all about the rainforest.

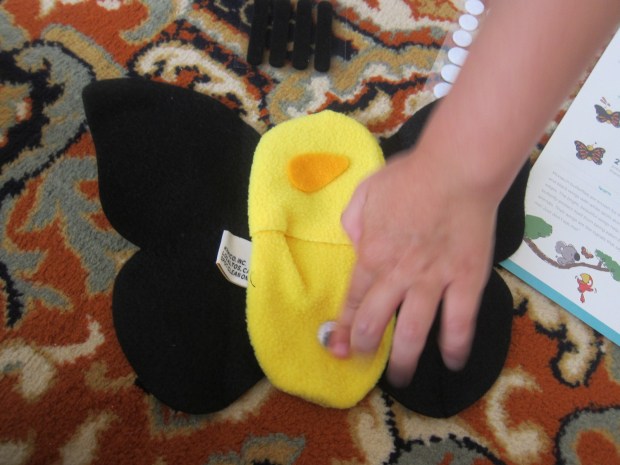
The first project, a Butterfly Puppet, as actually quite a bit like a butterfly craft we put together recently from Ranger Rick magazine, illustrating how caterpillars morph into butterflies. The one in this crate simplified things greatly, providing us with a felt butterfly puppet body that we needed only to decorate.
koala rainforest (1)

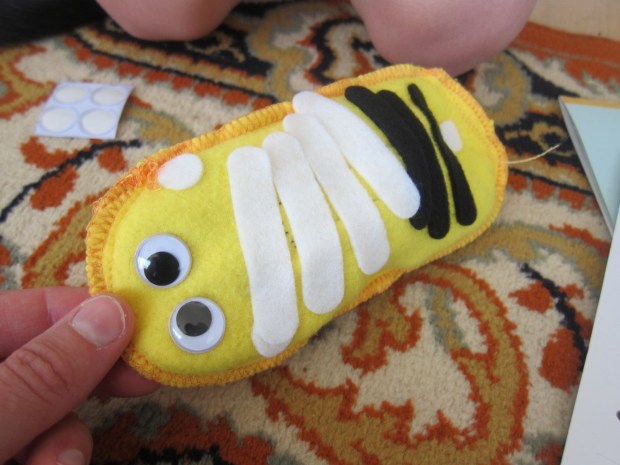
Travis really took charge on this one with his own vision of how the caterpillar and butterfly should look. We didn’t end up with a version that matched the sample, therefore, but I loved his final caterpillar creation.

koala rainforest (2)

You can talk with your child about symmetry as you decorate the butterfly portion, but rather than insist on a symmetrical orientation to our stickers, I let Travis design it the way he wanted.
koala rainforest (5)

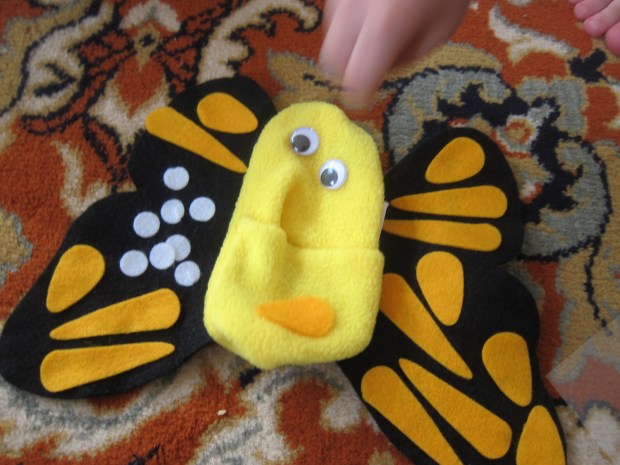
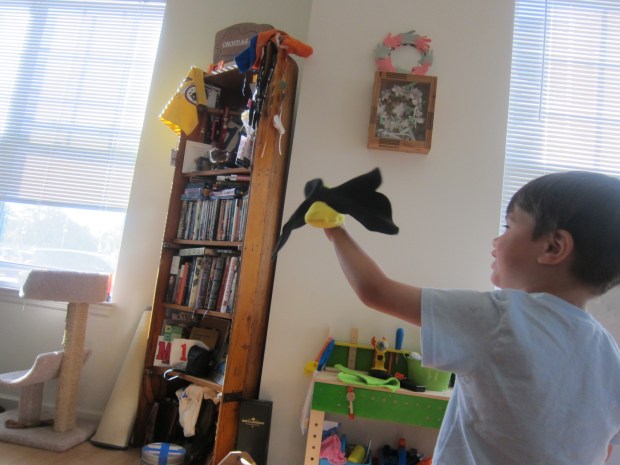
Folding the wings in and out of the puppet’s body for the transformation was a delight every time.
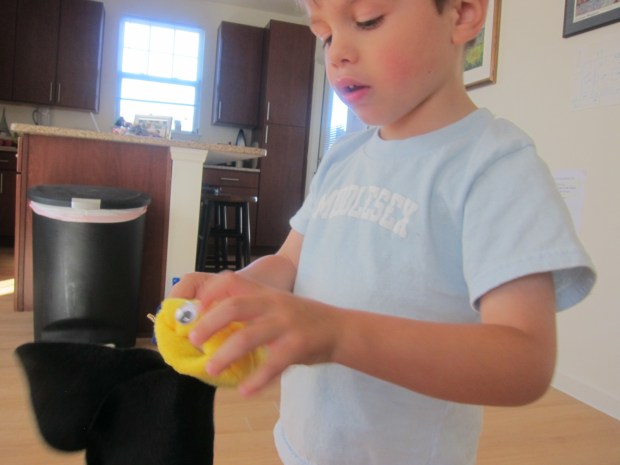
koala rainforest (3)

Flutter flutter!

koala rainforest (4)

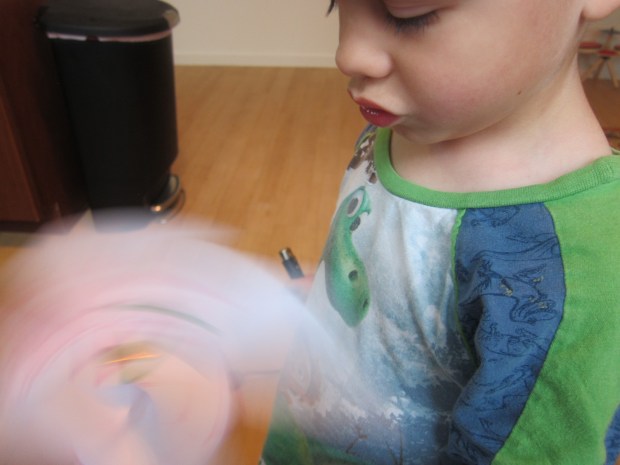
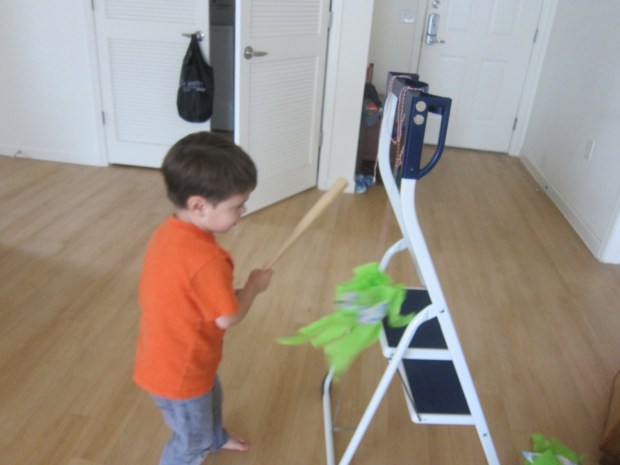
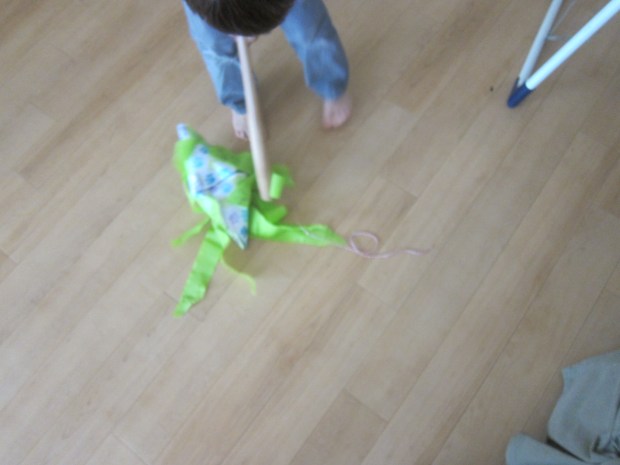
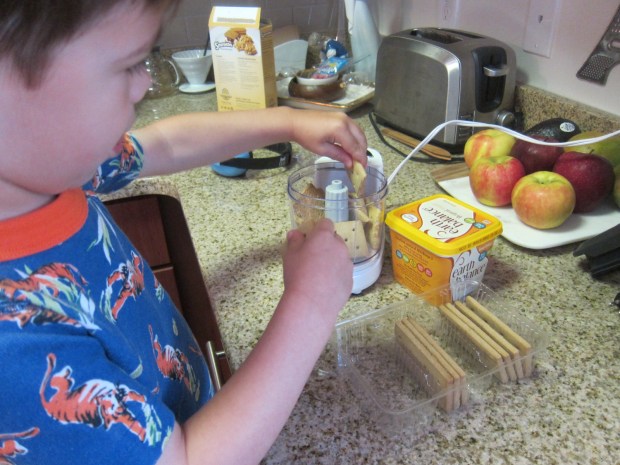
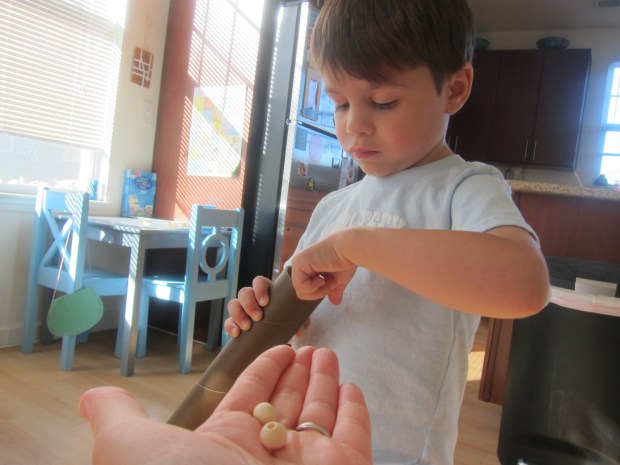
Next up as the Musical Rainstick. Cap one end of the provided cardboard tube with a provided plastic cap. Next fold up the indents in the provided cardboard insert; this will help the beads fall at a slower “rainy” rate. Here we are very seriously adding the wooden beads:

koala rainforest (6)

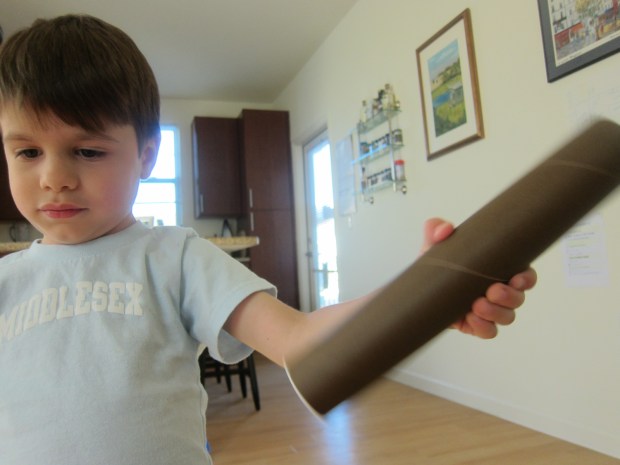
Time to shake shake shake! This was so fun that it was a little while before we decorated the rainstick with the rainforest stickers.

koala rainforest (7)

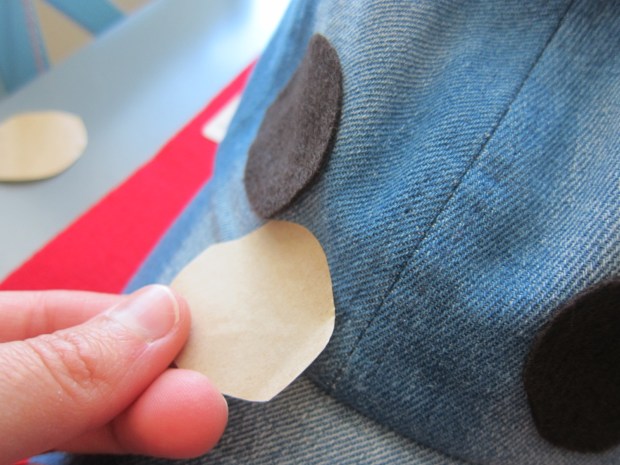
The rainstick gets used again in the final project, a Balancing Tree Game. Punch out the cardboard branches, and fold the ends up.

koala rainforest (8)

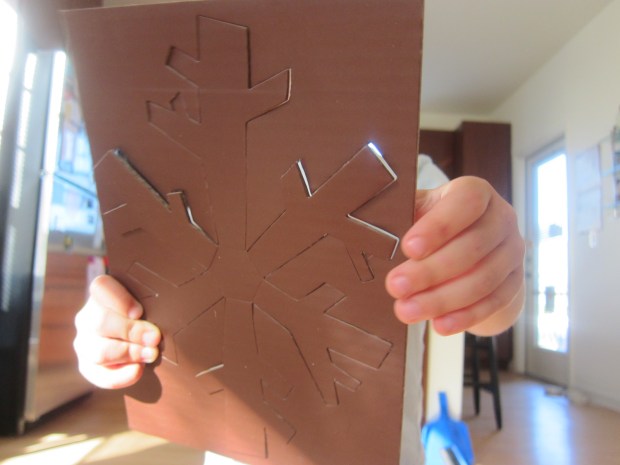
Use a Velcro dot to adhere these branches to one end of the rainstick. You can also add a few more of the rainforest stickers.

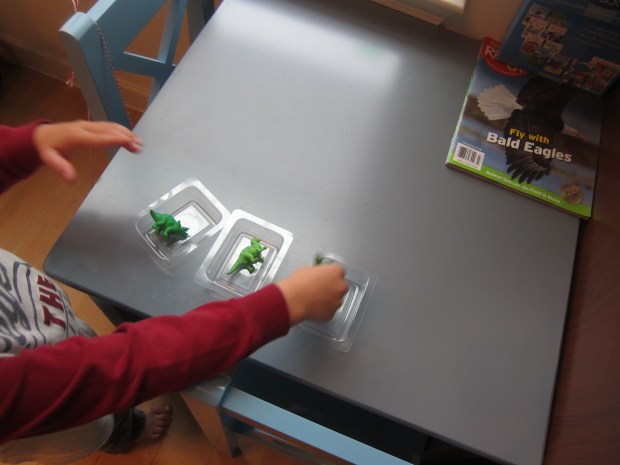
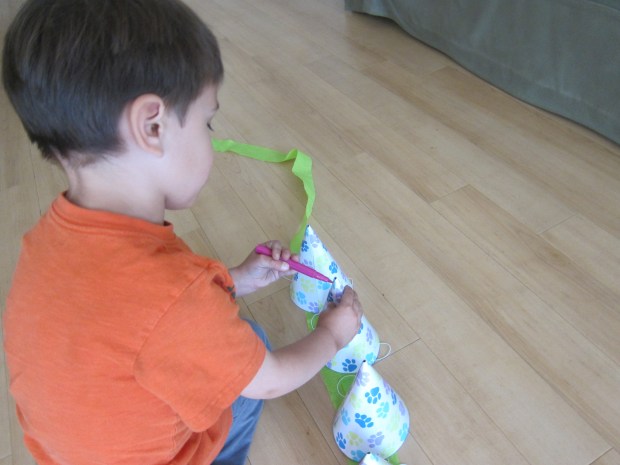
Now the challenge was to fill the rainforest tree with pom-pom leaves using the provided tweezers. This was great fine motor skill practice.

koala rainforest (10)

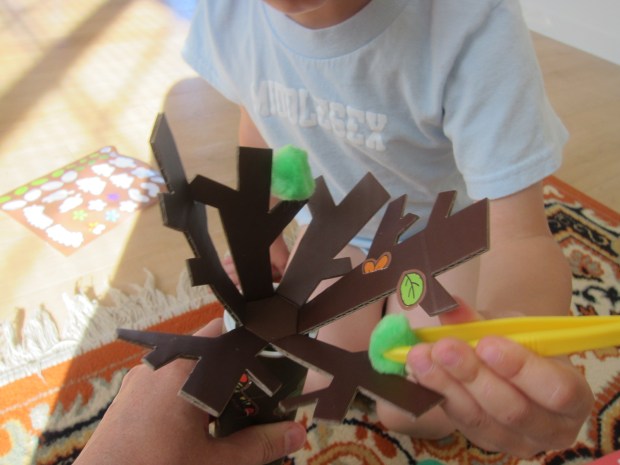
A note of caution: The game is hard, even for grown-ups, so be prepared to ease some preschooler frustration.

koala rainforest (13)

As a nice touch, the pom-poms store handily in a provided pouch when you’re done with play.

koala rainforest (11)

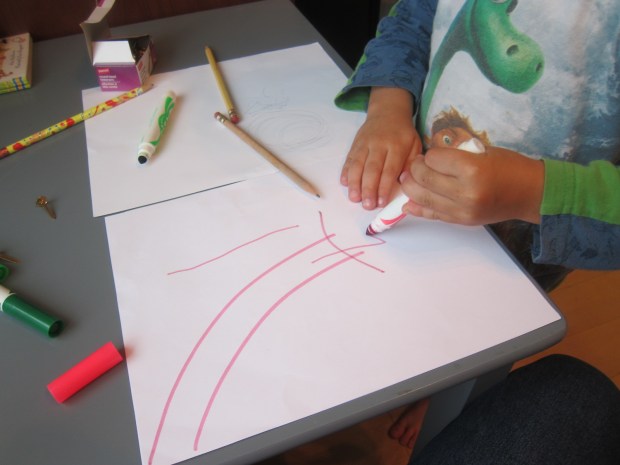
As a final craft, we put together a suggested Venus flytrap. Parents, cut little triangles all along the edges of a paper plate. Use markers to color the inside of the plate red and the outside green.

Venus Fly (1)

We didn’t even finish coloring before Travis eagerly made his flytrap chomp on some pom-pom flies!

Venus Fly (3)

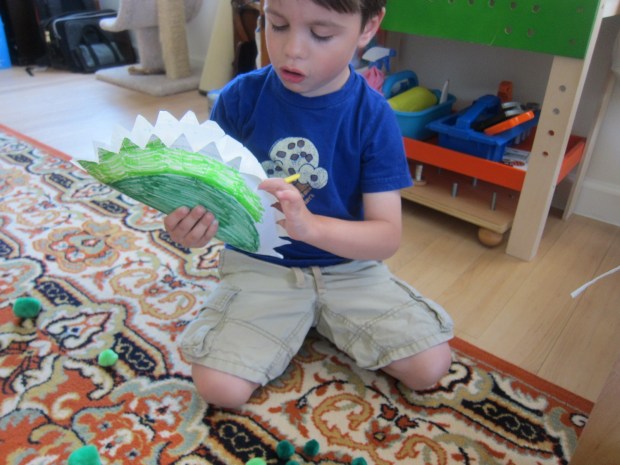
Oh no, can a Venus flytrap eat a whole caterpillar?

Venus Fly (2)

I loved seeing Travis’s imagination at work with this one.


Ice Boat Races

Ice Boat (2)

This is one of those projects that didn’t turn out quite like we planned, but it got us outside into beautiful summer sunshine, and turned into a separate kind of fun – always a happy ending!

The night before you want to race your boats, freeze water in small containers – tupperware works best. After about an hour, when the water has started to set, insert a straw into each boat to be the mast.

The next morning we decorated flags as the sails and taped to our masts. Run a little warm water on the bottom of the container, and your boats will slip out.

Ice Boat (1)

We were sort of set up for disappointment because I didn’t have a large “ocean” for us to race the boats in. An empty sand table or water table would work best, but lacking those, I filled a small craft bin with water.

Oh no, our sails fell off in the water right away!

Ice Boat (4)

Still, Travis got a kick out of huffing through a second pair of straws to move our boats, and see who could sail across the bin fastest. When that didn’t quite work, we paddled the boats with our straws.

Ice Boat (3)

Perhaps more fun, though, was simply holding the slippery “boats”, and then seeing how quickly the ice melted in the summer sunshine. Travis spent the next hour or so on the patio, playing with the water in the bin and cracking apart the ice. So all in all, not a fail!

Ice Boat (6)

Fun with Plastic Dinosaurs


Dino Ornament (6)

Over the years we seem to have accumulated a good-sized collection of tiny plastic dinosaur figurines. You can find these sold in tubes at toy stores, craft stores, and museum stores, and we’ve amassed quite a few duplicates as time has gone by. So it was time to have fun with a few of the extras!

First, Travis decided to cover them in sparkly glitter paint.

Dino Ornament (2)

This immediately made me think of sparkly Christmas ornaments, so we finished off the look with a little chenille stem collar for each one.

Dino Ornament (5)

If you loop thread or an ornament hook through each dinosaur’s collar, you can really hang them up on your tree next holiday season! We’re setting ours aside for Christmas.

Next up was dinosaur “egg” soap. If you truly want yours to look like eggs, you’ll need oval soap molds (available at craft stores). I only had square craft molds but hey, maybe there was a dinosaur somewhere who laid square eggs instead of oval ones.

Place a plastic dino in each empty mold.

Dino Soap (1)

Meanwhile, melt a bar of glycerin soap in the microwave – you’ll need to heat it at 30 second to 1 minute intervals until completely melted, stirring after each interval.

Dino Soap (5)

A word of caution: we first tried a bar of bath soap from the store, but it only puffed up in the microwave instead of melting. Although this led to endless amusement for Travis, it did not make great dino eggs! Turns out you really need to buy what’s called “melt and pour” soap or it simply won’t work.

Dino Soap (6)

Once we had the right soap, it melted in a mere minute! Travis loved pressing the microwave buttons. Let your child carefully stir to remove any final lumps, then (adult step!) pour over the dinosaurs.

Here they are trapped in goo. Travis was gleeful!

Dino Soap (4)

I was impressed with how quickly the soap sets, in under an hour, meaning kids won’t have to wait long for soapy fun. Bring your dinos into the tub, wrap them in cellophane for gifts, or place out as decoration.

Dino Soap (7)

If you get soapy with your “eggs” in the tub, it won’t be long before your dinos hatch!

Dino Soap (8)

Paper Pinwheels

Paper Pinwheel (6)

Summer brings with it a plethora of parades, whether for Fourth of July, local events, or just no reason at all. Inevitably, vendors hawk items for kids on the sidelines like bead necklaces and pinwheels. Skip the expense, put together your own pretty pinwheel and bring it along to all your town events this summer – parades, fireworks, picnic dinners, music at the bandshell – or whatever else is on in your town!

You can use decorative paper to make the pinwheels, but we thought it would be more fun to color our own. Spirals, polka dots, stars and stripes – whatever strikes your kid’s fancy!

Paper Pinwheel (1)

Once colored, cut the paper into 6 inch squares, then cut a slit (about 3 inches deep) at each corner.

Paper Pinwheel (2)

Cut a small circle from your scrap paper to be the center of your pinwheel.

Adults, using a pin or brad, poke through all the layers: start with the center circle, then add the cut corners of the pinwheel one at a time, moving in a circular motion. In retrospect, we would have colored both sides of our paper!

Paper Pinwheel (3)

Finally, poke the brad down into a pencil eraser. The perfect item to wave as the parade goes by!

Paper Pinwheel (4)


Tuna Boats

Tuna Boat (3)

There was a very cute recipe in our summer issue of Ranger Rick Jr., for a sandwich in the form of a sail boat. The recipe called for tuna salad, and happily there are multiple choices on the market for vegan tuna these days. Using a can of Loma Linda Blue fishless tuna, we were ready to set sail!

First we mixed up a batch of basic tuna salad: 1 can of vegan tuna, 1/4 cup Earth Balance mayonnaise, and 1 chopped celery stalk.

Divide the tuna salad evenly among 2 hot dog buns (or 1 sub roll cut in half).

Tuna Boat (1)

Cut carrot sticks that are about 5 inches tall and stand upright in the tuna salad. Tear off two leaves of romaine lettuce and poke two slits in each lettuce leaf; slide onto the sails.

Tuna Boat (2)

Sail away!

Tuna Boat (4)


Mini Pinatas

Mini Pinatas (1)

Do your kids have extra energy to burn off at the end of a summer day? Whack out those summer crazies with homemade mini piñatas – no birthday party required!

To make the piñatas we first had fun decorating old party hats. Any cone-shaped vessel will work well, such as paper cups used for sno-cones in the summer.

Travis preferred using markers and playing with the leftover crepe paper.

Mini Pinatas (4)

Meanwhile, I added strands of crepe paper around all the hats.

Mini Pinatas (3)

Fill half of the cones with candy or other treats. Travis opted for Annie’s fruity bunnies!

Mini Pinatas (6)

Originally I snipped the top off of the remaining cones, intending to thread a string through, but found it was easier to make a hole punch and tie the string through that.

Mini Pinatas (5)

The next step is a bit tricky: Hot glue two cones together to make one piñata. It was hard to line the edges up exactly… but that said, the more tenuously your two halves hold together, the easier it will be for your tykes to break them open.

Mini Pinatas (7)

Ideally, we would have hung these outside from a tree branch. But lacking a backyard, we tied them up inside.

Mini Pinatas (8)

That didn’t stop Travis’s fun one bit. He loved having permission to swing with the baseball bat as hard as he could.

Mini Pinatas (9)

Come out candy!

Mini Pinatas (10)

Fun for everyone!

Wishing Well Game

WIshing Well (5)

Kids love throwing pennies into wishing wells, as was evident when Travis and I recently visited a garden with fountains and he needed to use up every penny in my wallet before he was satisfied!

We took the fun home with this simple game. If you have a water table or empty sandbox, fill that with water for bigger fun! I filled a simple craft bin with a layer of water, and then added small plastic containers to be our targets.

Wishing Well (2)

Before we could begin our wishing, we had to break open the piggy bank to sort out all the pennies – extra fun!

Wishing Well (1)

Encourage your kids to stand back and aim at the containers (the water will make the containers float around a little, for moving target practice). Travis preferred standing right up close.

Wishing Well (4)

But grown ups and bigger kids can take aim from far away. If your penny lands in the container, your wish comes true!

Wishing Well (6)


Mini Blueberry Pies

Mini Blue Pies (7)

What is it about miniature foods that just makes them taste so much better? Kids will love getting hands-on with this mini pie recipe from High Five magazine.

We had to do an extra step since there aren’t any mini vegan graham cracker pie crusts on the market (that I know of). You could purchase the graham cracker crust from Wholly Wholesome and make one big blueberry pie, but that defeats the whole point, now doesn’t it?

Mini Blue Pies (1)

To make our crusts, we combined the following in a large bowl:

1 and 1/2 cup graham cracker crumbs (such as Kinnikinnick S’moreables)

1/3 cup sugar

6 tablespoons melted Earth Balance butter

1/2 teaspoon cinnamon

Press the mixture into muffin cups and bake at 375 degrees for 5 minutes, until set. Set aside.

To prepare the filling, we turned back to our High Five. First, we measured together the following:

1 teaspoon flour

1 tablespoon brown sugar

1 tablespoon fresh-squeezed orange juice

1 cup fresh blueberries

Squeezing the orange juice was especially fun!

Mini Blue Pies (3)

Spoon the blueberry filling over the crusts.

Mini Blue Pies (5)

To prepare the topping, combine the following:

2 tablespoons old-fashioned oats

2 tablespoons flour

2 tablespoons brown sugar

1/4 teaspoon cinnamon

1 tablespoon melted Earth Balance butter

Sprinkle the topping evenly over the blueberry filling. Bake at 350 degrees F for 20 minutes. Let cool for about 10 minutes before serving.

Mini Blue Pies (6)

Scoop out your mini pies and transfer to plates to serve. Or – why not! – just dig in with a big spoon and have a snack right out of the pan!

Mini Blue Pies (8)

Frozen Grapes

Frozen Grapes (1)

Are frozen grapes the perfect summer snack? Pretty much. But my preschooler found a way to make them even better – read on!

To prepare, slice purple grapes in half and place in zip-top plastic bags in the freezer for at least 1 hour.

Let stand for a few minutes at room temperature before serving, and then just enjoy!

When I told Travis that he would be having grapes that were as cold as a popsicle, he was initially disappointed to learn it wasn’t an actual grape popsicle. Before I even had time to spin the delicious summer treat, he suggested eating them straight out of a popsicle mold. Genius!

Frozen Grapes (2)

Want even more summer fun with grapes? Try turning grapes into raisins by leaving them out on a hot patio in the sun.

Dinosaur Hat

Dino Hat (5)

We’ve had so much fun with dinosaur projects lately that it was time to turn Travis into a dinosaur himself! Look for blank hats at the craft store, in whatever color your child prefers as the background. All you need is sheets of felt to complete the look. I recommend sticky-back felt for the easiest time putting this hat together, otherwise you’ll need to use hot glue or tacky glue.

First our dinosaur needed eyes. I cut two circles, as well as two smaller ones to be the irises.

Dino Hat (1)

Next up was circles to make dots on the dinosaur’s head, two teardrop shapes for the nostrils, and fangs glued on to the brim.

Dino Hat (3)

For the spikes, you’ll need to cut two pieces of felt for each size spike desired. Attach the pieces back to back, and then adhere the bottoms along the crown of the cap.

Dino Hat (2)

Roar! What a ferocious dinosaur.

Dino Hat (4)