Warm Cooked Oatmeal Sensory Bag

Warm Oatmeal Sensory (3)

This easy sensory bag is similar in concept to others I’ve made for Veronika (a smooshy texture, great for squishing in her hands), but adds a new element: warmth!

If you have a bulk canister of oatmeal, just whip up an extra big batch. I prepared 4 cups of oatmeal and divided it among two bags.

I added blue food coloring to one just for fun, but there’s no need. Other than that, I simply sealed the bags and gave them to Veronika.

Warm Oatmeal Sensory (2)

“Hot!” she said, and also signed the word for it. I took the moment to reinforce the word and sign for “warm”, to differentiate the temperature for her. She soon was happily smooshing fingers into the bags, rearranging them, lifting them up to test how heavy they were, and otherwise having a grand time.

Warm Oatmeal Sensory (4)

I caught her trying to run away with them, my imp!

Warm Oatmeal Sensory (5)

Once back in the kitchen, we briefly tried to make squiggles through the oatmeal with fingers or spoons…

Warm Oatmeal Sensory (6)

…but I think the oatmeal would have needed to be thicker for the lines to stay visible. Still, a nice pause for sensory play.

Warm Oatmeal Sensory (7)

Advertisement

National Crayon Day

National Crayon Day (14)

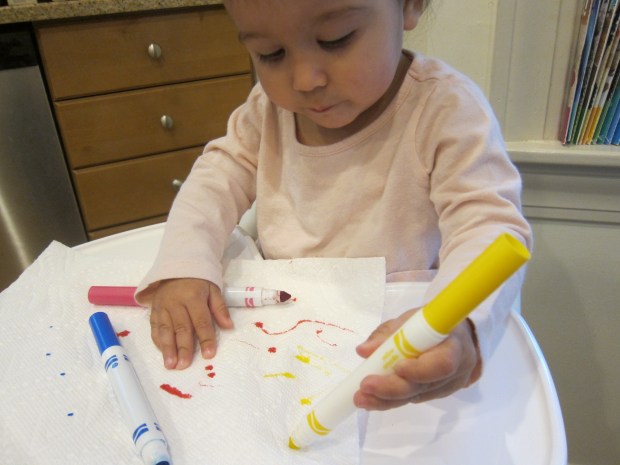
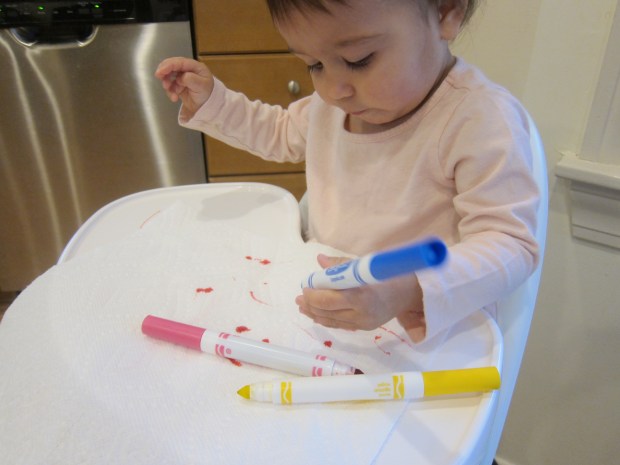
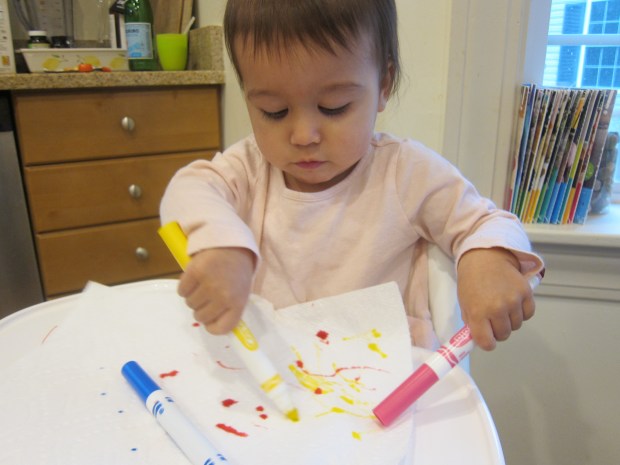
Happy National Crayon Day! Travis, Veronika, and I celebrated this fun “holiday” with two projects, plus the perfect crayon book: Harold and the Purple Crayon.

While the kids were busy, I made a batch of purple crayon play dough. For this you’ll need:

3 cups flour

1 and 1/2 cups salt

2 tablespoons cream of tartar

2 tablespoons olive oil

1 jumbo purple crayon

2 cups water

Combine the flour, salt, and cream of tartar in a bowl. Heat the olive oil in a large pot over medium heat. Remove the paper lining from the crayon and chop into pieces. Add to the oil and stir until melted. Slowly stir in the water, then add the dry ingredients. Continue to cook for a minute or two, until the play dough pulls away from the sides of the pot.

National Crayon Day (1)

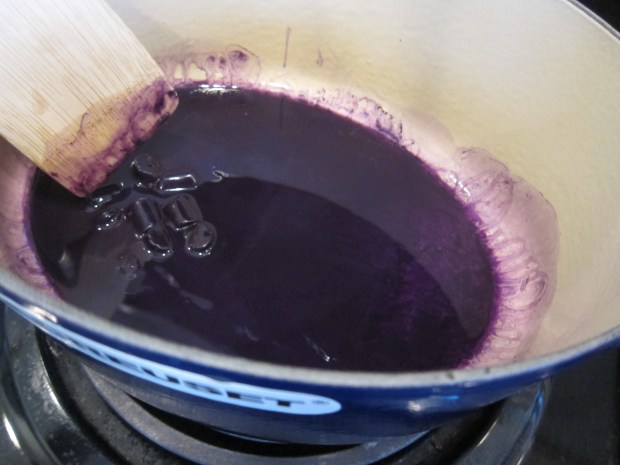
Turn the dough out onto a cutting board. Let cool slightly, then knead a few times. It makes a fantastic dough, and it’s now ready for play!

National Crayon Day (3)

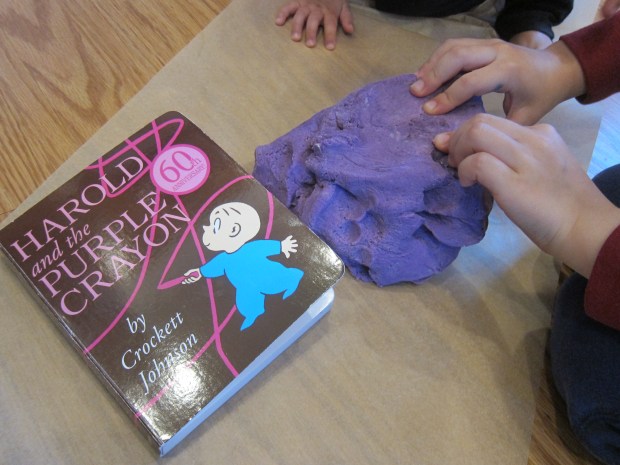
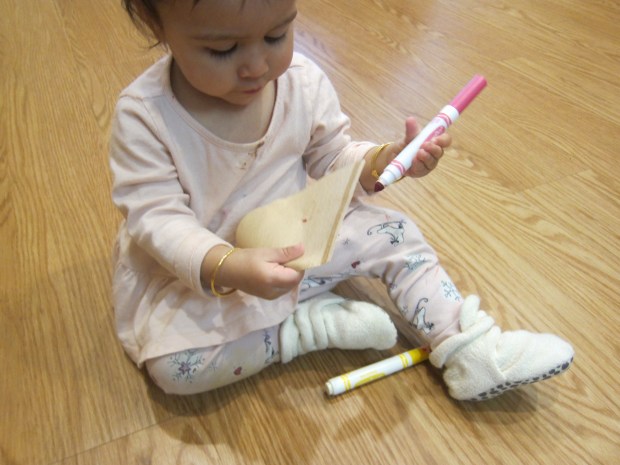
We read Harold and the Purple Crayon to set the stage, then got our hands messy with the purple play dough!

National Crayon Day (5)

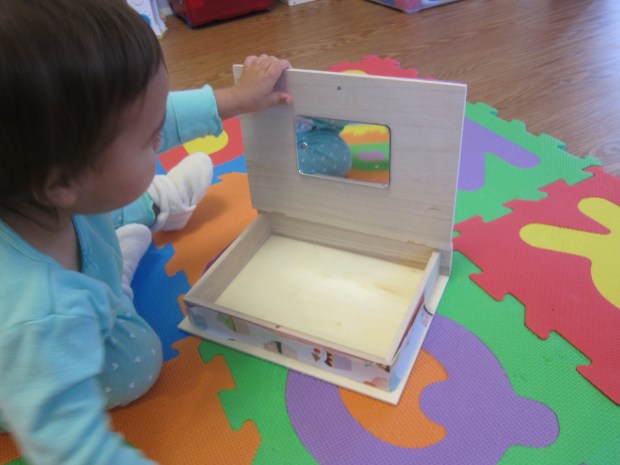
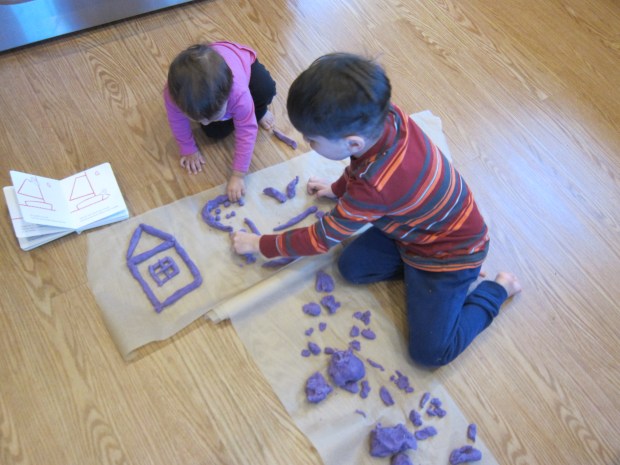
I suggested recreating a few of the drawings from the book like the apple tree or a house with a window.

National Crayon Day (6)

Travis just loved making purple worms, which soon led to a very elaborate game in his head!

National Crayon Day (9)

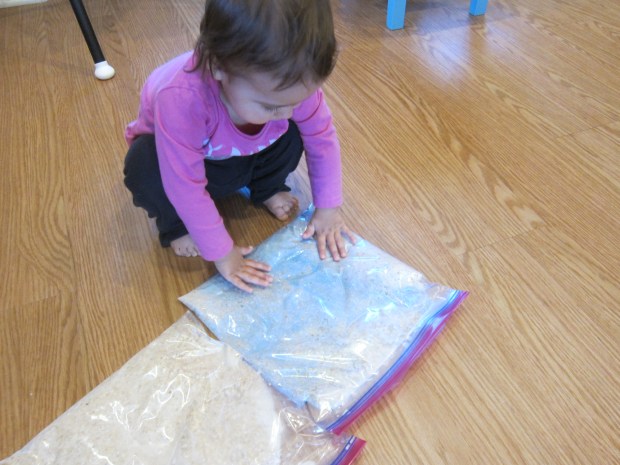
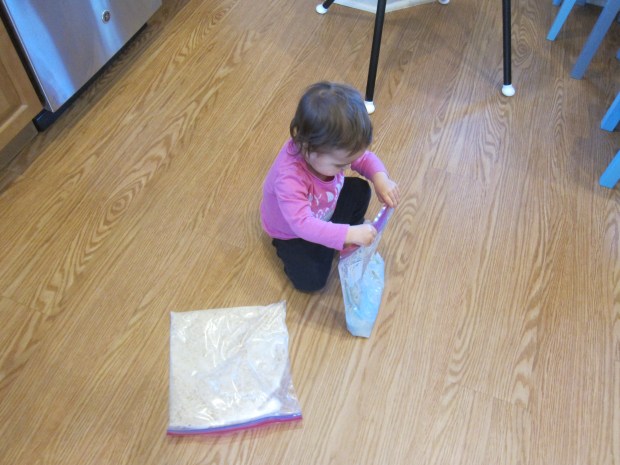
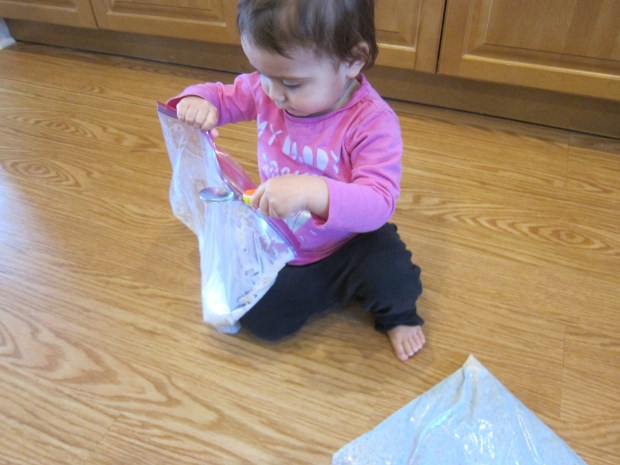
Veronika loved pulling up bits of the dough.

National Crayon Day (8)

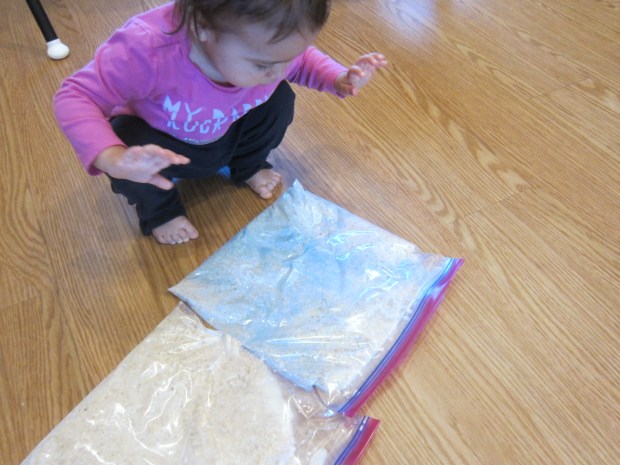
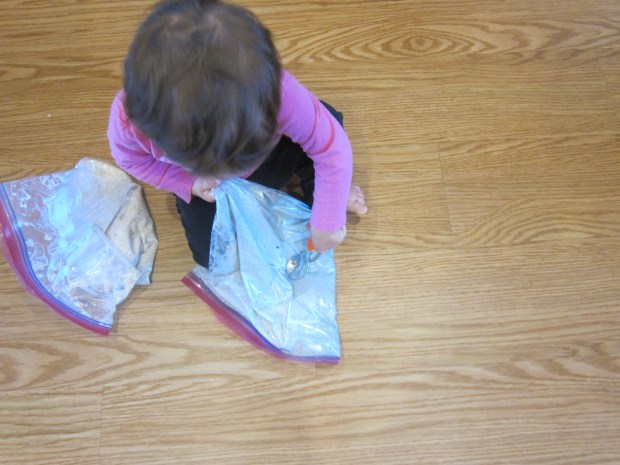
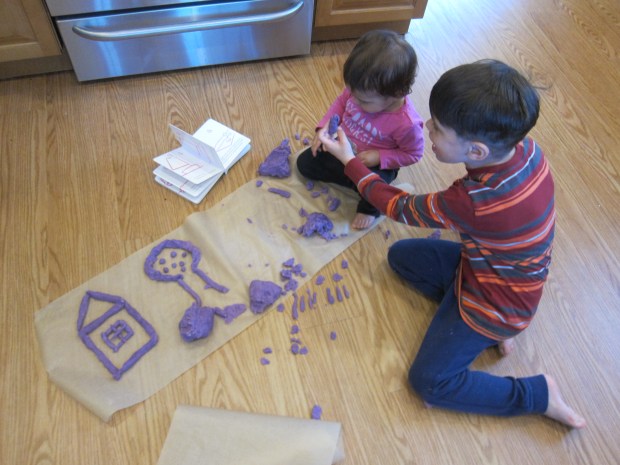
Oh no, she grabbed the “ocean” from under Harold’s boat!

National Crayon Day (10)

In other words, the kids had a blast. I thought they might play with it all afternoon.

National Crayon Day (7)

But we had one more crayon project to go. There was a collection of rocks on our patio thanks to a family walk on the beach last weekend, and I set a few of them in the oven at 300 degrees for 15 minutes. (Note: I’m told you don’t want to heat them much longer than that, or they may explode, although that could just be urban legend).

National Crayon Day (12)

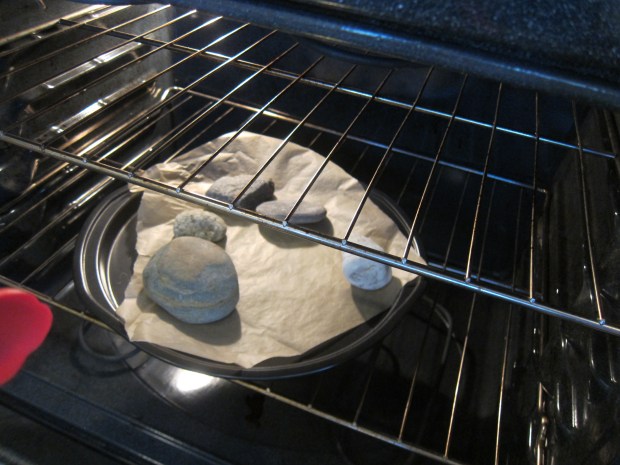
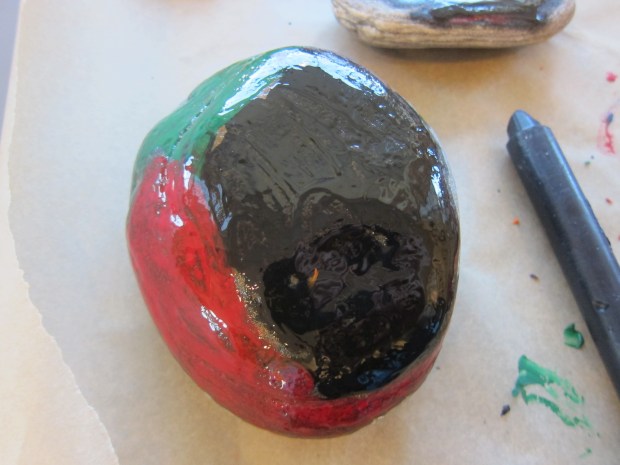
Remove one rock at a time with tongs and place on foil or parchment paper on a table. Using jumbo crayons with the liners removed, I showed Travis how to press one against the hot rock. It instantly melts!

National Crayon Day (11)

This had big wow factor, and made for fun art.

National Crayon Day (13)

Travis loved watching big runnels of color drip over the rocks, although I showed him how to get a little more artistic and deliberate with his colors, too.

National Crayon Day (14)

These would look so pretty in a garden! Happy National Crayon Day.

National Crayon Day (15)

Mini Bots

Mini Bot (6)

Travis built a robot today! Armed with a few specially ordered items, even younger elementary kids can do this project. My kindergartner needed adult hands for a lot of the steps, but could understand the process behind creating a simple circuit.

To start, we used sandpaper to smooth one side of a cork so it would sit flat once the robot was complete.

Mini Bot (1)

Using an Xacto knife, I made a slit in one end of the cork; this was for a 3V battery to slot into. Initially I made the slit such that the battery would sit horizontally, but we later changed it to vertical for ease of attaching the wires.

Mini Bot (3)

On the opposite side of the cork from the battery slit, I cut a square large enough to fit a pager motor. Hot glue the motor in place for security.

Mini Bot (2)

Attach two wires (about 3 inches long), one on either side of the pager motor. Secure with masking tape. I used a thin floral wire for this step.

Now poke both ends of an LED light into the cork, taking note of the longer (anode) side and shorter (cathode) side. Wrap the wires that extend from the pager motor around each leg of the LED, and continue along until they reach the 3V battery. Tape it all securely in place with masking tape.

Mini Bot (5)

Every time you touch both wires firmly to the battery, it will kick into action. The light lights up and the motor starts whirring! If you have trouble, go back and check that all your + sides are aligned, as well as all your – ones.

Mini Bot (4)

Your child may want to decorate their mini bot with wiggle eyes or pipe cleaners for personality, but Travis loved it just like this! Here it is in action:

A Box to Extend Train Play

Box Extend Train Play (10)

Chances are you have lots of extra boxes these days; certainly we’re having more items delivered in this time of social distancing, and are so thankful to the fearless delivery folks out there! We put one such box to good use this morning by making it a tunnel for Veronika’s trains.

The set up was simple (although you could get really detailed and crafty with this if you have the time). First, I cut a few holes to be tunnel entrances and and exits.

Box Extend Train Play (3)

Next, I placed a strip of masking tape on the top as a road. Little bits of orange tape down the center served as the lane divider.

Box Extend Train Play (2)

I put the box on the ground and showed Veronika how she could make a train enter through one hole…

Box Extend Train Play (4)

…and pop out through another!

Box Extend Train Play (6)

She loved it, although she seemed mildly disappointed that she didn’t fit in the tunnels herself. Soon she was happily chugging trains to and fro.

Box Extend Train Play (5)

The road on top was a big hit, too!

Box Extend Train Play (7)

The box happened to be the perfect height for her to stand and zoom her cars around, which interested her almost more than the trains.

Box Extend Train Play (8)

This is a great way to keep your toddler busy, even if trains aren’t necessarily his or her “thing”!

Box Extend Train Play (9)

Banana Yogurt Milkshake

Banana Milkshake

This milkshake uses non-dairy yogurt and almond milk for creaminess, instead of ice cream. It’s the perfect healthy treat for after (home) school!

Ingredients:

  • 1 banana
  • 1 tablespoon lemon juice
  • 8 ounces vanilla non-dairy yogurt
  • 1 cup vanilla almond milk
  • 1 tablespoon ground flaxseed
  1. Combine all the ingredients in a blender and process until smooth.


Bear in the Basket

Bear in Basket (4)

This simple game is pure delight for a toddler! I put Veronika in her crib, which startled her momentarily since it’s not a place she normally plays. Surprise turned to excitement when I added all her stuffed animal friends.

Bear in Basket (1)

I placed a basket below the crib (a laundry basket would be perfect, or any old storage box like the one I had on hand), and then showed her how drop in a stuffed animal. “One, two, three, whee!” I counted. The first animal jumped in.

Bear in Basket (2)

Well she had to see what this was all about!

Bear in Basket (3)

She was eager to copy me, parroting my words and holding an animal over the railing. Sometimes she didn’t realize she needed to let go with those little fists; there’s a cognitive step of cause-and-effect here that’s great for motor skill development.

Bear in Basket (5)

Here goes reindeer!

Bear in Basket (6)

Once the basket was full, we tossed the animals back in the crib…

Bear in Basket (8)

…and played again.

Bear in Basket (9)

She was happy to play so many rounds of this game.

Bear in Basket (10)

Or sometimes to pause for a hug.

Bear in Basket (11)

Just for the heck of it, we extended the stuffed animal play with a dry animal bath tub!

Bear in Basket (12)

This oldie-but-goodie never grows old. Simply throw all the stuffed animals in for a soft landing and add one toddler.

Bear in Basket (13)

Graphite Circuit

Graphite Circuit (5)

Did you know that graphite conducts electricity? Neither did Travis and I until we set out to light up an LED bulb with a 9V battery. You can create some serious wow factor with this easy STEM project; even grown-ups might be amazed!

Make sure you have graphite pencils or the project won’t work; check the art section of the craft store, not the kids’ section, to be sure.

On our first try, we drew a  bus shape for our circuit. Be sure to leave two gaps, about 1 cm wide, on each side of your drawing. Label them + and – as well. Travis loved making our graphite line nice and thick, and added bus windows.

Graphite Circuit (1)

Tape the LED light down on one side of the gap, aligning + to + and – to – and making sure the two filaments are firmly on the graphite line. (Note: the longer end of the LED is positive).

Now place the 9V battery upside down across the other gap, making sure the + and – nodes align once more.

Graphite Circuit (3)

Hmm… our light didn’t light up!

Graphite Circuit (2)

We did a little research and found out that the longer your graphite drawing, the less strong the current will be that reaches the bulb. So we made a very small rectangle and tried again.

Graphite Circuit (4)

And success! Travis was thrilled when we saw it light up.


Surprise-Inside Muffins

Surprise Muffins (2)

There’s a sweet swirl of peanut butter and jelly hiding just below the crumb topping of these muffins. If you prefer your PB&J savory, check out the cheddar meltswe made earlier this week!

Ingredients:

  • 2 cups all-purpose flour, divided
  • 1/2 cup rolled oats
  • 1 teaspoon baking soda
  • 1/4 teaspoon salt + dash, divided
  • 3/4 teaspoon cinnamon, divided
  • 3/4 cup brown sugar, divided
  • 1/2 cup canola oil
  • 3/4 cup vanilla almond milk
  • 2 Ener-G eggs
  • 1 teaspoon vanilla extract
  • 1/4 cup creamy peanut butter
  • 1/4 cup strawberry jam
  • 3 tablespoons Earth Balance butter
  1. To prepare the batter, combine 1 and 1/2 cups flour, the oats, baking soda, 1/4 teaspoon salt, 1/2 teaspoon cinnamon, and 1/2 cup brown sugar; set aside.
  2. In a bowl, whisk together the oil, almond milk, Ener-G eggs, and vanilla. Add the wet ingredients to the dry ingredients and stir until combined.
  3. Fill the muffin cups about half way with batter. Drop 1 teaspoon peanut butter and 1 teaspoon jam over each, swirling slightly with a toothpick if desired.
  4. To prepare the crumb topping, combine the remaining 1/2 cup flour, 1/4 cup brown sugar, 1/4 teaspoon cinnamon, and a dash of salt in a small bowl. Add the butter, and use your fingers to mix until combined. Sprinkle over the muffins.
  5. Bake at 350 degrees for 23 minutes. Cool in the pans and store in an airtight container.

Surprise Muffins (1)


Paper Towel Drawing

Paper Towel Drawing (2)

Here’s an easy art hack for toddlers, especially if you have a child who wants to get into an older sibling’s art supplies. Give them a paper towel to mark up instead! Because the paper towel has absorbency, the colors blur and bleed in fascinating ways.

I gave Veronika four different color markers and showed her how to make thick lines across the paper towel.

Paper Towel Drawing (1)

She didn’t need to be shown twice! Soon she was coloring avidly, clearly interested with how the markers felt on the slightly bumpy surface.

Paper Towel Drawing (3)

Next I showed her how to press in one spot and make a dot (almost like dot markers). “Dot dot dot!” she started saying happily as she imitated.

Paper Towel Drawing (7)

She also said the names of the colors as she drew, parroting back “pink!” or “yellow!”

Paper Towel Drawing (5)

Eventually, I taped the paper towel pieces down so she could keep going without direct supervision.

Paper Towel Drawing (6)

Even when the paper towels slipped, I didn’t have to worry since the washable markers wipe clean from her high chair tray in a pinch.

Paper Towel Drawing (8)

Note: You can also try this activity on coffee filters, which we did later in the day. They have a similar absorbency for a similar effect.

Paper Towel Drawing (9)

Who Do You See?

Who Do You See (4)

For toddlers who are forming a firm sense of “me”, the chance to see themselves in a mirror is especially exciting. This little project lets your toddler play peek-a-boo with him- or herself!

To make a mirror box, I used a wooden box with a hinged lid that Veronika would easily be able to flip open and closed. You can also find boxes like this at the craft store.

Use hot glue to attach a small flat mirror inside the lid of the box.

Who Do You See (1)

I decorated the outside with pretty wrapping paper, purely for the aesthetic. And of course she loved playing with extra wrapping paper as I put it together!

Who Do You See (2)

We started with just the mirror inside. You can tell from the photos that she was smitten.

Who Do You See (3)

She tried playing peek-a-boo with her reflection, and said “hello” to it and paraded around so proudly with the box.

Who Do You See (6)

And of course tried climbing in it!

Who Do You See (5)

I later added a few photos of family member’s faces, thinking to make the surprise inside the lid different each time. You can mix this up by taping in pictures of animals or other favorite items from magazines, too.

Who Do You See (8)

Even once the surprise of the mirror wears off, this makes for a special box to store little keepsakes in.

Who Do You See (7)