Balloon School Send-Off

First Day (4)

Help your kids soar up, up, and away into the new school year with this picture-perfect backdrop for first day of school pix. I spotted the idea in Parents magazine, and instantly knew we needed balloons in green (the school color!) to start the year off on a high note.

Bonus points: if you start the day blowing up balloons, it means that any back-to-school grumbles will instantly turn to glee! I then arranged the balloons in an arc against our garage door, attaching with painter’s tape.

Balloon School (5)

All your kids need to do is stand under the arch and smile big. Wishing all families out there a safe, healthy, and fantastic school year ahead.

First Day (3)

Advertisement

Dessert Map

Cookie Map (5)

Maps were a big topic in Travis’s First Grade classroom last year, so as he transitions off to Second Grade, we decided to put a delicious endnote on the curriculum. This cookie dough map not only offered a little late summer learning, but made for a delicious dessert, too!

To start, prepare the dough from two boxes of chocolate chip cookie mix. You can also use refrigerated dough from the store or your favorite homemade recipe. Either way, it’s a great excuse to bake together!

Travis helped press the first batch of dough down onto the a baking sheet as a giant island.

Cookie Map (1)

He then used the second batch of dough to make topographical features, constructing mounds that could be mountains or hills and adding smaller cookie “islands” along the rim of the sheet. Bake according to package directions.

Cookie Map (2)

Once the cookie cooled, it was time to add a few more geographical features. Chocolate sauce was perfect for oceans, rivers, and mountain lakes. Travis got a bit impish with this step, drowning his land in goopy syrup.

Cookie Map (3)

He wanted to add chocolate sprinkles, too, which were more for fun than a specific geographical element. Perhaps they were plants or people on his island! Either way, it was time to dig in for the delicious result.

Cookie Map (4)

Note: Because this cookie is likely to be much thicker than a standard cookie (thanks to all those mountains!), you may find that it doesn’t bake all the way through. You can also expect the mountains to spread down and out as the cookie bakes. As a result, we found that the most delicious part was our edges and low-lying islands, while the rest was really more for fun than for eating.

Cookie Map (6)

Mail Truck Craft

Mail Truck (9)

Veronika loves when the mail truck arrives each day, so we made this cute play version at home, thanks to a suggestion in her High Five magazine. Now she can be in charge of all the mail deliveries!

To start, cover an empty cereal box with white paper, gluing or taping as needed to hold in place.
Mail Truck (2)
Next, I added a strip of blue duct tape for the windshield. Blue construction paper would also work for this part.
Add additional stripes with blue washi tape or markers. We used marker for details like headlights and wheels, but for real wheels, simply glue on old juice bottle caps!
Mail Truck (4)
I purposefully left the back of the box with the flap open, so that Veronika could really insert mail and take it out again.
Mail Truck (6)
We used index cards as letters, and she loved scribbling messages with crayon. Big brother Travis even ran over to write a few pieces of correspondence!
Mail Truck (8)
Even more fun than writing out the mail, though, was chugging her mail truck around the room before making each “delivery”!
Mail Truck (7)

Summer Outdoor Learning

Summer Outdoor (8)
Expeditions into the great outdoors are the perfect opportunity to sneak in summer learning, helping to avoid the summer slide. With the last week of summer upon us, here are a few activities we enjoyed at the park!
Draw Your Environment
For a review of natural versus man-made, we sat down in the shade and Travis divided a piece of paper in half with a crayon. On one half, he drew things he could see that could be found in nature. The other half was for things that were man-made.
Summer Outdoor (2)
Once he brainstormed a few answers, the nature side filled up with trees, grass, and flowers. Man-made items included park benches and picnic tables. Depending where you are, this list could be quite varied and interesting.
Summer Outdoor (4)
Follow the Leader
Next it was time for verb review combined with gross motor skills! Pick a leader and everyone does whatever action the leader does, whether rock climbing…
Summer Outdoor (9)
…or walking with an apple, Travis’s impish answer since he loved the apple trees around us. This game is also great practice for turn-taking, a soon-to-be-needed skill in the classroom
Summer Outdoor (6)
Adjective Hunt
Now it was time to review a different part of speech: adjectives! We played “I Spy” using adjectives on our nature walk. “I spy something small and purple,” Travis tried out.
Summer Outdoor (13)
You might even spy something exciting, like when the kids spotted a very cool insect.
Summer Outdoor (10)
Measure Your Footprint
Finally, it was time for outdoor math. Head to a place where your child can leave a footprint in the sand, whether a park, beach, or lakeside. I traced the outline of Travis’s foot with a stick, then we chose a rock as our unit of measurement.
Summer Outdoor (18)
His foot was 7 and 1/2 “rocks” long!
Summer Outdoor(20)
What outdoor learning did your family enjoy this summer? Please share in the comments!

Silly Face Rice Cakes

Silly Faces (3)

Kids love to eat food when it’s presented in the form of something else (think rainbows or boats), and it’s particularly fun to eat food that looks like… faces! Rice cakes are the perfect backdrop for this adorable snack idea from Veronika’s latest High Five magazine.

To start, spread rice cakes with your kids’ favorite sticky spread of choice, whether peanut butter or another nut or seed butter.

Silly Faces (1)

Then raid the snack cabinet for tidbits that can turn into facial features! We had an assortment of o-shaped cereal (great for eyes, noses, or mouths), raisins, dried apricots, and pretzels. The pretzels in particular were great for spiky hair.

Silly Faces (2)

The other big winner for hair was rainbow sprinkles!

Silly Faces (5)

Don’t stop there: strawberry halves make adorable ears, blueberries are perfect for eyes, and chocolate chip noses would also be super cute. Veronika thought that eating up this yummy face was an absolute delight.

Silly Faces (4)

Build a Mini Sprinkler

Pool Noodle Sprinkler (3)

With a gentle, less intense stream of water than most store-bought sprinklers, this DIY version is just right for toddlers!

To start, I first cut a pool noodle in half (save the remaining half for another use), then cut a 2-inch section off one end. Cut this small section into 6 strips. Stuff three of the strips into one end of the pool noodle to create a very secure seal; you’ll have to wedge them in quite firmly, and can add masking tape or duct tape to hold it all together.

Pool Noodle Sprinkler (2)

Next, poke a series of holes along the pool noodle, making sure they’re wide enough for water to shoot through. Now just head outside with bathing suits and sunshine and attach a hose to the open end of the pool noodle.

Pool Noodle Sprinkler (4)

Turn on the water gently and watch the water spurt forth!

Pool Noodle Sprinkler (5)

This turned out to be exactly the right gentle trickle for Veronika, who loved that she could dip her toes or fingers in and enjoy the cold spray without her whole body getting soaked.

Most likely, splashing in puddles once the hose is off will be half the fun!

Pool Noodle Sprinkler (6)

Foil Moon Art

Foil Moon (5)

Making craters in a fake moon is always fun, but even more so after a night of star gazing! Today, Veronika and I made this quick version using a few items from around the house.

Foil Moon (1)

I cut a circle from aluminum foil, then gave it to Veronika to crumple up. Squish!

Foil Moon (2)

Carefully smooth the circle back out, then place coins underneath, pressing down around each one to form an outline. We used a quarter, dime, and penny so we could have many craters of different sizes, which was also a nice reminder on the names of each different coin.

Foil Moon (6)

Flip the foil back over and now there will be a “crater” everywhere you pressed around a coin. Veronika thought this method was so neat and wanted to keep going by herself for a while, including pressing the coins down on top of the foil.

Foil Moon (4)

When you’re done, your child can glue the circle to black construction paper and add star stickers for pretty artwork. We skipped that step, but we do plan to head back outside soon to see what else is happening in the real night sky this month!!

Foil Moon (3)

Star Watching Party

Parents stars (8)

The Perseid meteor shower is here!

If you’re not familiar with this annual event, here are a few key things to know: The Perseids are debris leftover from a comet, and once a year the Earth passes near their path. The best viewing time is between midnight and 4 a.m., which means kids might get a special stay-up-late treat to see them, or early birds can head out before dawn!

Thanks to some stellar space-themed ideas in Parents magazine, we set the stage for our night of meteor viewing with a few activities. First up, we needed to launch a rocket into space, using “rocket fuel” made from baking soda and vinegar of course.

Rocket Fuel Experiment (2)

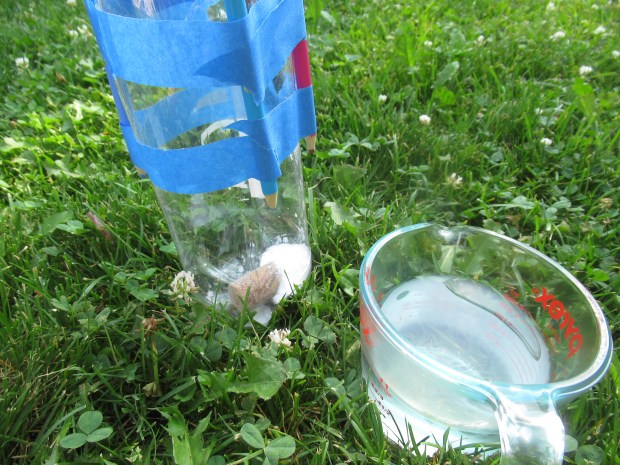
Tape four pencils around an upside-down empty bottle, which will secure it upright on its “launch pad”. Next, flip the bottle over and add 2 to 3 teaspoons baking soda. Add 1 cup vinegar, then very quickly pop in a wine cork and flip the bottle.

Rocket Fuel Experiment (4)

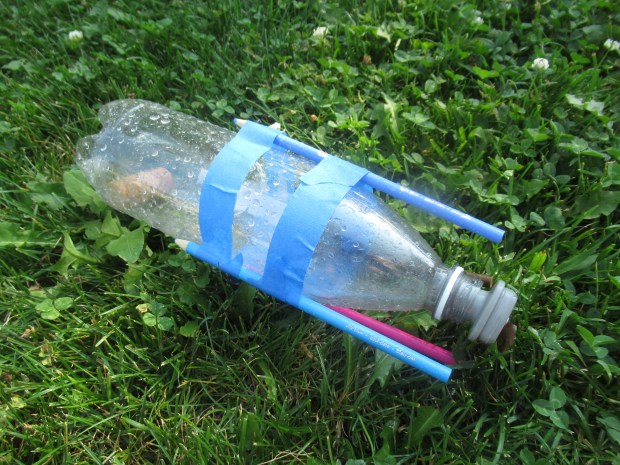
Did yours soar into the sky? We were a bit slow getting the cork in, which meant the “launch” wasn’t spectacular, but all the bubbling jet fuel sure was!

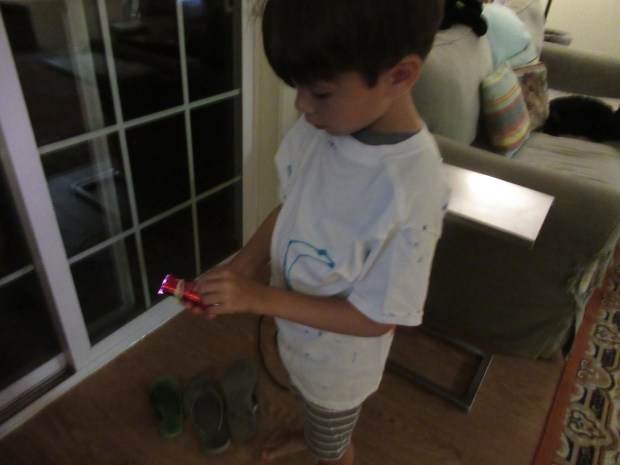
Now we wanted just the right clothing for our night, with glow-in-the dark shirts made from glow fabric paint. I made a star, moon and spiral galaxy for Travis.

Parents stars (1)

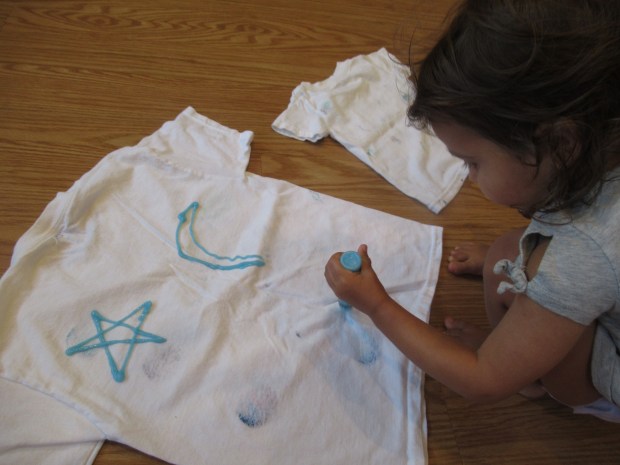
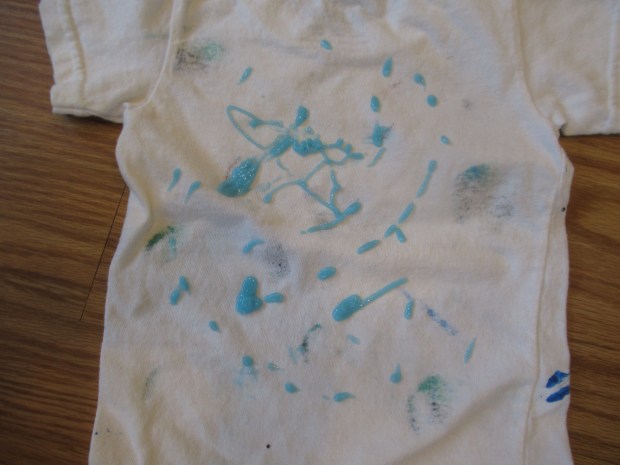
Veronika had a decidedly more abstract splattering of stars on her shirt!

Parents stars (3)

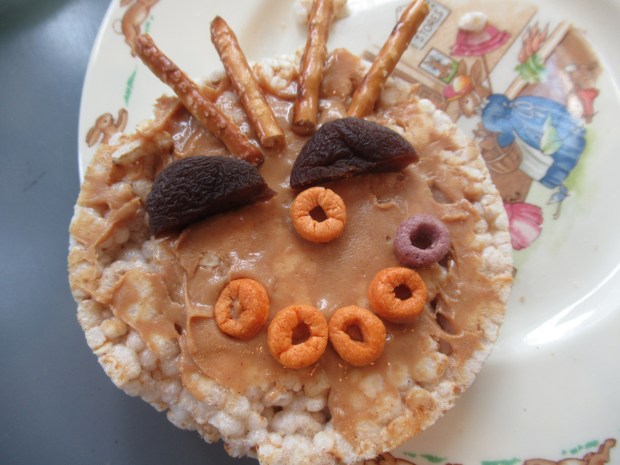
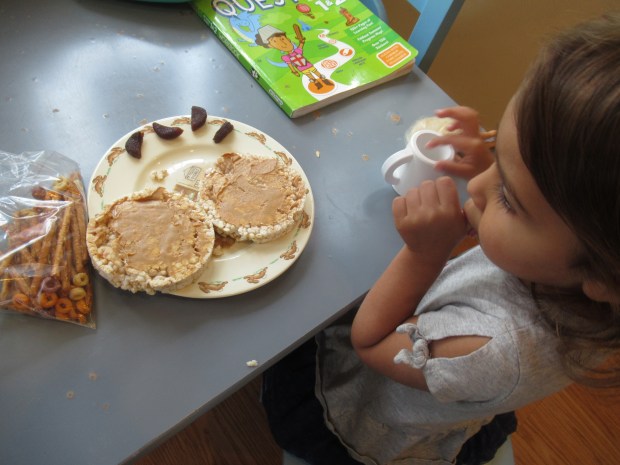
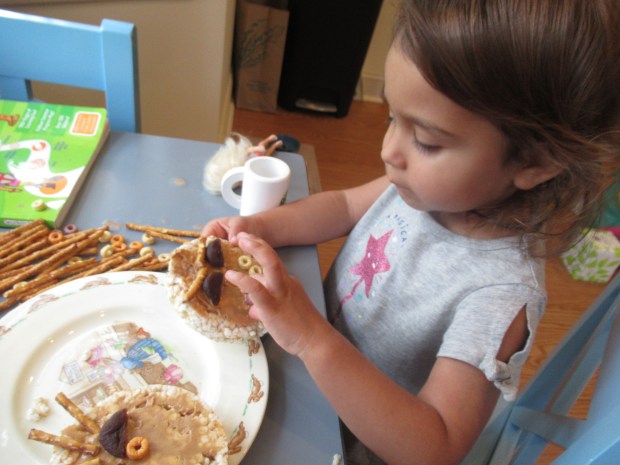
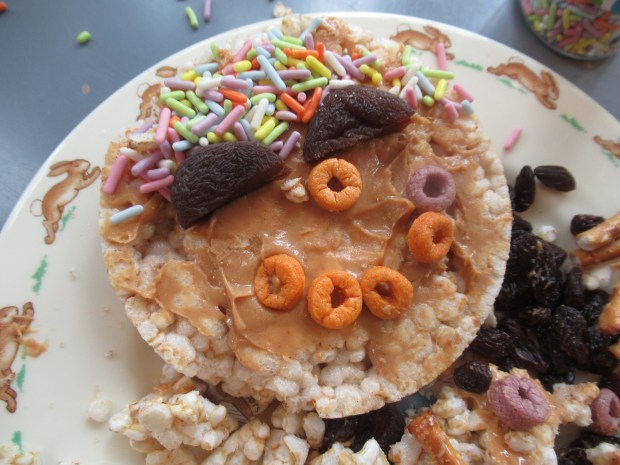
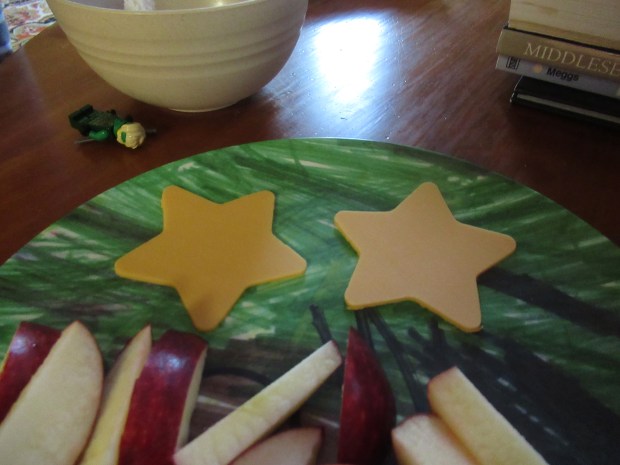
The next component of our night was space-themed snacks: we cut slices of vegan cheese into stars with a cookie cutter, and apple wedges were “crescent moons”.

Parents stars (4)

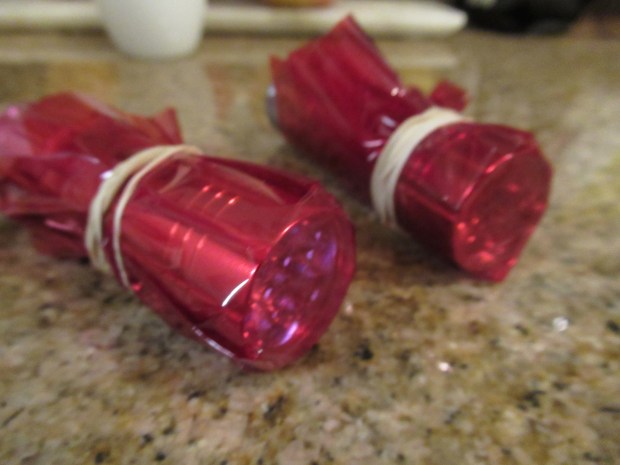
Next up, we secured a sheet of red cellophane over flashlights with a rubber band, then headed out into the night. The red filter supposedly helps eyes adjust to the dark!

Parents stars (6)

Before long, though, it was time to turn off those flashlights and turn our eyes upward to the sky.

Parents stars (7)

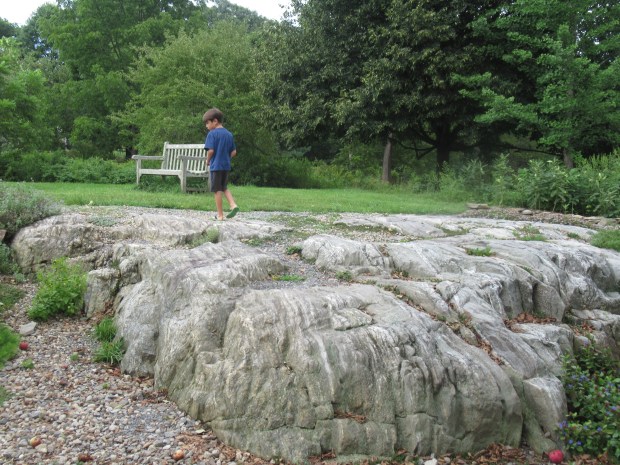
In between watching for meteors, Travis and I checked out the other stars in the sky and came up with a few of our own constellations.

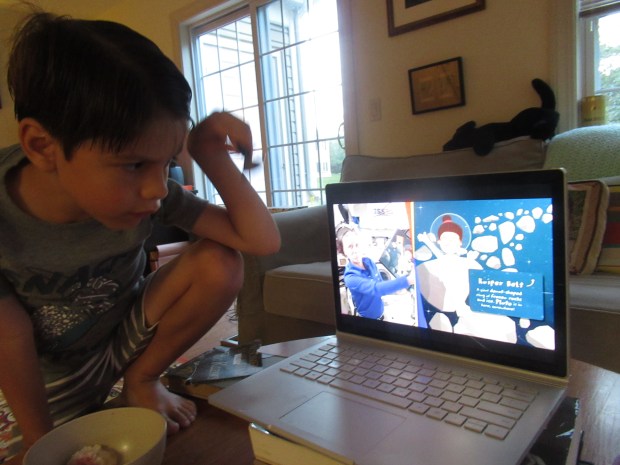
Finish all that starry fun with storytime of course. Check out Storytime from Space which features astronauts reading from – you guessed it – the International Space Station. Wow! The kids were enthralled with a read-through of Give Me Some Space by Philip Blunting.

Parents stars (5)

After all that, it turned out that probably headed out a little early (10 p.m.) and didn’t have great viewing. We intend to check out Jupiter on August 19, for our next star party!

A few things we didn’t get to this time, but that have stellar hits in the past: marshmallow constellations and tracking the moon.

Pretend Play Lemonade

Pretend Play Lemonade (4)

If your child is too young to host their first real lemonade stand, you can set the stage for future endeavors with this cute role-play version! To set up, I got out yellow tissue paper, cotton balls, and a few cups. We used both plastic and glass, but you might want to use only plastic if you won’t be supervising closely. The more important thing is that the cups are clear!

I showed Veronika how to crumple pieces of the tissue paper to form the “lemonade” in each glass.

Pretend Play Lemonade (1)

Don’t forget to add a few cotton ball “ice cubes” to each cup to keep those drinks cool! Your child might want to add straws, too,

Pretend Play Lemonade (2)

Time to invite guests to the party!

Pretend Play Lemonade (3)

Whether dolls, stuffed animals, or action heroes show up, this lemonade party is sure to be a hit. Thanks to High Five magazine for the adorable, imaginative prompt.

Pretend Play Lemonade (5)

Paper Plate Numbers

Paper Plate Numbers (7)

Veronika loves to bring her toy phone in the car, which has proved a great way to learn simple number recognition of the numerals 1 through 9. Here’s a great activity to build on that and emphasize that each number goes with a certain amount of things!

I labeled ten plates with the numbers 1 through 5, making two of each. I then added stickers to one set, with a corresponding number of colored dot stickers, but left the second set blank.

Paper Plate Numbers (1)

For each number, I first asked Veronika what it was. Sometimes she recognized it from her phone, and sometimes she sweetly confessed, “I can’t remember.”

Paper Plate Numbers (2)

Once we said the number out loud, we counted out the correct number of dot stickers to go on the plate. One, two, three!

Paper Plate Numbers (4)

Continue with as many pairs as you like, based on your child’s age and understanding… or just until you run out of paper plates!

Paper Plate Numbers (6)

Once all the plates have the right number of stickers, you can then play a matching game. I held up the plate with a 1 and Veronika’s task was to find the other.

Paper Plate Numbers (5)

Preschoolers can use these more than once for review, but don’t be surprised if your toddler turns it into a sticker free-for-all after the first round of the lesson.

Paper Plate Numbers (8)