Vegan Beef and Bell Peppers

Beef Brochettes (2)

If you have a grill, you can prepare this dish grilled on skewers instead, cooking for about 15 minutes. If you use the grilling method, marinate the ingredients in the sauce ahead of time, and serve with additional sauce on the side.

Ingredients:

For the sauce:

  • 1 cup steak sauce
  • 1/4 cup balsamic dressing
  • 1/4 cup agave nectar
  • 1 sliced garlic clove

For the remaining ingredients:

  • 2 tablespoons canola oil
  • 1 package Gardein beefless tips
  • 1 red bell pepper, chopped
  • 1 green bell pepper, chopped
  • 1 cup cubed pineapple
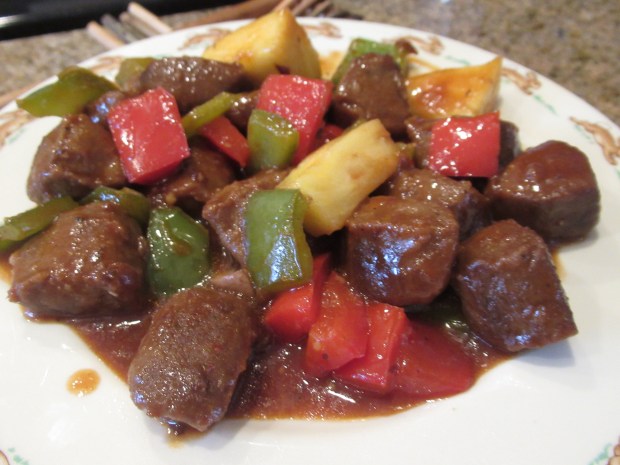
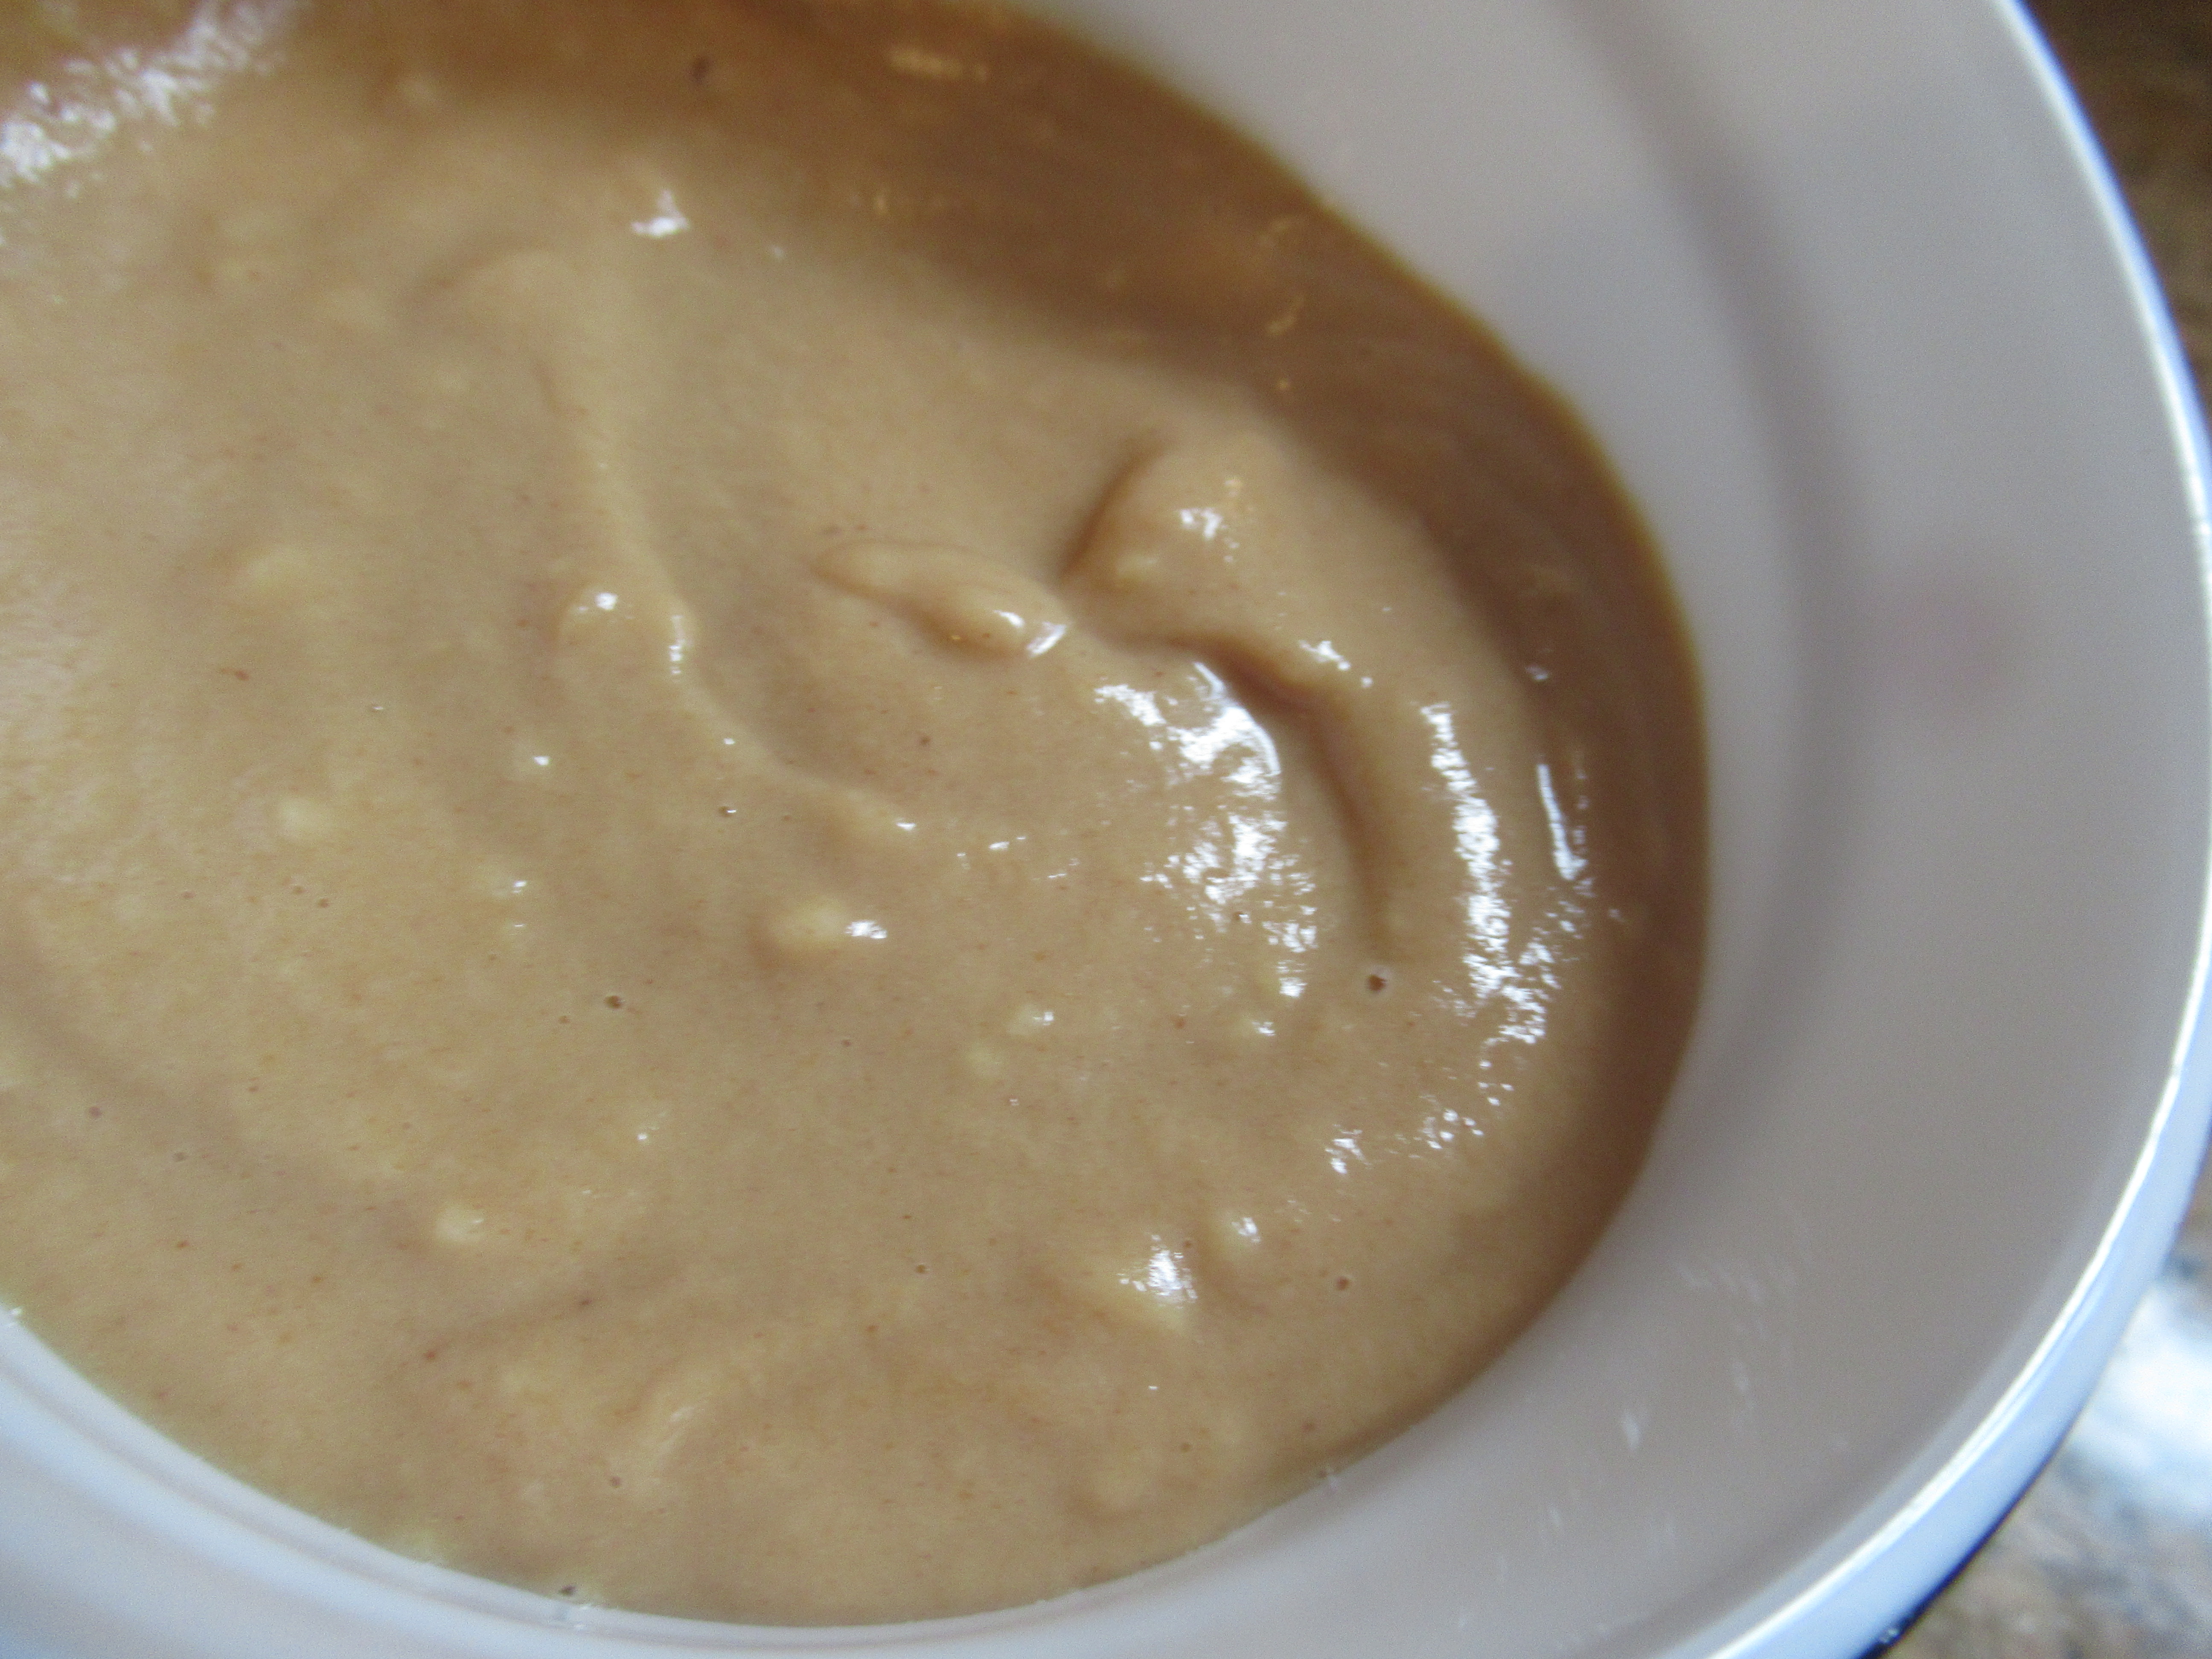
  1. To prepare the sauce, combine the steak sauce, dressing, agave, and garlic in a blender; process until smooth. Set aside.
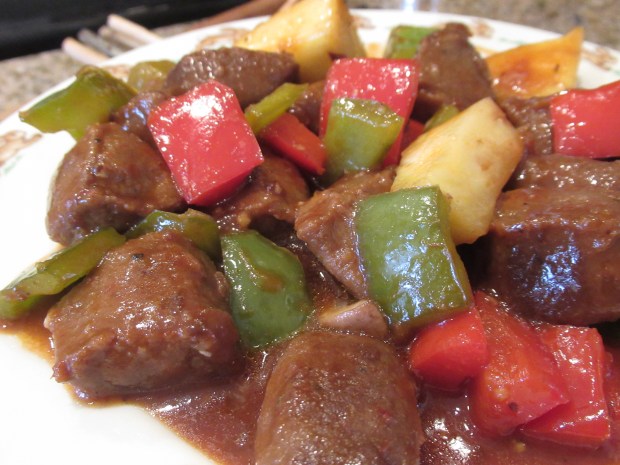
  2. Meanwhile, heat the oil in a skillet over medium-high heat. Add the beefless tips and cook for 5 minutes. Add the bell pepper; continue to cook for an additional 10 minutes.
  3. Add the sauce and the pineapple; cook for a final few minutes, until heated through. Remove the beef mixture from the sauce with a slotted spoon.

Beef Brochettes (1)

Advertisement

Bunny Tail Pom Pom Painting

Bunnies have those adorable cotton ball tails that kids just love. Today, we painted with the “tails” to make the rest of the bunny, thanks to this cute idea from The House of Burke.

To start, I clipped a few small clothespins onto white pom poms, and set these out for Veronika, along with a plate of black paint. For preschoolers, challenge them to hone their fine motor skills and get the clothespins onto the pom poms solo.

For Veronika, the activity was more about the fun of dipping the “bunny tail” in the paint and dotting onto thick white paper. She also liked dotting two “tails” together!

Little did she know that there was a surprise in store for her once the paper was painted; we were about to turn it into a full bunny head! Let the paint dry, then cut out shapes for the bunny’s head and ears, and glue these down on a construction paper background.

A final pom pom makes the bunny’s nose. Glue down wiggle eyes and add a few details with marker, and this bunny is ready to hop into spring!

Easter Egg Pick Up

Here’s a silly game that will have the whole family playing and laughing together! It’s a great game for multiple generations, whether just your immediate household or whether you’re able to celebrate with extended family once more this Easter.

For set up, simply cut Easter egg shapes from a few pastel shades of tissue paper, about 3 inches tall. Scatter these on a table or similar smooth surface and hand each player a straw.

Whoever gets the most Easter eggs with one huff up through the straw wins! For Veronika as a toddler, this was great practice for teaching control of her breathing direction. She couldn’t quite get an egg up by herself, but loved trying to imitate her elders!

Mommy managed to get 4. Daddy was the winner with 6!

Who wins in your family? Please share in the comments!

Easter Banner

Pull out those dot markers and let your toddler help make this easy breezy Easter banner!

To start, the plan was to trace bunny and egg shapes onto yellow construction paper. I easily found an egg template online, but couldn’t find a bunny head in the same size so just free-handed it. I traced four of each shape.

Veronika was so excited that she trotted over to get the dot markers from our craft bin all by herself! She loved seeing the colors appear, although was slightly disappointed that the blue marker appeared a bit greenish on the yellow paper.

Once we’d covered the shapes, I cut them out.

Cut additional sheets of construction paper (we used pink and purple) in half so you have 8 pieces. Glue down the bunnies and eggs with a glue stick.

Now hang up somewhere prominent in your home! We decided last minute to spell out E-A-S-T-E-R on the shapes, but you can also leave them plain. Or, if you make just a few more, you can spell out a full H-A-P-P-Y E-A-S-T-E-R. The banner makes a lovely spring welcome above the bench in our entry hall.

Spring Flower Bouquet

Veronika loved pretend flower play to greet the spring a few days ago. Today, she got to craft her own flowers instead! As with the previous project, this is a great way to invite spring into your house as you wait for real flowers to be in full bloom.

And all you need is pretty cupcake liners and pipe cleaners! Pastel shades like pink or lavender would be great for “blossoms”, but I happened to have Easter-themed cupcake liners. That meant our final product will work well as an “Easter Bouquet”, too, to set as a table centerpiece.

To make each flower, poke a hole in the center of each cupcake liner with a pencil. Insert a green pipe cleaner and bend slightly to secure it in place.

If you want to make your flowers sparkly, squirt a little white glue on them first and liberally sprinkle on glitter. Veronika chose purple for this step, which was definitely her favorite part!

Once the glue dried, we gathered the flowers together into a bouquet, twisting the pipe cleaner stems together and securing with a yellow ribbon.


Gado Gado Salad

Gado Gado (3)

Gado Gado is an Indonesian dish, consisting of a platter of mixed vegetables and protein with peanut dip for serving. It’s perfect for kids to pick and choose what to dip in the yummy sauce with each bite!

Gado Gado (1)

Ingredients:

For the sauce:

  • 1/2 cup creamy peanut butter
  • 1/4 cup water
  • 3 tablespoons rice vinegar
  • 2 tablespoons soy sauce
  • 2 tablespoon fresh-squeezed lime juice
  • 1 tablespoon sugar
  • 1 sliced garlic clove
  • 1 (1-inch) piece fresh ginger

For the salad:

  • 1 pound small red potatoes
  • 8 oz asparagus, trimmed
  • 1 cucumber
  • 2 tablespoons canola oil
  • 1 (14-ounce) package extra-firm tofu
  • 1 tablespoon soy sauce
  1. To prepare the sauce, combine the peanut butter, water, rice vinegar, 2 tablespoons soy sauce, lime juice, sugar, garlic, and ginger in a blender; process until smooth.
  2. Meanwhile, place the potatoes in a large pot and cover with water;. Bring to a boil, then reduce heat and cook for 20 minutes, until tender. Add the asparagus in the last 5 minutes of serving.
  3.  Drain and let the potatoes cool slightly, then cut in half. Cut the cucumber into 2-inch sticks. Arrange the potatoes, asparagus, and cukes on a platter.
  4. Meanwhile, heat the canola oil in a large skillet over medium-high heat. Cut the tofu into 2-inch pieces and add to the skillet; cook for 8 minutes, until browned. Add the soy sauce and continue to cook for a final few minutes.
  5. Add the tofu to the vegetable platter, along with the peanut dip.

Gado Gado (2)

Tofurky Cream Cheese Roll-Ups

Turkey Cheese Roll-Ups (1)

These wraps are perfect for school lunches: veggies, protein, and bread all wrapped up in one delicious bite.

Ingredients:

  • 4 spinach (or sun-dried tomato) tortillas
  • 1/2 cup non-dairy veggie cream cheese (such as Kite Hill)
  • 1 package vegan turkey deli slices
  • Thinly sliced cucumber
  • Shredded carrots
  1. Spread each of the tortillas with 2 tablespoons of the cream cheese. Divide the turkey slices evenly among the tortillas, then top with cucumber and carrots to taste.
  2. Wrap up tightly and slice each tortilla into thirds for perfectly kid-sized handheld portions.

Turkey Cheese Roll-Ups (2)

Tissue Paper Easter Eggs

Tissue Paper Eggs (8)

I’m always looking for ways that my vegan kids can decorate eggs for Easter without dyeing real hen’s eggs. This particular method works great on plastic eggs!

I set out a few eggs (from Eco Eggs), and Veronika first wanted to explore them, of course. She loved the way they opened and closed, and that favorite toys could nest inside. While she played, I cut small squares of tissue paper in pastel colors.

Tissue Paper Eggs (1)

Pour a little white glue into a small paper cup and add water to thin it slightly. I showed Veronika how to brush this glue mixture on the eggs, and she was quickly an expert.

Tissue Paper Eggs (4)

Now the tissue paper sticks easily, making the eggs look almost like stained glass. We learned quickly, though, that our first egg came out the best. That’s because the more we worked, the more gluey our fingers became, and the tissue tender either to wad up on the egg, or stick to us!

Tissue Paper Eggs (3)

Of course, this only made Veronika gleeful about her pink fingers.

Tissue Paper Eggs (5)

For an easy way to dry the eggs, snip an empty toilet paper tube into a few segments and place the eggs upright until the glue is dry.

Tissue Paper Eggs (6)

Thick Paper Triangles for Towers and Play

Thick Paper Towers (6)

These beautiful paper triangles take a bit of time to make, but lend themselves to such wonderful play that it’s worth the effort!

To make the triangles, you’ll want to use thick cardstock, not construction paper or craft paper. I had a sheet of cardstock for each color of the rainbow, although that’s by no means necessary. Feel free to stick to all one color, or just a few. Veronika immediately wanted to “help” as I pulled out a ruler and tape.

Thick Paper Towers (1)

Cut strips of the cardstock that are 1 inch high x 4 inches wide. Use a ruler to make a mark at 1 inch intervals, width-wise.

Thick Paper Towers (2)

Fold up along these marks to form a triangle, and tape closed. Repeat until you have the desired amount of triangles. We made 12 of each color!

Thick Paper Tower (11)

First, I just wanted Veronika to explore them. She loved scattering them in and out of a bucket, or burying tiny toys in a pile of them. We also color-sorted them into piles.

Thick Paper Towers (7)

But the real fun comes when you try to stack them into towers. For this we enlisted the aid of big brother Travis.

Thick Paper Towers (8)

The challenge was to make a tower sturdy enough that it could hold a sweet treat (hint: a cookie) on top. I promised him the cookie to eat if he could make it work! He puzzled out how to build sturdy layers arranging three triangles in a sort of pyramid, with a flat surface for the cookie on top. We built up a structure that was several layers deep and tall like this.

Thick Paper Towers (9)

The cookie stands! We tried our luck to see if it could hold two cookies, but alas the tower crumbled.

Thick Paper Towers (10)

What will you build balance atop your paper towers? Please share in the comments!


Toddler Style Painted T-Shirts

Toddler Painted T Shirt alt

Last year, the siblings worked together to make painted t-shirts… but they’ve since outgrown them! I picked up a few blank shirts from the craft store and this time they were Veronika’s works of art, as a surprise for big brother Travis.

Before she could paint the shirts, I marked out their first initials with masking tape (you could also use contact paper) so a V and T would be left behind.

Toddler Painted T Shirt (1)

The only fabric paint I had on hand was puffy paint, but this worked fine if I squirted it onto paper plates. We had a few novel painting methods to test out! First up was shape sponges. She loved pressing these into the paint and then pressing down onto the shirts to see the stars and circles left behind.

Toddler Painted T Shirt (2)

Next, we made car tracks over the shirts! Run a toy car’s wheels through the paint and then drive across the shirts.

Toddler Painted T Shirt (3)

This was a big hit, accompanied by lots of vrooming engine noises of course. And sometimes she wanted to paint the cars with the sponges, too!

Toddler Painted T Shirt (4)

She wasn’t as interested in the third option, which was rolling a ping pong ball through the paint and then along the shirts.

Toddler Painted T Shirt (5)

Mostly the design was her own creation; I only helped out enough to make sure the fabric was covered all around the V and T in tape, so that the images would be left behind once the tape was removed.

Toddler Painted T Shirt (7)

Set the shirts aside to dry… and then stage a fashion show!

Toddler Painted T Shirt final

Veronika was so proud she wanted to keep hers on all night.

Toddler Painted T Shirt var