Easy-Freezy Breakfast Burritos

Freezy Burrito alt

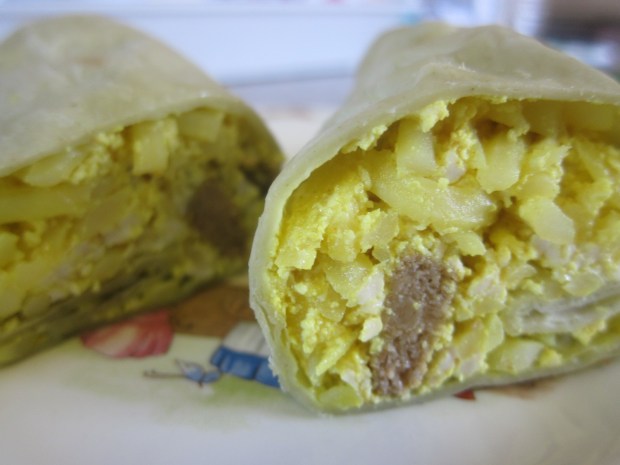
Make a big batch of this burrito filling on the weekend, roll up the filled burritos in foil, place them in the freezer, and bam! Breakfast all week is solved. Or in a pinch, we love these for dinner!

For my picky preschooler, I leave the scrambled tofu rather plain – just a dash of turmeric for color. Feel free to add additional spices or chopped veggies for older kids and grown-ups. We like to use the slightly-sweet breakfast sausage from Field Roast for these burritos.

Ingredients:

  • 2 tablespoons canola oil
  • 2 cups frozen hash browns
  • 6 ounces chopped vegan breakfast sausage
  • 1 (14-ounce) package firm tofu
  • 1/4 teaspoon turmeric
  • 1/4 teaspoon salt
  • 6 to 8 flour tortillas
  1. Heat the oil in a large skillet over medium heat. Add the hash browns and cook for 4 minutes.
  2. Stir in the chopped sausage and cook for an additional 3 to 4minutes, until browned.
  3. Mash the tofu with a fork until it resembles scrambled eggs. Add to the pan, along with the turmeric and salt. Cook for a final few minutes until heated through.
  4. Warm the tortillas for about 15 seconds each in the microwave. Divide the filling evenly among tortillas – depending how stuffed you want your burritos, you’ll have enough to fill 6 to 8 tortillas.
  5. Roll up in foil. Store in the fridge up to 3 days, or place in the freezer until ready to eat!


Toilet Paper Roll Binoculars

Binoculars (6)

At last! Spring has sprung, and we are eager to look for signs of it on these first warm days. It was the perfect chance to put together some easy homemade binoculars before setting off into the woods!

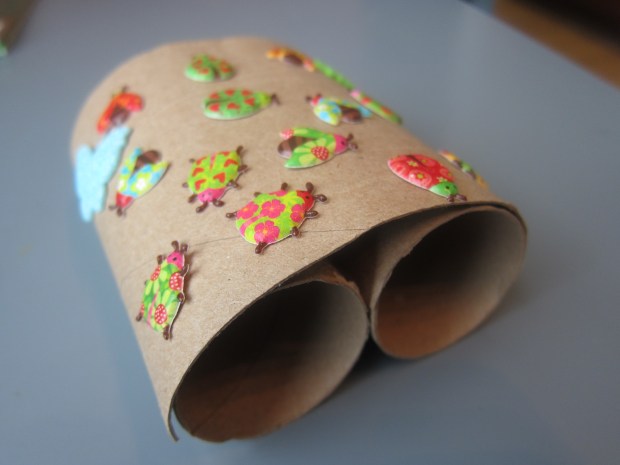
To make the binoculars, you’ll need three toilet paper tubes. Cut one of them open down the middle and leave the other two intact.

Binoculars (1)

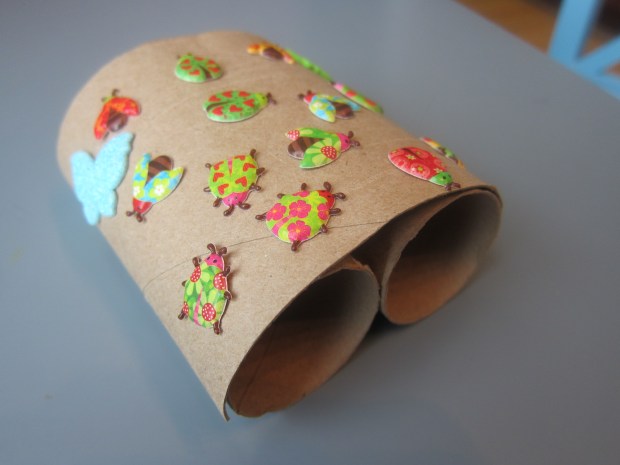
Glue the two whole rolls together with hot glue. Affix the open tube on top with more hot glue (this is a grown-up step!).

Travis loved decorating his binocs since we had puffy bug stickers.

Binoculars (4)

Perfect for spring!

Binoculars (5)

All we needed as the finishing touch was a string for around his neck, which I affixed with a little more hot glue.

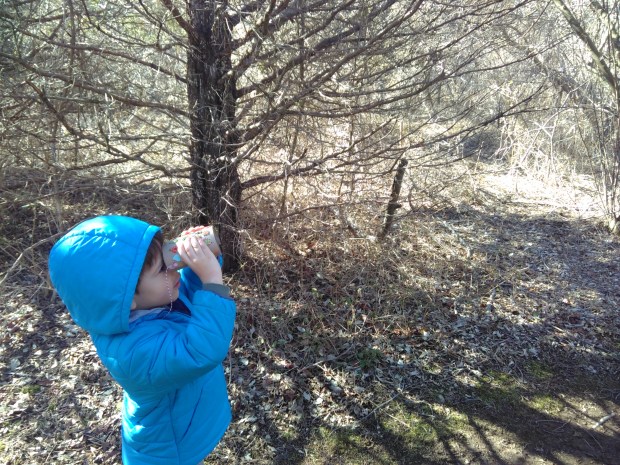
Then it was time to head out. Travis loved peering through the “lenses” for the first signs of spring!

Binoculars (10)

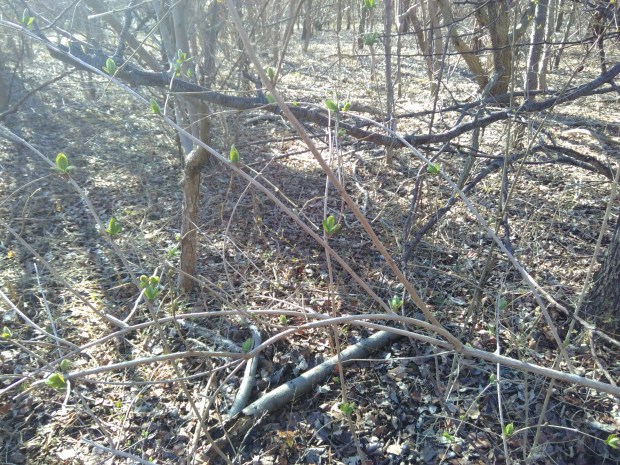
And look what we found – buds!

Binoculars (9)


Juice-Pouch Stomp Rocket

Juice Rocket (5).JPG

Don’t toss that juice pouch from your child’s next snack time. With just a few embellishments, your kid will have him- or herself their very own rocket launcher!

First, make sure the juice pouch is completely empty and rinse any juice from the straw. Reinsert the straw into the pouch; this is your launcher.

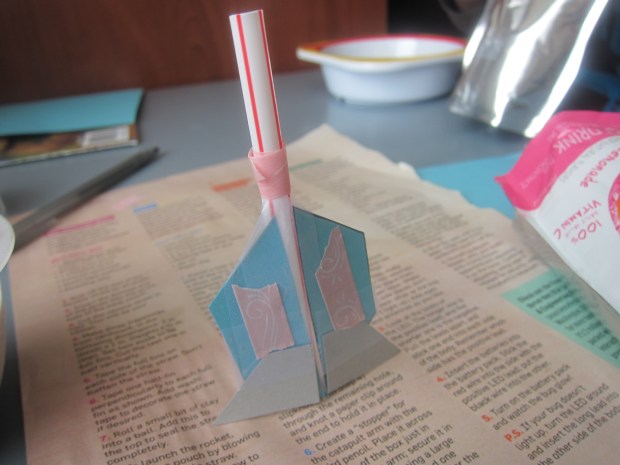
Cut a regular straw in half; discard half and keep the rest as your rocket.

Trace 3 trapezoids onto colored paper – littlest kids might need help with this one. The shapes should measure 3 inches on the bottom, 1 inch on the sides and 3/4-inch on the top. Cut out, and cut one of them in half vertically, leaving the other two full.

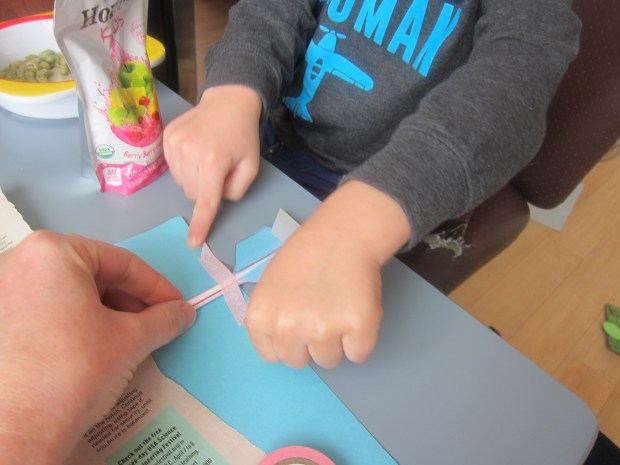
Tape the 2 full trapezoids to each side of the straw as the rocket fins. Add the half pieces of trapezoid at the bottom with more tape.

Juice Rocket (2)

Travis decided that he wanted to add a few strips of washi tape as embellishment, too.

Juice Rocket (1)

Seal the end of the straw with a little ball of clay. Now your rocket is ready to soar!

Blow into the straw of the juice pouch to make sure it is full of air.

Juice Rocket (3)

Slide the “rocket” onto the straw of the juice pouch. Now stomp (or press) on the pouch and watch your rocket soar!

Juice Rocket (4)

You can teach your little scientist that this project works thanks to compressed air from the pouch, otherwise known as pneumatics!


Fingerprint Bird Painting

FIngerpaint Bird (6)

I originally planned this springtime-themed painting to be a fingerprint memento – I love capturing the size of Travis’s hands and fingers (and feet!) periodically. Turns out that Travis had different plans… but we still ended up with a great painting!

To make the project feel special, I purchased a real (small) canvas from the craft store – instantly things felt elevated above using regular paper!

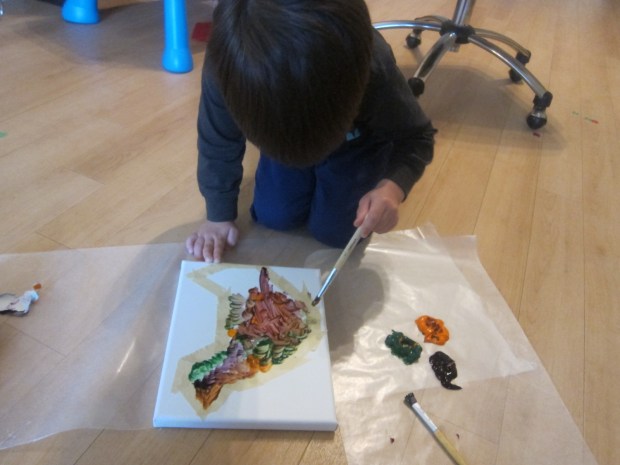
Make the shape of a bird on the canvas using masking tape. Big kids will be able to tackle this step themselves, and little kids will like to play with leftover tape!

Fingerpaint Bird (1)

I set out fingerpaints for Travis and showed him how to dip in his fingertips and fill in the bird shape.

Fingerpaint Bird (2)

He very quickly decided he preferred a brush, and began filling in the bird that way. His brush strokes looked incredibly feathery, just like bird wings.

Fingerpaint Bird (3)

I loved the texture he was able to create!

Fingerpaint Bird (4)

So… not the fingerprint memento I had intended, but we still have a lovely work of art to welcome spring.

Fingerpaint Bird (5)

Playground Crate

koala playground (9)

What fun! We discovered that our Koala Crate this month had a big emphasis on gross motor skills – something we definitely need more of around here. Of course there were also crafts and learning thrown in. And as always, you can replicate these projects with materials from a craft store.

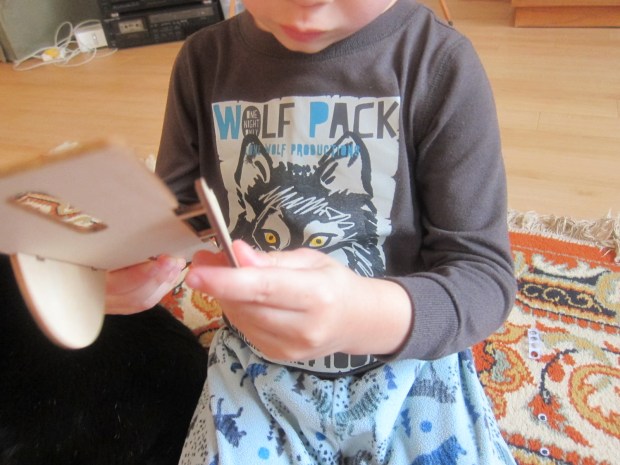
Before we jumped into those gross motor skills, though, we put together the Balancing Seesaw. I loved that this was a math lesson disguised as playground play, since what is a seesaw really if not a balance scale?
koala playground (4)

Travis enjoyed the mechanics of building it, sliding wooden pieces together and securing with foam buttons.

koala playground (5)

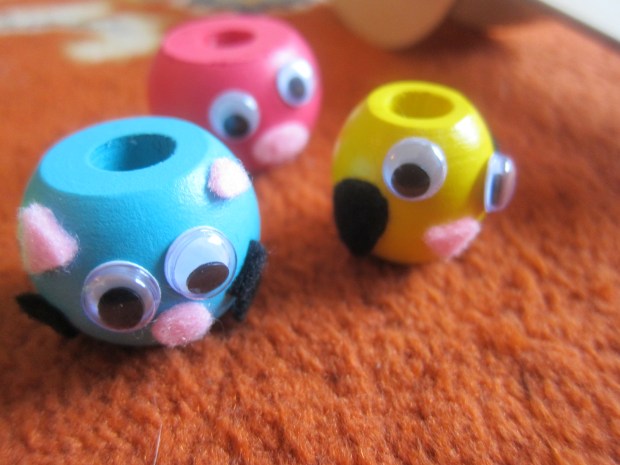
Next we decorated the provided wooden beads with felt stickers to be little animals (Travis particularly loved the googly eyes).
koala playground (8)

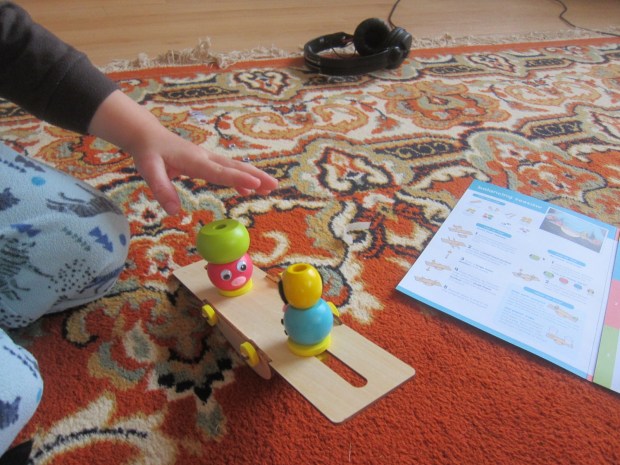
The challenge was to put the animals on and observe what made the see-saw lean one way or the other, and if we could balance it. Neat!
koala playground (7)

For extra fun, we placed two paper cups on the see-saw’s posts instead. Fill with coins or other items around the house, and again challenge your child to find the balancing point.

koala playground (22).JPG

Travis was not very into the second activity, a playground scene Jigsaw Puzzle. Aside from a few crayon scribbles, he left mama to color in the rest.

koala playground (3)

But he did later take some time to piece it together.

koala playground (17)

The next day we followed the kit’s suggestion and taped a coloring book page to a cereal box; cut into pieces and voila, you have a homemade jigsaw puzzle!


IMG_0002

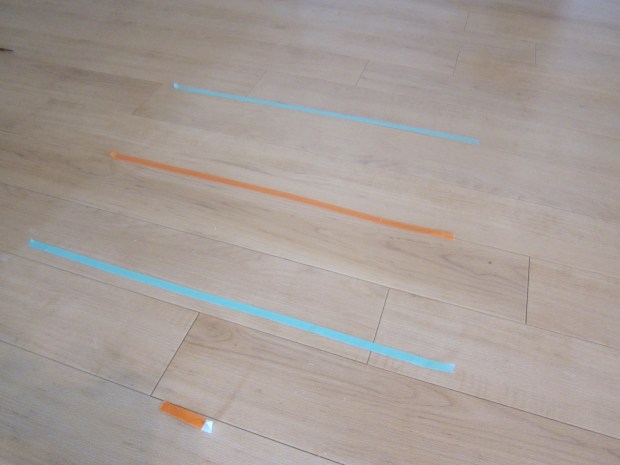
Finally, it was time for the aforementioned gross motor skill fun: an Indoor Playground. This involved using the provided washi tape in orange and blue to set up various obstacle courses or challenges. Of course the washi tape itself was a huge hit.

koala playground (1)

Travis was not very into the long jump…
koala playground (10)

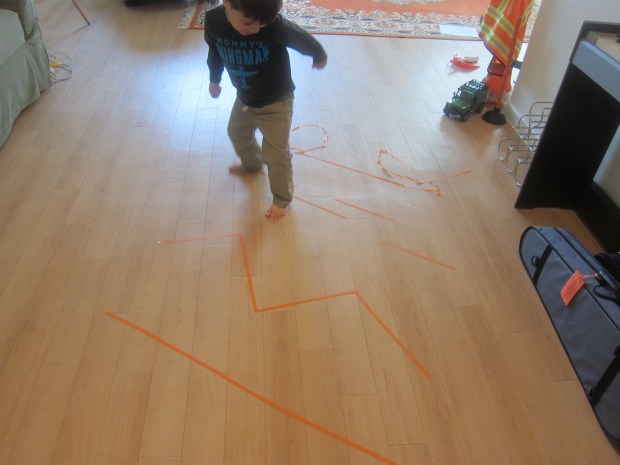
…but he did some neat moves along the lines I set up on the ground, following the kit’s suggested movements like jump, tip-toe, walk backwards, or dance.
koala playground (15)

There was also a miniature inflatable ball to make part of the games; we set up a “maze” with the washi tape and had fun kicking or rolling it through.

koala playground (2)

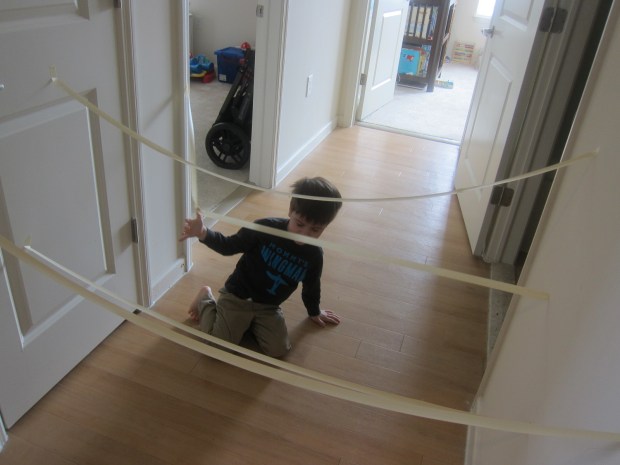
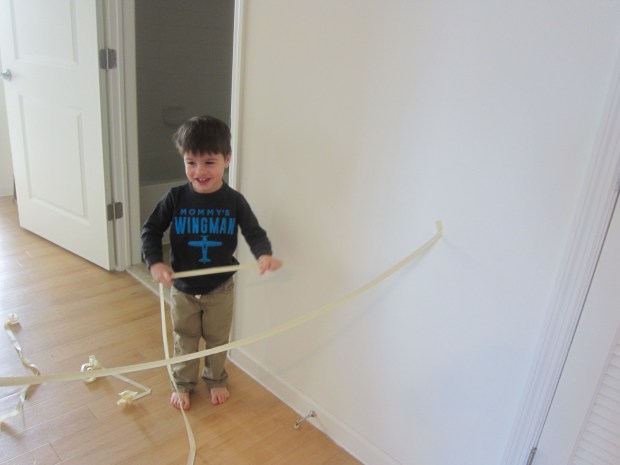
We ran out of washi tape (the rolls aren’t big) by the time we got to the spiderweb suggestion… so plan on having some extra masking tape on hand! Travis absolutely adored this challenge of going over and under the sticky strands…
koala playground (13)

and loved ripping off the sticky tape after!
koala playground (14)

The Imagine magazine included even more ways to get moving, dancing to the rhythm of your favorite song like you are jumping rope, swinging from monkey bars etc.

As a final project, we put together the suggested DIY jump rope – a simple trick of straws and duct tape! Ideally use nylon cord as the thread, but a piece of twine worked just as well.

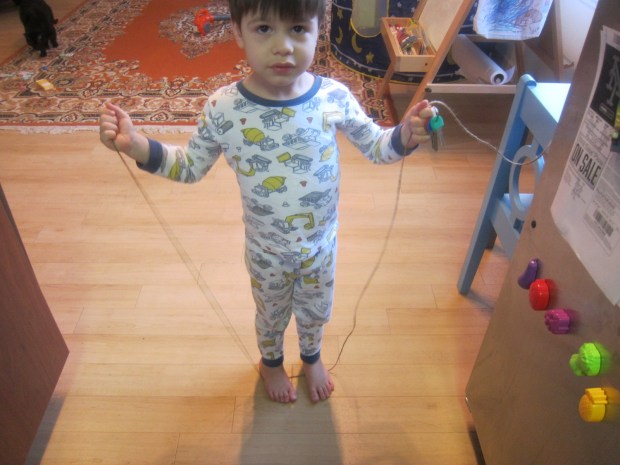
First, have your child stand on a length of the cord or twine, so that it stretches armpit to armpit. Here is a slightly-skeptical Travis wondering what we were up to.
Jump Rope (1)

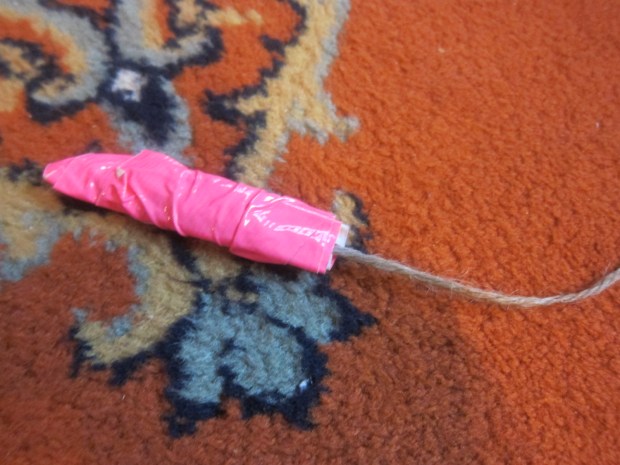
Knot one end, and wrap around the knot with duct tape for the first handle.
Jump Rope (2)

Cut plastic straws into pieces about 2 inches long and thread onto the cord until nearly filled. Knot the other end and secure with a second piece of duct tape. Jump away!

Jump Rope (5)

Overall, I loved the way this crate got us moving. Now it has us even more eager for outdoor spring weather and a big playground to run around on!

koala playground (16)

Quick Steel-Cut Oats

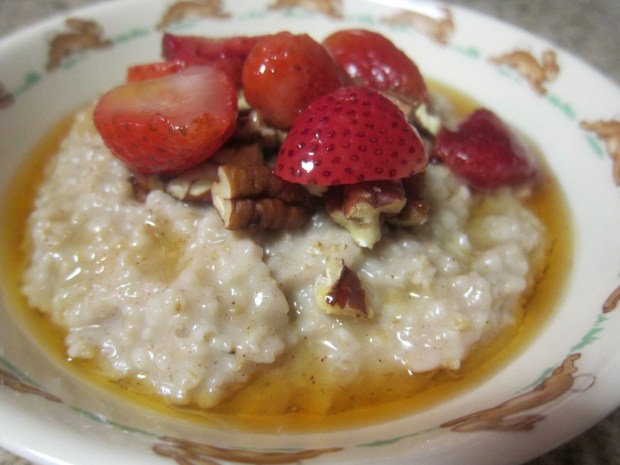
Quick Steel Oats.JPGI used to prep steel-cut oats at night, but somehow this was much easier when my son was a toddler versus now in preschool. And as much as I love the taste and nutrition in steel-cut oats, they’re way too time-consuming to make in the morning. Enter quick steel-cut oats, sold much like quick-cooking barley so that the cooking time is nearly a third. This recipe comes together while your crew is stumbling out of bed and getting dressed.

Ingredients:

  • 2 cups vanilla non-dairy milk
  • 2 cups water
  • 1 cup quick steel-cut oats
  • 1/2 teaspoon ground cinnamon
  • 1/4 teaspoon salt
  • 1/4 teaspoon ground ginger
  • Pinch of ground nutmeg
  1. Combine the milk and water in a saucepan and bring to a boil.
  2. Stir in the oats, cinnamon, salt, ginger, and nutmeg. Reduce heat to a simmer and cook for 7 minutes, until thickened. Cover and let stand for 1 minute.

We like the oats drizzled with maple syrup and then topped with strawberries and chopped pecans. How do you top your oats in the morning?

Colorful Confetti Eggs

confetti eggs (5)

We love creating our monthly craft from High Five magazine… so I was a bit dismayed when we saw that this month’s project was decidedly not vegan. Cascarones are confetti-filled eggs, traditionally made in Mexico during Easter and crushed over a friend’s head as a surprise. Although it’s easy to paint or dye wooden eggs for vegan kids, how were we going to make a vegan egg that could crack? With a little advanced planning and some ingenuity, we made it work!
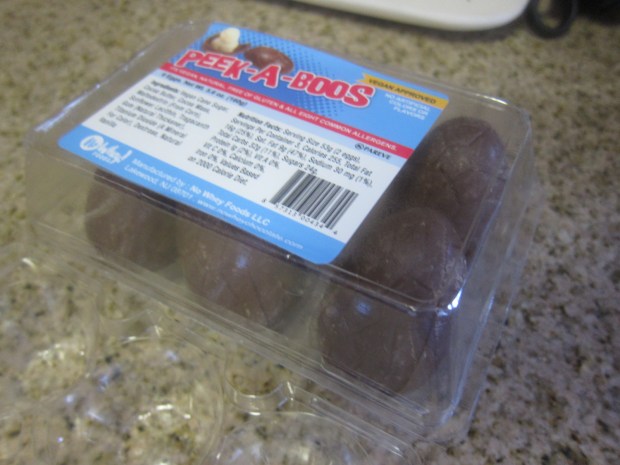
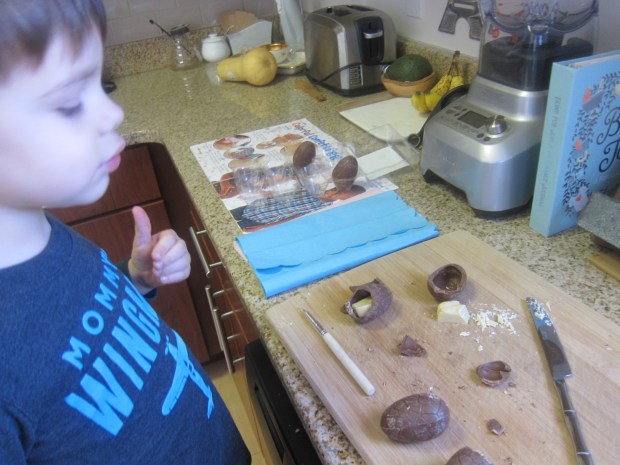
First, I searched online for hollow vegan chocolate eggs, and was rewarded with Peek-a-Boos from No Whey Chocolates. This actually have a little white chocolate chick inside, but still plenty of room for confetti!

confetti eggs (1)

It took a few tries before we learned how much pressure was needed to crack the eggs with a butter knife, but we got a small hole in a few of them. Don’t make the hole right at the apex of the oval, or the chocolate egg will cleave in half.

confetti eggs (2)

Travis of course needed to do a taste test at this point! I recommend setting aside a few of the eggs for eating, since the ones you’re about to use for the rest of the project won’t remain edible.

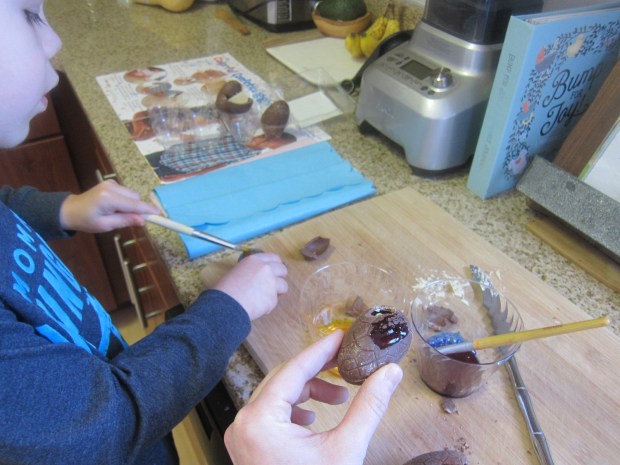
Next up we painted our eggs. Since we were painting on chocolate, we used food coloring.

confetti eggs (3)

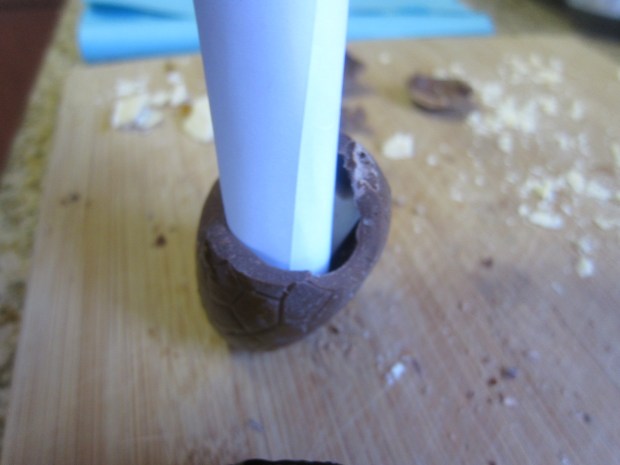
Roll a piece of paper into a funnel, and insert into the opening you’ve made in each egg. Carefully pour in confetti through the funnel.

confetti eggs (4)

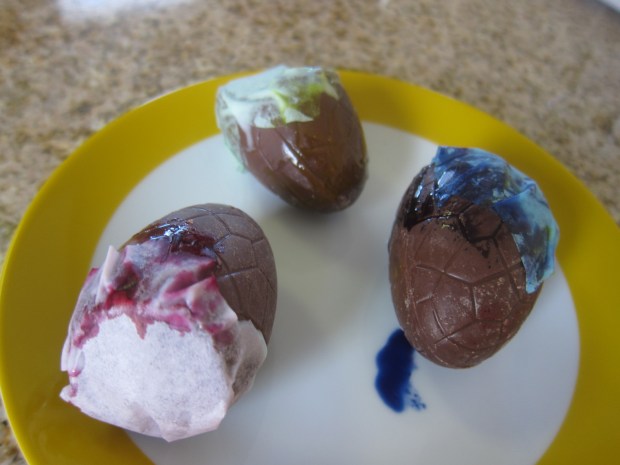
Finally, we glued a colored piece of tissue paper (pastel, in keeping with the Easter theme!) over the hole we’d made in each egg. Set aside to dry.

confetti eggs (6)

Now of course you won’t really want to crush these over a friend’s head – unless you enjoy shampooing chocolate out of your hair!

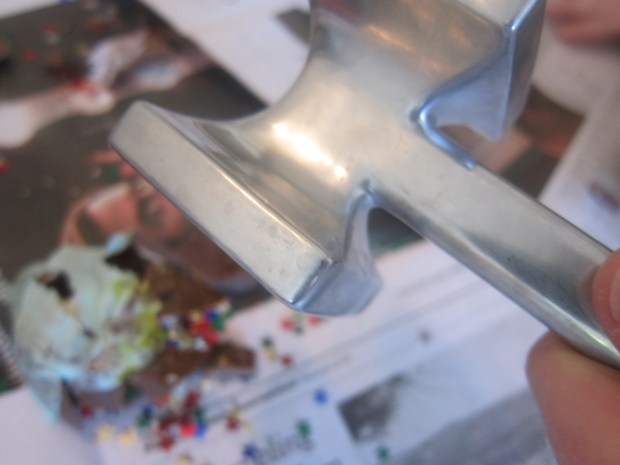
Instead, I set up a large surface area covered with newspaper and gave Travis a mallet and let him go to town crushing the eggs. Perhaps they weren’t exactly cascarones, but I’m glad we were able to capture the spirit of the craft!

confetti eggs (8)

We’ll be hopping toward Easter with a few other crafts this week, so stay tuned!

confetti eggs (7)

Stamp and Stencil Stories

Stencil Scene (7)

Well I’ll be darned – we’re having our fourth nor’easter blizzard since the month of March began… which means another snow day from school. Cue up the storytelling fun with these two simple projects!

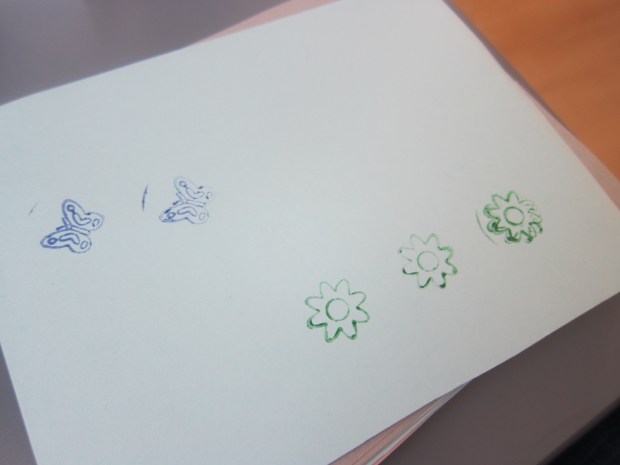
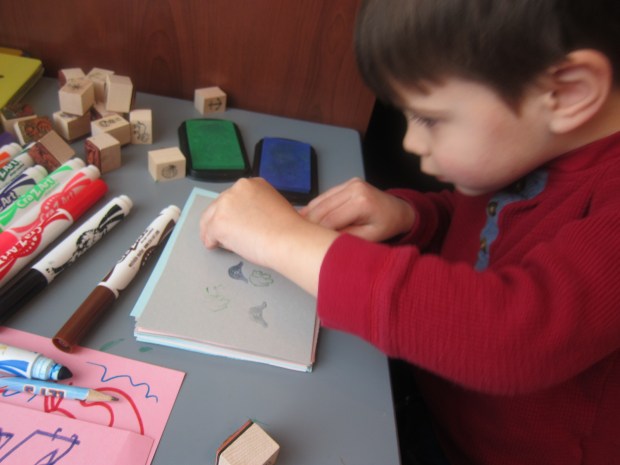
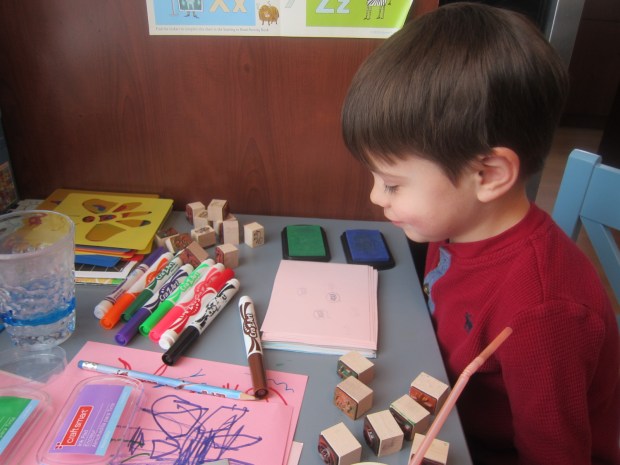
For this first version, I gathered some materials, including pretty paper cut into squares, stamps, and markers.

Story Stamps (2)

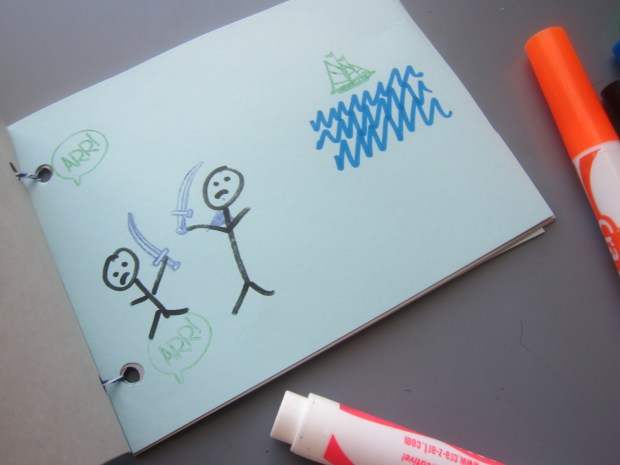
I showed Travis how to stamp a story and fill in the designs with markers to make a scene. You can plan carefully with a plotline in mind as you go, or just stamp randomly and see what story unfolds.

Story Stamps (3)

Our story was coming together!

Story Stamps (5)

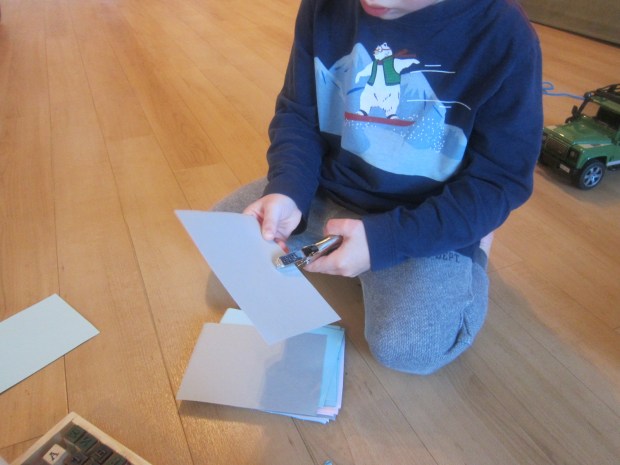
Once we had filled enough pages, we added hole punches and laced them together. Hole punching was definitely Travis’s favorite part of the project.

Story Stamps (1)

Voila, your own little story book!

Story Stamps (4)

After I helped put together this first booklet, Travis got more involved with the second.

Story Stamps (6)

Don’t worry if your child stamps repeat images on the same page. The story doesn’t need to look perfect!

Story Stamps (7)

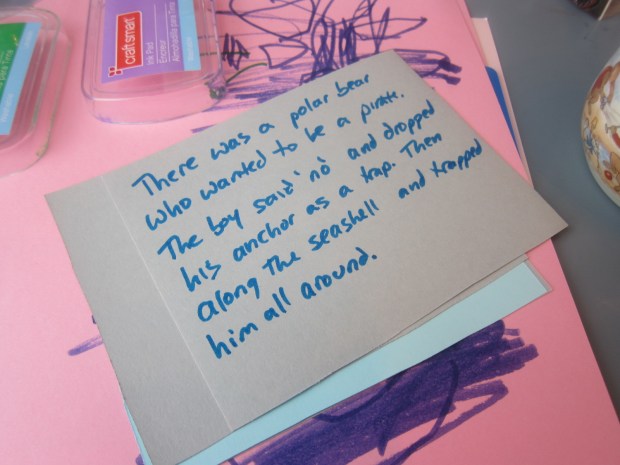
As he worked, he told me the plot that was unfolding, so I jotted it down.

Story Stamps (8)

He was so proud to see his own story take shape.

Story Stamps (10)

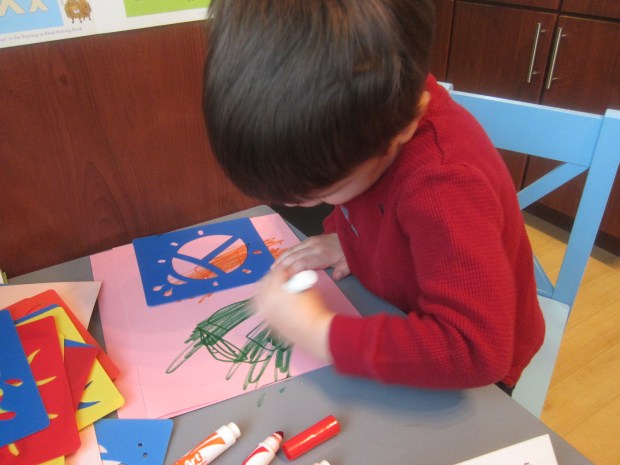
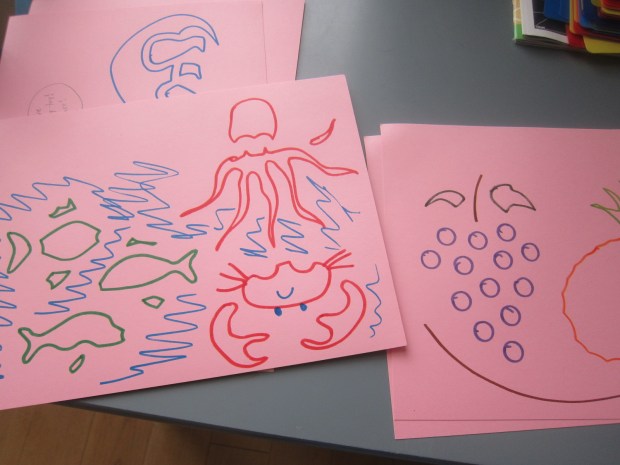
Next up we decided to try a new stencil pack as the basis for stories and scenes. We’ve never used stencils before, and now I am a convert; Travis did a fantastic job following around the lines. At first he only dared to try simple shapes like carrots and tomatoes…

Stencil Scene (2)

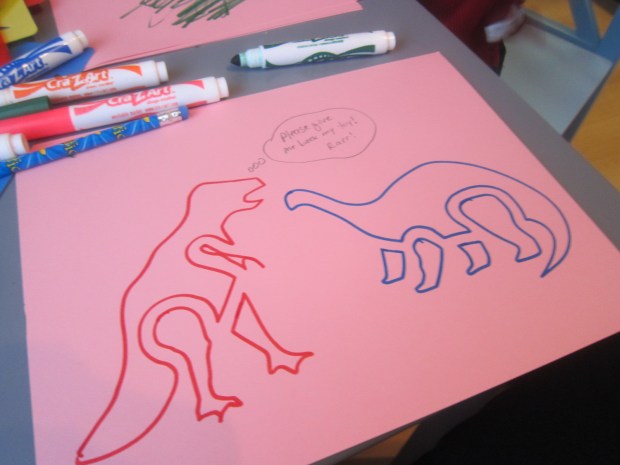
…but soon he was proudly tackling complicated shapes like bugs and dinosaurs.

Stencil Scene (6)

For each scene, we filled in the background or just colored them in.

Stencil Scene (4)

For some of the scenes that I stenciled, Travis would tell me a caption, which I added in.

Stencil Scene (8)

We ended up with some adorable “conversations.”

Stencil Scene (3)

What are your go-to plans for a snow day? Please share in the comments!

Stencil Scene (11)


Berry Good Baked French Toast

French Toast (1)

Yes, you can make weekday mornings feel less frazzled and more special. Prepare this dish the night before, pop it in the oven, and a weekend-worthy breakfast is ready on a weekday morning!

Ingredients:

  • 1 teaspoon Earth Balance butter
  • 1 (12-ounce) loaf French bread
  • 1 and 1/2 cups frozen blueberries, divided
  • 4 ounces Daiya cream cheese, divided
  • 4 Ener-G eggs
  • 1 and 1/2 cups plain non-dairy milk
  • 2/3 cup plain non-dairy creamer
  • 1/2 cup sugar
  • 1/2 teaspoon cinnamon
  • 1/2 teaspoon salt
  1. Butter a 3-quart baking dish and set aside.
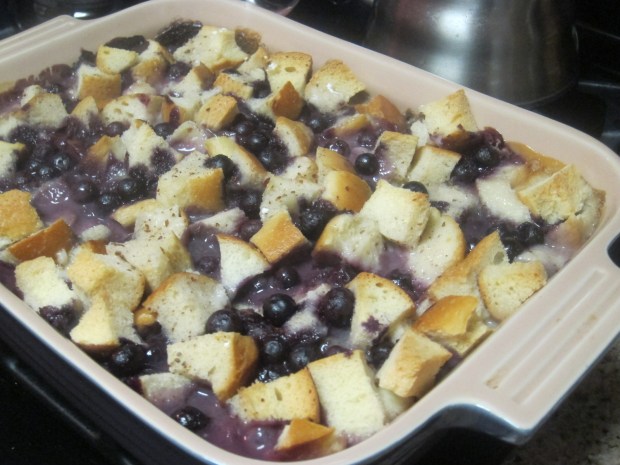
  2. Cut the bread loaf into 1-inch pieces and arrange half of the bread in the bottom of the prepared pan. Top with 2/3 cup blueberries and 2 ounces cream cheese (cut into small pieces). Repeat the layers with the remaining bread, blueberries, and cream cheese.
  3. In a large bowl, whisk together the Ener-G eggs, milk, creamer, sugar, cinnamon, and salt. Pour over the bread mixture. Cover and refrigerate at least 3 hours, and up to overnight.
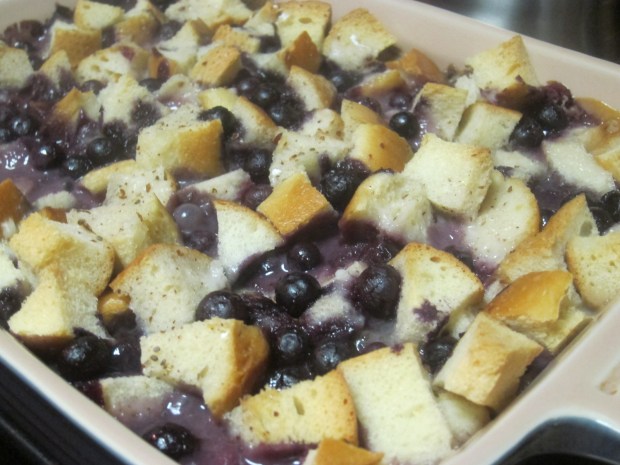
  4. Bake the French toast a 350 degrees F for 50 to 60 minutes. Let stand for 15 minutes before serving. Dust with powdered sugar if desired, or top with a drizzle of maple syrup!

French Toast (2)

March Magic

March Magic (2)

This year, mom and dad got a little impish (leprechaun-ish??) to make some magic! Here are a few cute suggestions for on or around St. Patrick’s Day.

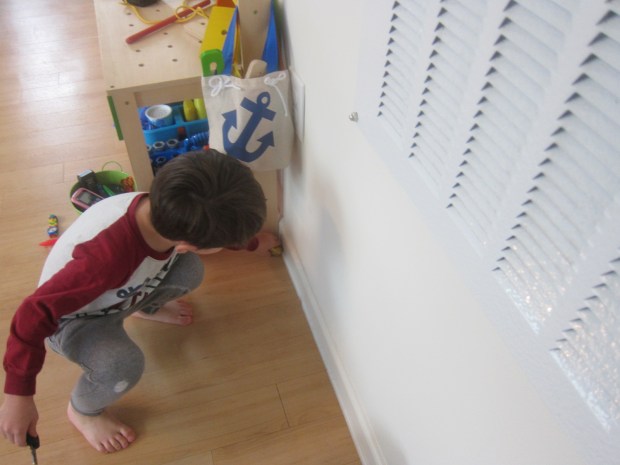
Travis has been learning about leprechauns at school, so I told him that while he was sleeping they might make some mischief!

Meanwhile, adults: Paint rocks with gold paint, and while the paint is wet, immediatlely sprinkle with gold glitter. Let dry.

March Magic (1)

Hide the rocks around the house, then tell your children the leprechauns have visited and hidden gold!

March Magic (5)

What else have the naughty elves been up to? Instead of making shoes, they’ve mixed them all up! Mess up all your family member’s shoes and then set the clock and see how fast your kids can match up the pairs.

March Magic (4)

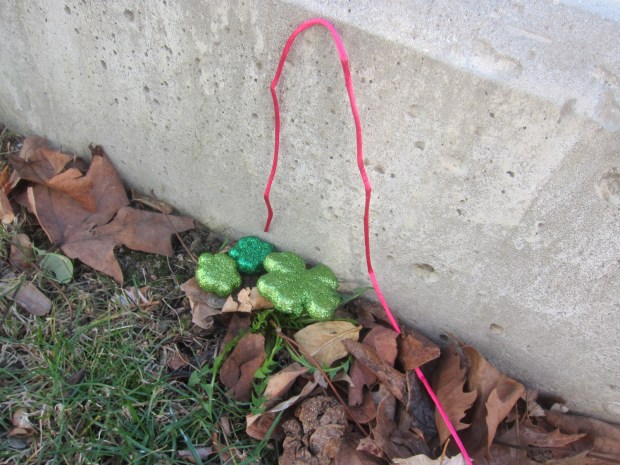
Finally, I strung up a rainbow outside. Use yarn or cording thread in all the colors of the rainbow, and wind it around your yard.

March Magic (6)

Your child now gets to go on a treasure hunt – maybe they won’t find a pot of gold, but be sure to leave a mini prize at the end of each string!

March Magic (9)

What have the leprechauns gotten up to in your house? Please share in the comments!