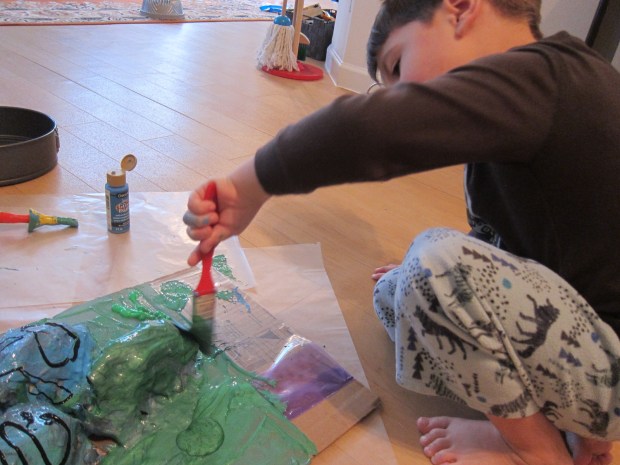
It’s rare that I can grab Travis’s interest for more than 30 minutes of crafting these days, so when this activity occupied us for nearly an hour, I knew we had a winner!
I came home with a new package of oven-bake clay, quite different from the white air-dry clay we normally use.
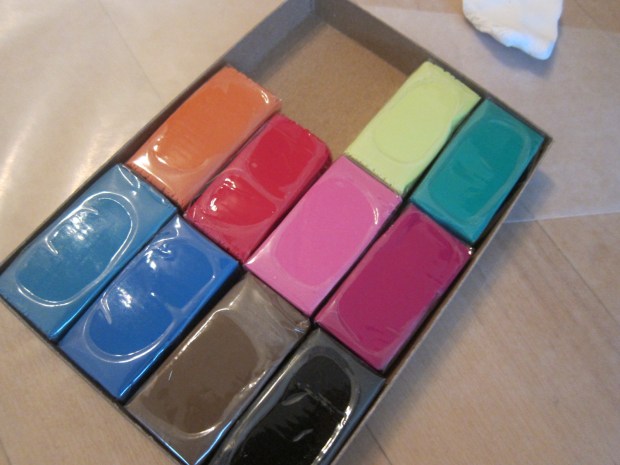
Travis was thrilled with all the colors, and in no time he had an assortment in front of him for chiseling, shaping, and rolling.

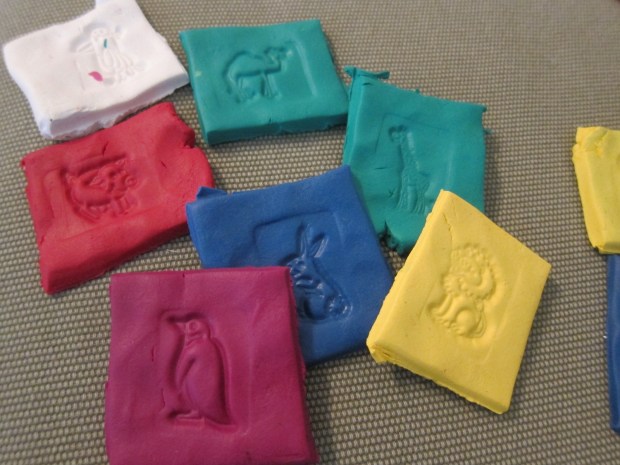
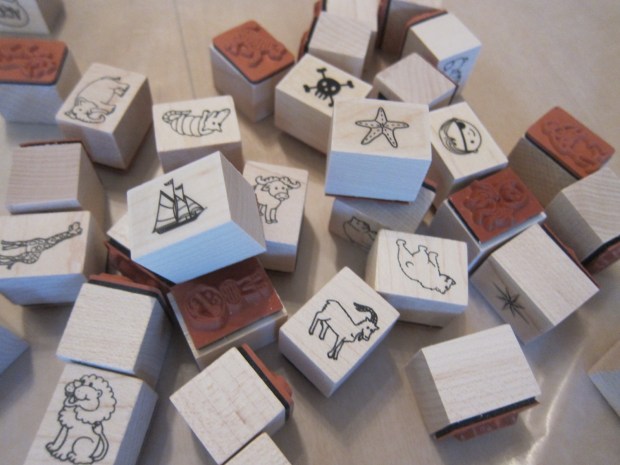
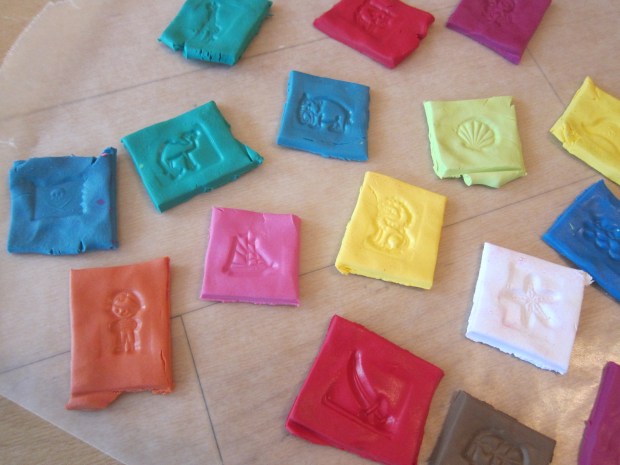
To make a lasting project, we used our collection of stamps – animal and pirate-themed sets worked perfectly – and pressed images into the clay. Once baked, I knew these tiles could be used for numerous games!
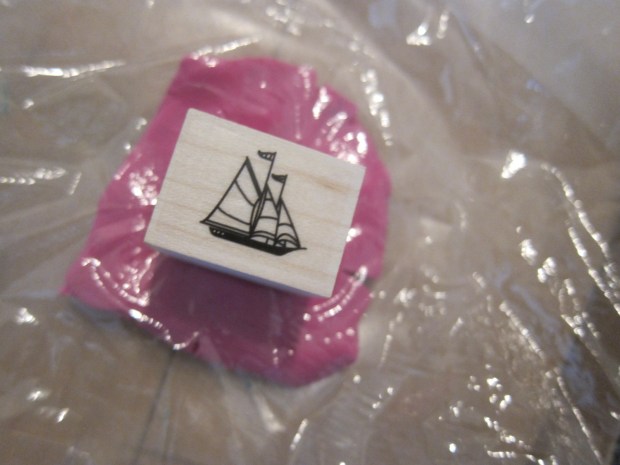
For the cleanest method, press the clay into a square, cover with plastic wrap, and press the stamp on top.
Travis didn’t always use the plastic wrap, which was just fine.
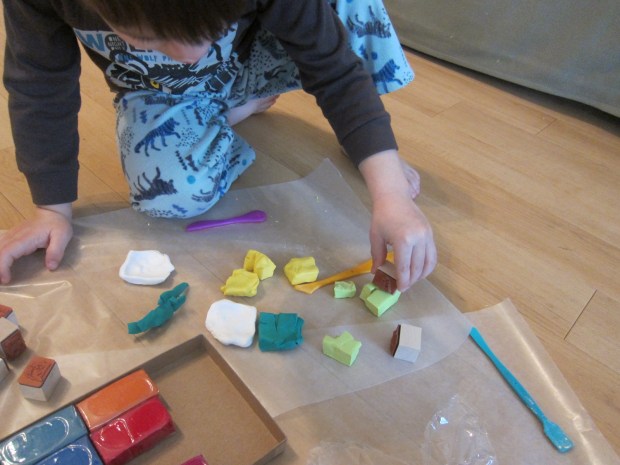
He mostly did his own thing with the stamps and clay while I made an actual set of tiles we could use in the future. I confess my fingers hurt by the end from warming up so many different colors and flattening to 1/4-inch thick! Travis meanwhile pretended he was baking some of his in an “oven.”

When it’s time to really bake the clay, arrange your tiles on a parchment paper-lined baking sheet and bake according to package instructions – ours went in at 275 degrees F for 30 minutes.
Now what to do with them! We decided we could use these as a more permanent version of our printable story cards.

You can also play games with the animals, assigning them by habitat or finding other ways to sort them.

If you want any of your tiles to be jewelry, make sure to poke a hole with a toothpick before baking. However you use them, these tiles are great for arts and crafts, fine motor skills, imagination, and more.