Invisible Ink

Invisible Ink (8)

A few weeks back, Travis and I had fun exploring different ways to hide messages, including revealing lemon juice with a hot iron and exposing white crayon with paint. Today we found an even cooler method; did you know you can reveal a secret message with a flower?

Invisible Ink (4)

First, we wrote messages in two kinds of “ink.” The first was plain lemon juice, and the second was baking soda mixed with a bit of water.

Invisible Ink (1)

Travis made scribbles, but to help illustrate the results better for him, I wrote his name on one piece of paper and a secret map on the other.

Invisible Ink (2)

Be sure to use slightly thick paper, such as construction paper or watercolor paper, or it might tear during the reveal. Let dry.

Once dry, we rubbed over the paper with a red rose. Travis loved the forensic feel to the project!

Invisible Ink (10)

This worked significantly better with the baking soda than with the lemon juice, and we also found that the results are much clearer on on large letters or drawings than small ones.

Invisible Ink (9)

Perhaps the most interesting takeaway was that the baking soda was revealed in blue, and the lemon juice comes out red.

Invisible Ink (7)

In sum, a fun little project for any budding detectives, with results that are both pretty and scientific.

Invisible Ink (6)

Change the Scenery

Change Scenery (5)

We’ve only decorated Veronika’s nursery with little touches here and there, and I wanted to add a nice change of scenery for her. There are two ways to make this cute bunting – the true way if you can really sew, or my super-quick hack if you have no skill with a needle and thread!

First, I traced a triangle onto paper, and cut out. Use the triangle to cut shapes from different patterned fabrics (available at a craft store).

Change Scenery (1)

What a pretty assortment!

Change Scenery (2)

Lay down a long piece of colored duct tape, and arrange the fabric triangles along the tape, evenly spaced. Fold the tape down to secure them in place, then hang on your baby’s wall or in the nursery windows.

Change Scenery (3)

If you are more skilled – and own a sewing machine! – here are more detailed instructions. Safety pin the paper template onto the fabric, and cut two triangles for each desired pattern. Pin the pieces together inside-out, then use a sewing machine to attach on the long sides. Turn the flags the right way around and trim with pinking shears.

Insert the sewn flags into bias tape. Pin the flags to the tape at 2-inch intervals, and sew together. I’d love to see the results if you do this correctly, so please share in the comments!

Change Scenery (6)


Bumping Noses

Bump Noses (4)

Here is my new favorite way to make Veronika smile. It’s the cutest, quickest game ever but gets giggles every time.

Hold your baby a little ways away from your body, looking eye to eye. Whisper “boo”! and bring him or her a little closer.

Bump Noses (2)

Say “boo” again – a little louder now! And bring him or her even closer.

Now say “boo” even louder… but don’t yell or you might scare the baby! This time, bump noses gently. It gets Veronika grinning and giggling every time.

Bump Noses (1)

This game is also a fun one for siblings, who probably can’t hold the baby, but can play it while your little one is lying down on a blanket.

Bump Noses (3)

Go On a Nature Trail

Nature Walk (13).JPG

Spring has sprung!

For my baby girl, born just as autumn turned cold and gave way to winter, I have been waiting and waiting for this first spring day to show her that the world can be warm and wonderful. So today we took advantage and took her on a nature walk! You can do this activity in any park or wooded trail near you, or even in your own backyard. The goal is simply to engage all the senses and introduce baby to nature.

Strapped in the front carrier, I narrated everything we could see to Veronika, including trees and the first spring flowers. Hello purple!

Nature Walk (17)

If you want, let your baby get up close and feel interesting finds, like the bark of a tree or a smooth stick or soft leaf.

Nature Walk (8)

You can also stop to smell, whether the fresh grass of the meadow we walked through, or any plants you find.

Nature Walk (7)

Don’t forget abut the sense of hearing. We were delighted to happen upon a pond full of chirping sounds! At first I assumed it was birds, but then realized it was more likely frogs.

In sum, the simplest of outdoor trails will be full of wonders for your little one.

Nature Walk (9)

Robot Craft Challenge

Robot Challenge (6).JPG

This morning, I challenged Travis’s creativity. Could he make a robot with nothing more than 3 items from our craft bin: craft sticks, pipe cleaners, and googly eyes? He was instantly up for it!

I laid out the materials (we also added tape) and watched him ponder.

Robot Challenge (1)

He very quickly decided a few sticks taped together could be the body. “I can do it!” he insisted, ripping the tape and sticking it on by himself. Then of course we added eyes, which Travis wanted to tape on all by himself.

Robot Challenge (8)

Next up came embellishments. He insisted we use shiny gold chenille sticks, since robots are usually shiny metal.

Robot Challenge (2)

He wanted to add arms, so another craft stick went on crosswise. But then he thought his robot needed wings. Some pipe cleaners twirled around the arm stick did the trick.

Robot Challenge (5)

The fun didn’t end there. We used chenille sticks to twist “bodies” and “arms” of more craft sticks together for baby robots.

Robot Challenge (7)

Then, because Travis is obsessed with all things Spiderman and his villains these days, we added 8 chenille stem pieces to another body as “Dr. Octopus.”

Robot Challenge (3)

What a great morning of fun we had, using just these three items from the craft bin!

Early Explorers Food

LP Food final

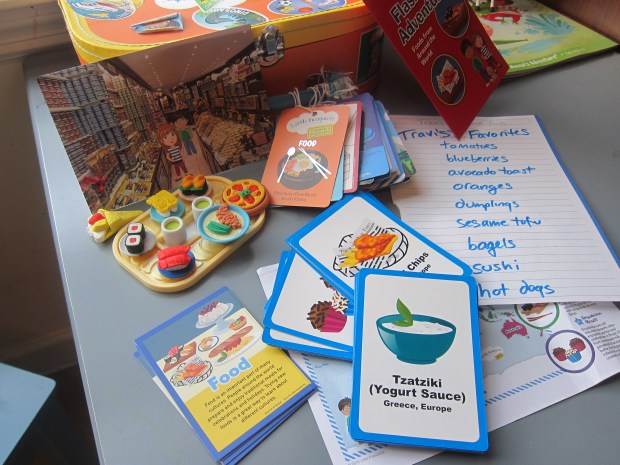
Travis’s latest kit from Early Explorers was about food around the world. It’s not that the information was disappointing (quite the opposite!), only that it was a bit redundant since Travis and I cook together frequently, whether simply for fun or with our Raddish Kids subscription. So while the packet was full of fun facts, projects, and suggestions, it didn’t grab Travis’s interest like previous topics from “Max and Mia” have. Also, because the projects were all culinary, my usual categories of “craft” and “science” didn’t exactly apply here, so I use the terms loosely.

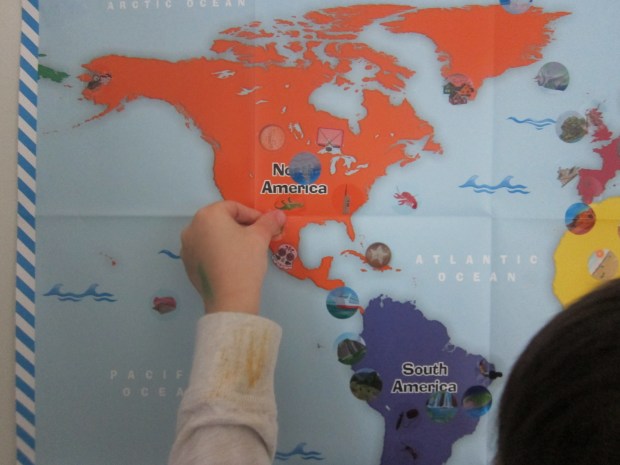
First we went through our usual packet goodies, including stickers for the map, and enjoyed the activities in the booklet

LP Food (5)

Food Craft:

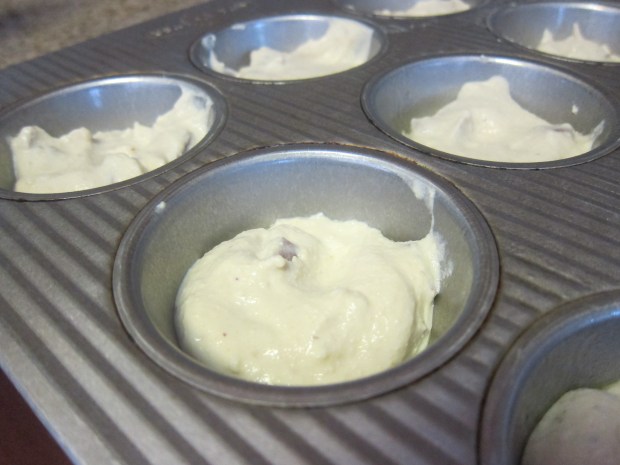
For a craft, we made the booklet’s frittata recipe (a culinary journey to Italy), but we needed to adapt it significantly for a vegan version!

I helped Travis blend up what I know works as a vegan frittata base: In a blender, combine 1 package firm tofu, 1/2 cup non-dairy milk, 2 teaspoons cornstarch, 3 tablespoons nutritional yeast, 1 teaspoon mustard, and 1/2 teaspoon garlic powder. Blend until smooth. Stir in 3 slices chopped vegan ham (we used Yves Veggie Canadian bacon) and 1/4 cup shredded Daiya mozzarella. Divide the batter evenly among 12 muffin cups coated with cooking spray.

LP Food (9)

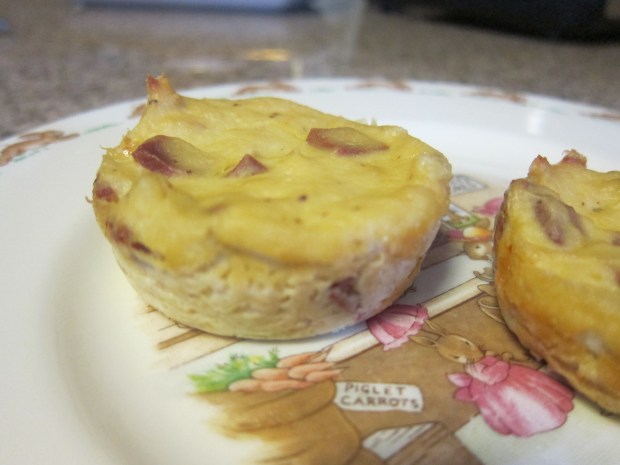
Bake at 375 degrees F for 25 minutes, until set. These were a huge hit with a very proud Travis!

LP Food (11)

Food Science:

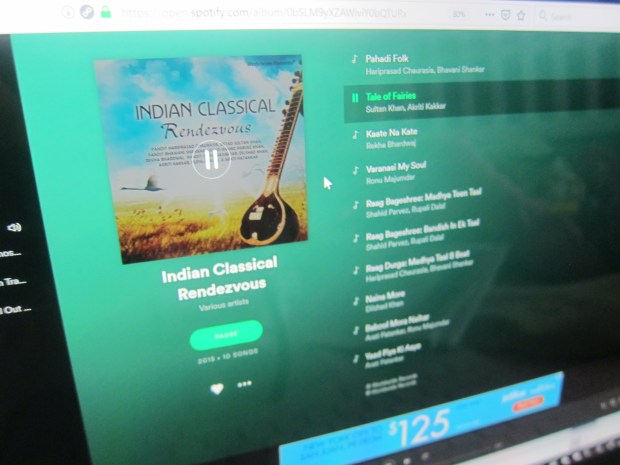
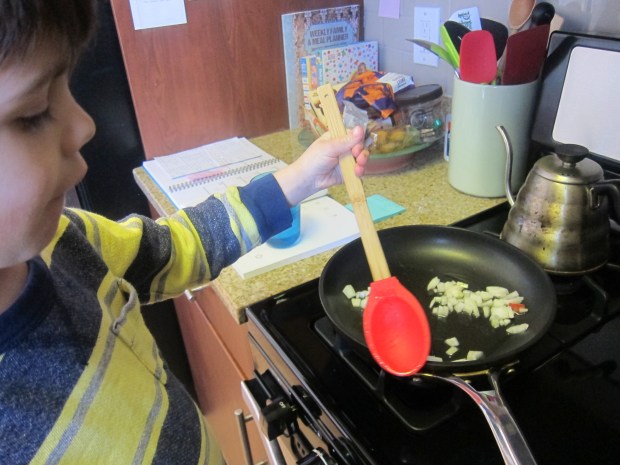
Again, I’m using the term “science” loosely; this activity is more of a social science. Pick a country you love, and cook a meal! We chose India, since Travis is one-quarter Indian and wants to learn more about the country. Little Passport’s website featured this easy dahl recipe.

Sizzling the onions was Travis’s favorite part; he loved watching the onion pieces change color over time. I couldn’t drag him away from the stove!

LP Food (13)

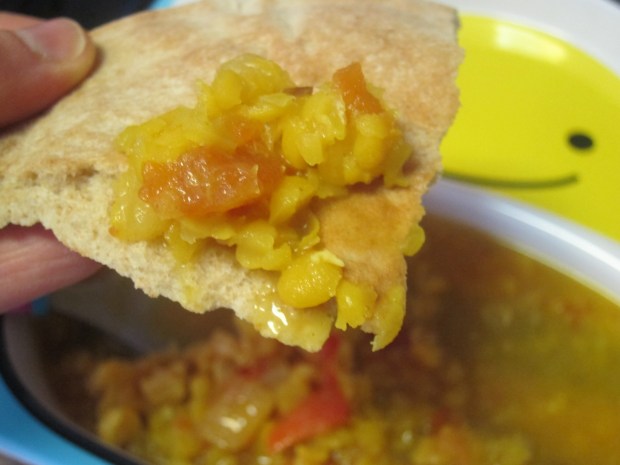
We enjoyed serving the dahl with pita bread.

LP Food (24)

Food Keepsake:

The little gift inside Travis’s package this month was a delight: mini erasers in the shape of food! Way more fun than erasing, he loved just playing with them.

LP Food (4)

Food Field Trip:

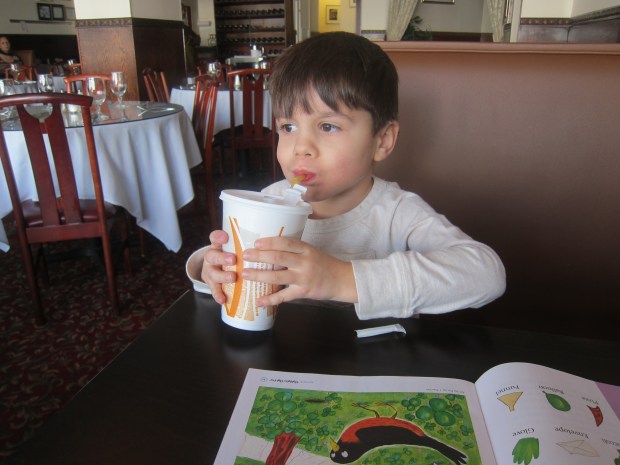
We visited a new restaurant of course! This was a special treat, heading downtown after school instead of straight home for lunch. We selected an Indian restaurant in town.

LP Food (15)

Travis loved the adventure. He got to sip mango juice…

LP Food (16)

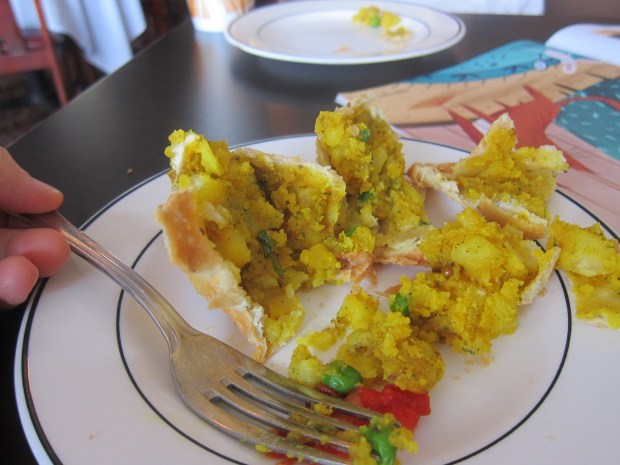
…and dine on samosas and aloo gobi. This was possibly the best lunch date I’ve ever had, and certainly the cutest.

LP Food (17)

Food Further Activities:

As always, we didn’t stop there. Next up we went to our local farmer’s market, where Travis loved learning about local food and tasting samples.

LP Food (7)

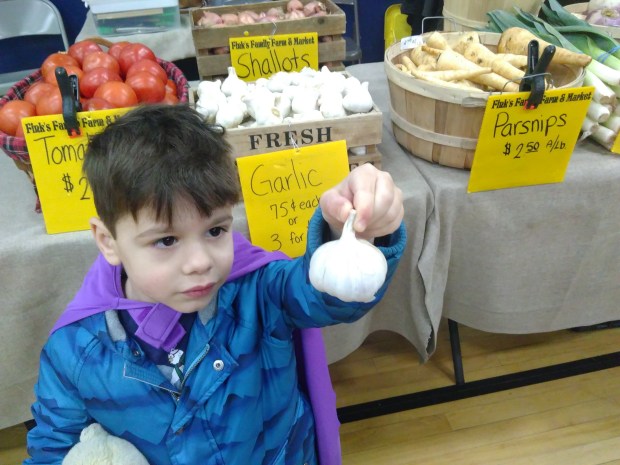
He was particular intrigued by a local homesteader who made jellies!

LP Food (6)

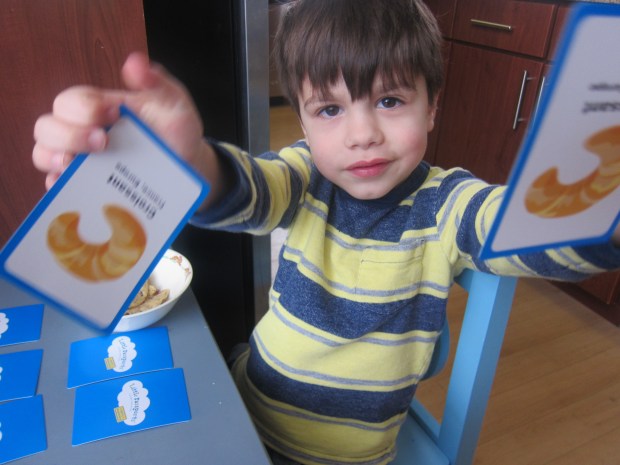
There was also a card game in his package, a food-themed riff on classic Memory. It was fun both to play, and to sneak in some learning. A match!

LP Food (3)

We also made a list of his favorite foods, including avocado toast and sesame tofu. Wanting further exploration, we headed over to Little Passport’s blog to learn more about what people eat in other countries on specific occasions. Travis got a kick out of some of the world lunches.

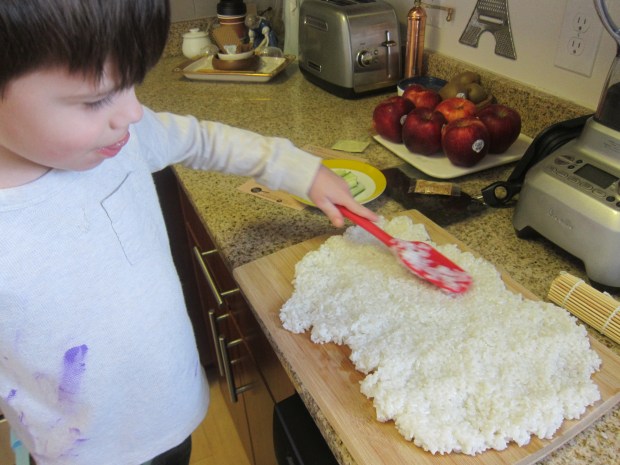
Finally, I had ordered the sushi kit (and sushi erasers!) from Little Passport’s shop as an extra, which let us have a Japanese sushi night at home. This was easily Travis’s favorite; he was intrigued when we opened up the box, especially by the rolling mat!

LP Food (25).jpg

The kit had us mixing up a rice vinegar sauce, simmering the provided rice, and then spreading it out to cool off.

LP Food (21)

Place a sheet of nori on the rolling mat, and top with rice and sesame seeds.

LP Food (22)

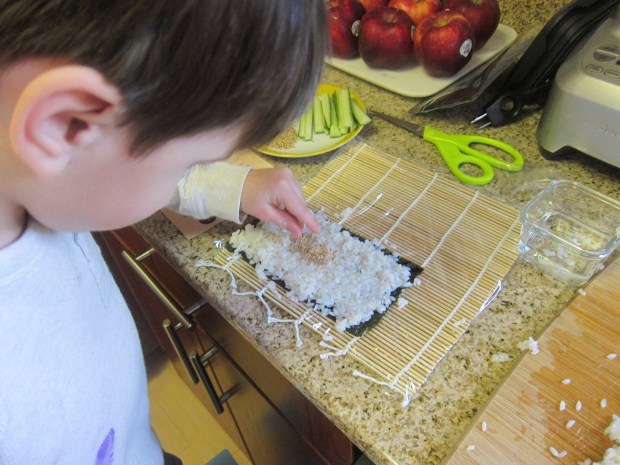
We added California roll fillings (avocado and cuke), then rolled!

LP Food (23)

I was so proud of how adventurous he was eating these, and he was so curious about where they eat sushi, and where the seaweed was from.

So yes, it took us nearly a month to work our way through all these activities, but it ended up being good fun.


Enjoy Some Downtime Together

Downtime Together (5)

Here is easily the most relaxing suggestion I’ve found for whiling away time with your infant – and one that I hope Veronika and I can include in our everyday routine moving forward. Or at least on the days that big brother is at school!

Try to take a moment (today and each day!) to play soothing music and just have downtime next to your baby. This sounds so simple, but our house is always filled with noise and movement, and I usually have Veronika playing on the living room rug while I get things done. Very rarely do I sit until the kids sleep!

Today, the goal was to take a pause. I set my Spotify list to slow jazz tunes, and we retreated to her nursery.

Downtime Together (1)

She seemed immediately surprised by the switch to her room, but then seemed to like the jazz right away. Aah, time to read the paper while she kicked and played with toys.

Donwtime Together (3)

We switched to Celtic meditation music.

Downtime Together (4)

I got to do the crossword and sip a smoothie! She loved playing with a tactile mat in the background.

We switched to piano sonatas (flute sonatas would be pretty too).

Downtime Together (6)

She had a blast doing tummy time in the relaxing location!

Downtime Together (8)

Finally, we tuned in to Indian classical. She was still so busy playing, that I easily could have spent ages in here with her – if there wasn’t more to get done!

Downtime Together (9)

Happy relaxing!

Downtime Together (7)

Critter Catchall

Critter Catchall (9).JPG

Travis always seems to have dozens of tiny knickknacks lying around: favors from birthday parties, tokens from restaurants or museums we’ve been too, and various other miscellany. We needed a catchall to corral all these items, and this cute critter version from Highlights was perfect. Plus it’s a great way to upcycle an empty yogurt container.

Critter Catchall (2)

We wanted to make a fox, which meant orange paint, but realized we didn’t have any. Thinking quickly, the project turned into a color lesson, with Travis stirring up red and yellow until we had a nice orange.

Critter Catchall (3)

Paint the yogurt cups inside and out, and let dry.

I cut pieces of felt for him to make all our fox parts – faces, tails, eyes, noses, and paws. Older kids can do this themselves, but the shapes were too complicated forr Travis.

Critter Catchall (6)

If you use tacky glue, kids can attach everything on; however, I like to use hot glue to ensure that felt projects stay put, so Travis loved watching!

Once the glue dried, it was time to fill the little fox. Travis spread out all his treasures.

Critter Catchall (7)

He loved finding the littlest ones that fit best in the fox!

Critter Catchall (8)

Now everything is in one place, and it looks cute on his shelf to boot.

Critter Catchall (10)

Have a Change of Scene

Change of Scene (4)

Sometimes when you’re a stay-at-home parent with an infant, you just need to break up a long day. And sometimes that means a change of scene – for both of you! Veronika and I played around with this idea in two ways today, one way more for her, and one more for me.

First, if there’s a walk you traditionally take with your baby, you can mix things up with one simple twist: Pop open an umbrella! The more fun the pattern the better (a little kid’s umbrella fits the bill perfectly). We simply walked the usual grounds of our apartment complex, but she couldn’t stop gazing up at the umbrella shade. And wanted to grab the handle!

Change of Scene (3)

Having this funny purpose to our walk helped make the old seem new, even when we paused just to look at the regular view. A nice change of scene!

Change of Scene (5)

Now it was my turn. With my firstborn, I had a habit of ordering everything we needed online (hello, Amazon Prime). But one afternoon, I realized that the act of strapping baby into a car seat or stroller, making our way to a physical store, and buying an item there helped fill long days with a pre-verbal person! As a bonus, the baby gets all kinds of new stimulation from sights and sounds. So even if you need something simple – a baby item, a gallon of milk from the corner store, a quick cup of coffee – get out of the house, avoid the drive-thru and the internet, and make an event of it.

Today, Veronika and I strolled the downtown sidewalks…

Change of Scene (1).jpg

…popped into a cute local boutique since she needed a few new bibs anyway…


Change of Scene (2).jpg

…and otherwise soaked up the sights – and the change of scene!

Penny-Eating Monster

Penny Monster (11).JPG

Roar! This terrifying monster craft is a blast to put together, and then the game you can play with it is great for hand/eye coordination.

First, we needed a tissue box. Ours had a few tissues left in it, but I let Travis go to town ripping them out (and making them part of a super hero game), so already the craft was a hit.

Penny Monster (1)

Next, he decided what color our monster should be.

Penny Monster (3)

Travis dabbled in silvers and yellows, before declaring it was a wood monster. So mostly brown it was! Let dry.

Penny Monster (4)

Then it was time to put his scissor skills to the test. He helped cut out triangles for the teeth, while I made shapes for spikes and eyes.

Penny Monster (5)

Glue on all your monster’s decorations.

Penny Monster (7)

Now gather some pennies, and stand back! Because this monster wants to gobble them up.

Penny Monster (8)

The goal is to work as a team, and toss in as many pennies as you can from a few feet back.

Penny Monster (9)

If more pennies land inside the mouth than outside, you all win!

Penny Monster (12)

Travis loved the game, and we had to fill the monster’s belly and empty it over and over. It was also great for counting practice, since he made sure he and I started with the same number of pennies each time.

Penny Monster (10)

All in all, frightfully good fun.