Listen Like a Whale

Listen Like Whale (2)

Talk about a milestone; my five year old is finally brave enough to tilt his head back in the tub and get his face underwater. This was a big step for Travis!

We celebrated the moment with a fun experiment I’d been telling him about for a while, ever since learning about whales with Kiwi Co’s baleen whale crate.

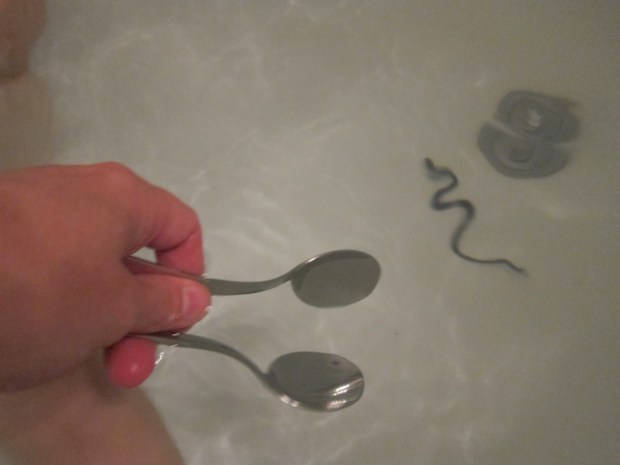
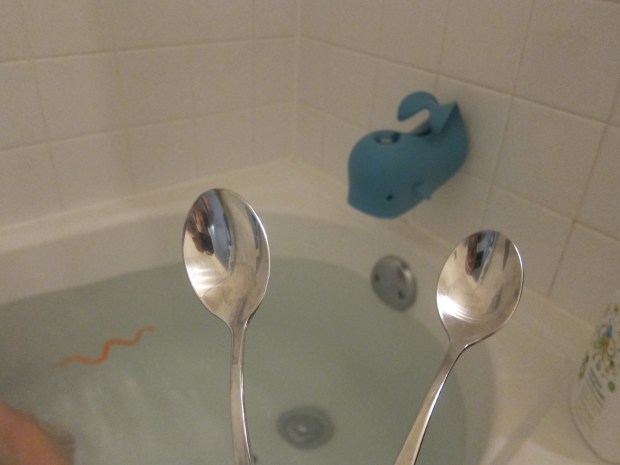
All you need to do is tap two spoons together in order to experiment with how sound travels both above and below water. First we tapped them out in the open air.

Listen Like Whale (1)

Next I tapped them underwater while his head was above water. The sound was quite muffled.

Listen Like Whale (4)

Now he leaned back until his ears were underwater, and he was able to hear the sounds much more clearly. “It also sounds deeper,” he commented, though I can’t say for sure if this was the case since my ears weren’t under there. Either way, he was quite happy to have done the experiment, and I think our little whale spout cover concurred!

Listen Like Whale (5)

The idea here is to illustrate why whale song can travel for hundreds of miles through ocean water; sound travels farther and faster in water than it does in air!

Bean Picture

Bean Pictures (6)

Engage your child’s budding artistic skills and fine motor skills with this quick project!

I invited Travis to draw anything he liked on thick watercolor paper, but suggested it needed to be something he could truly draw – not a “scribble scrabble” as he’ll do when he’s joking around. He thought about this and decided on a person.

Bean Pictures (1)

I love the way he draws people at age five: a very big head with round cheeks and small facial features, then tiny stick arms and legs.

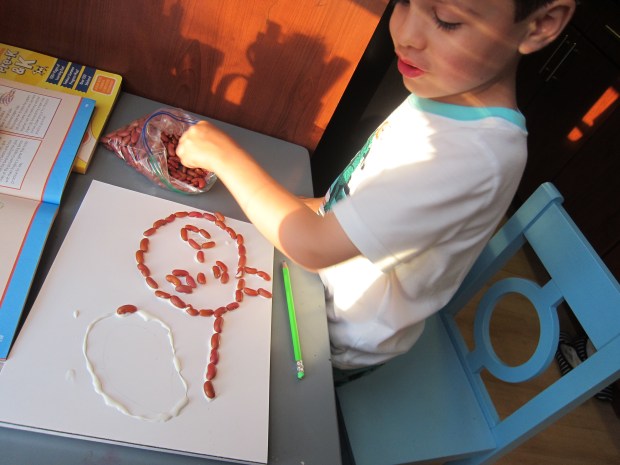
Next I had him squirt glue all along the lines he had drawn. He took this mission very seriously.

Bean Pictures (2)

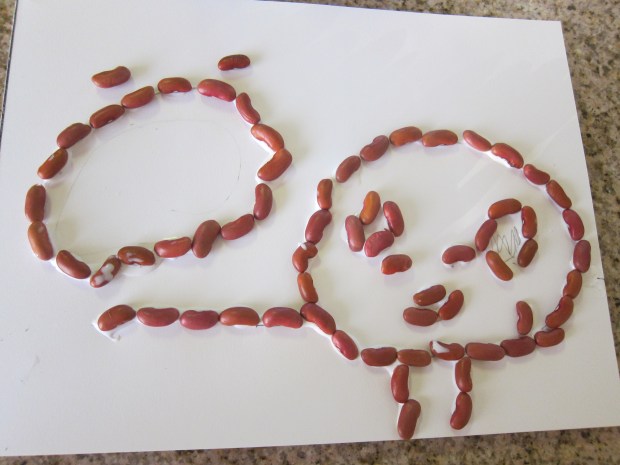
Finally, it was time to cover his person with dried beans. He laughed as he worked about “Mr. Bean,” and carefully added beans along every bit of glue.

Bean Pictures (3)

Near the end, he decided it wasn’t Mr. Bean after all… It was his baby sister!

Bean Pictures (4)

She needed a sun to stand under, so he penciled in a second circle, and insisted we cover that with glue and beans, too!

Bean Pictures (5)


Getting Used to Other Babies

Get Used to Babies (2)

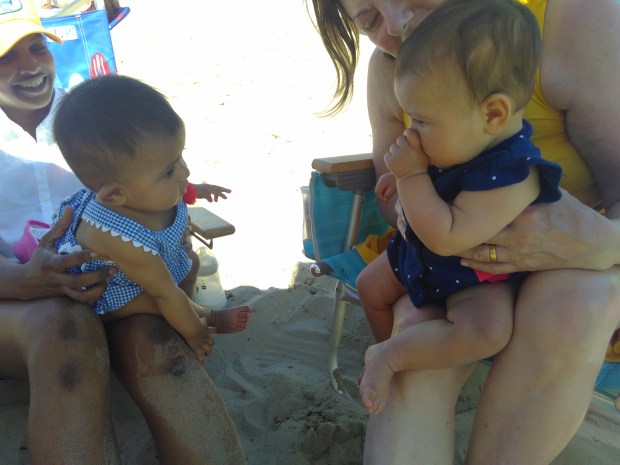
Veronika is eight months old today! Eight months is a fantastic age to introduce the idea of parallel play; that is, playing alongside other babies or slightly older toddlers, even though children this young won’t play together yet.

The perfect candidates for this activity? Cousins! If you don’t have cousins nearby, seek out neighbors or friends whose children are close in age to your baby.

Other Babies (3)

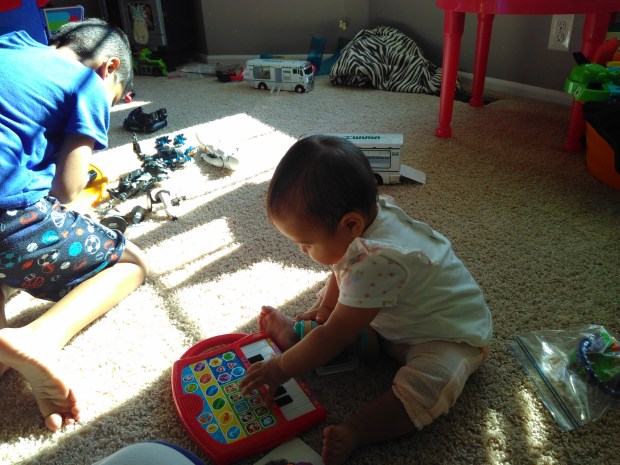
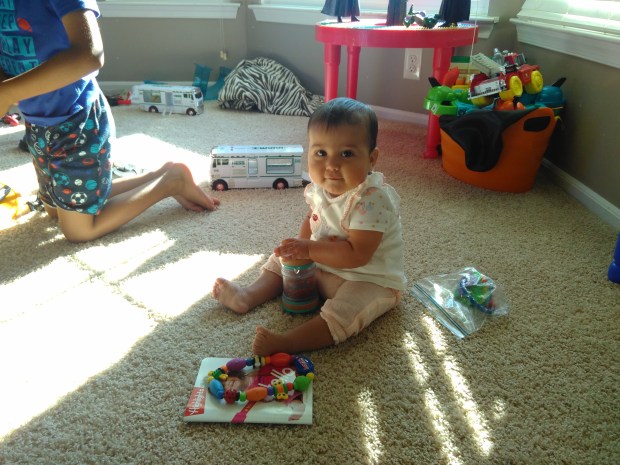
Just watching bigger kids is a lesson for a baby. Veronika loved to sit near her toddler cousins as they all played in the same room.

Other Babies (2)

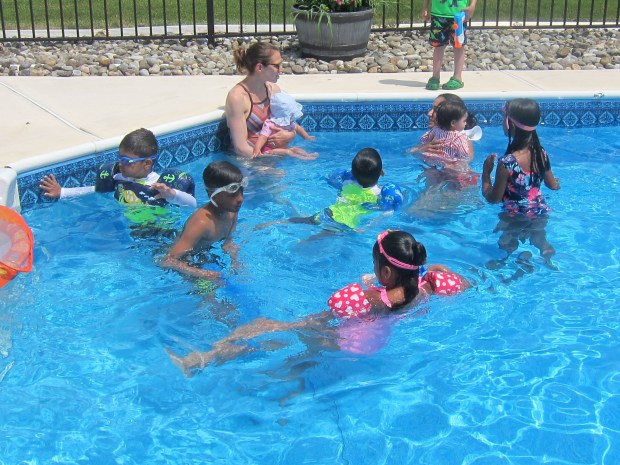
She’s been super-observant of cousins during summer get-togethers thus far, marveling at the big kids in the pool, playing by babies her age at the beach, watching older toddlers eat, and playing together in playrooms.

Other Babies (1)

Where does your child get to meet other babies and toddlers? Please share in the comments!

Water Work

Water Work (6)

This easy experiment will teach your preschooler or kindergartner about evaporation in an easy to see, hands-on way. Plus get you out into the sunshine each morning!

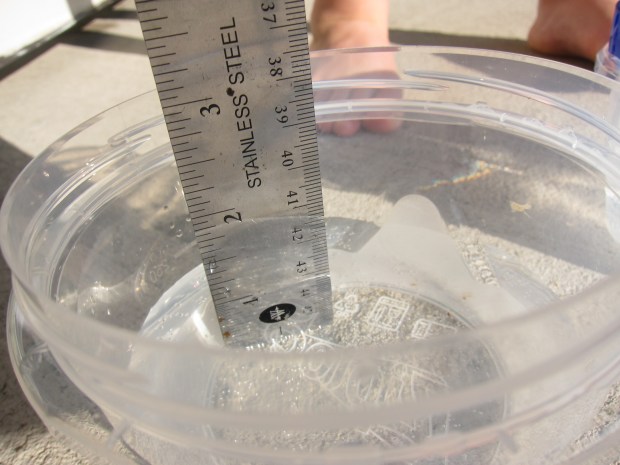
Travis filled two equal containers with 1 cup water each. We made sure to measure carefully before pouring, so our results would be accurate.

Water Work (1)

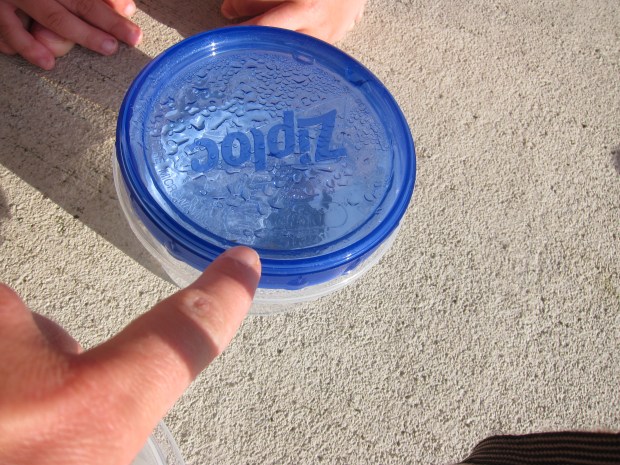
We screwed the lid tightly on one container but left the other container open. Place them somewhere that gets direct sunlight.

Water Work (2)

Each morning for a week, we headed out and measured the water. On the first day, the difference wasn’t that great, 1.5 inches of water in the lidded container, versus 1 inch in the open one.

Water Work (3)

By the next day, the results were 1.25 inches in the closed container (some had condensed on the lid!) versus only .75 inches in the open.

Water Work (5)

I asked Travis where the water was going and he correctly understood that some was evaporating into the air each day.

We continued to check on subsequent days, until a final reading of .25 inches in our open container. As a final component, Travis drew what had happened, showing a very full closed container and only a small layer of water in the open one. Those are three hot orange suns boiling off the water at the top!

Water Work (7)

A fantastic STEM/STEAM project for your summer!


Catch That Sound

Catch That Sound (4)

Here’s a game that combines reading and phonics skills with gross motor skills, but your kids will just think they’re having a blast! In other words: the perfect way to spend a summer morning.

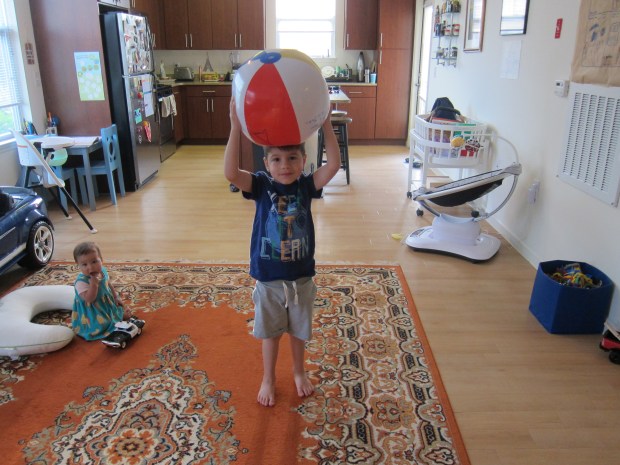
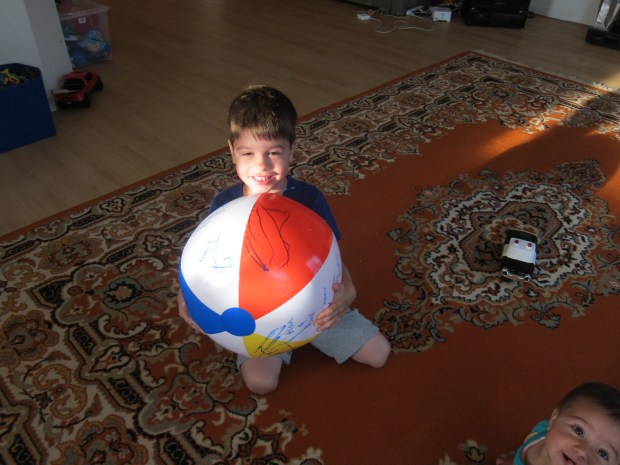
I pulled out the beach ball, which already had Travis excited, and explained the rules.

Pick a letter, and the person throwing the ball has to say a word that begins with that letter before each toss.

Catch That Sound (1)

Some of these were easy. B lent itself to books, babies, balls, and bees rapidly. Others made him stop and think between each throw. Eagle was his first confident answer for E, but then he was stuck until I prompted some words with the short-E vowel sound like elephant.

Catch That Sound (2)

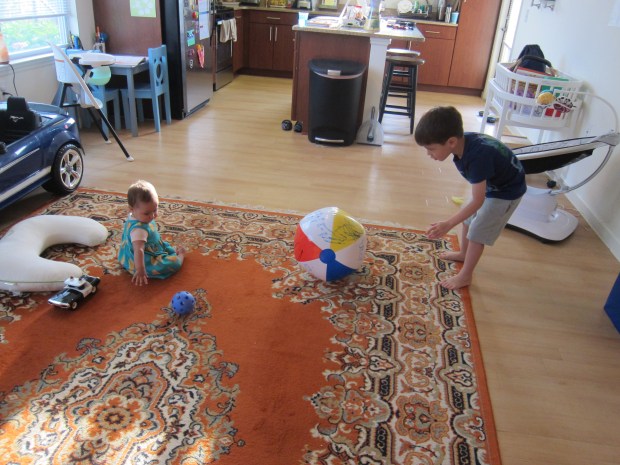
Travis also thought it was fun to roll the ball to little sister after saying each word, a great way to see the siblings play together.

Catch That Sound (3)

See which letter your kids can get the most for! And with every throw, they will be honing those gross motor catching and throwing skills, too. We might just have to play this one on the beach, next time!

Catch That Sound (5)

‘Are We There Yet’ Car Game

Are We There (1)

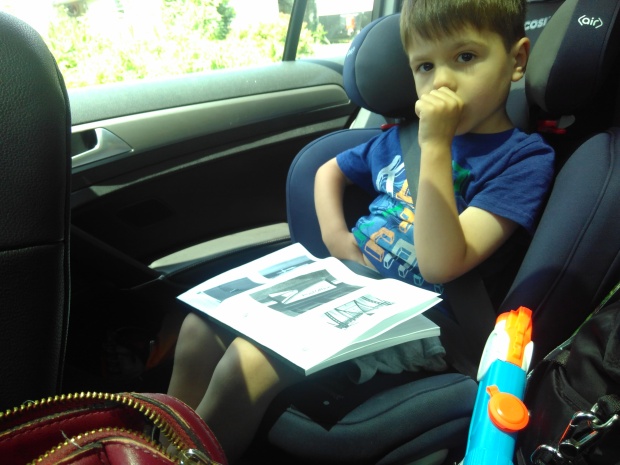
Road-tripping with the kids this summer and sick of the “are we there yet?” question? So was I, until we found this cute game in Highlights magazine: a road trip scavenger hunt.

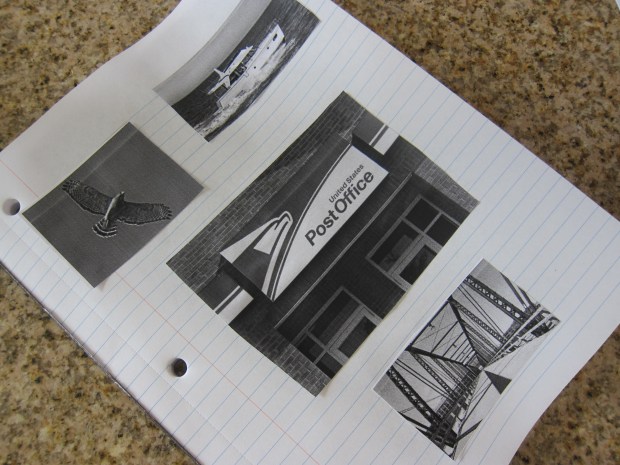
Ahead of time, select items that your child will need to find from the back seat of the car. You can make a written list for readers, but I printed out pictures for Travis and glued them to sheets of a notebook. If I’d had more time, I would have found pictures of uniform size, and perhaps colored them in, but we were also busy packing!

Try to vary the difficulty of these; some I knew he could spot right away, like an American flag. Others (cows! hawks!) would take some doing.

Are We There (2)

The game is fantastic because you can mix it up with new finds for each road trip, no matter how long or short.

IMG_20190629_131237

Are we there yet? Who cares when you’re having fun!

DIY Lip Balm

Gallant Lipbalm (5).JPG

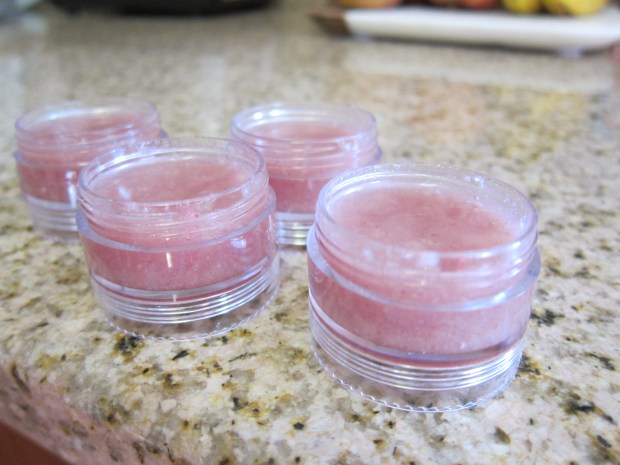
There was a jar of coconut oil in the pantry that I wanted to use up before an upcoming move, and thought it would be fun for Travis and I to make pots of DIY lip balm… the perfect remedy for dry lips on hot summer days.

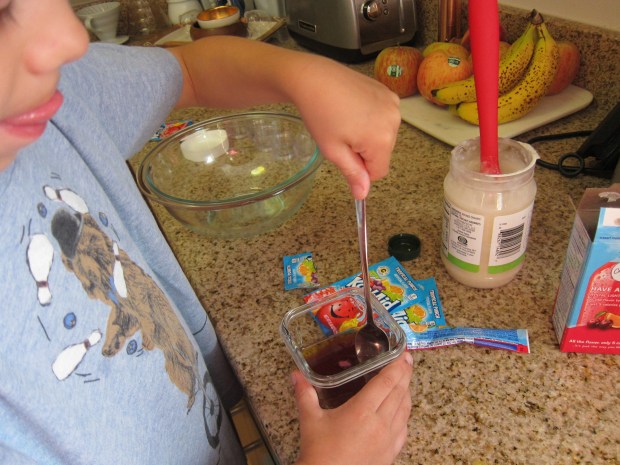
To start, we stirred 1 pack of tropical punch Kool-Aid powder into 3 tablespoons olive oil for a purple-y hue. Although not something I ever have Travis drink straight, Kool-Aid does provide a fun punch of color sometimes. Alternatively, you can leave it clear.

Gallant Lipbalm (2)

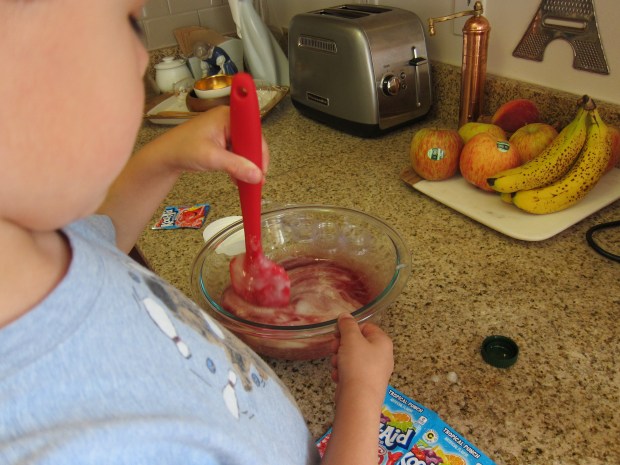
Stir the olive oil mixture into 12 tablespoons coconut oil. (Note: Let your coconut oil soften first…which wasn’t hard here on a 90 degree day!).

Gallant Lipbalm (3)

We spooned this into individual tins; clear jars meant for beads from the craft store were the perfect size. Place the jars in the fridge to set.

Gallant Lipbalm (4)

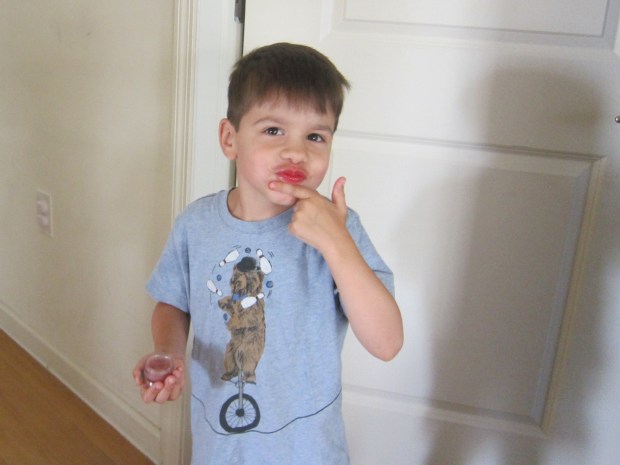
Travis was a nut trying out the balm; it cracked him up that it made his lips red!

Gallant Lipbalm (6).JPG

We were inspired by the latest Gallant story in his Highlights magazine about boys who sell a similar lip balm to raise money for a cancer fundraiser. So we’re hoping to have a mini fundraiser with our little pots of balm and send to a favorite charity!

Nature Game

Nature Game (2)

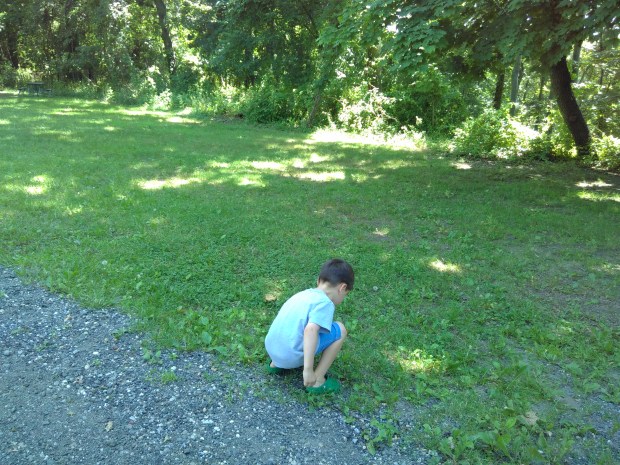
The outdoor challenge this week in Travis’s summer workbook was to create a game using items found in nature. Not only was Travis up for the challenge, he requested an extra long nature walk to make sure we had enough materials, turning it into a fantastic opportunity to get outside.

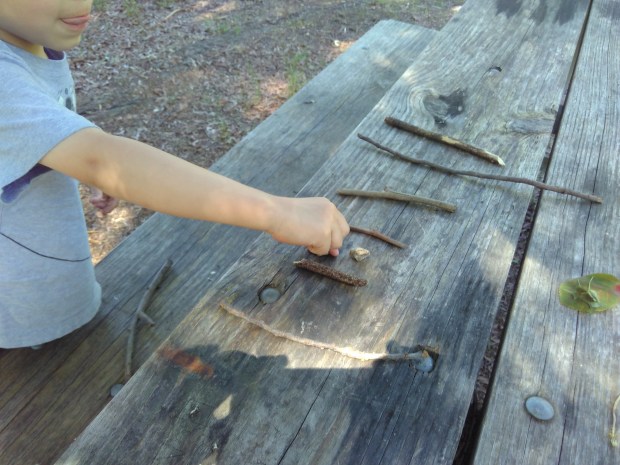
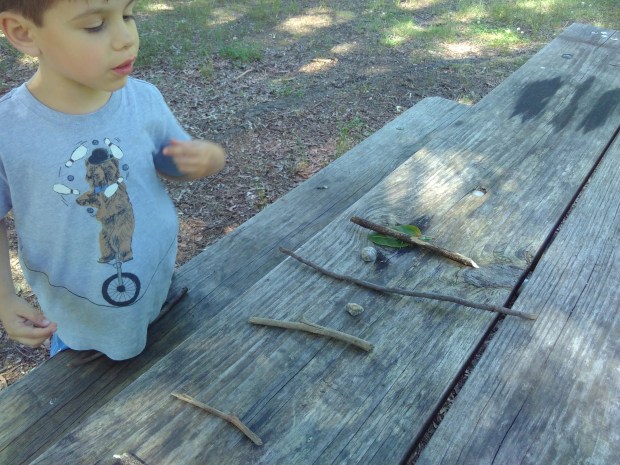
First, he gathered up any items that caught his eye. Soon we had a collection of leaves, sticks, and two pebbles.

Nature Game (1)

I laid everything out on a picnic table and challenged him to think of how he could combine the items into a game. At first he was at a loss. Lining up the sticks helped provide a bit of direction. Since there were two pebbles, it made sense that those would be our playing pieces.

Nature Game (3)

Aha, now an idea was forming. With each turn, we could jump our piece forward over one stick. He still had to decide what we would do to earn that move forward. Looking around, he settled on spotting any animal or bug; the same animal could not be used twice.

Nature Game (4)

Soon he was finding birds, butterflies, ants, spiders, and more. With each new creature, his stone jumped forward. He was delighted when he was ahead of me!

Nature Game (5)

The first player to reach the leaf “jackpot” wins. I was so proud of him; this activity involved a bit of nature, a bit of creativity, and lots of problem solving. He truly came up with a game that can now be our family pastime almost anywhere outdoors!

Nature Game (6)

Pollinators for Every Flower

Pollinators (11).JPG

The final lesson plan for the Garden Party kit from Raddish Kids was a huge hit, since Travis loves bugs and everything about them. He was a whiz already at much of this topic, but enjoyed the hands-on and artistic aspects of it!

When he came to the table for our lesson, he was surprised to find a flower waiting.

Pollinators (1)

We explored the flower in detail, including: rolling the leaves between his fingers to see how that changed the texture; smelling it; feeling the fluffy petals; and looking closely with his eyes.

Pollinators (3)

As he explored the flower, I read to him from a provided chart about plant anatomy. Much of it was a bit over a preschooler’s head, so focus on the bits your child will grasp. He liked the rather astounding fact that while people and animals are either a man (male) or woman (female), a plant is both!

Pollinators (10)

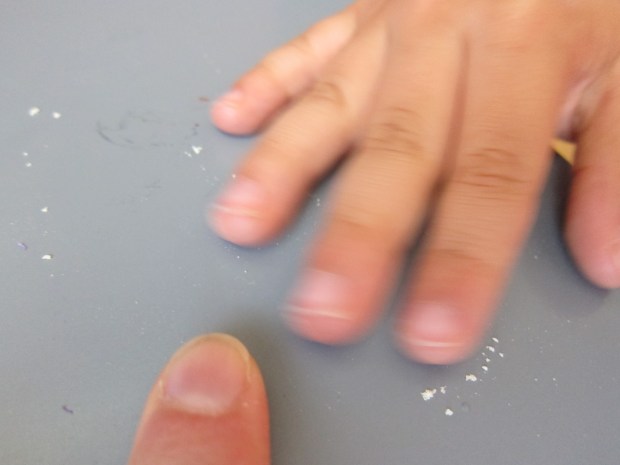
Some pollen ended up on the table… the perfect segue-way!
Pollinators (2)

I asked him to name pollinators he knew and he quickly rattled off butterflies and bees. After some prompting, he also guessed birds. I told him he was correct, especially hummingbirds, and then named a few surprises: bats, beetles, and the wind!

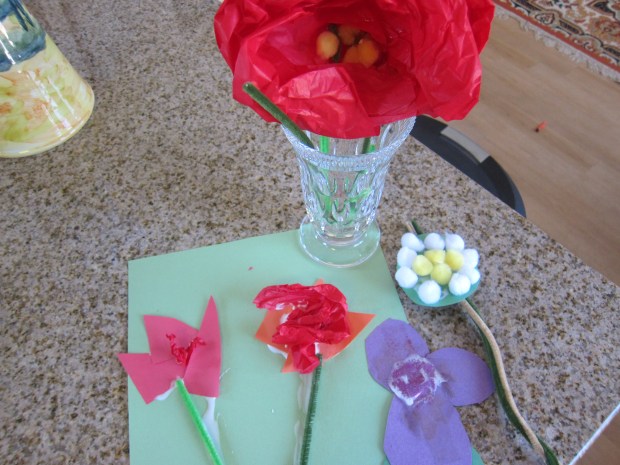
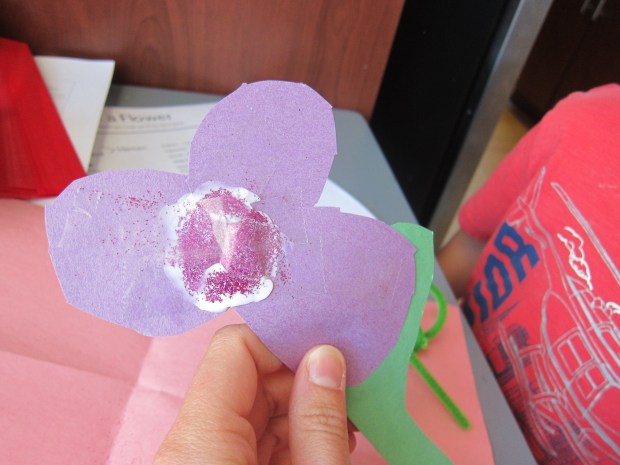
The next challenge was to pick a pollinator and make a flower with art supplies that was specific to that pollinator. First up was a bee! Thanks to the provided pollinator profile cards from Raddish, we learned that bees like flowers that smell sweet and in bright colors like yellow and purple.

Travis chose construction paper for this flower, and added glittery “pollen” in the center. To make it smell sweet, we dabbed a vanilla extract-scented pom pom around the petals. Travis loved this!
Pollinators (6)

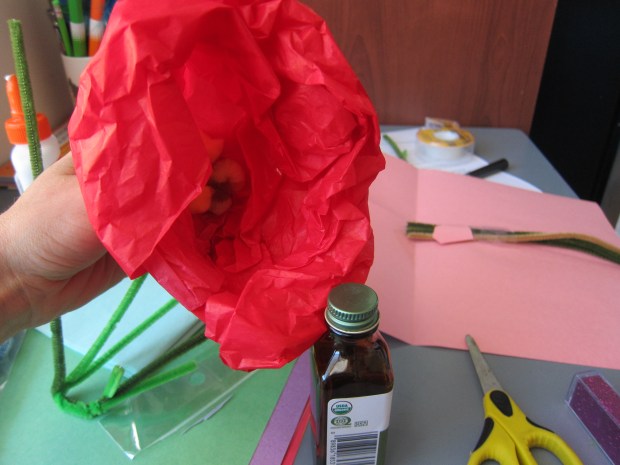
Next he wanted to make one for a hummingbird. Our card said the birds don’t land on the petals but instead dip in their beaks, so I helped him fashion a tube-shaped flower from tissue paper (we used red, since the birds like the bright colors). It was fun to add vanilla to the “pollen” pom poms in this one, too, even though the profile card said the birds had good vision but a poor sense of smell.
Pollinators (5)

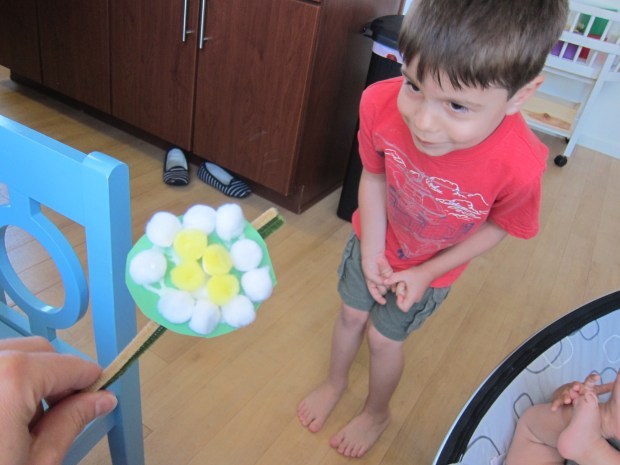
Travis next wanted beetles, delighting in the notes on the card that they like “unpleasant” smelling flowers or ones with no scent. We used white pom poms, since beetles prefer pale or dull colors, and added lots of yellow pollen in the center, which the beetle eats.
Pollinators (7)

He was so proud! I loved watching him think carefully about each pollinator, as well as use different materials each time.

Finally, he wanted a flower for butterflies! This one needed petals for the butterfly to rest on, bright reds and oranges, and no vanilla extract since the butterfly has good eyesight but a poor sense of smell.

Pollinators (9)

Overall, a fantastic lesson, with a little bit of art, a little bit of science, and important information about the role pollinators play in food crops thrown in there.
Jellybean J

Jellybean J (2)

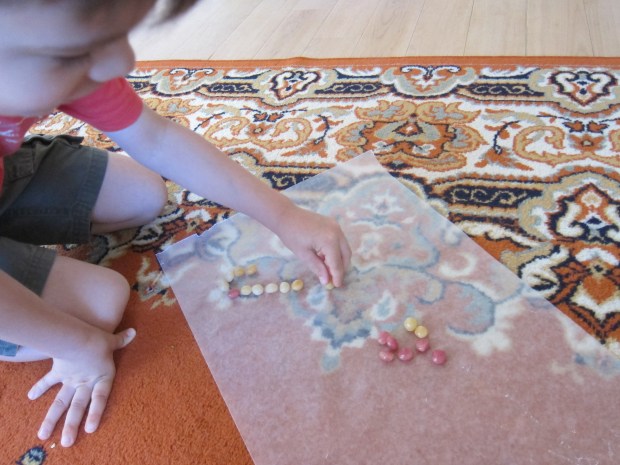
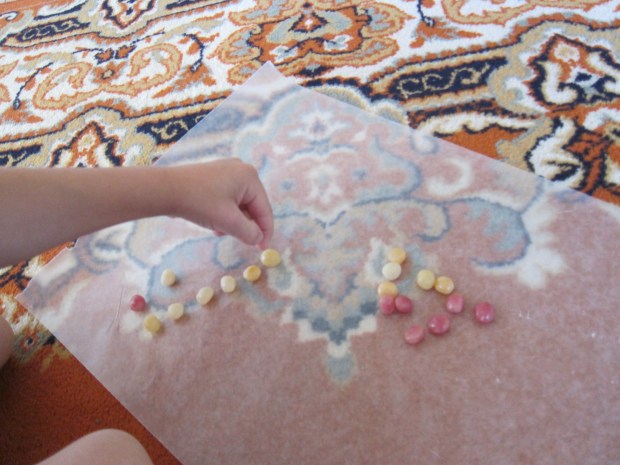
Today’s letter of the day for tracing had an edible treat at the end – jellybeans!

Travis easily traced both upper case J and lower case j, and then I told him he was going to love our 3-D model today because it involved a favorite treat.

Place jellybeans on a sheet of parchment paper, and challenge your child to recreate the letter with the candies.

Jellybean J (1)

Travis didn’t even need to look at an example. I helped him make his dot a bit more precise…
Jellybean J (3)

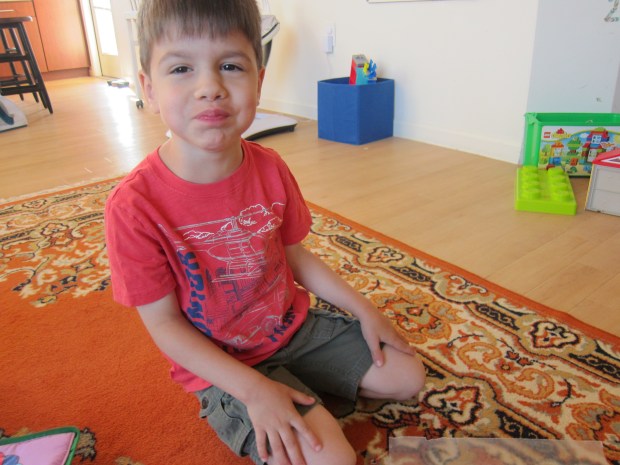
…but then it was impishly gobbled up.
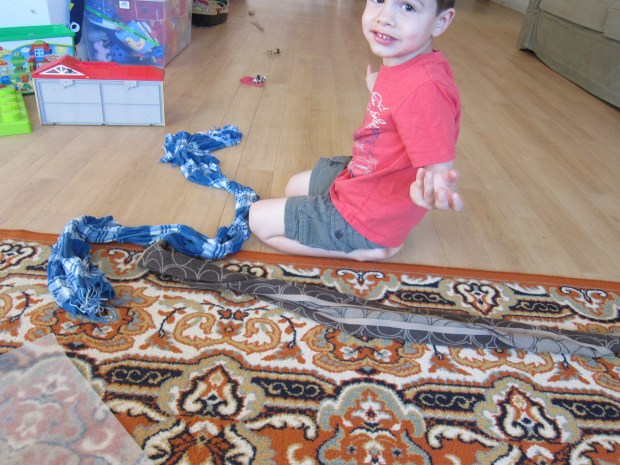
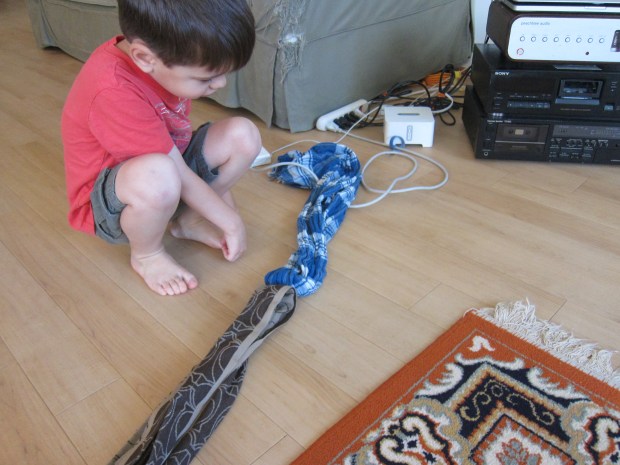
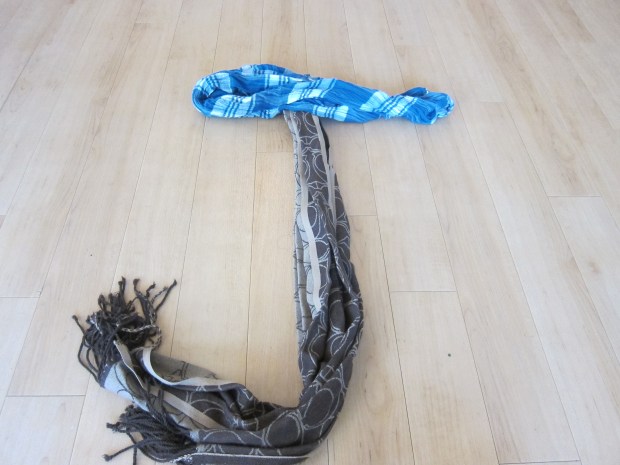
For the big J, I pulled out a few old winter scarves (how jolly!), and I asked him to make them into the upper case letter. This wasn’t as easy as the candy. He looked at me in amused confusion.

Jellybean J (4)

I helped him form one scarf into the hook. He still couldn’t quite see where the second should align…

Jellybean J (5)

Aha, now he saw how to cross it at the top.

Jellybean J (6)

As with the other letters we’ve tackled this summer, these hands-on models are fantastic for reinforcing the two-dimensional lesson of tracing on paper.