Exaggerate Your Facial Expressions

Exaggerate (5)

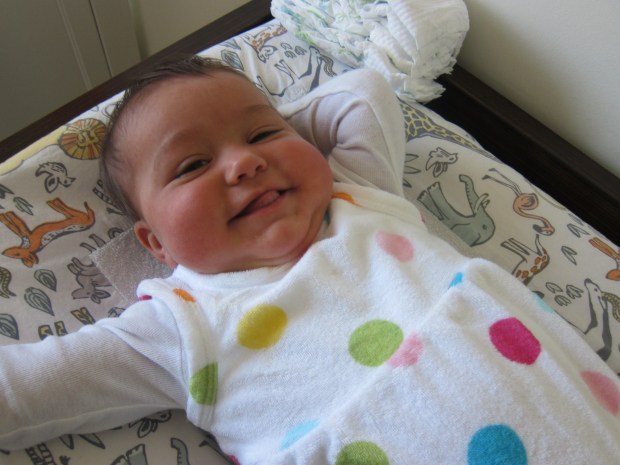
As your baby learns about emotions and expressions, bigger is better. So today, while reading books and telling stories with Veronika, it was all about exaggeration!

My go-to stories to tell are Goldilocks and the Three Bears and the Three Little Pigs. Both of these feature a range of emotions, and Veronika echoed them back to me on her face.

Goldilocks was so excited to find the yummy porridge!

Exaggerate (1)

The bears were very concerned when they got back to the house.

Exaggerate (2)

Mama bear was surprised someone had eaten her porridge!

Exaggerate (4)

Hurray, the three pigs are safe from the big bad wolf.

Exaggerate (3)

Books with baby faces can also help your little one learn about facial cues. We love Baby Faces by Margaret Miller, which simply features… baby faces! I point out each emotion to Veronika, made the expression on my own face, and tell her what she’s looking at.

Exaggerate (6)

A useful activity to help your baby pick up on facial cues – an important skill for the lifetime ahead!

Advertisement

Flying Paper, Two Ways

Flipping Fish (6)

Here are two fun ways to harness the power of paper and watch things take flight.

Both of these projects are far less involved than the rockets and planes Travis and I have made recently, but sometimes you just need something simple to fill a lazy morning.

First we made a school of  “flipping fishies”.

Flipping Fish (2)

Draw rectangles on white paper and color in. The more colors the better!

Flipping Fish (3)

Cut out the rectangles, and cut a notch on each end, facing in opposite directions.

Flipping Fish (4)

Slot these notches together and you have fish. Soon we had mommies, daddies, and baby fish.

Flipping Fish (7)

Toss them in the air and watch them whirl!

Flipping Fish (5)

Interestingly, we discovered that our baby fish swirled much better than the bigger ones we made.

Flipping Fish (8)

Next up, we did a repeat of a flying straw we’d made recently with a Kiwi Crate; as with our repeat of the Balloon Rocket, this time we used wide (“milkshake”) straws for better effect.

Cutting out rectangles was great practice for Travis to cut in straight lines!

Flying Straw (1)

For each straw, make one long rectangle, and one short; tape these into circles, and tape onto the straws.

Flying Straw (2)

Hold your straw so the small circle is at the front – and let it soar!

Flying Straw (4)

Those paper circles really catch the wind, and will carry your straw across a room. It’s fun to compare these to a plain old straw, which nose-dives right down.

Flying Straw (5)

Happy flying!