Dinosaur Egg

Dinosaur Egg (8).JPG

We found dinosaur eggs in our apartment this weekend! Okay, maybe not really, but these giant balloon-sized eggs are sure to get your kiddos excited, even if they helped make them and remember that they started out as balloons!

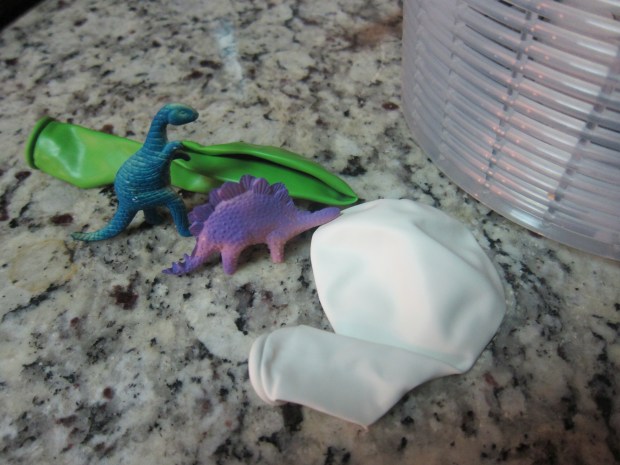
To start, slightly inflate a balloon (large ones work best for this game) and insert a small toy dinosaur into each – be careful not to tear the plastic of the balloon with any spikes i.e. t-rex works better than stegosaurus here, folks. Inflate the balloon the rest of the way.

dinosaur-egg-2

At this point, I told Travis we had baby dinosaurs that would be hatching soon, but that we needed to help the eggs incubate. It was time to get to work with our papier-mache!

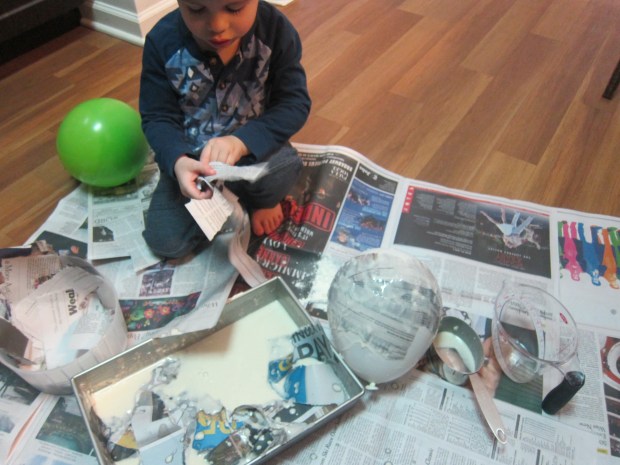
If you’ve never made papier-mache at home, don’t be intimidated; it’s just one part flour to one part water. We mixed together our goop in a baking pan, which I set out along with a stack of torn newspaper.

dinosaur-egg-4

Travis had way more fun simply throwing the newspaper into the goop…

dinosaur-egg-6

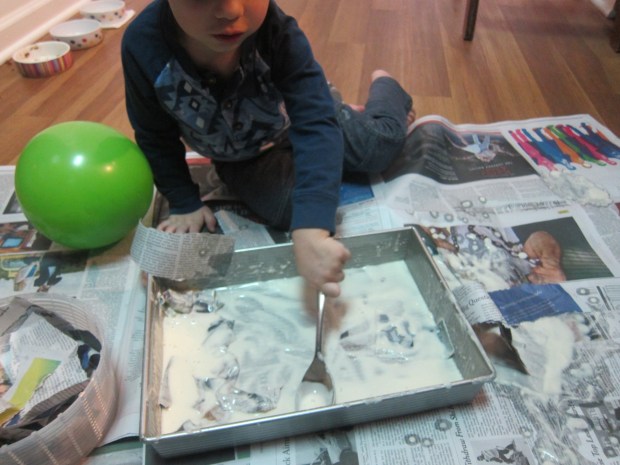
…and stirring it with a spoon…

dinosaur-egg-7

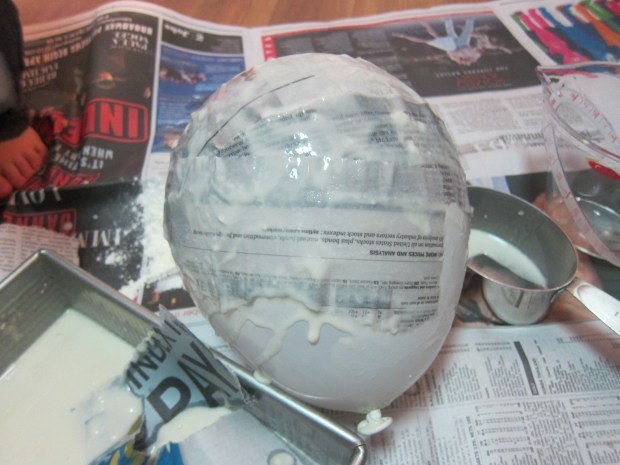
…but I managed to cover our balloons in the meantime. Set them aside overnight to dry.

dinosaur-egg-5

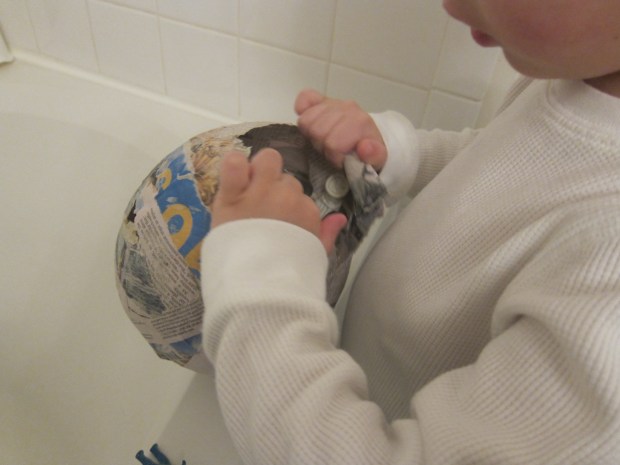
Now came the magic. The next morning, I popped the balloons inside with a sharp pin. This cracked the papier-mache coating perfectly, so the eggs looked like the babies were just starting to hatch.

dinosaur-egg-9

Travis had so much fun opening the eggs the rest of the way to reveal the dinos inside!

dinosaur-egg-10

Note: If you like, you can paint your eggs before “hatching” them, but Travis was too excited to rip them apart, so we skipped that step!


Toddler Science Experiment

Toddler Science (5).JPG

This game involved a simple introduction to the scientific method, with Travis needing to make a hypothesis. Although I thought the answer would be obvious, even I was surprised with our results!

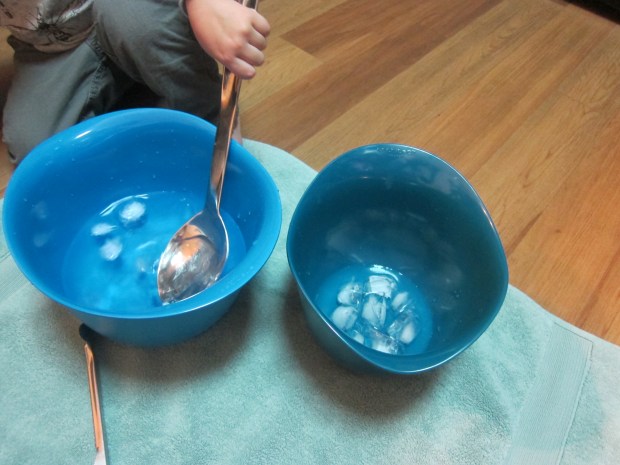
To set up, place ice cubes in one bowl (with a little water) next to an empty bowl. If you’re inside, it helps to have a towel under the bowls to contain any spills… or save the game for when you can play outside on a warm day!

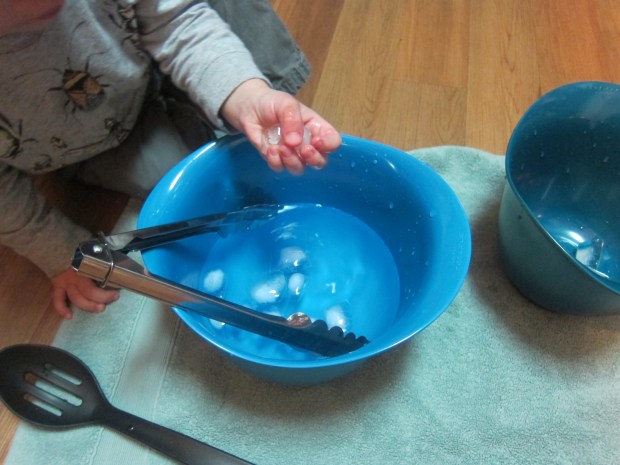
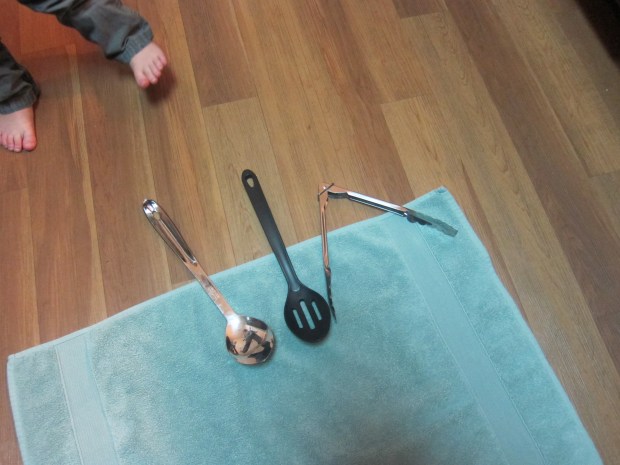
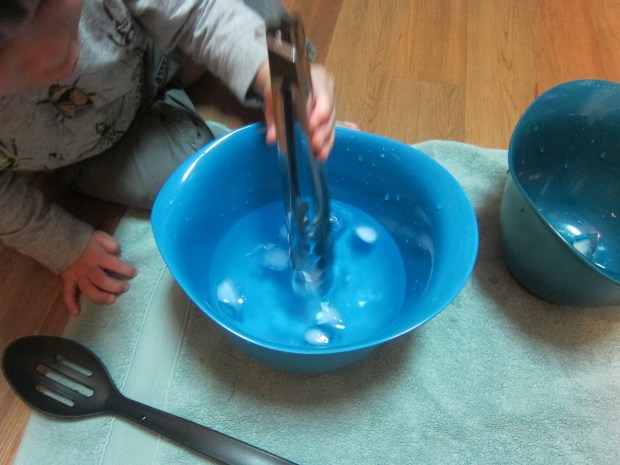
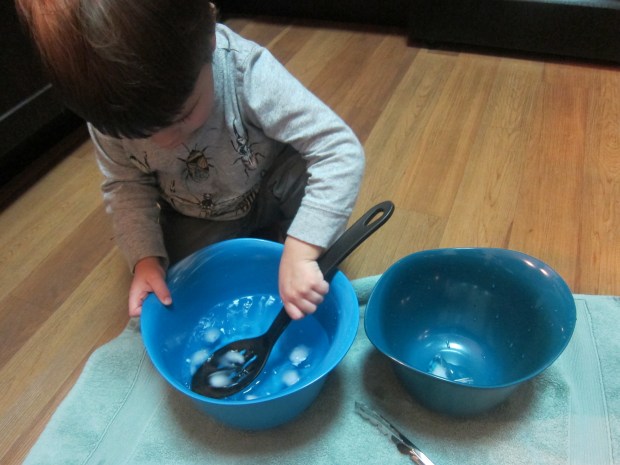
toddler-science-1Next I presented Travis with three options for moving the ice from one bowl to the other – a regular spoon, a slotted spoon, and kitchen tongs. Which one would be the best way to move the ice, I asked him. He immediately grabbed the regular spoon and started transferring.

toddler-science-2

What happened next was quite interesting though. The spoon worked great, but as the ice cubes began to melt and grew smaller, they slid off the spoon. The best tool for the job turned out to be…the tongs, which I hadn’t thought Travis had mastered! So the result surprised us both.

toddler-science-3

The slotted spoon, which I had surmised would be his favorite, was a bit of a dud. He was so into the regular spoon and tongs that it didn’t interest him to see the way the water slid through the slots as he scooped up a piece of ice.

toddler-science-4

The fun lasted until the ice cubes all melted!

Pups in a Blanket

pups-in-a-blanket

Use any brand of tofu pups (i.e. soy hot dogs) from the store to make the ever-popular pigs-in-a-blanket without the pigs!

Ingredients:

  • 1/3 cup plain non-dairy milk
  • 3/4 teaspoon cider vinegar
  • 1 cup all-purpose flour
  • 1 teaspoon baking powder
  • 1/4 teaspoon baking soda
  • 3 tablespoons wheat germ
  • 1/4 cup Earth Balance butter
  • 4 to 5 vegan hot dogs
  1. To make the dough, combine the milk in a bowl with the vinegar and let stand for 5 minutes. All you’re doing here is curdling the milk so it is like buttermilk; lemon juice works as a substitute for the vinegar in a pinch.
  2. In a bowl, combine the flour, baking powder, baking soda, and wheat germ. Cut the butter into small pieces and add to the flour mixture; cut in using your fingers or a pastry blender until the mixture is like coarse meal.
  3. Add the milk mixture, stirring until a dough forms. Turn out onto a lightly floured surface and knead about 4 times. Roll the dough into a 10-inch square, then cut into 4 or 5 strips, depending on how many hot dogs you’re using.
  4. Roll each hot dog into a strip of dough at a slight angle, pressing to seal. Place the hot dogs on a baking sheet lined with parchment paper.
  5. Bake at 375 degrees F for 15 to 18 minutes, until the dough is lightly browned.on the bottom.

Almond Crispy Squares

almond-crispies-2

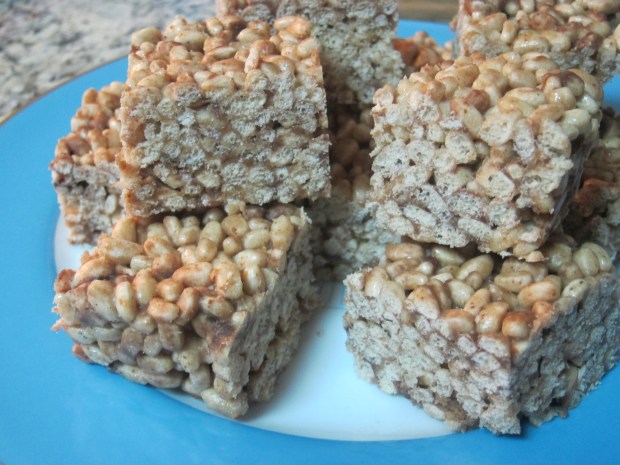
These vegan rice crispy treats skip the marshmallow in favor of almond butter and a sticky sweet syrup.

Ingredients:

  • 5 cups brown rice crisps cereal
  • 1 cup sugar
  • 1/2 cup light corn syrup
  • 1/4 cup plain non-dairy milk
  • 6 tablespoons almond butter
  • 1/2 cup carob chips
  1. Place the cereal in a large bowl, and spray a 9×9-inch baking pan with cooking spray; set both aside.
  2. In a saucepan, combine the sugar, corn syrup, and milk. Heat over medium-heat, stirring constantly, until the mixture boils. Stop stirring and continue to cook for 6 minutes, maintaining a rolling boil. If the mixture bubbles up, briefly remove from the burner and let cool slightly.
  3. Remove from heat and immediately add the almond butter, stirring until combined. Pour the sugar mixture over the rice, stirring with a spatula to combine; fold in the carob chips.
  4. Press the mixture into the prepared baking pan and let cool completely before cutting into squares.

almond-crispies-1

Recycled Band

Recycled Band (5).JPG

Toy instruments from the store are great… but involving kids in making them can be even better! Even I was impressed with how these instruments – made of common household items – turned out.

For the Shoebox Guitar, I first cut a circle from an old shoebox (tape the lid down with duct tape first, if you like).

Travis loved helping me find three elastics stretchy enough to stretch lengthwise around the box – although putting them on was definitely a grown-up job.

recycled-instruments-2

At this point, the strings sound very dull… But now it was time to slip a pencil under the strings on either side.

recycled-instruments-4

Immediately, you get resonance – and your elastics will even play different notes if they are different widths. Travis couldn’t wait to pick it up and start strumming.

recycled-instruments-7

To make our Sandpaper Blocks, cut sandpaper into strips so you can wrap it around the middle of plastic cups.

recycled-band-3

Secure the sandpaper to the cups with duct tape. We had fun experimenting with two different grades of sandpaper – extra fine and coarse – to see how they sounded.

recycled-band-4

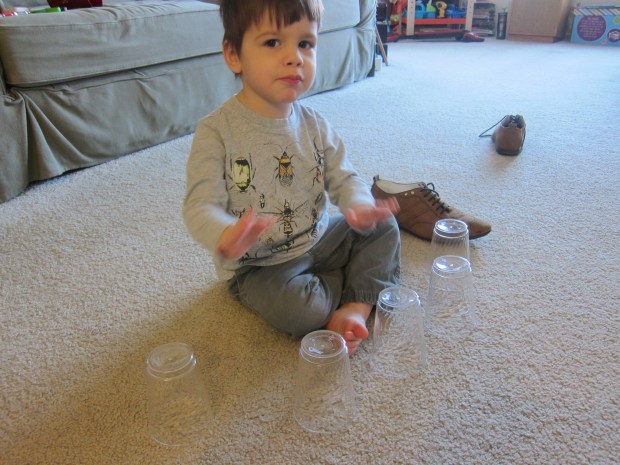
Travis then took additional cups and placed them around himself as a “drum set” – great imagination!

recycled-band-1

And then of course it was time to march around in a parade. Thanks to High Five magazine for the musical idea.

E Week!

E week (24).JPG

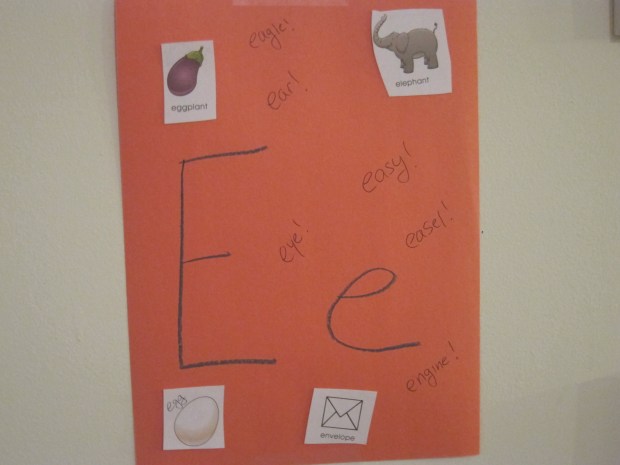
We’re back where we left off a few weeks ago, and closing in on the end (er, beginning) of the alphabet on our Letter of the Week journey! Read on for what filled our E week…

e-week-22

Envelope/Email: This is the perfect week to play games involving both the old-fashioned and new-fangled ways of sending and receiving letters. Travis loves his toy mailbox, and I pulled out old business envelopes for him to play with and decorate as well.

e-week-18

But kids also need to know how to use keyboards in this era, so why not make it a game? Travis loves typing “emails” in big font and colors on my computer, and then we printed them out! Whether you have toy keyboards or old real ones for your child to type away at, doing so encourages imagination and early computer skills.
e-week-1

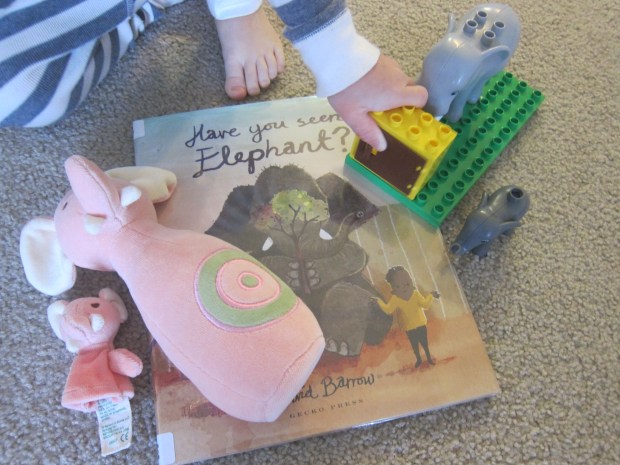
Elephant: I pulled out all the random elephant toys around the house (Duplo, a few stuffed ellies, etc.), but better yet, get some exercise and pretend you’re an elephant. Need the perfect song to dance to? Check out this classic, and get some exercise!

e-week-11

Exercise: Speaking of exercise, we happened to have the perfect action game in an issue of High Five magazine, pictured above, but do any motions that get your toddler exercising this week – jumping, running, waving, hopping, you name it.

e-week-10

Don’t forget stomping like an elephant! In sum, the perfect way to release some energy here in the winter.

e-week-19

Empty/Everything: In a quick little game, I illustrated the concepts of empty versus everything, using toy cars and little toy garages. One was empty, and one had every car, and then it was up to Travis to make the latter empty and the former full. Use whatever toy will most engage your child’s interest to play with these concepts.

e-week-5

Ear: Play name that tune, using only your ears to guess a song after a few bars. This is a great game for car rides, incidentally. You can also emphasize the other things you hear with your ear this week. Some prominent sounds in our week included a piano metronome and a loud dump truck!

easy-collage-5

Easy: Parenting can be hard… so this week, do something easy. An easy project that is! Travis made a collage with no glue required when I laid out a sheet of sticky contact paper for him. He was very deliberate with his placement of the materials I left out.

easy-collage-8

When he declared it finished, I folded the contact paper over itself and he could carry it around – no waiting for glue to dry!

e-week-3

Engine: Toy trains came out of the toy bin this week of course. Cap off any engine play with a reading of the beloved classic The Little Engine That Could.

e-week-23

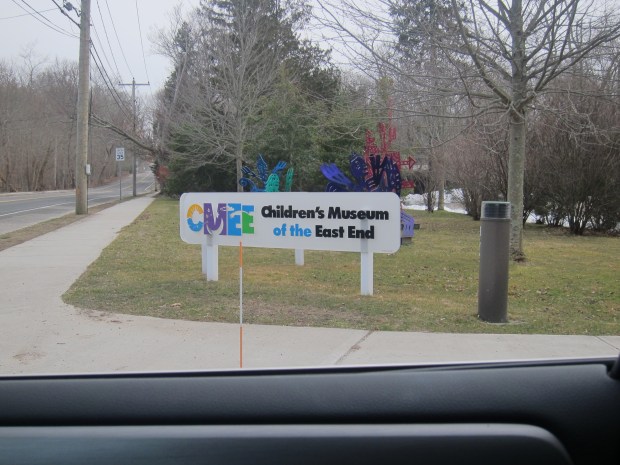
East: I gave a tiny lesson on north/south/east/west, since Travis has a compass he loves. So take a field trip to the east side of your town, whatever that means where you live… This was the perfect excuse for us to drive to a rather appropriately named museum:
100-happy-54

And onto our weekly e-e-extras:

Fine art: Travis was not at all into the project I laid out, a recycled egg carton to be made into an egg carton caterpillar. Your kid may love it though! Cut an egg carton in half and discard the flat top. Decorate with pompoms to make a fuzzy little caterpillar. We added two pipe cleaner antennae, and I thought it would be fun to color it in with crayons as well, but this proved tricky on the bumpy surface; next time I would use paint before gluing on the pom poms.

e-week-15

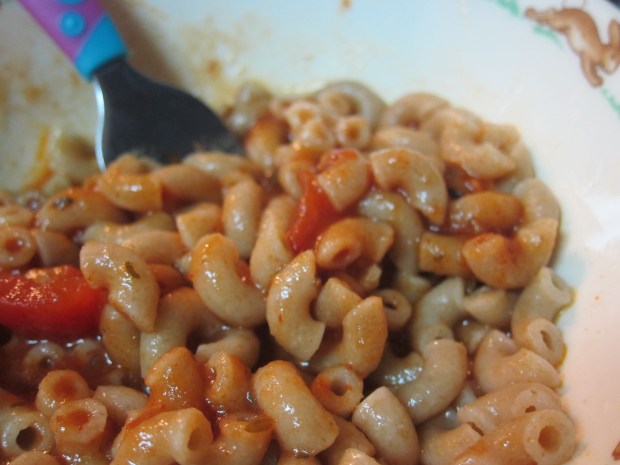
Food: Save some of the elbow macaroni from your estimating game (see Math, below) for dinner one night. I also made breaded eggplant sticks. And of course, you can emphasize the word EAT every time you do so all week.
e-week-16

Books: Travis laughed so hard for Egg Drop, by Mini Grey, that I thought we might never return it to the library. Other cute picks included Toes, Ears, Nose by Marion Dane Bauer, A Bald Eagle’s World by Caroline Arnold, The Eye Book by Dr. Seuss, and Have You Seen Elephant? by David Barrow

e-week-12

Songs: Travis got the giggles listening to The Elephant Song, and also loves Everything Grows by Raffi, a heartwarming classic.

Math: It was a little advanced, but I introduced Travis to estimating. Don’t estimate just any old item though – use elbow macaroni. Rather than estimate exact numbers, Travis was able to estimate if there was closer to 1 or closer to 10 in a cup, or to estimate if the cup had a little or a lot.

e-week-6

Preschoolers can practice estimating exact numbers! Either way, you’re sure to have fun with a dish or cup full of elbows for a while afterwards, because #toddler.

e-week-9

We’ll see you next week for the letter D!

Earth Exploration

earth-explore-5

Since Travis loved volcano play so much recently, this week I took him deeper inside the Earth, to discover all the layers that sit under and produce that molten lava.

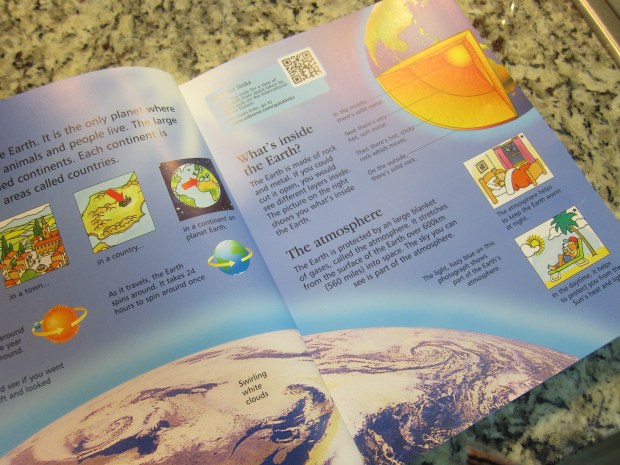
In perfect timing, we just received Usborne Books & More’s Children’s Encyclopedia, which not only had a section featuring the Earth’s layers, but is also QR linked. That meant we could further explore neat (and quirky) videos describing Earth’s layers: from inner core to outer core to mantle to crust to oceans/land.

earth-explore-3

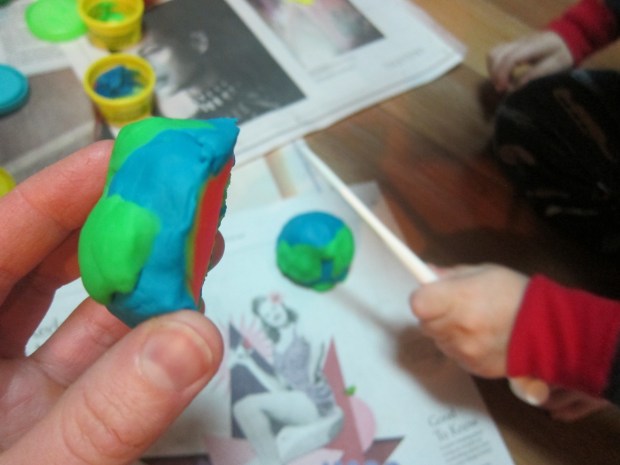
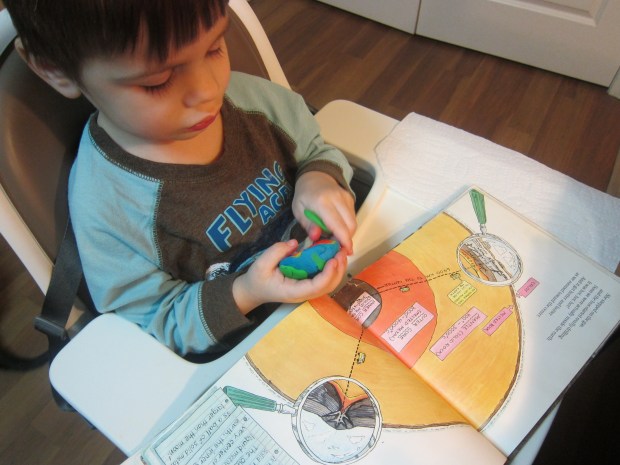
Now it was time to model that out for Travis! I used play dough, starting with a tiny red ball for the inner core, wrapping that in orange for the outer core, yellow for the mantle/crust, and then blue ocean and green continents.

earth-explore-1

Travis was busy playing with play dough on his own while I worked, but then got very excited when I asked if he wanted to slice into the Earth.

earth-explore-4

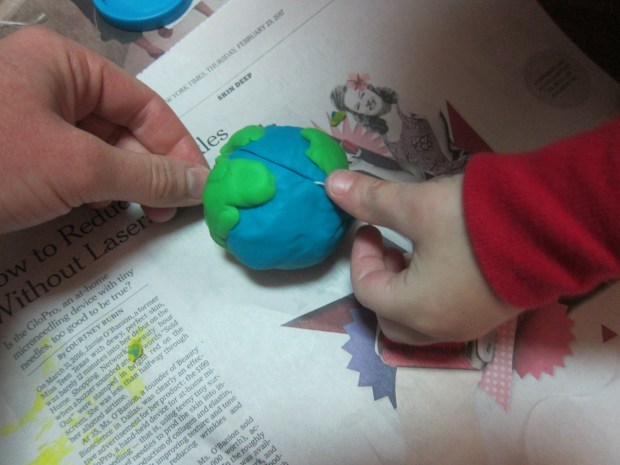
We used floss to neatly slice it open, so Travis could point to all the different layers.

earth-explore-6

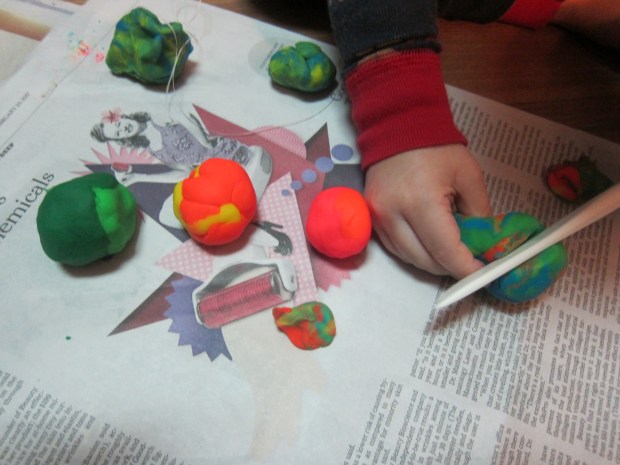
I will confess that it wasn’t long before our planet Earth looked like this:

earth-explore-7

He then wanted to make many mini planets of his own though, and sliced them open with a plastic knife. Although the topic was a bit advanced for a 2.5 year old, it’s never too early to introduce the idea that the Earth isn’t flat, right?

earth-explore-8

Continue your exploration with other kids’ books, including Magic School Bus Inside the Earth, or Usborne’s Shine-a-Light Secrets of Our Earth and See Inside Planet Earth.

IMG_0026.JPG

Breaded Eggplant Sticks

Breaded Eggplant (1).JPG

If you haven’t found a way to get your kiddos to eat eggplant, try this recipe, which mimics mozzarella sticks.

Ingredients:

  • 1 medium eggplant
  • 1/2 cup flour
  • 2 Ener-G eggs
  • 1/3 cup dry breadcrumbs
  • 1/4 cup nutritional yeast
  1. Peel the eggplant and cut into strips, about 1/2 inch wide by 2 inches long. Set aside.
  2. Arrange 3 bowls on the counter: one with the flour, one with the Ener-G eggs, and one with a mix of the breadcrumbs and “nooch”.
  3. Working with one eggplant piece at a time, dip in the flour, then the egg, then the breadcrumb mixture, and place on a wire rack coated with cooking spray. Repeat with the remaining eggplant. Place the wire rack directly over a baking sheet.
  4. Bake at 400 degrees F for 25 minutes, until lightly browned. Serve with lots of pizza sauce for dipping!

Farm Crate

koala-farm-15

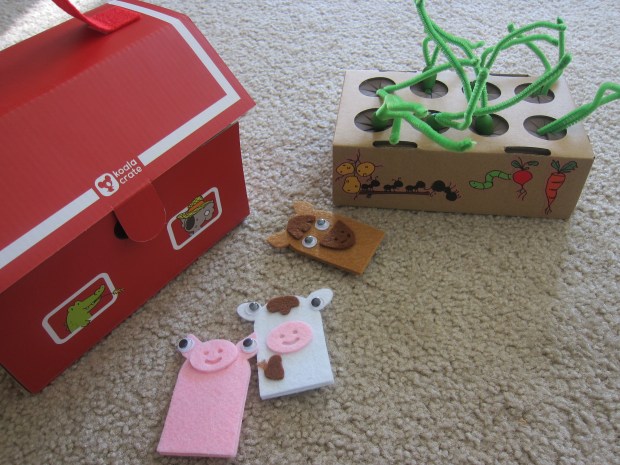
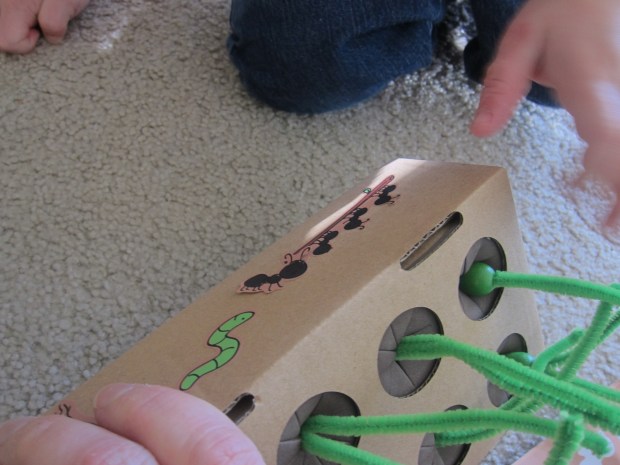
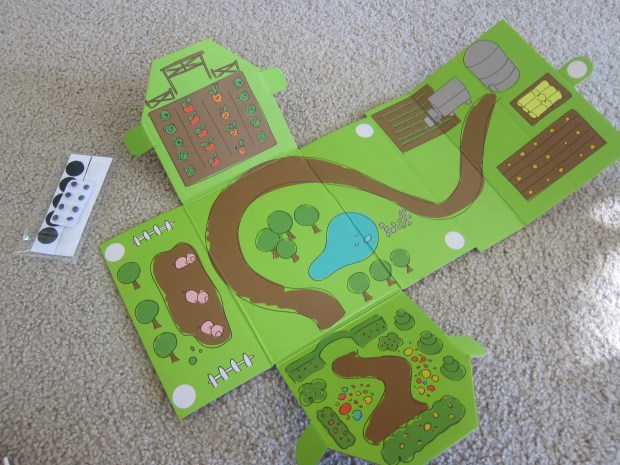
Our latest kit from Koala Crate was all about the farm – not just animals, but also the  vegetable growing element of farming, which I loved since it’s not as common to find toys in this category. Overall, the kit was fantastic for play – not as much of a crafting one – which suited Travis just fine. In short, he loved this one!

The first project was to create pipe cleaner-and-bead vegetables, which could then be planted in the provided vegetable patch (a cardboard base with form “dirt” cut outs).

koala-farm-2

The materials were great for Travis to practice bead threading in any order he liked; when he tired of that, I then assembled the veggies “correctly” so the beads wouldn’t get lost.

koala-farm-3

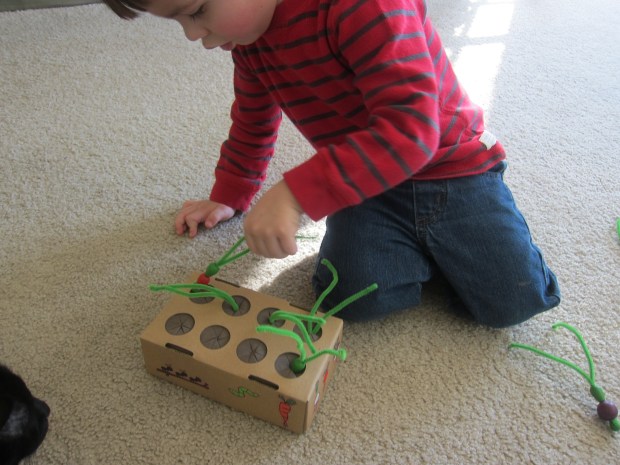
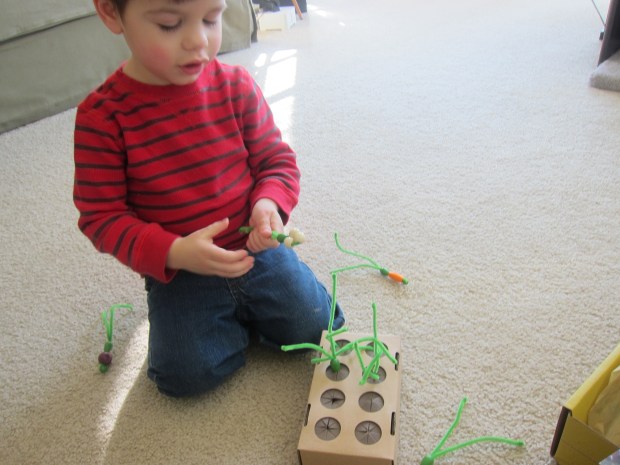
From there, he couldn’t get enough of the game! He loved poking his fingers through the dirt, planting the veggies, pulling them up and seeing if he had a “match” or a “mis-match,” and then starting all over again.

koala-farm-8

As we planted our veggies, he so eagerly asked, “When will they grow up?” I loved how he understood the concept of veggies growing in the earth.

koala-farm-7

The kit also had stickers to decorate the base of the garden, including cute ants and worms, so we talked about how these itty bitty helpers help a garden grow!

koala-farm-9

I put together the barn that came in the kit – a cardboard frame with adhesive Velcro dots – only because misaligned Velcro wouldn’t have held the barn together; however, preschoolers should be able to tackle this step on their own no problem!

koala-farm-10

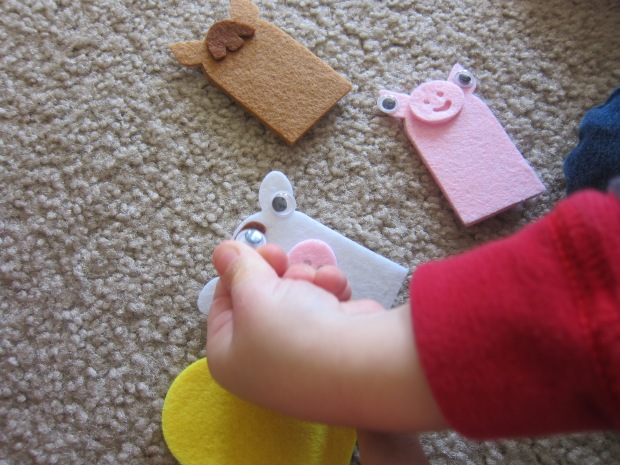
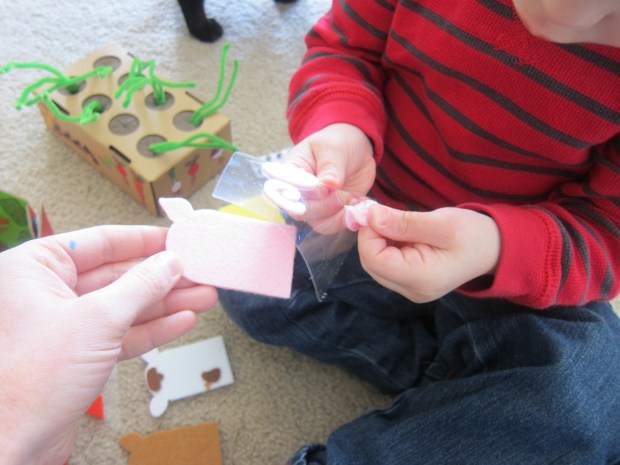
Finally, it was time to assemble our felt animal finger puppets, and I was impressed with Travis’s craftsmanship on these (already an imdprovement over the stickers he placed willy-nilly on last month’s Safari crate animals!).

koala-farm-14

Ok, not all of our animals looked exactly “right”, but he really thought about where everything should go before adhering – eyes up top compared to noses etc. When I gave him the pig’s curly tail, he even said told me it should go on his back, using both sides of the puppet.

koala-farm-13

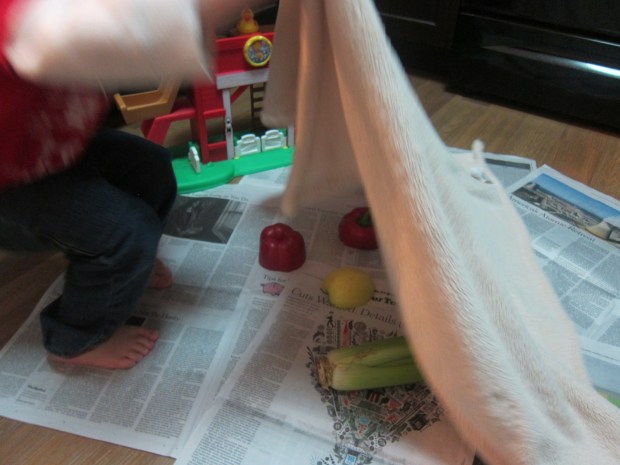
Later in the week, we continued the gardening fun with a final, at-home project. I cut up a bunch of celery, a bell pepper, an apple, and mushrooms, and laid them under a blanket (brown for “dirt” of course), and let Travis loose in his own “vegetable garden”! He loved unearthing the real veggies.

vegetable-prints-3

To get crafty with it, I laid out plates of paint, and Travis dipped the cut sides of the veggies into the colors.

vegetable-prints-6His own creation turned into a very smooshy painting…

vegetable-prints-7…so I also made a print of my own to show him the different patterns that each fruit or veggie could create. The celery almost looks like a rose!

vegetable-prints-9In sum, we adored this crate. Thanks Koala!

koala-farm-11

Indoor Fishing

indoor-fishing-4

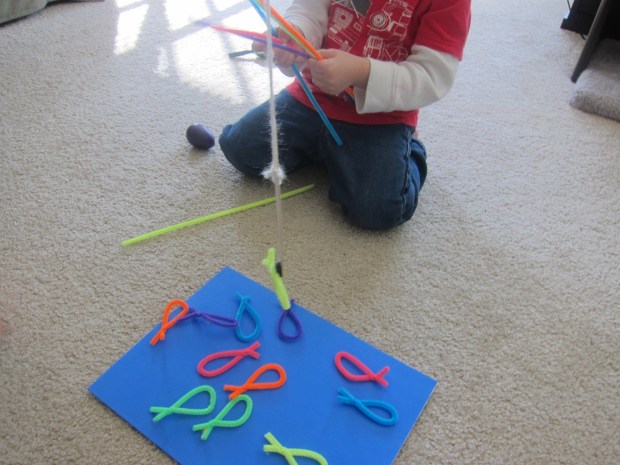
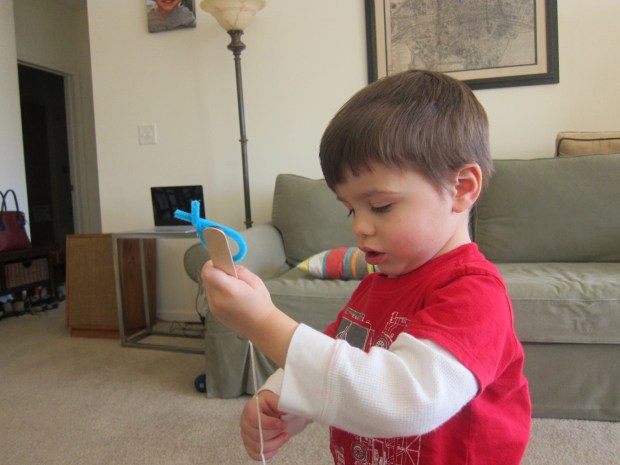
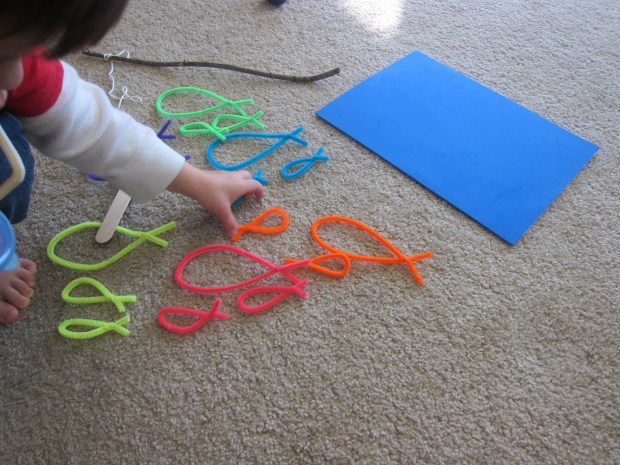
We took home a cool magnetic wand (a small magnet glued to a craft stick) from a workshop recently, so I wanted to continue the magnet play at home. Did you know pipe cleaners are magnetic? The outside is fuzzy, of course, but don’t forget that filament of metal in the middle! To play with the idea, we twisted colorful pipe cleaners into a school of fish.

Cut pipe cleaners in half, and simply twist the ends so each has a tail. You can also make large fish by not cutting the pipe cleaners in half first.

To make a fishing rod, we found a beautiful stick outside – the snow melted just in time! I attached the magnetic wand to the stick with a piece of string. Note: You could also skip the craft stick, and simply glue a magnet to the end of the string. Now we had our fishing pole – although around here, I tell Travis we are “rescuing” the fish with our fishing pole instead of “catching” them!

indoor-fishing-2

I set up our pipe cleaner fish on a piece of blue craft foam for a pond, and Travis loved this imaginative element to the game. He tried picking up some fish while standing with the full rod…

indoor-fishing-6

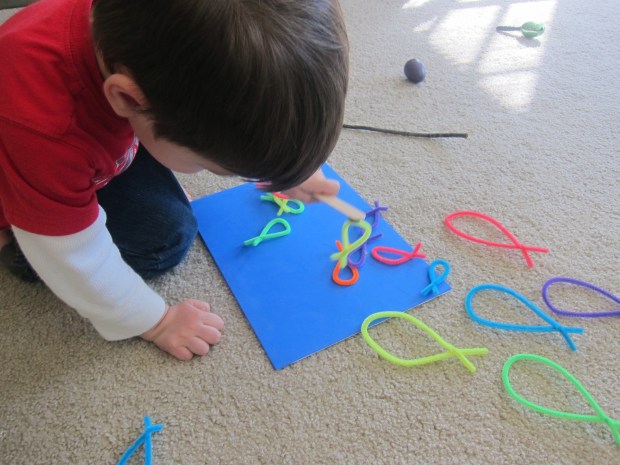
…but then preferred to hold the craft stick and pick up the fish more easily from the ground.

indoor-fishing-7

We then had fun pairing up the mama and baby fish (i.e. big and small) of each color, which was a cute exercise in size and colors.

indoor-fishing-8

What else can you find around the house that is magnetic and adheres to your wand or rod? Please share fun ideas in the comments!