Nature Hide and Seek Game

Nature Hide (5).JPG

I love activities that combine a nature walk with a later project or game, and this one does precisely that. We set off to find brown and green items from nature that would camouflage two empty toilet paper tubes.

Okay, maybe walking around our apartment complex doesn’t quite count as a nature walk… But there’s always green things to find!

Nature Hide (1)

We returned with a bucket full of treasures, and I laid them out on the table so Travis could take stock.

Nature Hide (2)

He loved using glue and deciding which leaves should go where.

Nature Hide (3)

We left our little camo tubes to dry overnight, then headed off on a walk the next afternoon.

Nature Hide (4)

Travis was the hider first… Perhaps he didn’t find the most secretive hiding place, but it was adorable to watch him try.

Nature Hide (6)

Mommy hid the treasures next, and Travis set off to find them.

Nature Hide (8)

Gotcha!

Nature Hide (7)

Overall this was simple, fun, and a neat way to throw in a little lesson about how animals and insects use camouflage to hide in the wild, too.

Little Artist Crate

IMG_0001.JPG

Travis has not been very into fine arts crafts lately, so I worried our latest kit from Koala Crate might not hold his interest… To my great surprise, he was the one insisting we do each project, and mama was happy to comply! As far as Koala goes, this was a great crate to get kids simply, well, making art; in other words, heavy emphasis on the A in STEAM.

A quick note: You’ll need the provided paint markers for all three projects, so make sure you use them sparingly in each.

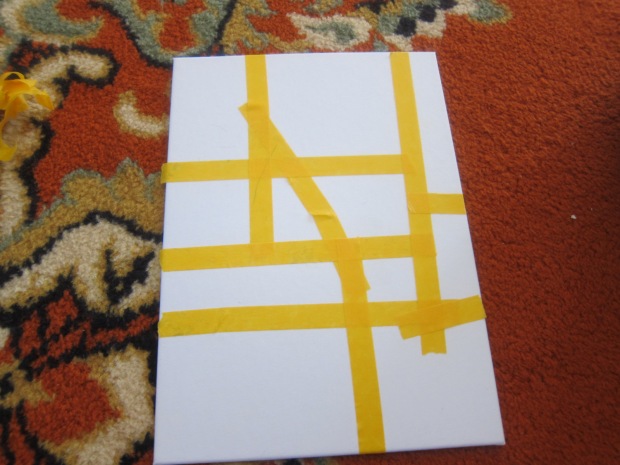
The first project is a nod to Piet Mondrian: a Color Block Painting using a provided canvas, paint, and washi tape. That name won’t mean much to your kids, but you can show them some of his canvases online! For Travis, the biggest thrill by far was the washi tape, which he impishly loves unwinding.

Koala artist (2)

We managed to get a few strips down onto the provided small canvas – don’t worry if you don’t wind up with exact rectangles or squares.

Koala artist (3)

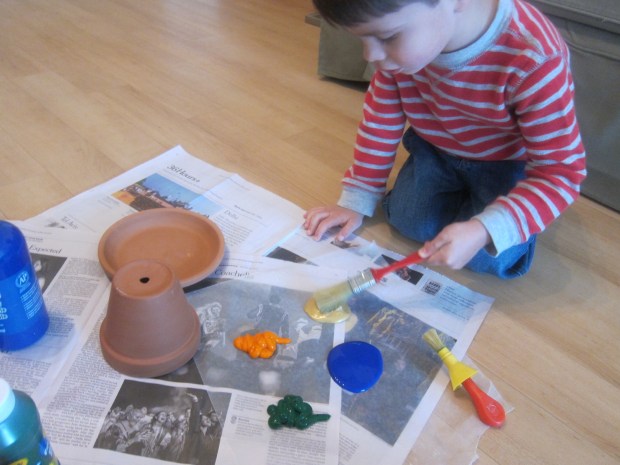
The provided paint markers are good fun to squeeze onto the provided paper plate for a little artist’s palette. Needless to say, Travis didn’t exactly color block his paints into each of the washi tape squares…

Koala artist (6)

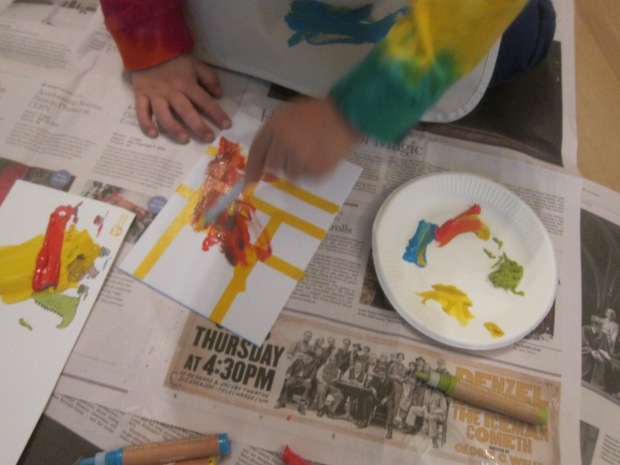
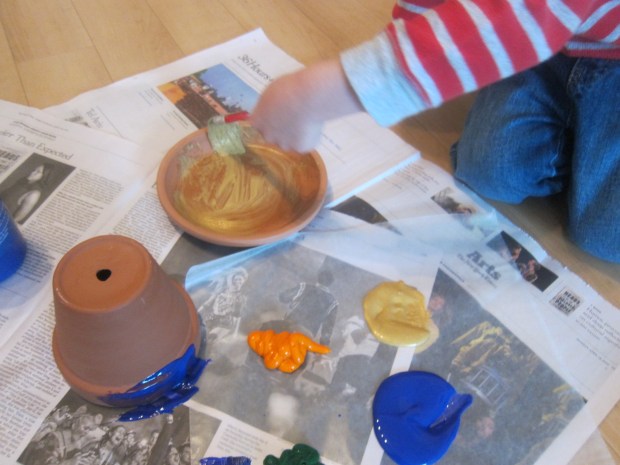
…but he loved mixing his colors all over.

Koala artist (7)

Once the paint is dry comes the big reveal, peeling back the layers of tape. Neat!

Koala artist (8)

The kit comes with a piece of cord and a sticky tab so you can mount your child’s masterpiece on the wall, a nice little touch that is sure to make them proud.

Koala artist (21)

The next project, the Art Smock, looked so exciting to Travis that he had to try it on right away.

Koala artist (4)

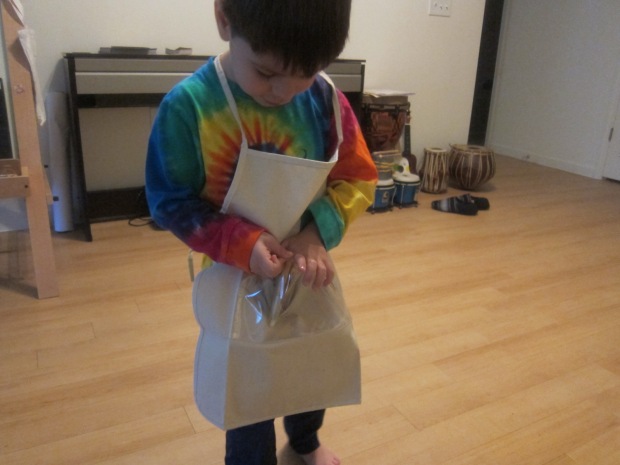
And then wanted to paint it at 7 o’clock at night, right before bath. I nearly said no, until remembering how much trouble I’ve had getting him to paint recently… If he was into it, then so was I! It was an important reminder to seize the right moment for your child’s creativity.

Koala artist (5)

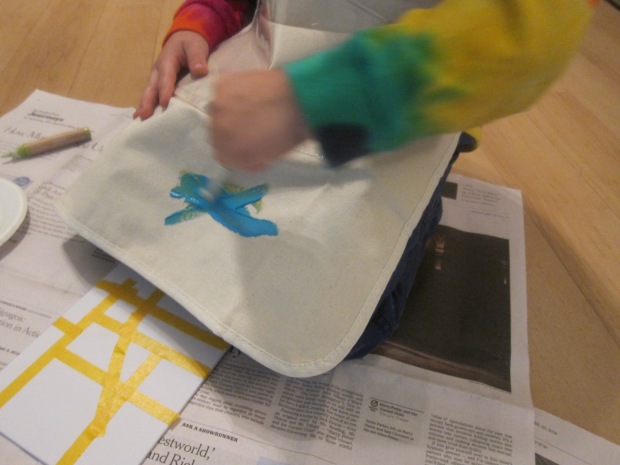
He loved not only using the paint markers on the provided paper for his name, but also directly on the smock. Smears by Travis, slightly-smeared name by mama:

Koala artist (10)

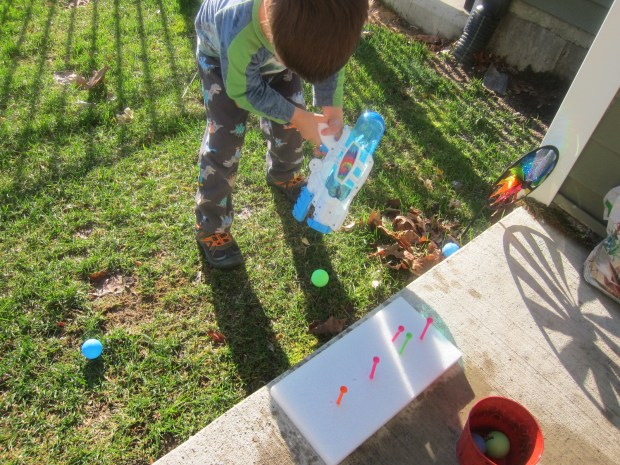
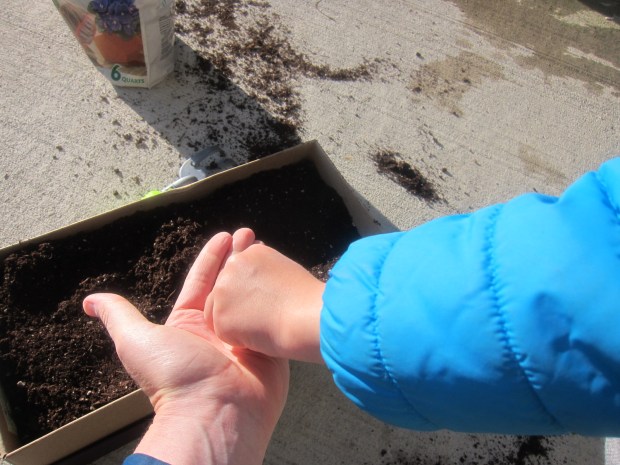
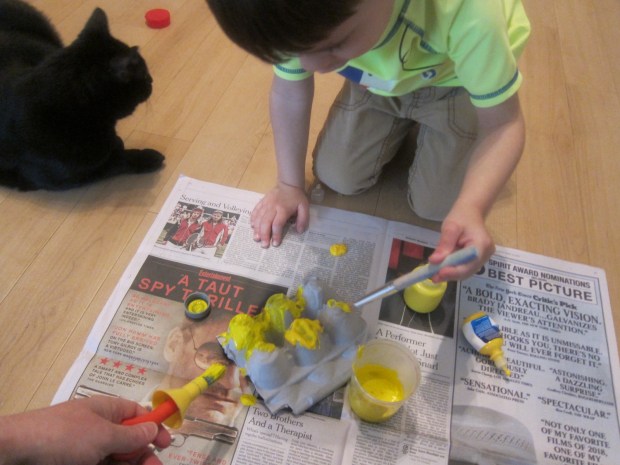
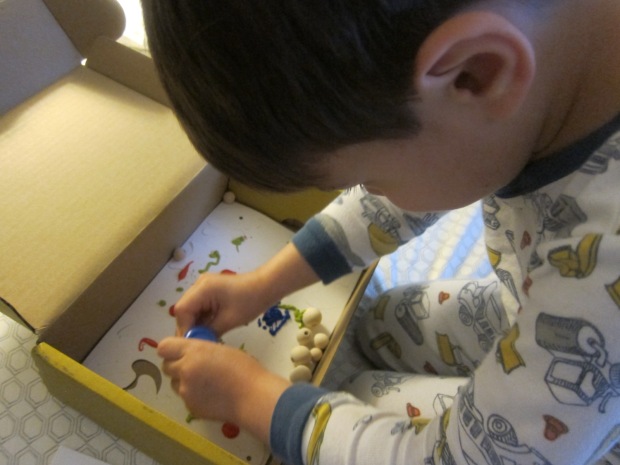
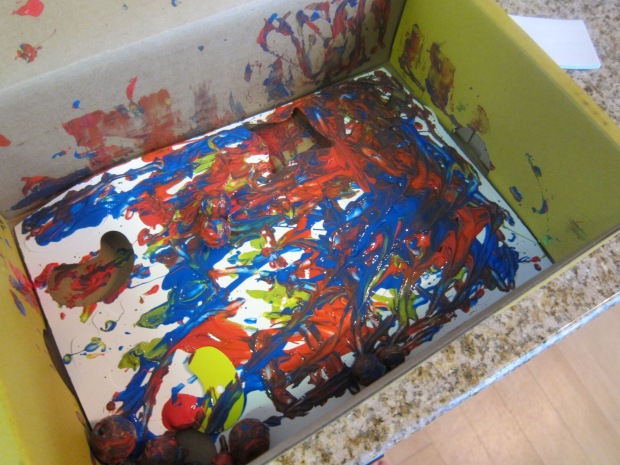
Next up was the Abstract Sculpture, which started with the thrill of ball painting. Travis was delighted we did this on the bed – how taboo! Place the sheet of provided shapes in the Koala Crate (or other shoebox with lid); add the provided wooden beads, then squirt in the paints. We were nearly out of our paint markers (see my cautionary note above), but luckily I had some puffy paints on hand to supplement.

Koala artist (11)

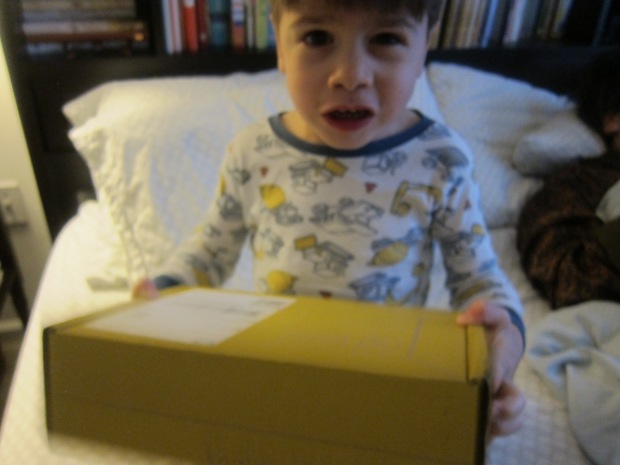
Close the box. Now ready, set, shake! Pardon the mid-shake expression.

Koala artist (12)

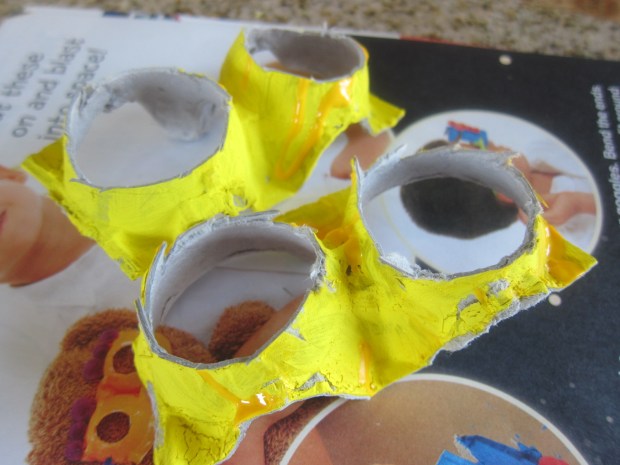
Now we were looking at a cool Jackson Pollock result!

Koala artist (13)

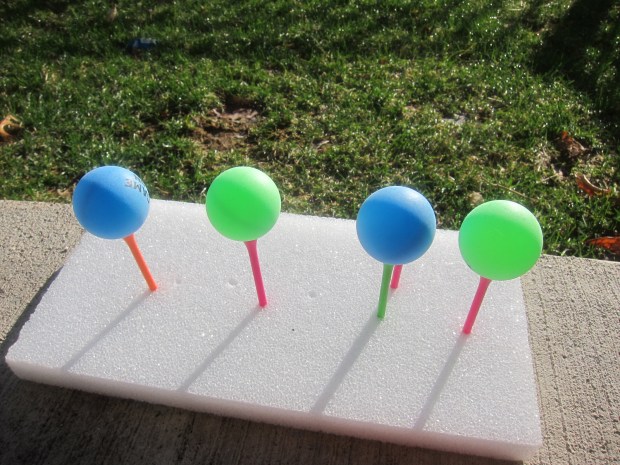
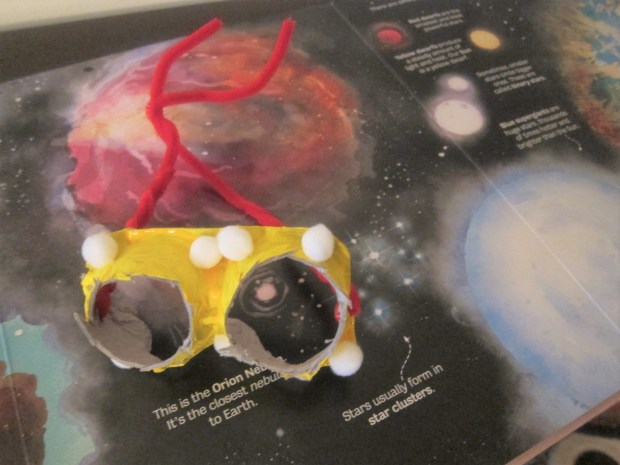
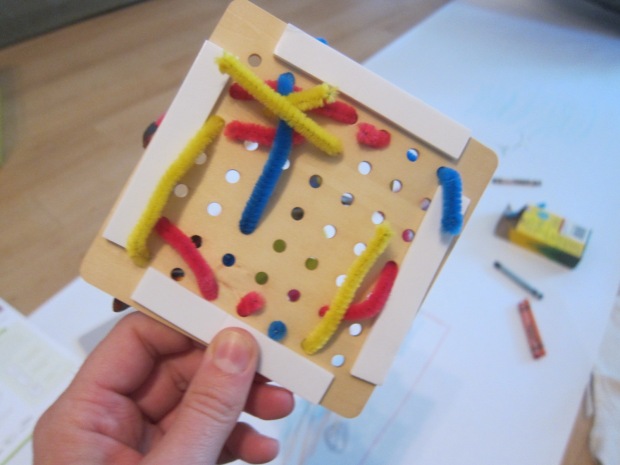
Once the paint is dry, pop out the shapes. Now you can build a 3-D sculpture using the provided base full of holes; pipe cleaners; and painted beads and paper pieces.

Koala artist (14)

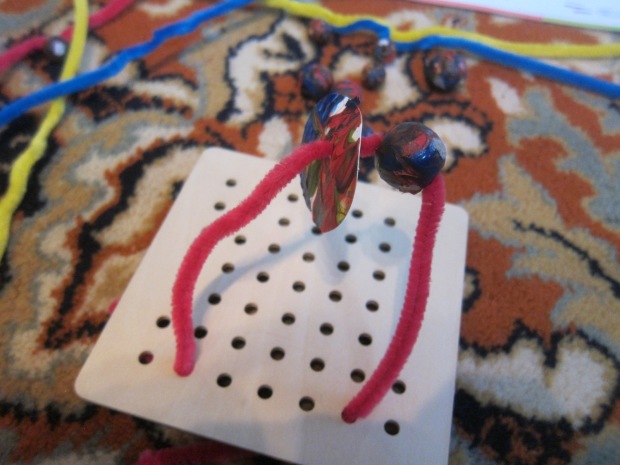
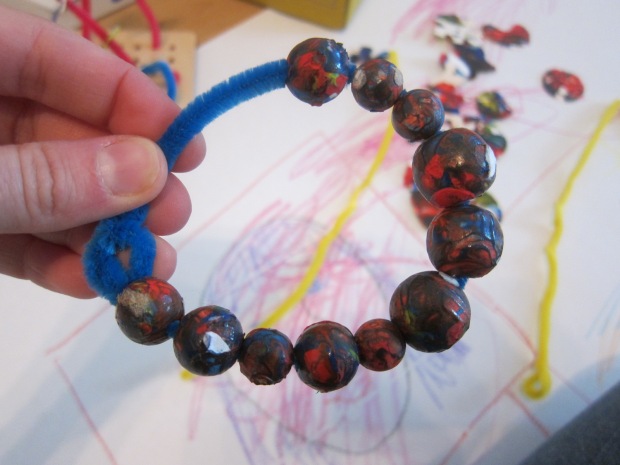
Travis preferred to bead me a full bracelet.

Koala artist (16)

No complaints from me!

Koala artist (17)

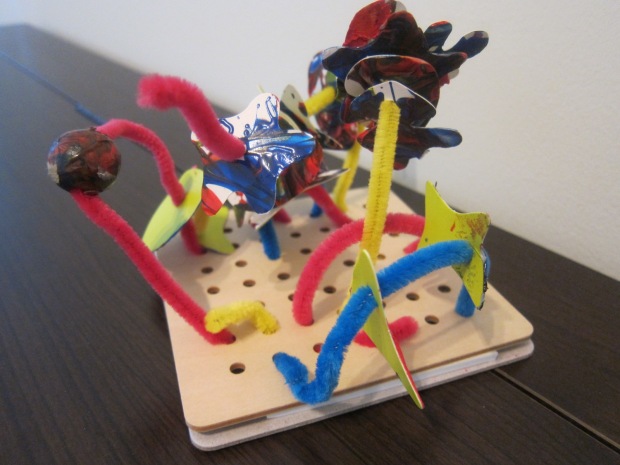
I showed him ideas for how to make the rest of the sculpture, but he wasn’t very interested. Finally, use the provided sticky foam to attach onto a cardboard base; this will keep your pipe cleaner pieces in place.

Koala artist (18)

You’ll end up with something very haphazard, like so:

Koala artist (19)


The kit didn’t end there! As befitting a crate that was all about art, there were suggestions for projects galore in the provided booklet.

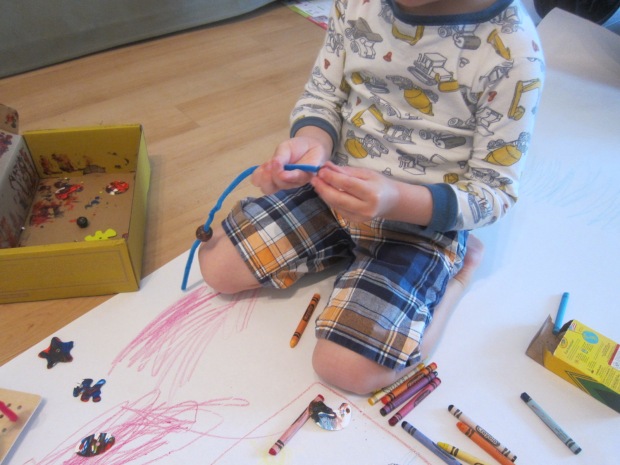
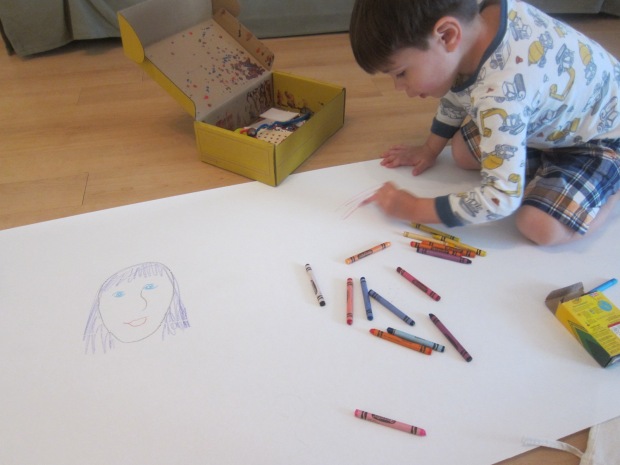
First, we put on an art show. Travis and I talked about different kinds of pictures – portraits, landscapes, still lifes – as he scribbled with crayons and mama made some, er, inexpert drawings.

Koala artist (15)

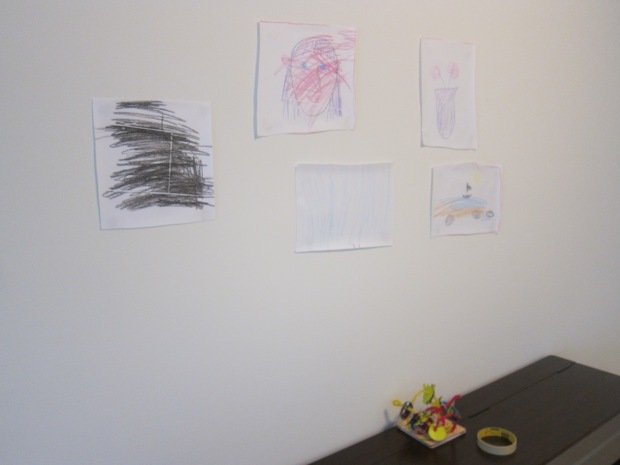
He was very proud to see the art mounted on the wall and displayed for a “show.”

Koala artist (20)

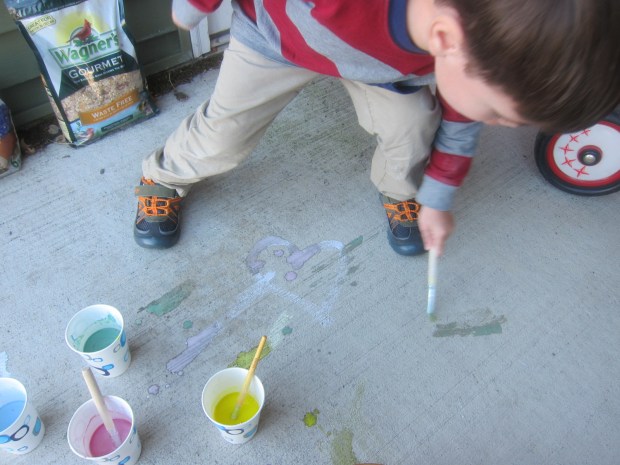
The booklet also suggested several ways to explore painting, using everything but… a paintbrush!

Koala artist (25)

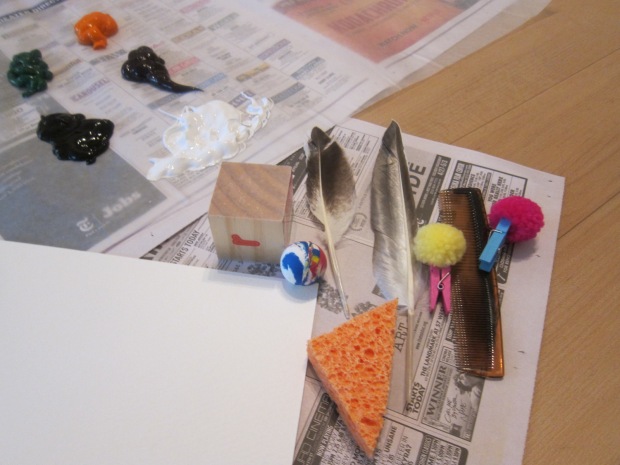
I set up a station for Travis with a feather, wooden block, sponge, pom poms (clip them with a clothespin for easy handling), comb, and ball.

Koala artist (26)

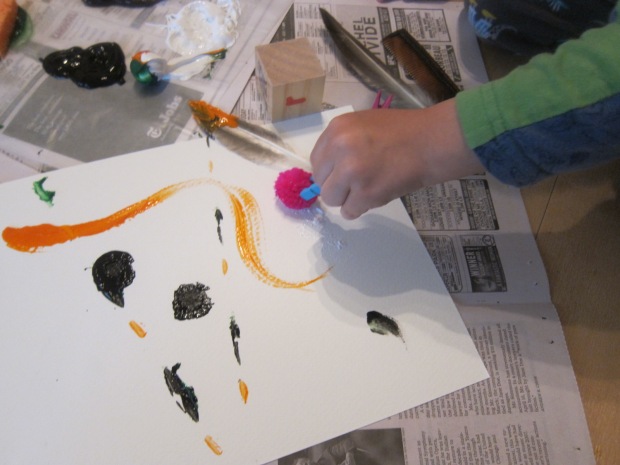
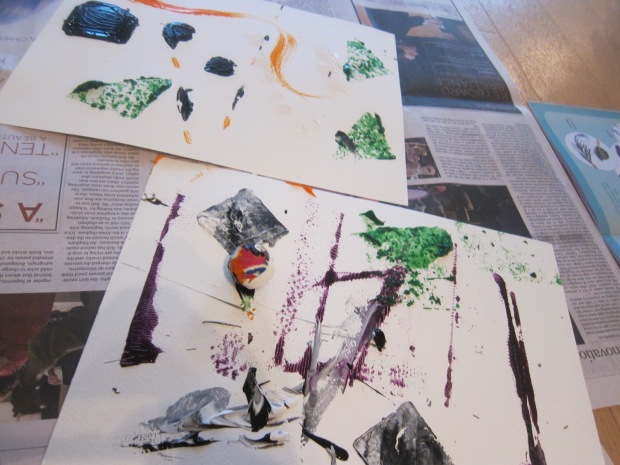
Travis loved the pom pom best, and then painted the block… with the feather!

Koala artist (28)

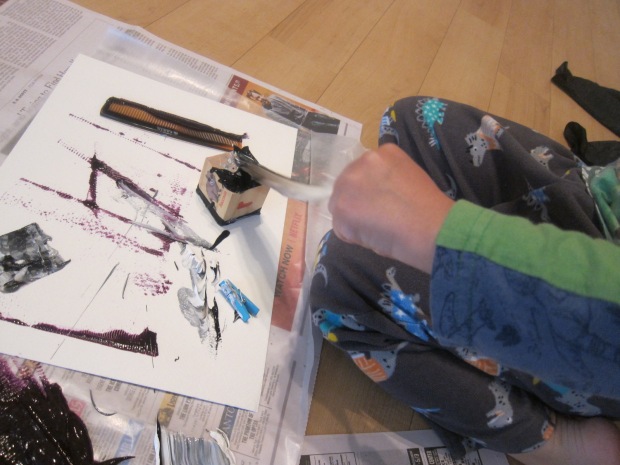
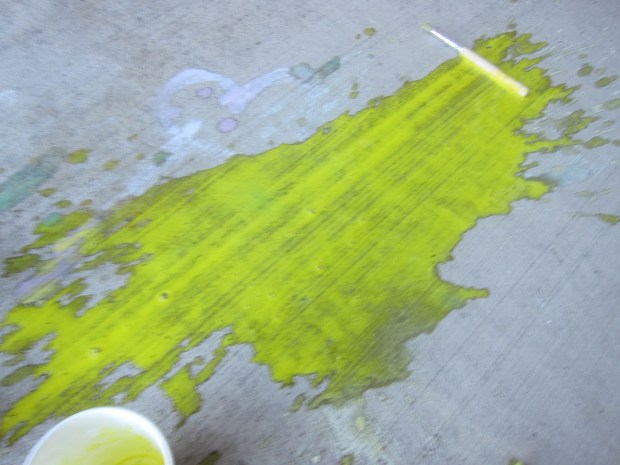
Use the ball at your own risk, ha. We didn’t even get around to painting with a q-tip or leaf, two other suggested items.

Koala artist (29)

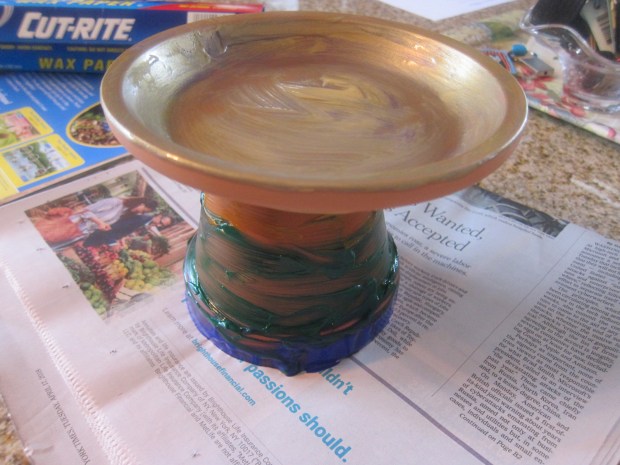
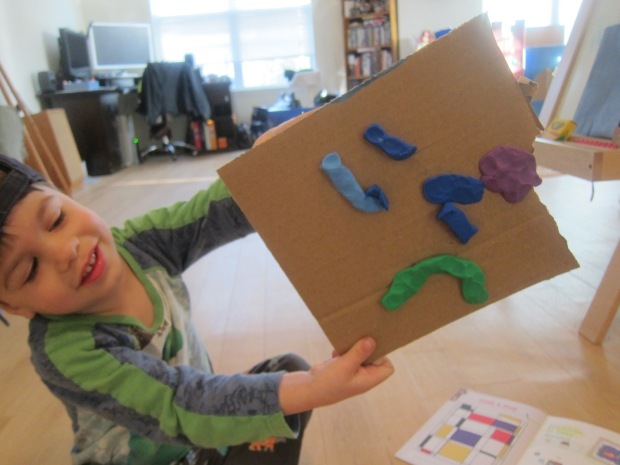
Next we put together clay pictures. It was novel to use cardboard as a background, pressing pieces on. Travis said he had made a propeller plane, proudly wielded here.

Koala artist (23)

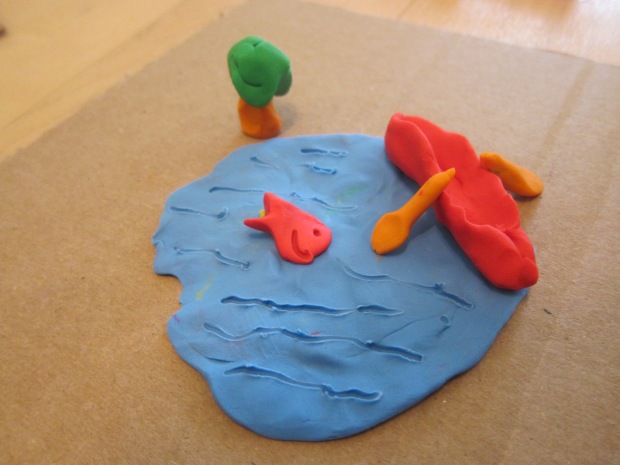
Mama showed him how to add texture to the clay with a pencil in this little pond scene.

Koala artist (24)

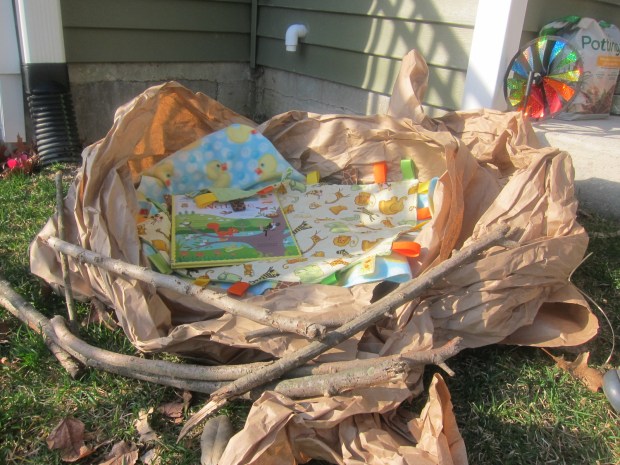
Finally, we ripped up tons of colored construction paper for a collage.

Koala artist (31)

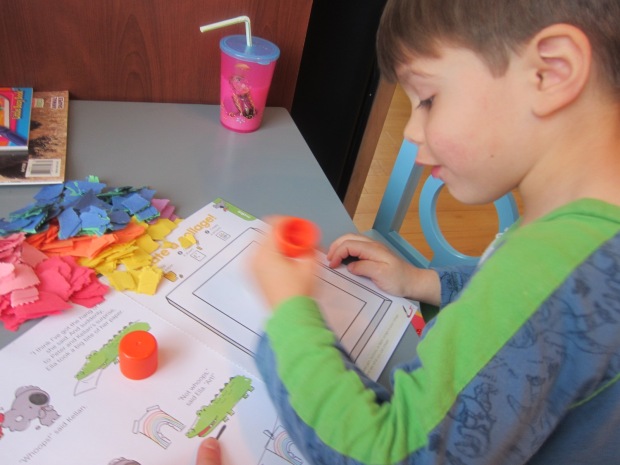
I thought Travis might find this ho hum, but he had so much fun that soon he’d filled up all the space provided…

Koala artist (32)

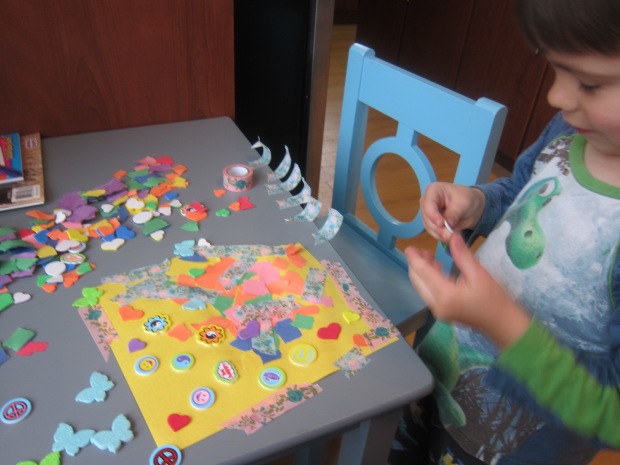
…and we migrated over to the next page!

Koala artist (33)

He wanted to make a second collage, and we added bits like stickers, washi tape, and beads. Other good collage items include yarn, buttons, and fabric scraps.

Koala artist (35)

Overall, super high marks for this crate. All 3 activities were engaging and relevant, and we loved the suggestions for further exploration.


Truck Stop

Truck Stop (3)

Just a super quick post today! We haven’t played with blocks in a while, and needed a way to make them novel. Enter this cute “truck stop” idea from High Five magazine.

Travis added a fueling station first of course, where the trucks and buses could gas up.

Truck Stop (1)

Then he decided we needed a diner for the truckers to eat at!

Truck Stop (4)

What novel way has your child played with blocks recently? Please share in the comments!

Truck Stop (2)


Chalk Bullseye

Chalk Bullseye (4)

We’ve been having fun with chalk this week, whether traditional chalk or our own homemade version. For this game, we simply grabbed a piece of chalk and got drawing! You’ll combine a little exercise with a little math – always a bonus.

For the first variation, I drew a traditional bullseye, and labeled each inner circle ten points higher than the last. This is great for kids who are learning to count by tens.

Chalk Bullseye (2)

Dip a sponge in a bucket of water, than take your best shot at the bullseye. Bigger kids can even keep score over multiple rounds (make the sidewalk your scoresheet!) for addition practice.

Chalk Bullseye (3)

For something a little simpler, we also set up a shape and number review.  Write down numbers 1 through 5, each inside a different shape.

Chalk Bullseye (5)

As he threw, I had Travis shout out which one he was aiming for, i.e. rectangle 4 or heart 5.

Chalk Bullseye (6)

We lost our sunshine before we had very much time to play with these games, but we still had fun while the warm weather lasted!

Chalk Bullseye (7)

Homemade Sidewalk Chalk Paint

Chalk Paint (9)

Are your kids bored of regular chalk? Mix up a batch of this easy homemade paint and they’ll have a blast applying it with paintbrushes all over the pavement.

To make the paint was good messy fun… So make sure you set down some newspaper!

Chalk Paint (1)

First, have your child add 1/4 cup cornstarch to a cup for each color desired.

Chalk Paint (2)

Add 1/4 cup water to each cup.

Chalk Paint (3)

Stir with a paintbrush, and then stir in about 8 drops of food coloring. We like the all-natural colors from Watkins.

Chalk Paint (4)

Travis had so much fun with the mixing that he wanted to make a few extra batches just for fun – good thing I had a big bin of cornstarch on hand!

Then it was time to take the paints outside. The colors weren’t as vivid as they looked in the cups, but we still managed to make pretty flowers…

Chalk Paint (8)

….sunshine…

Chalk Paint (6)

…and general squiggles.

Chalk Paint (5)

Whoops, a spill! Luckily, this stuff will rinse off easily with a hose or in the rain.

Chalk Paint (7)

What are you doing outside with the kiddos now that the weather is warm? Please share in the comments!

Water Blast Game

Water Squirt (5)

We headed outside this morning for some good old-fashioned fun in the sun – and what could be easier than a squirt gun?

To set up a simple target practice, all you need is a piece of Styrofoam and golf tees. Travis loved setting the pegs up in the Styrofoam!

Water Squirt (1)

Balance ping pong or golf balls on the pegs, then let your little one take aim.

Water Squirt (2)

Travis loved trying this from far back…

Water Squirt (4)

…and sometimes from right up close!

Water Squirt (3)

Then he told me he’d invented a new game: “Look, Mom, I’m moving the ball around in the grass!”

Water Squirt (6)

Of course then there was just the delight of shooting the water gun for a while. A great way to get some sunshine!

Water Squirt (7)

Green Time: Plant a Vegetable Garden

Plant Garden (2)

Yes, here we are planting seeds with our winter coats on. Hopefully from here on out April feels like April, not January! Needless to say, we were eager to turn to this month’s Green Time from Ranger Rick Jr. without waiting for the weather to cooperate!

Ideally, you’ll have a plot of land in which you can truly plant vegetable seeds. Those of you who have followed this blog for a long time know that we used to only have a balcony, and how excited I was when we graduated to a patio with access to a small patch of grass. We still have no true yard, so our “garden” for this project is in a shoebox… which means likely our plants will crowd one another and not grow very tall. Still, I wanted Travis simply to enjoy fresh air and the tactile feeling of dirt and seeds, even if we don’t end up with edible veggies. If you have a real garden, please share your results in the comments!

So, back to our shoebox garden… First we needed to buy seeds. We headed to the garden store for one pack each of the magazine’s suggestions: tomatoes, beans, carrots, zucchini, and peas.

Plant Garden (3)

The first novelty for Travis was seeing the difference in size – pea seeds much bigger than tomato ones, for example.

Plant Garden (6)

Even mommy didn’t know what carrot seeds looked like!

We filled our shoebox with a nice layer of soil.

Plant Garden (1)

Next, we carefully dug a small hole for each veggie and placed two or three seeds in each hole.

Plant Garden (4)

Travis loved the planting, and patting the dirt back over the holes.

Plant Garden (5)

A little bit of water (which we’ll do each morning), and now we wait!

Plant Garden (7)

Travis had so much fun with it that I let him play indoors with the leftover bean seeds with his shovel and some old flower pots.

Plant Garden (8)

I’ll update this post if our veggies manage to sprout in their shoebox conditions!

Update: We have veggies! Travis is thrilled when we go out each morning now to water the plants, all of which our coming up – tiny zucchini leaves, tiny carrot tops, little bean curls… Exciting!

Plant a Garden alt


Splashy Birdbath

Birdbath (6)

We’re always hoping to attract birds to the yard, whether with bird feeders or a birdhouse constructed recently at a Home Depot workshop. So we loved this idea from our April Ranger Rick Jr.!

To make the birdbath, you need a clay pot and saucer from the craft store. Lay down old newspapers to cover your work surface and set up some paints – I like making Travis a “palette” on wax paper these days, so he can choose from multiple colors.

Birdbath (1)

He loved painting the clay base in gold the best!

Birdbath (2)

Meanwhile, we added simple stripes to the pot, which will be the bottom of the birdbath. But get as creative and decorative as you like, adding patterns or dots.

Leave the pot upside down to dry. Paint the bottom of the saucer as well, and position on top of the pot – this paint will actually help the two pieces fuse together as it dries.

Birdbath (3)

We waited out a couple rainy days, then headed out on a sunny morning to find the perfect spot for the birdbath.

BIrdbath (5)

Travis proudly added a small layer of water, and we added a decorative stone and shell.

Birdbath (4)

Can’t wait to see what visitors we attract!


Space Goggles

Space GOggles (9)

We recently decided that books about space demanded special space glasses to go with them – the better to blast into the universe! These space goggles from High Five magazine fit the bill perfectly.

First, upcycle an egg carton from neighbors or relatives (we don’t buy or eat eggs). You only need to cut out 2 segments of the carton for the goggles, but we painted a full six segments just for a larger surface.

Travis pretended his yellow paint was really banana puree, which made for some silly fun during the painting process.

Space Goggles (2)

We added a few drizzles of puffy paint for good measure.

Space Goggles (1)

Once the paint dries, separate the egg carton into segments. Add pom poms with glue.

Space Goggles (4)

Here is what Travis preferred to do with his glue and pom poms – my threenager!

Space Goggles (6)

One more round of drying, then I poked a hole in each side of the goggles and threaded through a pipe cleaner. These are the pieces to go behind your child’s ears.

Space Goggles (8)

Time for blast off! Add a jet pack and you’re ready to fly. Or, to read anyway!

Space Goggles alt


Make a Nest

Nest (1)

Here’s just a quick little idea for the next time you’re out in the yard – make a springtime reading nest!

We wanted a well-defined base, so I saved some brown packing paper and wound that into a nest shape. If you prefer, even the outline of your nest can come from nature!

On top we added finds from nature – sticks, a few dandelions, and leaves. Add pine cones, pine needles, or anything else you can find as well.

Nest (3)

We lined our “nest” with blankets and added our favorite book about on nature. Now sit in the sun and enjoy!

Nest (2)