Kitchen Sink Cookies

Kitchen Sink Cookies (3).JPG

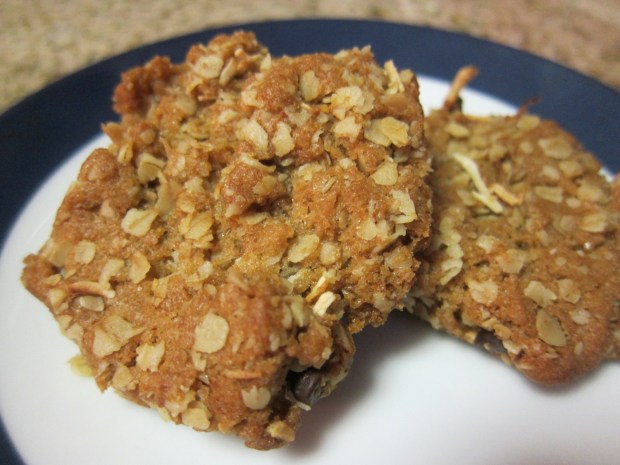
This recipe is exactly what the title says it is: a way to use up everything in your pantry except the kitchen sink! Never before have I found a recipe that so perfectly uses up all the bits and bobs of baking ingredients I have lying about. You can prepare the dough now, freeze it in four separate batches, and enjoy cookies for ages to come. The stir-ins below are just a template: add up to 2 cups of whatever you have on hand: shredded coconut, chopped nuts, baking chips, raisins. Anything, in sum, except the real kitchen sink.

Ingredients:

For the cookies:

  • Cooking spray
  • 2 cups flour
  • 1 and 1/2 teaspoons salt
  • 1 and 1/2 teaspoons baking soda
  • 1/2 cup melted Earth Balance butter
  • 1 and 1/2 cups brown sugar
  • 3/4 cup sugar
  • 1 cup canola oil
  • 2 tablespoons Ener-G egg powder
  • 1 tbsp. vanilla
  • 4 cups rolled oats

For the stir-ins:

  • 3/4 cup shredded coconut
  • 3/4 cup mini non-dairy chocolate chips (such as Enjoy Life)
  1. Line a 13×9-in baking dish with parchment paper and coat the parchment with cooking spray; set aside.
  2. In a large bowl, combine the flour, salt, and baking soda. Set aside.
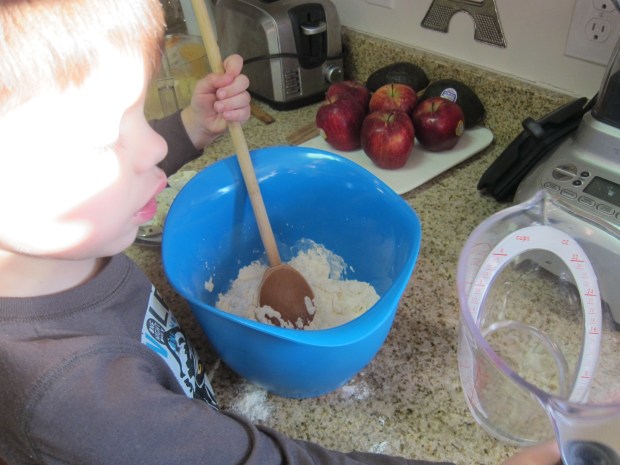
  3. In a second bowl, whisk together the butter, brown sugar, sugar, and canola oil.
  4. Separately, whisk the Ener-G egg powder with 5 tablespoons warm water until well combined. Add to the butter mixture, along with the vanilla.
  5. Add the oats, along with the stir-ins of your choice. Press the batter evenly into the prepared pan, and cut into quarters with a knife, cutting all the way down to the parchment. Lightly score each quarter into 12 squares, cutting only halfway into the dough. Freeze for 1 hour.
  6. Transfer each quarter of the dough to a zip-top plastic bag, and store in the freezer until ready to use.
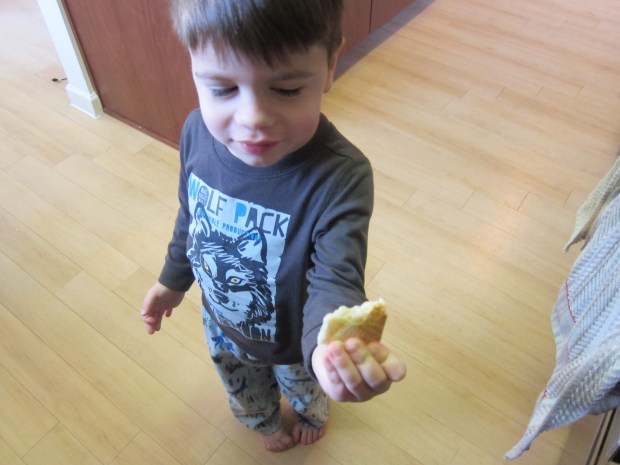
  7. To bake the cookies, remove from the freezer and separate along the 12 squares. Bake at 350 degrees F for 16 minutes. The cookies will be soft coming out of the oven but will harden as they cool. Cool on a wire rack before serving.

Kitchen Sink Cookies (4)

How Much Water Is in Snow?

Water in Snow (4)

Here’s a super-simple experiment for the next time it snows. It combines a whole host of scientific ideas, from talking about liquid vs. frozen states of matter to making a hypothesis.

First, we needed to fill a clear glass jar with snow. For the best results, make sure to tamp the snow down so your jar is truly filled all the way.

Water in Snow (1)

We took the jar inside and measured the snow (15 cm) and made guesses as to how much water would be left once it melted, keeping in mind past lessons on how ice takes up more space than water.

Water in Snow (2)

Travis guessed really low, at 2 cm! I chose 5 cm to keep things interesting. I tried marking our guesses directly on the jar, but since it was still a little wet, we found that masking tape worked better.

Water in Snow (3)

Next we needed to be scientific and record our results. We took measurements at one hour intervals over the next three hours with the following results:

3.27 pm – 15 cm

4.27 pm – 12 cm

5.27 pm – 7 cm

6.27 pm – 4 cm – all water!

Water in Snow (5)

It was neat to see that it took a full 3 hours, as well. Next time, we’d make hypotheses about the timing as well, and record that at the start.

Snowy Road

Snow Road (3)

You’ll be the coolest mom or dad on the block if you give this simple twist to outdoor snow play: give your kids permission to bring their toy cars outside to join the fun! Travis was hesitant to venture into the cold, so I headed out first with a shovel and made a road in the snow. Once he saw what I was up to, he couldn’t resist.

He was very into the process of making the road itself, and started to shovel his own route next to the one I had created before he even turned his attention to the cars. Let your civil engineers take over the road building, too, if they prefer!

Snow Road (2)

We found that this game works best with bigger toy cars; little ones get bogged down in the snow.

Snow Road (6)

The best vehicle was our big dump truck, which of course had the added benefit that we could load it with snow…

Snow Road (4)

…zoom it to the dump, and then unload.

Snow Road (5)

What’s your favorite novel way to play in the snow? Let us know in the comments!

Snow Road (7)


Snow Ice Cream

Snow Ice (2)

My mother recently reminded me of this activity from my own childhood, the process of taking fresh-fallen snow and turning it into a marvelous melty cupful of snow ice cream. I couldn’t wait for the next snowy day to share it with my son!

To start, we needed to collect snow of course. Make sure you head out when it’s first tracks and the snow has just fallen glistening from the sky – otherwise you’re not going to want to eat it.

snow day

My “recipe” here is in exact, and you’ll want to vary the amounts according to taste. We took our full cup of snow inside and saturated the top with almond milk until it was a bit slushy. Next we stirred in about 1 and 1/2 teaspoons maple syrup.

Snow Ice (1)

Travis didn’t stop until he reached the bottom of the cup!

Snow Ice (3)

Expanding Snowman

Expanding Snowman (12).JPG

We’ve been waiting for a snowy day around here, because snow always lends itself to exciting winter games and science experiments. With leftover Alka-Seltzer tablets on hand, I had plans for exactly how we could use the snow this time around.

First, I drew a snowman’s face for Travis on a plastic bag. Note to self: next time use a sharpie! We had some inky orange and black hands later on…

Expanding Snowman (1)

Next we needed to collect fresh-fallen snow into our bag. Make sure you fill your bag almost to capacity with snow, or this experiment won’t work. We learned by trial and error!

Expanding Snowman (2)

Now drop in two Alka-seltzer tablets and seal the bag. You may want to place it on a towel, just in case the bag bursts…

Expanding Snowman (10)

Over the course of about an hour, we checked on the bag. The tablets slowly release gas that will make your snowman puff up more and more and more.

Expanding Snowman (11)

Here’s Travis poking a bag filled mostly with gas and leftover slush by the end.

Expanding Snowman (13)

I think the process would be even better if I had left the bag outside, so the snow didn’t melt simultaneously as the gas expanded – whoops!

The whole thing takes a while, of course, because the tablets react very slowly with freezing cold water. Because he grew impatient as we waited, I filled a second bag with hot water from the tap and we dropped in a few Alka-Seltzer.

Expanding Snowman (6)

They immediately fizzed and the bag puffed up with gas, and we talked about why the reaction happened so much faster in the heat.

Expanding Snowman (7)

Can’t wait for the next snowfall and the chance for more snowy games! What do you do with your kiddos to take advantage of a snow day? Please share in the comments!

DIY Shield & Coat of Arms

DIY Shield (11)

Inspired by our Medieval kit from Koala Crate, we had to continue the fun with more games of knights and kings! Travis has a Disney plastic broadsword, so this Medieval mama couldn’t wait to show him how to make a shield to go along with it.

Start with a piece of cardboard roughly the size of your child’s chest, and trim the bottom edge into a point to make a shield shape.

DIY Shield (1)

Next we covered the shield in foil for a shiny metal look, securing on the back with masking tape.

DIY Shield (2)

It’s starting to look like the Middle Ages around here!

DIY Shield (3)

Travis adored the next step, outlining the edges of his shield in colorful duct tape. I knew I’d need all those colorful rolls that have been taking up space in our craft bin eventually!

DIY Shield (4)

Any pretty washy tape would work great here as well, and you can tape designs on the interior of the shield as well as the edges, if your child would like.

We then talked a little about coats of arms, and how knights used them to distinguish one another in battle. Travis drew a “lion” as his sigil.

DIY Shield (5)

Older kids may want to do some online research and pull up information about real coats of arms, or learn about the symbolism in many of the designs. You can draw a more complicated coat of arms on paper, and tape that onto the shield. If drawing directly onto the foil, make sure you use sharpie markers; washable markers will rub right off.

DIY Shield (6)

For the handle, tape two pieces of colored duct tape together, leaving one longer than the other. Apply the sticky ends of the long tape to the back for the shield in an arc. Now your knight has something to hold on to.

DIY Shield (7)

Behold brave Sir Travis!

DIY Shield (8)

Then it was time for a sword fight of course. Haha, that’s me wielding a Nerf bat to battle my son.

DIY Shield (10)

Medieval Crate

Koala medieval (15).JPG

I pretty much peed my pants when I saw our latest theme from Koala Crate – the Medieval crate! I was a huge medieval dork as a kid (and, well, still am), and couldn’t wait to share with Travis the projects and ideas about the Middle Ages.

One note in general: I’ve noticed that Koala is getting more… complex, both in terms of theme and the materials we receive each month. I’m not sure if the kits grow more sophisticated as your subscription goes on, or if this is an attempt by Koala to stay competitive in the expanding world of kids’ subscriptions boxes. This isn’t a value judgment, just an observation that our projects feel a little needlessly complicated. Still, you should be able to mostly replicate the ideas below with items from a craft store, if so inclined!

Because we’ve recently been in love with dragon stories and lore (Dragon’s Love Tacos!), it was natural to start with the Dragon Wagon project. We needed to first apply provided tissue paper circles as dragon scales to the sticky sides of a cardboard box.

Koala medieval (1)

Whoops, just in time we realized there were shiny stickers too, and made room for those.

Koala medieval (12)

My favorite part of this crate was the dexterity Travis showed. He largely took over adding 2 wooden dowels to be the axles, then adding 4 wooden wheels and a foam circle to hold the wheels in place.

Koala medieval (2)

Next he threaded through the provided orange rope, to pull the wagon along.

Koala medieval (3)

We hadn’t even added the dragon and already the Middle Ages were a huge hit with my boy!

Koala medieval (4)

To add the dragon, we adhered four thin streamers of orange tissue paper to the sticky strip on a cardboard dragon head. Koala set this up very neatly so that if you huff through the open mouth, the “flames” wave.

Koala medieval (6)

Slide the dragon head into the provided slot on the wagon and your project is complete.

Koala medieval (7)

I read to Travis a bit about catapults in the Imagine magazine, after which he couldn’t want to set up the Catapult craft. Again, he insisted on doing a lot of the dexterous work solo. Slip a foam circle onto a clothespin, slot the clothespin into the hole on the cardboard catapult base, and secure it with a second foam circle.

Koala medieval (8)

We added sticky-back foam to one end of a craft stick, and adhered the catapult dish (a small plastic circle) to the other end. The catapult then slots into the clothespin and is secured with an elastic.

Koala medieval (10)

Now it was time to load up our cannonballs (er, pom poms), provided in fun, rock-like colors and various sizes. Launch!

Koala medieval (11)

For a little math in the process, set up a ruler and see how far your pom poms go. It was fun to guess which size “rock” would go furthest.

Koala medieval (18)

Well now we needed a target, so we didn’t waste any time before turning to the final craft, the Medieval Castle. This was simply pieces of cardboard which slotted together. Travis was a bit frustrated (the slots were tight), so I finished up the castle and folded the provided cardboard characters for him.

Koala medieval (14)

Here’s where the crate scored big points with mama on the imagination scale! Your child can have so much fun with the characters moving about in the castle, laying siege to one another, and avoiding the fire-breathing dragon.

Kolala medieval (13)

Did I mention I’m a nut about the Middle Ages?

Koala medieval (17)

To continue the interactive play, we made Travis his own crown to be king of the castle, with an easy DIY pipe cleaner crown.

Pipe Cleaner Crown (8).JPG

Twist two pipe cleaners together to be the base – you may need three pipe cleaners, depending on the circumference of your child’s head.

Pipe Cleaner Crown (1)

Cut 5 or 6 more pipe cleaners in half to be the points of your crown, and bend each into a triangle.

Pipe Cleaner Crown (2)

Travis and I devised a little assembly line – he threaded a shiny bead on to the point of each triangle…

Pipe Cleaner Crown (3)

…after which I twisted the ends around our base. Be sure no wire points will poke into your child’s head.

Pipe Cleaner Crown (4)

A proud king!

Pipe Cleaner Crown (6)

Thanks for medieval fun, Koala Crate!

Sailor’s Hard Tack

Hard Tack (4)

A recent trip to a maritime museum gave Travis the chance to play in a pretend galley kitchen.

whaling (4)

We returned home with a recipe for hard tack, the hard-as-a-rock cracker that was a staple on many sea voyages. We couldn’t wait to try making it!

Hard Tack (1)

First scoop 2 cups flour into a bowl. Add 1/2 teaspoon salt.

Hard Tack (2)

Begin adding water, about 1/4 cup at a time, until you have a workable dough. Our recipe was vague, so I did a bit of research online to see how much we’d need. 1 cup of water made our dough a little too sticky, so we added an extra 1/4 cup of flour. Knead the dough about ten times, then roll out into a rectangle and score into squares on a baking sheet.

Hard Tack (3)

Prick the squares with a fork, and bake at 375 degrees F for 30 minutes. Turn over and bake an additional 30 minutes.

I recommend letting your little sailors test the hard tack now. It won’t break their teeth yet, and they’ll get a sense of what it was like!

Hard Tack (5)

Travis pretended he was not just any seafarer, but a pirate of course. H-arrgh-d Tack, it became!

For true hard tack, leave it out on the counter for a couple of days until really really hard. To serve, you’ll need to dip in water, non-dairy milk of your choice, or tea (Travis loves a cup of caffeine-free rooibos).

Hard Tack (6)

Ahoy mateys!

Hard Tack (7)

Snow Storm in a Jar

Snowstorm Jar (4)

We’re always up for a glittery and bubbly project, and this one seemed well worth a try; I’ve seen this one popping up (pun intended!) all over the internet lately. The secret to creating a blizzard inside is a simple little Alka-Seltzer tablet.

First, we needed to mix together 1/4 cup water with enough white paint to make a nice, saturated color. Pour this mixture into the bottom of a glass jar.

Snowstorm Jar (1)

Fill the jar with 1 cup baby oil – the oil will sit on top of the water, which is precisely what makes this experiment work, the fact that water and oil won’t mix.

Snowstorm Jar (2)

Next we added glitter. Ideally, we would have used white glitter to be snowflakes, but our storm had blue glitter. Travis dumped in a whole lot more than I intended before I could stop him, oh well!

Snowstorm Jar (3)

To make the storm happen, simply drop in an Alka-Seltzer tablet. The tablet will create pressure upwards, which makes the water rise, but then the oil pushes it back down again. The carbon dioxide generated by the tablet and the water also keeps things nice and bubbly.

Snowstorm Jar (6)

And your child gets to watch beautiful snowflakes and snowdrifts while learning that little bit of science!

Snowstorm Jar (5)

A moving project like this demanded a quick video, so enjoy!


Phoneme 11: Soft C

C Phoneme (20)

After a bit of holiday hiatus, we’re back with a new phoneme, this time not a letter pair but the soft C sound as in cinnamon. We focused on just a handful of words, with lots of enjoyable games and crafts in the process. I also put much more emphasis on reviewing flash cards of our theme words this time around. Travis isn’t reading yet, but he could sight read most of the words by the end of our unit, and is learning to sound out a word that’s placed in front of him. So without further ado…

Words of the Week:

  • Circus: We kicked things off by staging a grand old circus of course! Stuffed animal friends walked a high wire act and did acrobatic flips into a ring. C phoneme (5)
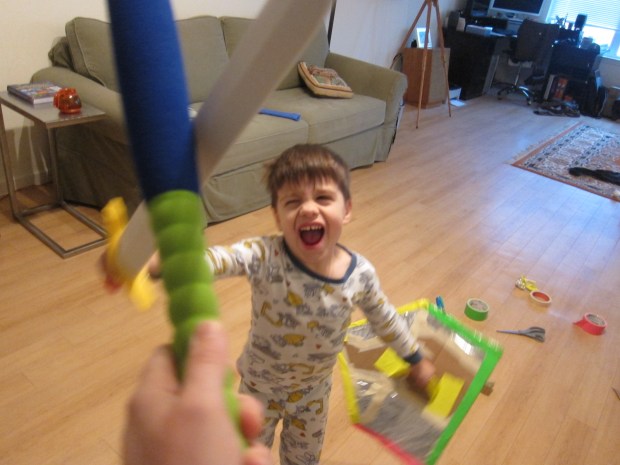
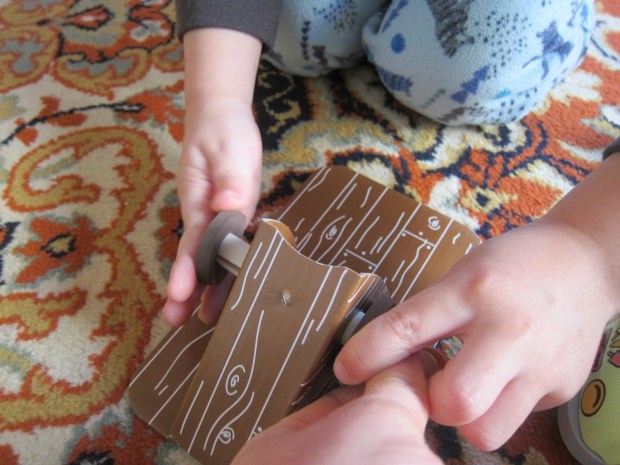
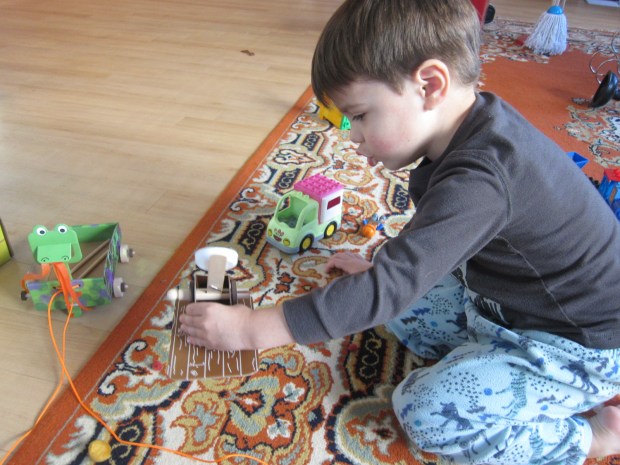
Then we made two circus games, a mouse hole roll and a penny toss. Mouse Hole (8)It’s too bad the circus wasn’t in town, or we would have taken in a show as our field trip. As always, we love circuses that feature human performers, not animals.
  • Circle: You can tailor this word to your child’s age and ability. Little ones just learning their shapes will benefit from a hunt for circular items around the house. That idea is a bit old hat for Travis, so we turned it into a “pirate treasure hunt” for circles. When I phrased it that way, he raced around with glee! C Phoneme (13)
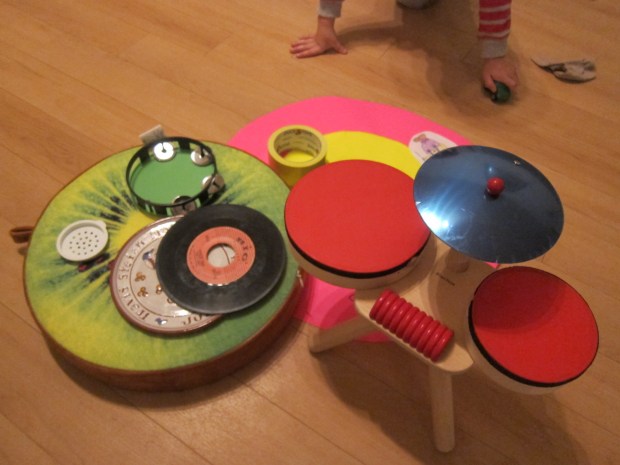
My intention was to gather items we could put in a pile, but he spotted some I wouldn’t have thought of, including the knobs on the dresser and other circular furniture or decorations. C Phoneme (12)
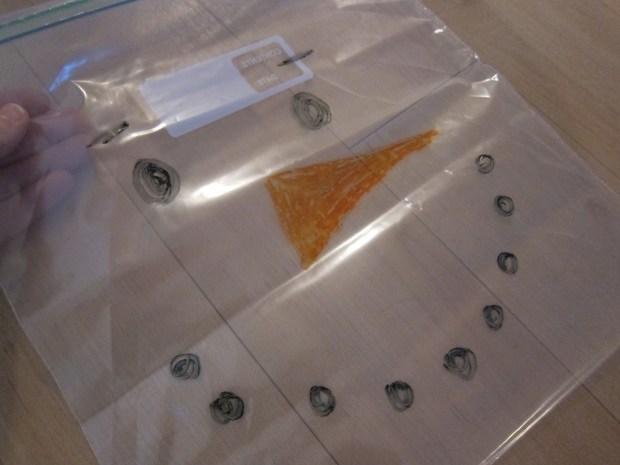
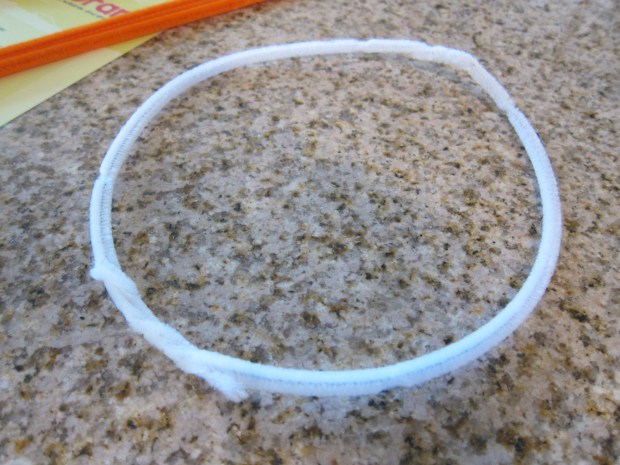
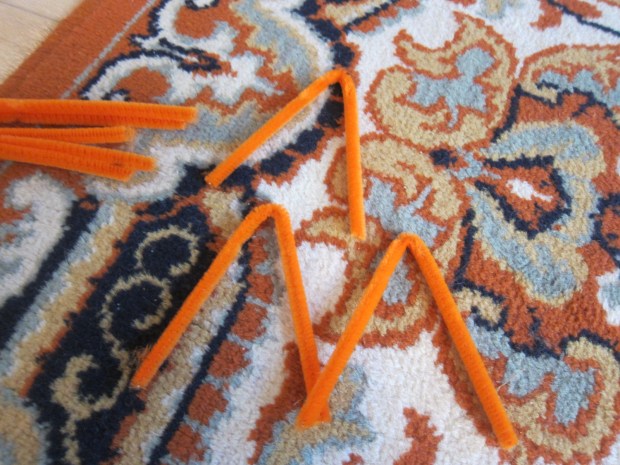
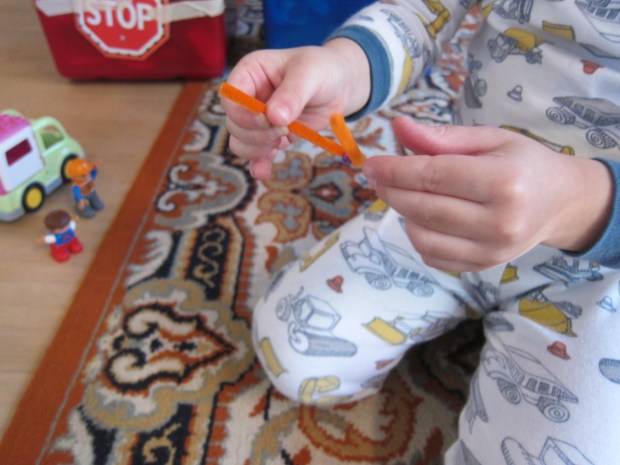
Once we’d finished, he exuberantly asked for a triangle treasure hunt – why not? For fine motor skills, trace some of the circle objects you found.C phoneme (14)
  • Cinderella: This was a new story for Travis, so we read a version of the fairy tale, and watched the movie as well. It was a fun opportunity to introduce Travis to a classic!C phoneme (4)
  • Cymbals: We have a miniature drum set with a cymbal attached, and Travis loved learning to do rimshots and bashing out favorite songs. C Phoneme (8)
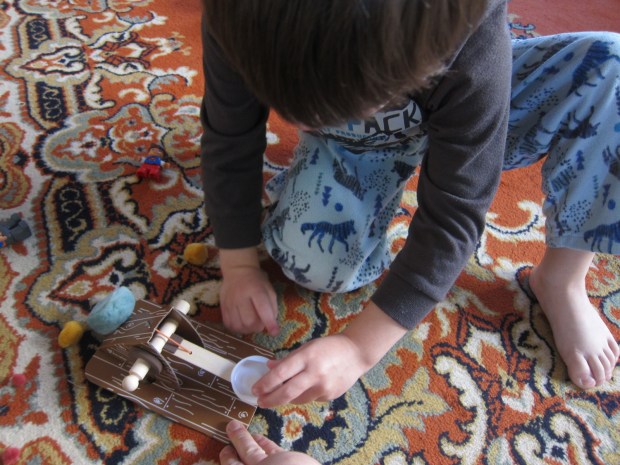
We also scooped up a pair of tiny hand cymbals from the toy store, perfect for smashing together. Conveniently, the cymbals are circles too!
  • Cent: I always like when our alphabet or phoneme play brings us back to coins, since Travis learns more about the idea of money at each interval. To play with our cents, we cracked open his piggy bank and talked about the four denominations of cents in U.S. currency, and then sorted them out into pennies, nickels, dimes, and quarters. C Phoneme (17)
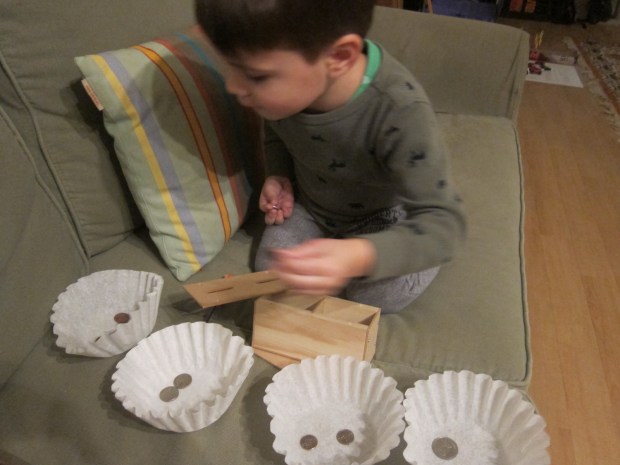
He then turned it into a game of store, telling me in cents how much each item cost. A great little math and currency lesson.
  • Centipede: It wasn’t the right time of year to seek out these little critters outside, but we read about their hundred (or 30, or 300) legs in several books, such as The Big Book of Bugs by Yuval Zommer and Usborne’s Beginners Non-Fiction Bugs book.C Phoneme (19)
  • Ceiling: What better way to remember to look up and pay attention to the ceiling than to adorn it with glow-in-the-dark constellations?Constellation Cards (9)
  • Cereal: Don’t stop at just eating the stuff – we had a whole cereal-themed afternoon one cold day! First, we tested out magnetic cereal. The instructions in the game said we’d need a cereal with a high iron content (100% RDA or more). This concept sounded completely bizarre since our cereals from the health food store tend to be about 4 to 10% daily iron. Well sure enough, cereal from the regular grocery store went as high as 100% iron, so I thought it would be fun to show Travis the difference. Magnetic Cereal (1)
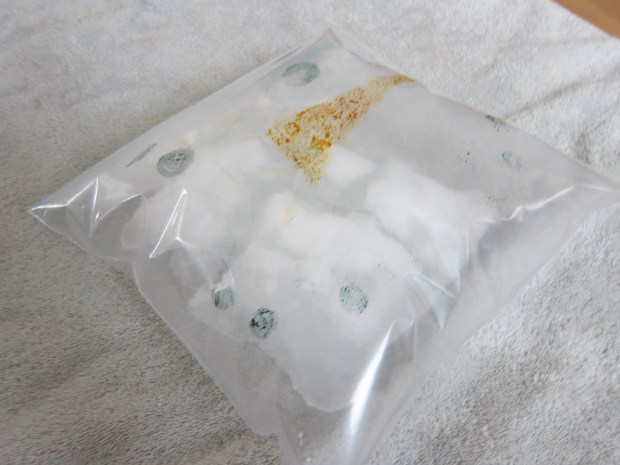
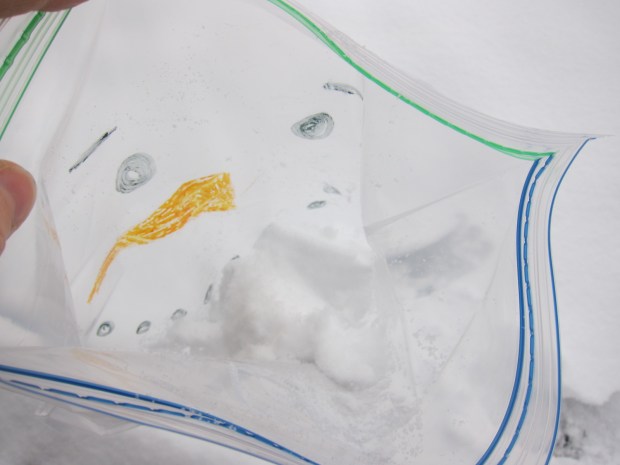
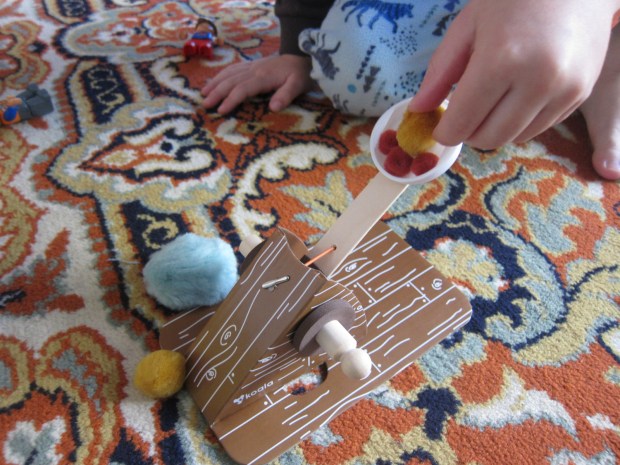
Unfortunately the game didn’t work for us: even using our strongest magnet wand, the high iron cereal didn’t budge! Magnetic Cereal (3)
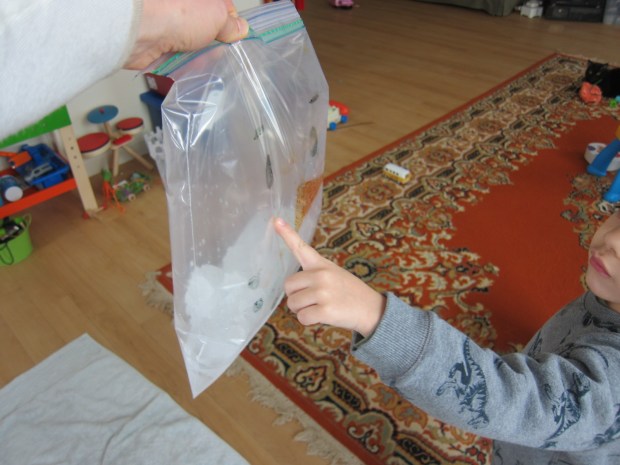
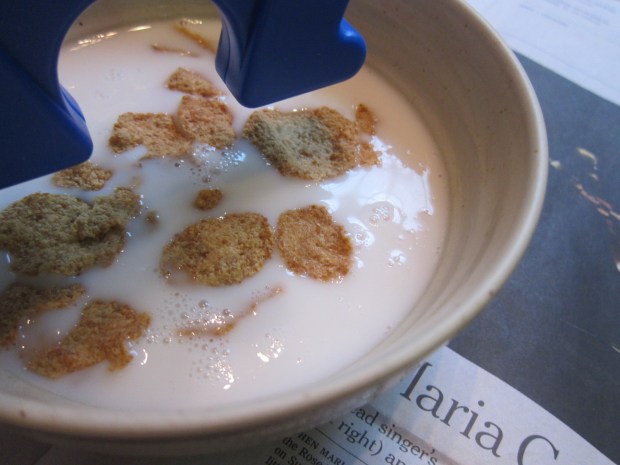
I would be very curious what cereal the online testers had used. Ah well, leftover cereal made for a great sensory bin. Magnetic Cereal (4)
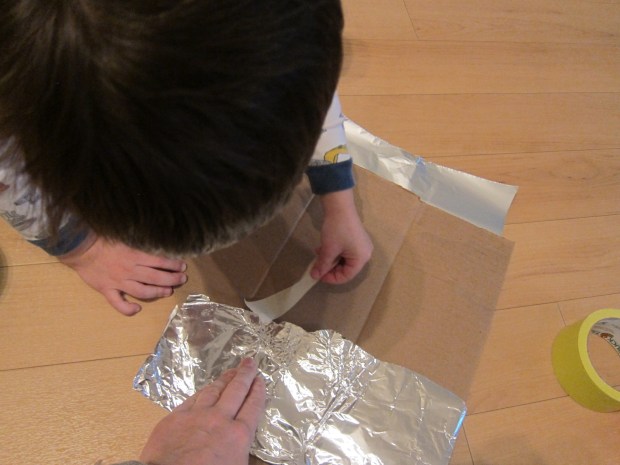
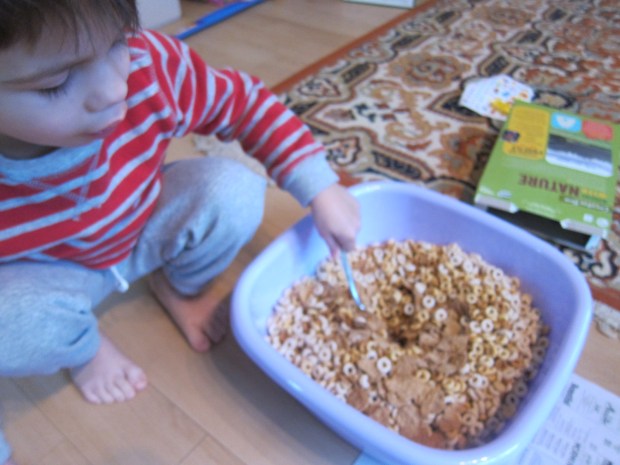
Then we used the boxes for cereal race tracks and recycled jet packs.Jet Pack (11)
  • City: We started off building a city with skyscrapers from Travis’s blocks. C Phoneme (10)
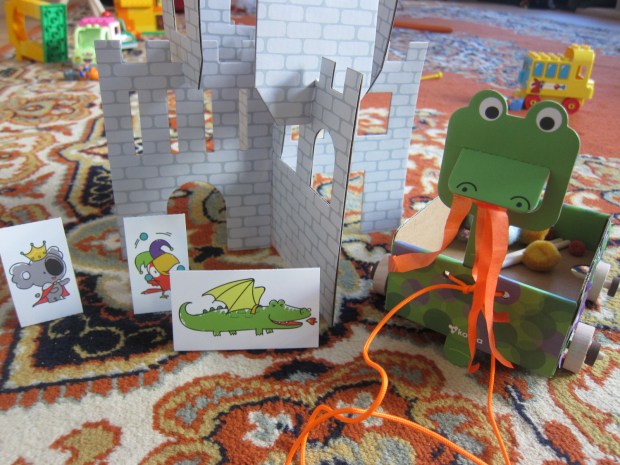
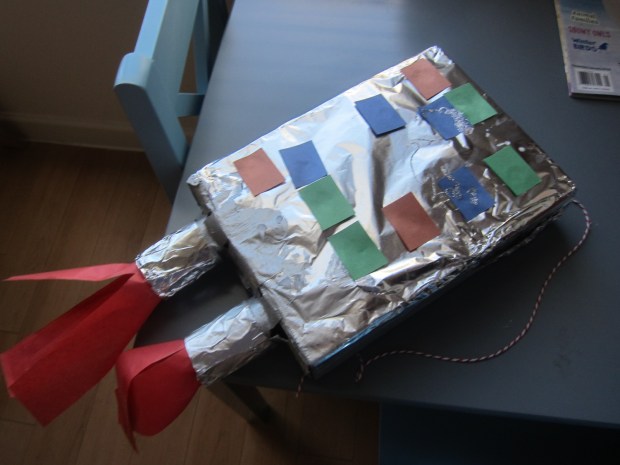
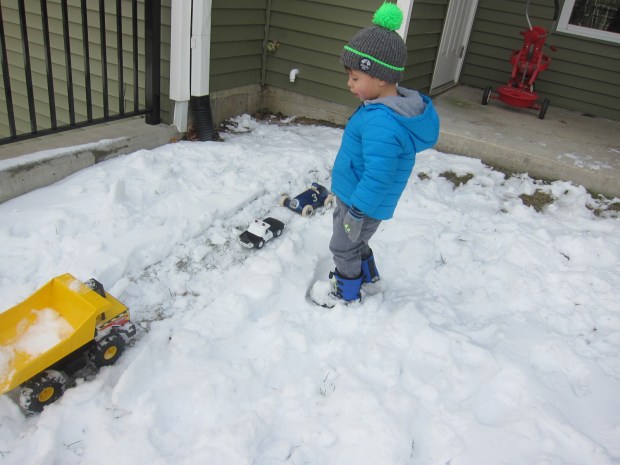
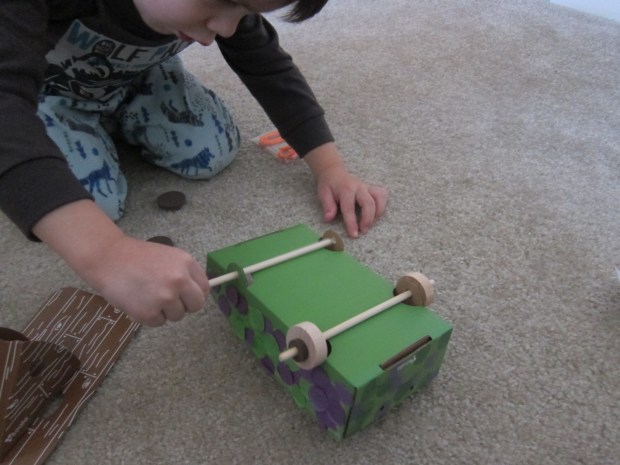
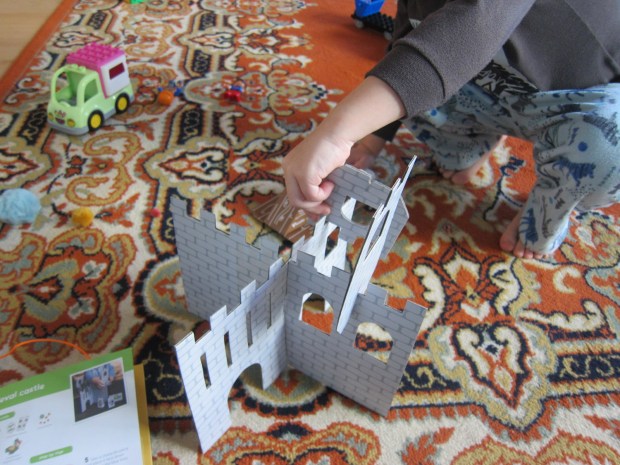
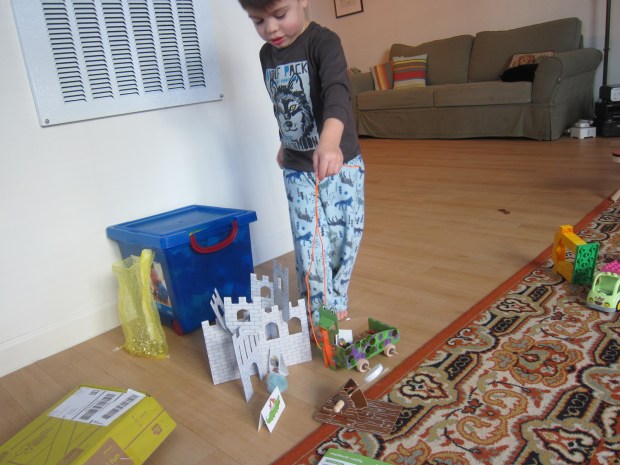
Later we decided that our city needed a parking lot for all the cars – which turned into a letter match parking lot activity that was a huge hit. Parking Lot (11)If you’re able, follow up with a field trip to a real city, whichever is closest to you!C Phoneme alt.JPG