This project (from our latest High Five issue) exemplifies the STEAM acronym: a little bit of scientific discovery paired with a nifty art creation at the end. You can do both components of the project, or just the science part, or just the art part… but I recommend the whole thing because we enjoyed it from start to finish!
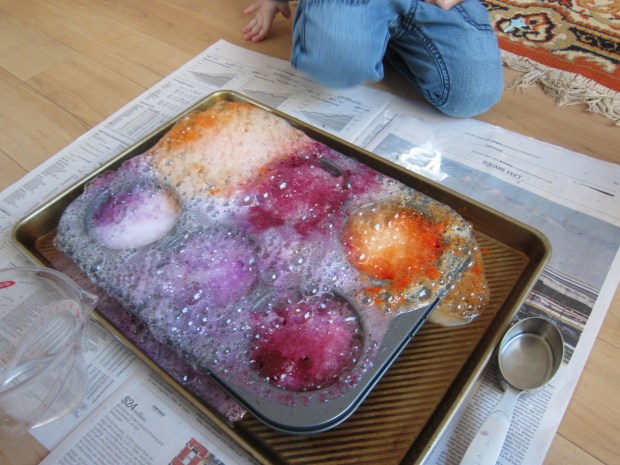
First up, use some science (the S part of STEAM) to make at-home paints. Fill 6 large muffin cups with 1/4 cup baking soda each.

Next, add about 15 drops of food coloring to each muffin cup. We only had powdered food coloring at home (from Color Kitchen), so sprinkled about a 1/2 packet of powder per compartment.

Now you’re going to quickly pour vinegar into each muffin cup, and watch the colorful explosion!
Of course this is similar to many baking soda and vinegar projects we’ve done in the past, talking about how the gas created when the two substances touch makes all that foam and bubbles. But this time, we were left with a new product… paint!
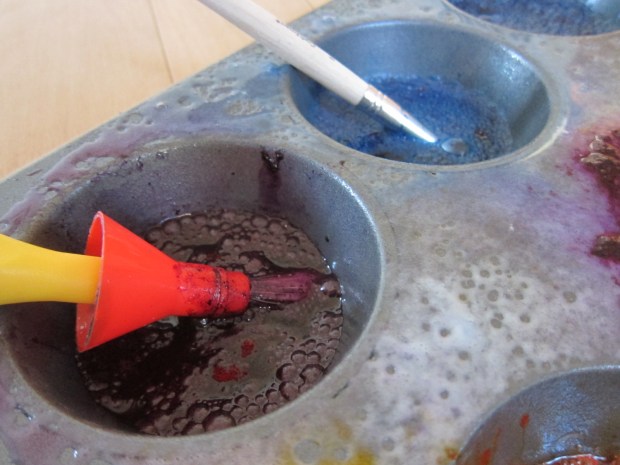
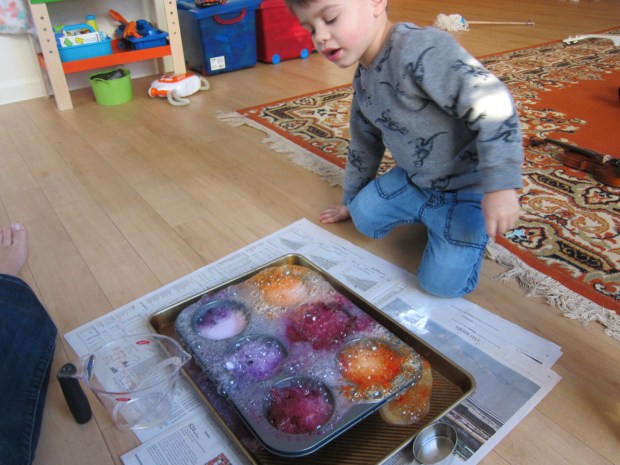
Now it was time to use the paint for the A part of STEAM. We painted white coffee filters, and Travis had a blast, mixing colors and stirring each paint very carefully – a petit artiste!

Set the filters aside to dry; these are going to be your flower blossoms.

As a small gripe, you’re going to have undissolved baking soda left in each paint mixture, which leaves the coffee filters a bit grainy after they dry. I found it helpful to rub off the excess baking soda over the trash can before Travis and I moved on to the final steps of the project.
Meanwhile, make the flower stems by painting jumbo craft sticks green. The only green paint we had in the house was a dot marker, but this worked in a pinch. Let dry.

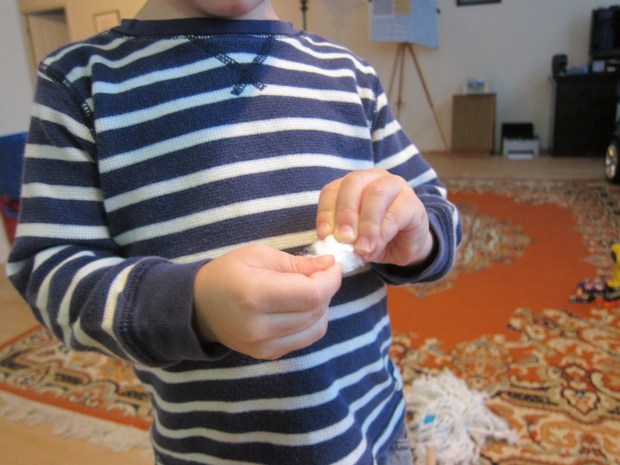
To finish the flowers, wrap each painted filter around a medium-sized Styrofoam ball. Poke one of the green “stems” up through the filter and into the Styrofoam.

Glue the tips of the filter together so the ball inside is no longer visible and voila – flowers!

We set them in a vase, where we got to enjoy the fruits of our labor: beautiful flowers in the middle of a snowy winter.

Thanks High Five!