Third Birthday Party: Rock ‘n’ Roll

third bday (10)

Age three is the first year that my son was very aware that his birthday party was his special day, marking the event of his birthday. So I wanted to build the party around the things that make him happiest in the world right now: music and guitars. Once we’d picked the rock ‘n’ roll theme, it was time to sort out the details.

Starting with a guitar-printed shirt of course!

third bday (9).JPG

To give the 2-hour party a focus, I decided on a music concert. No need to hire expensive musicians for your rock ‘n’ roll gig, though – if you have a family member or friend who plays an instrument, or even just sings, you have instant entertainment for a group of children!

third bday (15)

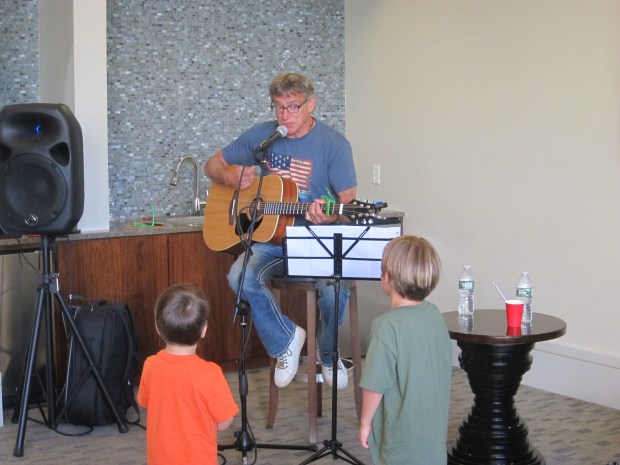
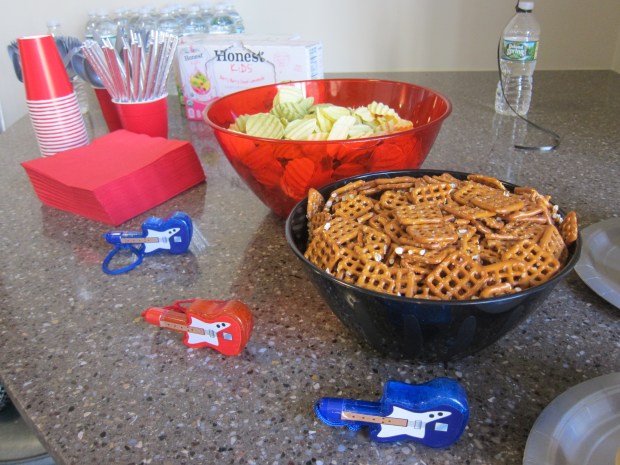
Just add instruments for the children to play along – bongo drums, maracas, tambourines – and the main part of your party takes care of itself.

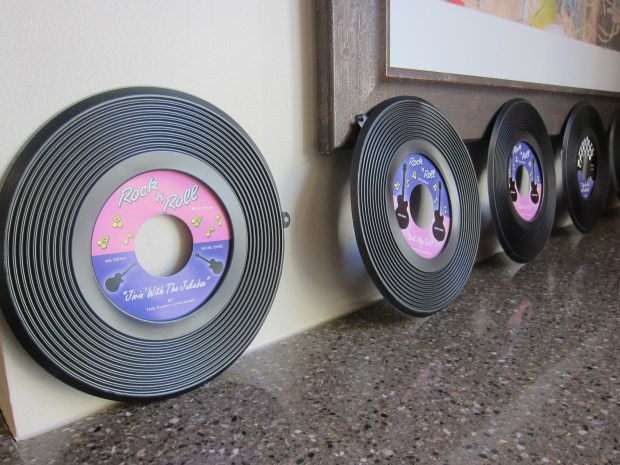
Before the concert began, we set the stage (pun intended!) with fun rock-themed decor and games for the kids.

third bday (6)
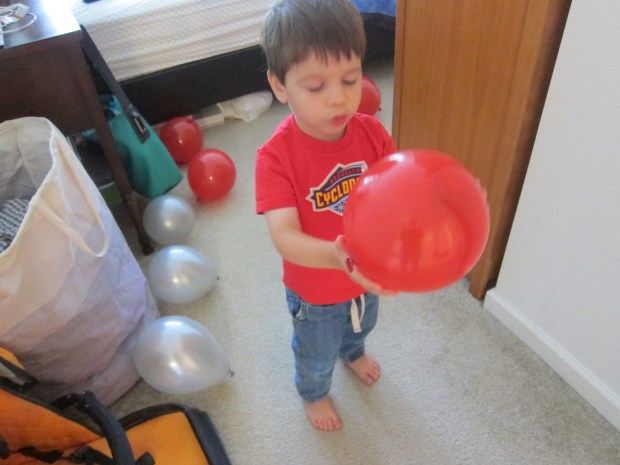
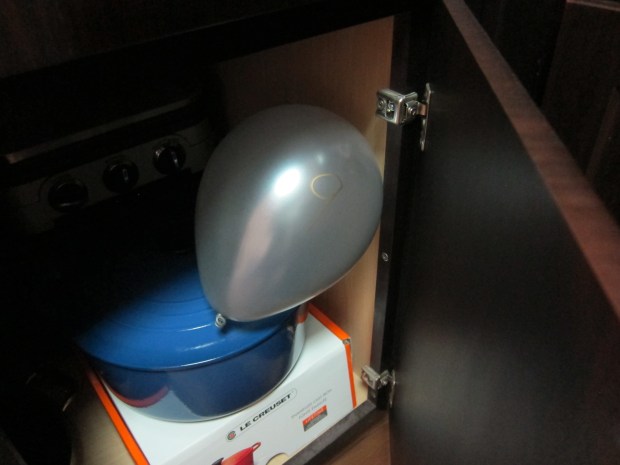
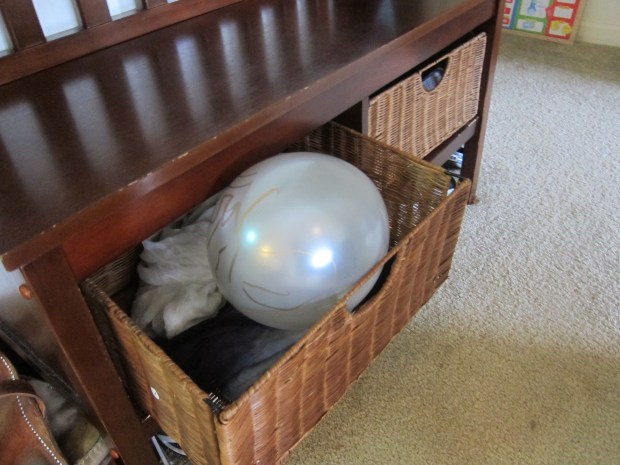
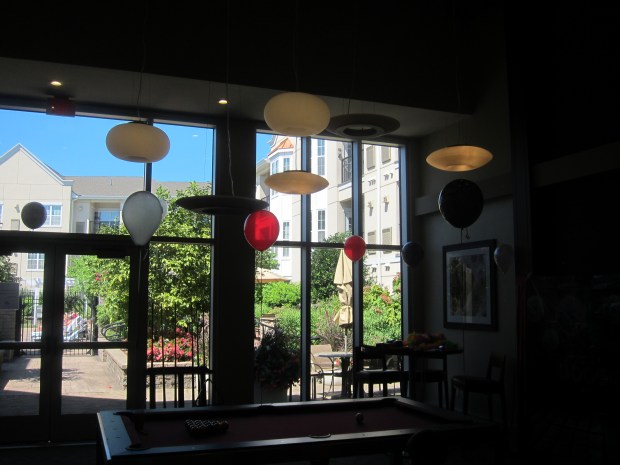
I used a simple red, black, and silver color scheme, which we picked up in balloons and serving pieces throughout the room.

third bday (11)

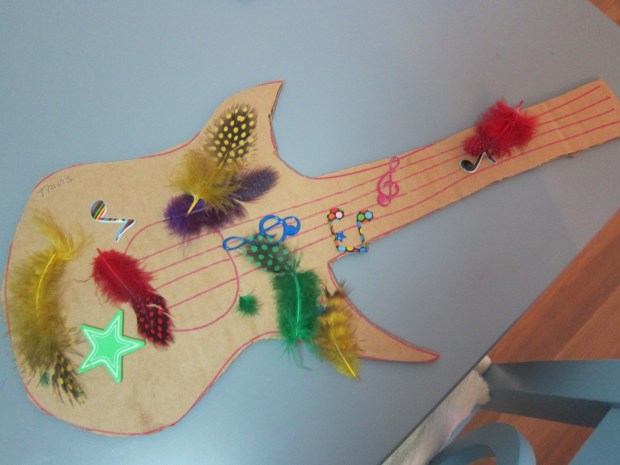
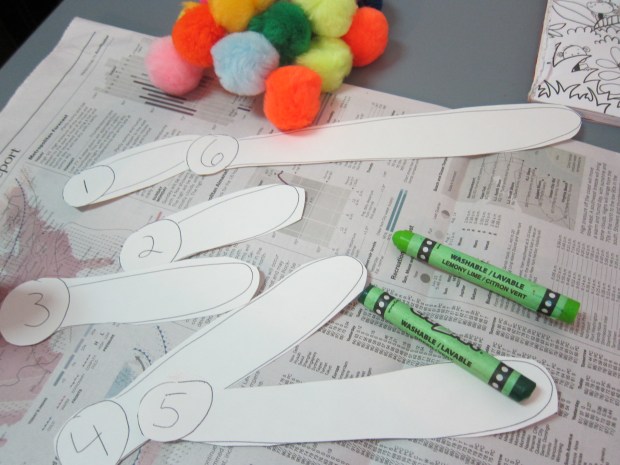
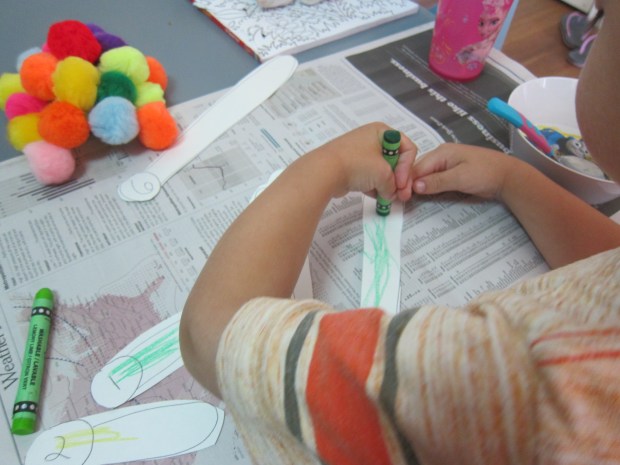
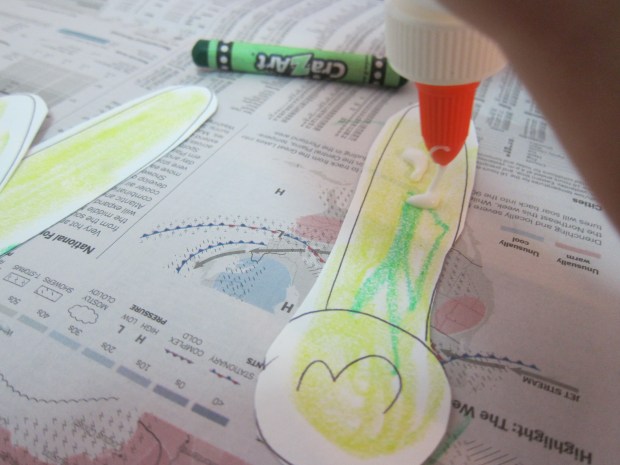
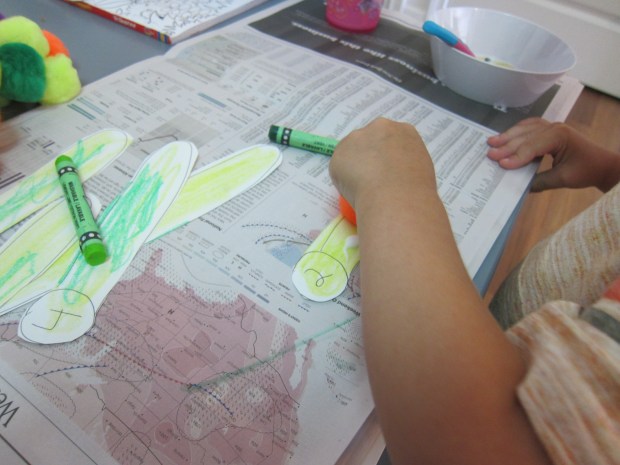
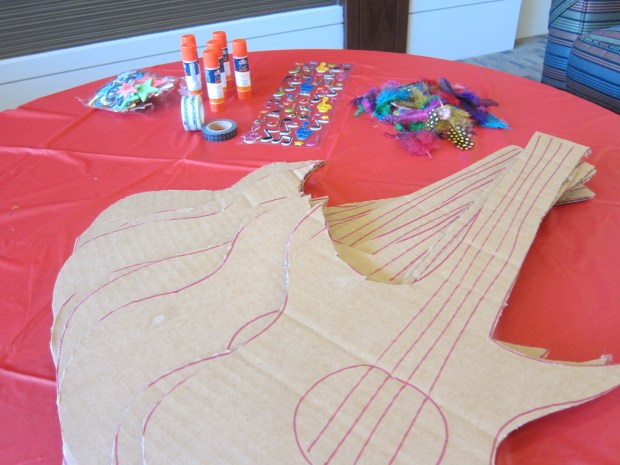
Each child got a cardboard guitar cutout to decorate with stickers, feathers, and glue sticks. I cut the guitars freehand from cardboard, but luckily children aren’t art critics!

thid bday (4)

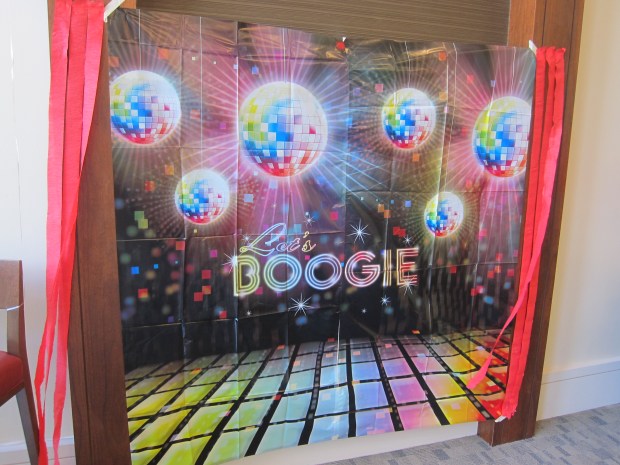
Next head on over to a backdrop for rock star selfies! We added silly sunglasses, boas, bandanas, and rock star tattoos of course.

third bday (8)

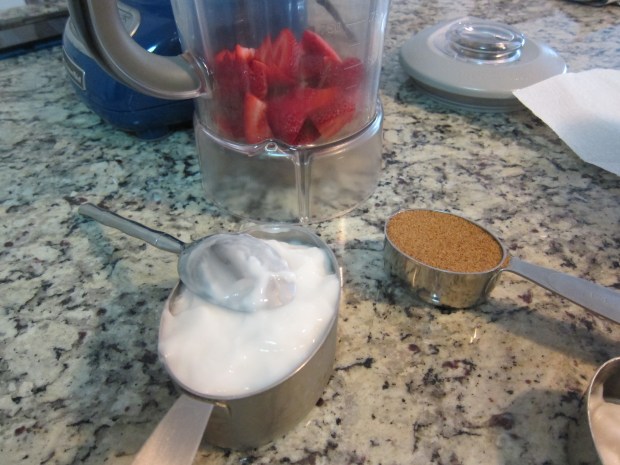
Because the party was mid-afternoon, we kept food very simple with cake as the main event. Noshes included chips, pretzels, sliced watermelon, and a cheese platter for grown-ups.

third bday (7)

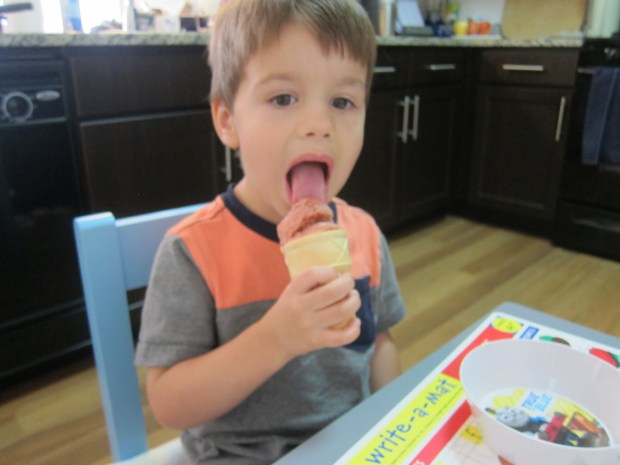
The rock star touch was rice krispie treat microphones!

third bday (5)

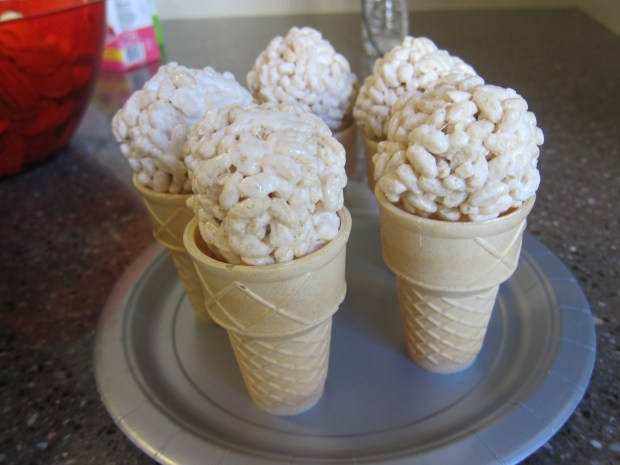
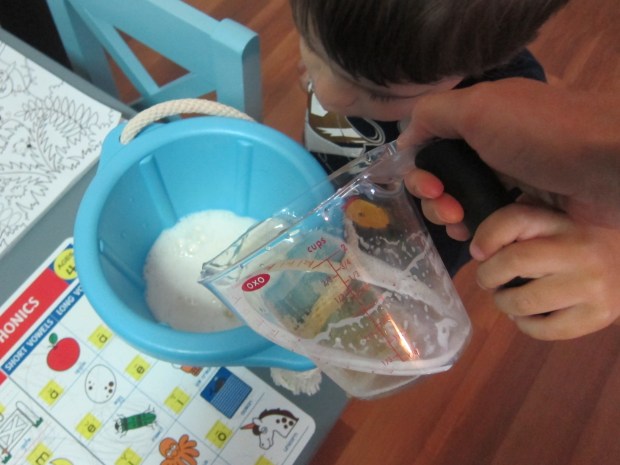
To prepare: Melt 3 tablespoons Earth Balance butter over low heat. Add 4 cups Dandies marshmallows and cook until completely melted. Pour the mixture over 6 cups puffed rice cereal, stirring to combine. Shape into balls and place atop sugar cones!

Cakes were from local vegan bakery Sweet to Lick, featuring rock star decorations and sprinkles.

third bday (21)

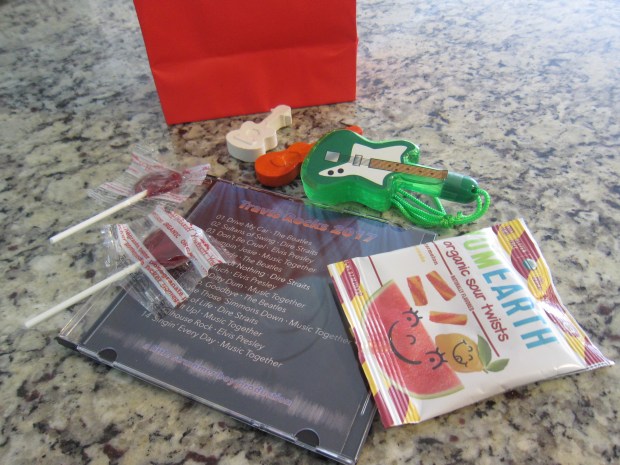
Goodie bags were the finishing touch, including guitar-shaped bubbles, guitar crayons from Etsy, and a CD mix of my son’s current favorite songs.

third bday (1)

Rock on!

third bday (22)


Numbered Balloon Hide and Go Seek

Numbered Balloon (2)

This was possibly the best game ever for a rainy morning! Not only did we play multiple rounds of it, but that was just the beginning – read on!

To start, you’ll need to blow up 10 balloons. Number them 1 through 10 with a sharpie. Balloons for no special occasion at all? Already this game was fun!

Numbered Balloon (1)

Next, hide the balloons around the house. For a 3 year old, I kept the hiding places fairly obvious. Where might those balloons be lurking? In kitchen cabinets?

Numbered Balloon (5)

In drawers?

Numbered Balloon (4)

The trick now is that your child needs to find them in numbered order. If they find number 3 before 2, for example, 3 has to stay in its place until 2 has been located. Parents, keep track of where you put each number, or you’ll be scrambling alongside your little seeker!

Numbered Balloon (6)

Ooh, found one!

Numbered Balloon (7)

Travis was surprisingly great about leaving balloons be when he found them out of order; I had been afraid he’d just snatch up each one as he went, but he was really into the counting aspect of the game!

Needless to say, we had to play again. On one of our rounds, number 8 was hidden so well that we enlisted a full family search to dig it up. You wouldn’t think you could lose something as large as a balloon, but I promise we did.

Because he had seen me use the sharpie, Travis also wanted to try his hand at drawing on the balloons. He made lines on each balloon up to the correct number – his first tally marks!

Numbered Balloon (8)

Rounds of balloon tap and balloon kick followed of course, so with this one activity, you can easily help fill a rainy day!

Numbered Balloon (3)

Fruit Ice Cream

Fruit Ice Cream (6)

With just-picked fresh fruit from a recent pick-your-own-berries excursion, we made fruit ice cream! Any fresh berry would work well here, and we tried both blueberries and strawberries.

Fruit Ice Cream (1)

For the blueberry version, we mixed the berries with a store-bought blueberry yogurt, but this sort of spoiled the fresh berry taste.

Fruit Ice Cream (2)

Instead, we preferred this strawberry version:

In a blender, combine 2/3 cup fresh strawberries, 1/4 cup sugar (we used coconut sugar), and 1 and 1/3 cups plain non-dairy yogurt.

Fruit Ice Cream (4)

Blend until smooth. Spoon into a dish and freeze for 2 hours.

Fruit Ice Cream (3)

Serve in ice cream cones for added fun!

Fruit Ice Cream (7)

Salt Water vs. Fresh Water

Salt v Fresh (5)

With so much time spent at the beach over the summer, the topic of salt water is bound to come up – that big ocean contains so much water, but it’s no good for drinking! Here’s a neat way to explore some of the different properties of salt versus fresh water at home.

First, pour a generous amount of salt into a cup of water, and stir to dissolve. Pour a second cup full of fresh water.

Salt v Fresh (!)

Next, we added ice cubes to each.

Salt v Fresh (2)

Finally, we mixed up a batch of red food coloring; a dark color is best here, so you can fully see the results.

Salt v Fresh (3)

Slowly pour the food coloring into the top of each glass. Your child will see that it sinks in the fresh water, but stays on top of the salt water.

Salt v Fresh (4)

A quick and easy early lesson on density!

Travis had fun playing with leftover colored water and ice cubes for some time, making this activity a big hit.

Salt v Fresh (6)

Yummy Soft Pretzels

Soft Pretzel (10)

Soft pretzels are a summer staple – at baseball games, ocean boardwalks, city parks, you name it. But nothing beats pretzels baked fresh at home! Kids can get hands-on and messy with this delicious version.

To start, dissolve 1 packet dry yeast in 1 cup warm water; let stand for 5 minutes – you’ll get to see the yeast bloom, like tiny little fireworks in a bowl. Super exciting!

Meanwhile, combine 2 and 1/2 cups flour, 1 teaspoon sugar, and 1/2 teaspoon salt in a large bowl. Add the yeast mixture and stir until you have a soft dough.

Soft Pretzel (1)

Using floured hands, knead the dough for about 5 minutes. This step was fun but too messy to photograph!

Place the dough in a large bowl, cover with plastic wrap and let rise for 30 minutes.

Soft Pretzel (2)

Next up came some fun math – we needed to divide our dough into 8 portions, which meant slicing in half, then each of those in half again, then each of those in half again! Travis loved pretended we were Peg + Cat for this step, and cut to use the pizza cutter under close supervision.

Soft Pretzel (3)

Flour your hands again and roll each portion into a long rope. From here, you can have as much fun as you want.

Soft Pretzel (4)

Shape the dough into traditional twists, letters of the alphabet, or whatever else your kids want. Travis requested a square!

Soft Pretzel (5)

Dip the pretzels quickly in a bowl of water, then transfer to a buttered baking sheet (we used Earth Balance). Let rise for 10 minutes.

Bake the pretzels at 450 degrees F for 10 minutes. Peek-a-boo, little pretzels!

Soft Pretzel (6)

Brush the tops with a little more Earth Balance and serve – they are best served warm, we think! If you prefer, you can also sprinkle some of the pretzels with salt, and others with a mix or cinnamon and sugar, but Travis requested his plain.

Soft Pretzel (9)

Creole-Style Artichoke Jambalaya

Creole Jambalaya

For kids who like a spicy kick, add 1/4 teaspoon cayenne pepper along with the other spices. My preschooler prefers this on the mild side though!

Ingredients:

  • 2 tablespoons olive oil
  • 1 medium onion, chopped
  • 2 stalks celery, chopped
  • 1 green bell pepper, chopped
  • 3 and 1/2 cups low-sodium vegetable broth
  • 1 (14.5-ounce) can fired-roasted diced tomatoes
  • 1 and 1/2 teaspoons Italian herbs
  • 1 teaspoon smoked paprika
  • 1 teaspoon garlic powder
  • 1/2 teaspoon salt
  • 1/4 teaspoon fresh-ground black pepper
  • 1 and 1/2 cups long-grain white rice
  • 1 (15-ounce) drained can artichoke hearts, chopped
  • 1 (15-ounce) drained and rinsed can black-eyed peas
  1. Heat the olive oil in a large pan over medium heat. Add the onion, celery, and bell pepper; cook for 6 minutes, until the vegetables are tender.
  2. Add the broth, tomatoes, Italian herbs, paprika, garlic powder, salt, and black pepper. Bring to a boil, then stir in the rice.
  3. Reduce heat, cover, and simmer for 20 minutes. Add the artichokes and black-eyed peas. Cook for a final 5 minutes, until the rice is cooked and the liquid is absorbed.


Jack Frost

Jack Frost (5)

Frosty windows in July? As a follow-up to a recent “Christmas in July” event we attended, it was fun to be silly and bring a little winter to our hot summer home with homemade frost.

The concoction for this game is decidedly adult, so as a warning, do supervise closely to be sure that none of it is ingested.

First, mix together 5 tablespoons Epsom salts and 1 cup beer. The mixture gets so foamy right away – fun!

Jack Frost (1)

Let the mixture stand for 1/2 an hour, then head on over to a window to make frost. Note: I recommend covering the floor or any window sills with an old towel.

Jack Frost (2)

Using a sponge, dip into the mixture and dab onto the windows. Travis loved this part.

Jack Frost (3)

We then dabbed with a wet paper towel, before letting the mixture dry. To be honest, the final sparkling effect was not as noticeable as I had hoped, but we did have little streaks that looked like winter morning frost!

Jack Frost (4)

And then perhaps the most enjoyable part for my little helper, we got to wipe the windows clean.

Jack Frost (6)


Indoor Skip-Count Hopscotch

Indoor Hopscotch (5)

This last-minute game for a slightly cloudy morning turned out to be a huge hit, though we somewhat adapted regular hopscotch rules. All you need to take the game inside is a roll of painters tape.

To start, I laid out the shape of a hopscotch board on our floor. Be sure to alternate single and double squares.

Indoor Hopscotch (1)

For the numbers, I overlapped several pieces of tape so marker didn’t get on the floor. Use permanent marker for the numbers so it doesn’t rub off on feet!

Indoor Hopscotch (3)

Travis wanted to help make the board, so some clear tape let him play along!

Indoor Hopscotch (2)

I numbered the board in even numbers only, for fun with counting by twos (skip-counting), but you can number yours traditionally if you prefer.

Once the board was set up, we pulled out the bean bags. I gently introduced the idea of hopscotch – tossing the bean bag and hopping to your number – but didn’t harp on the rules since Travis is a bit young for the game.

Indoor Hopscotch (4)

He loved counting his hops as he retrieved each bag. He often would toss several bean bags at once, and pick them up as he went along.

Hopscotch has the bonus of working his gross motor skills, since getting all the way off the ground in a hop is still a challenge. Bigger kids can practice alternating hopping on one foot with landing on both in the double squares, a nice challenge.

The board then became a vehicle for his imagination! He self-narrated for quite some time with bean bags and hopping while I was busy making lunch.

Counting Caterpillars

COunting Caterpillar (7)

Ever since our Number Crate arrived from Koala Crate, Travis can’t get enough of counting anything and everything – magnets on the fridge, berries in his bowl, chairs in a waiting room. These adorable fuzzy caterpillars let us have crafty fun with his interest!

While he napped, I cut out “caterpillars” from poster board, increasingly long in length. The caterpillars can then be numbered 1 through 10 (or even higher, although we only went up to 6, because we ran out of pom poms!).

Counting Caterpillar (1)

If you cut the caterpillars from green construction paper, even better! Luckily Travis didn’t mind coloring them in with the help of a fat green crayon.

COunting Caterpillar (2)

Then it was time to make our caterpillars fuzzy. I asked him to tell me the number on each one, and once he supplied the answer, he could proudly apply that many blobs of glue. This part of course was super fun.

COunting Caterpillar (5)

Each blob of glue got a pom pom, until we had correctly filled in all our caterpillars.

Counting Caterpillar (4)

Let them dry and then have fun playing with your furry little friends!

COunting Caterpillar (6)


Rainbow Chard with Ham

Rainbow Chard

We’ve been exploring chard lately – as the star of the show in a cheesy penne recipe, or in a supporting role over baked potatoes. Chard really takes center stage in this side dish; do seek out a bunch of rainbow chard, rather than green or red, since kids will love the rainbow colors.

Ingredients:

  • 3 slices vegan ham, chopped
  • 1 bunch rainbow chard (stems and leaves)
  • Cooking spray
  1. Saute the ham in a large skillet coated with cooking spray over medium heat until crisp, about 3 minutes.
  2. Add the chopped chard (stems and leaves) and cook for an additional 2 minutes, just until wilted.

We served this with my son’s go-to weeknight meal – sauteed sesame tofu!