Paper Ball Owls

Paper Ball Owl (5)

This cute project comes together in a pinch; just save a few pages of the weekend news and you’ll have a snowy winter owl in no time!

To start, I invited Veronika to help me crumple up a few sheets of newspaper, a delight for the sensory feel and the auditory crinkle.

Paper Ball Owl (1)

Next, we covered each ball with a sheet of white paper, turning them into snow owls. Secure with a rubber band and either trim off the excess paper or leave on as little tail feathers.

Paper Ball Owl (3)

We used bottle caps as the eyes, adhering with sglue sticks. For the pupils and beak, we colored paper with markers first, then cut out circles for the former and a triangle for the latter. Felt would work, too!

Paper Ball Owl (4)

Finally, the owl needed wings! Help your child cut two wing shapes from an additional sheet of newspaper, and glue on.

Paper Ball Owl (6)

Veronika loved making this little fellow fly and hoot! Thanks to High Five magazine for the cute prompt!

Paper Ball Owl (7)

Advertisement

Little Passports Round-Up

LP Poland (3)

Travis took an extended pause from opening Little Passports packages when life got a bit busy, but this month we dove back into it. It was incredible to see the difference in his ability to tackle booklet activities as a second grader rather than a first grader. Here’s our unboxing review of the final 5 packages from his World Passport subscription:

Poland:

LP Poland (5)

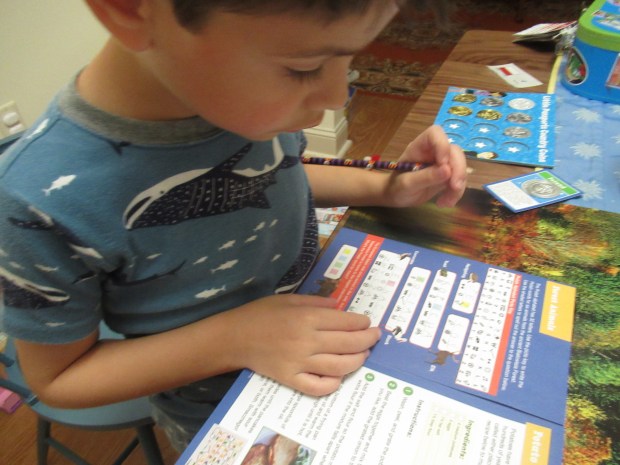
Travis loved following a code to learn about the Polish alphabet (which has more letters than ours!), but a color-by-symbol in the booklet was so tough even my grown-up eyes went a little cross-eyed.

LP Poland (4)

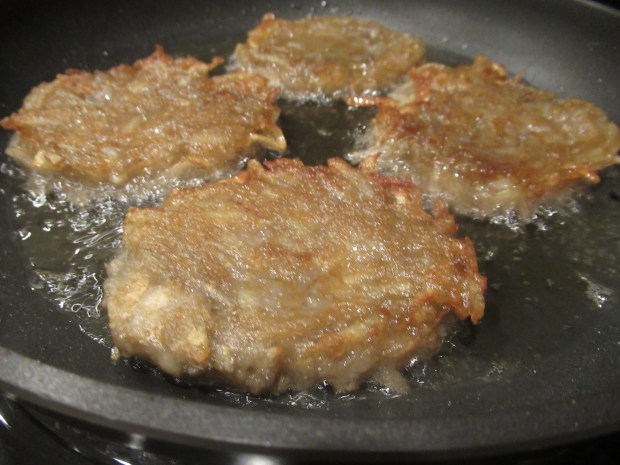
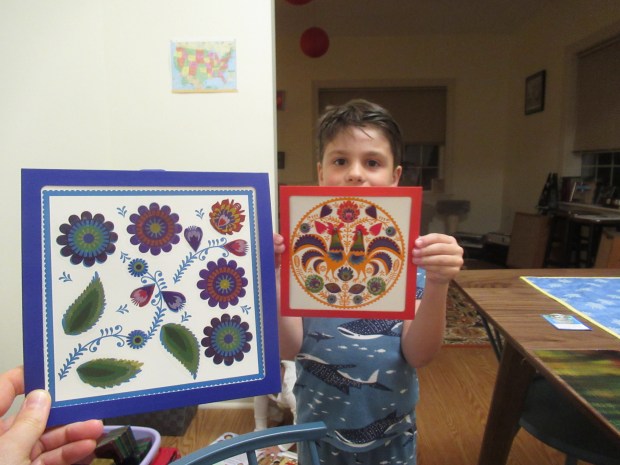
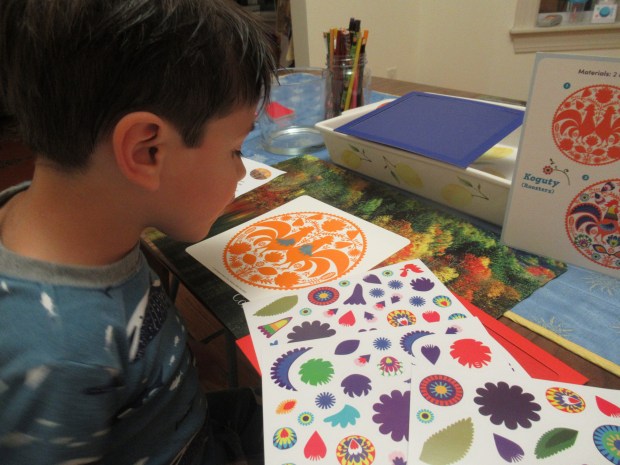
The souvenir in this kit, on the other hand, was a big hit: Polish sticker art. Follow the pattern to create a double layer of beautiful folk art. We also cooked potato pancakes!

LP Poland (2)

Turkey:

LP Poland (1)

The booklet included great information on everything from the mythical (a Trojan Horse dot-to-dot) to sightseeing in Istanbul (a great activity for telling time), to spotting patterns in Turkish tiles. The souvenir was a memory card game, featuring images of Turkish items like spices from the Bazaar, Turkish delight candies, or the Hagia Sophia.

LP Turkey (3)

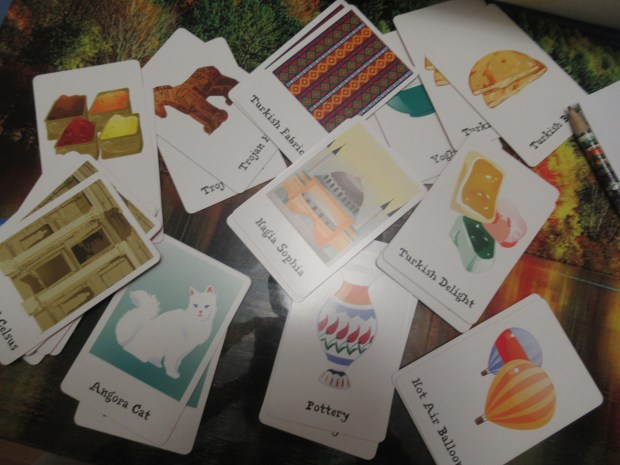
Finally, we cooked Turkish hummus.

Italy:

LP Italy (3)

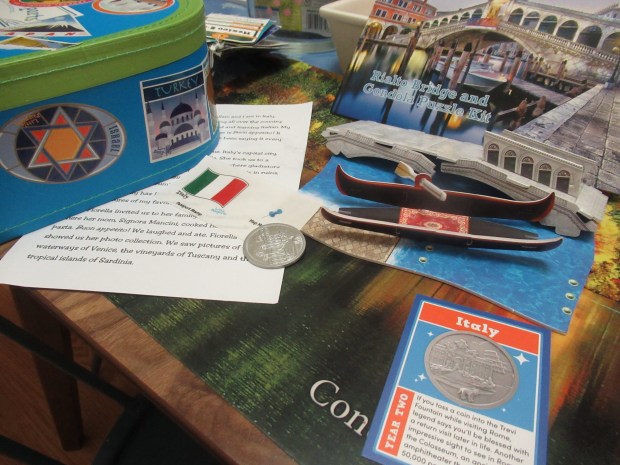
Travis was great at shading in one of Michelangelo’s sculptures using an alphabet code. Gelato mazes and pasta word searches on the other hand, were a bit tricky for him.

LP Italy (2)

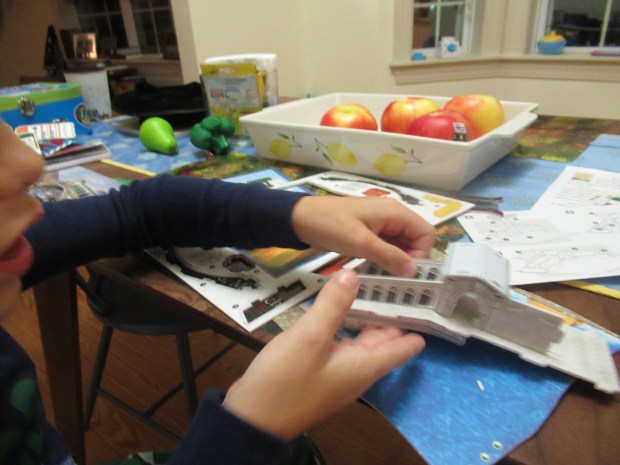
The souvenir was a 3-D puzzle of the Rialto Bridge which even had a mini gondola. This was tricky even for grown-up hands to put together, but had us laughing! Don’t forget to cook marinara sauce!

LP Italy (1)

Iceland:

LP Iceland (3)

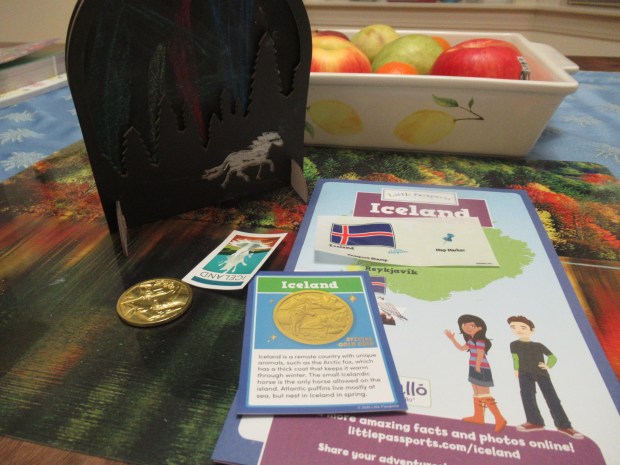
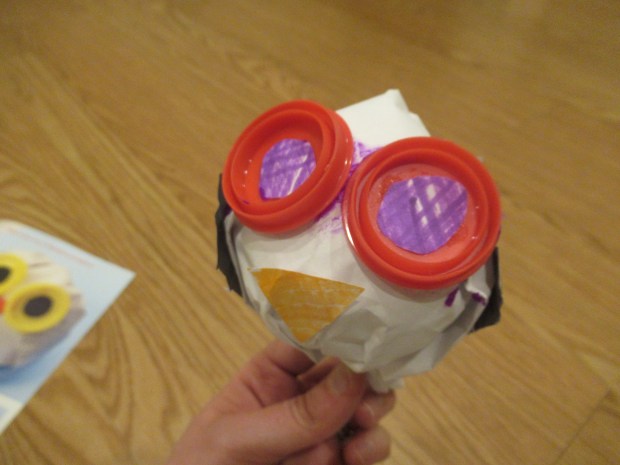
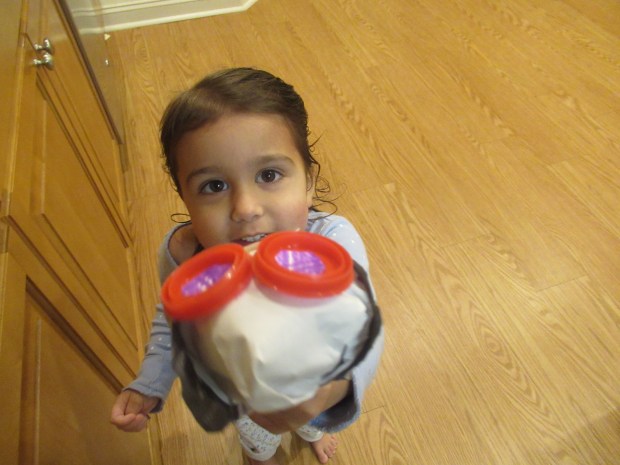
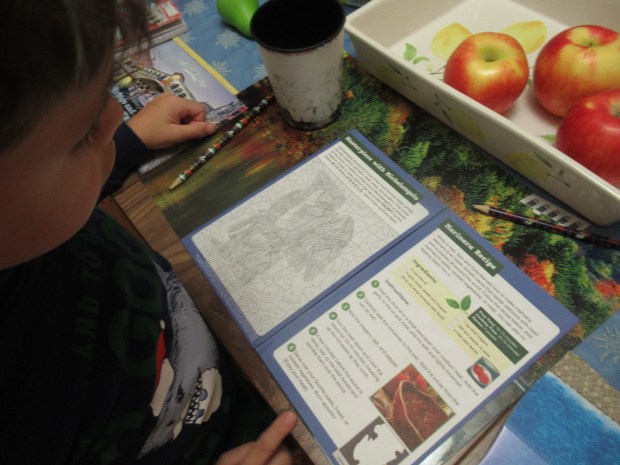
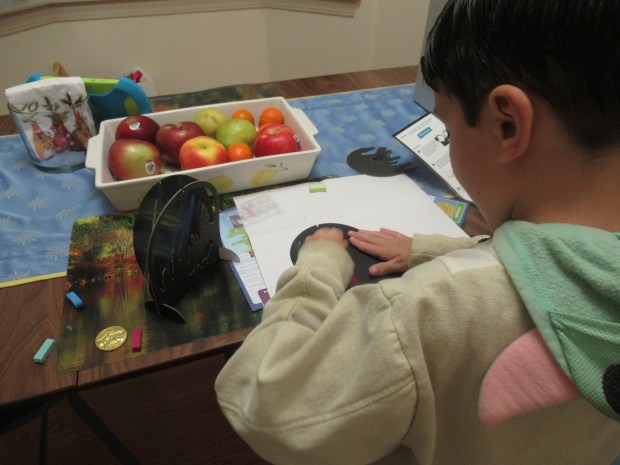
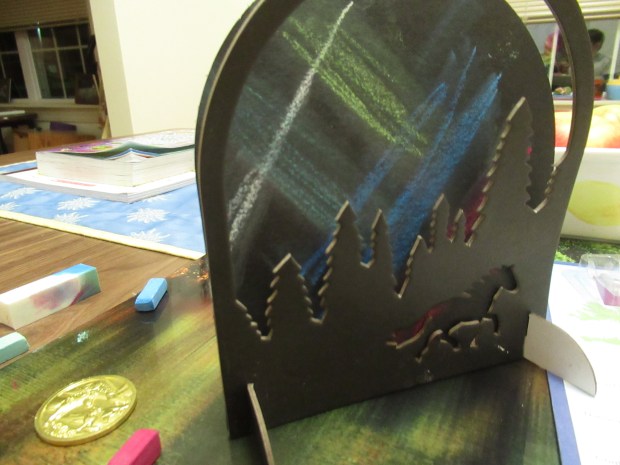
For the land of ice, the booklet included a fun “fishing voyage” that taught kids to read a map, as well as word puzzles about Icelandic holidays. The big hit was the souvenir, a northern lights art kit. Travis used pastels on the provided black paper, then smudged with a sponge for a neat aurora borealis effect.

LP Iceland (1)

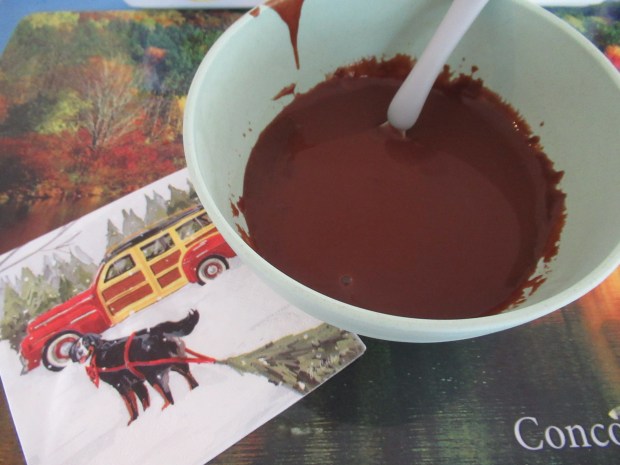
Then we cooked Cocoa Soup. Chocolate for dinner? Yes, please!
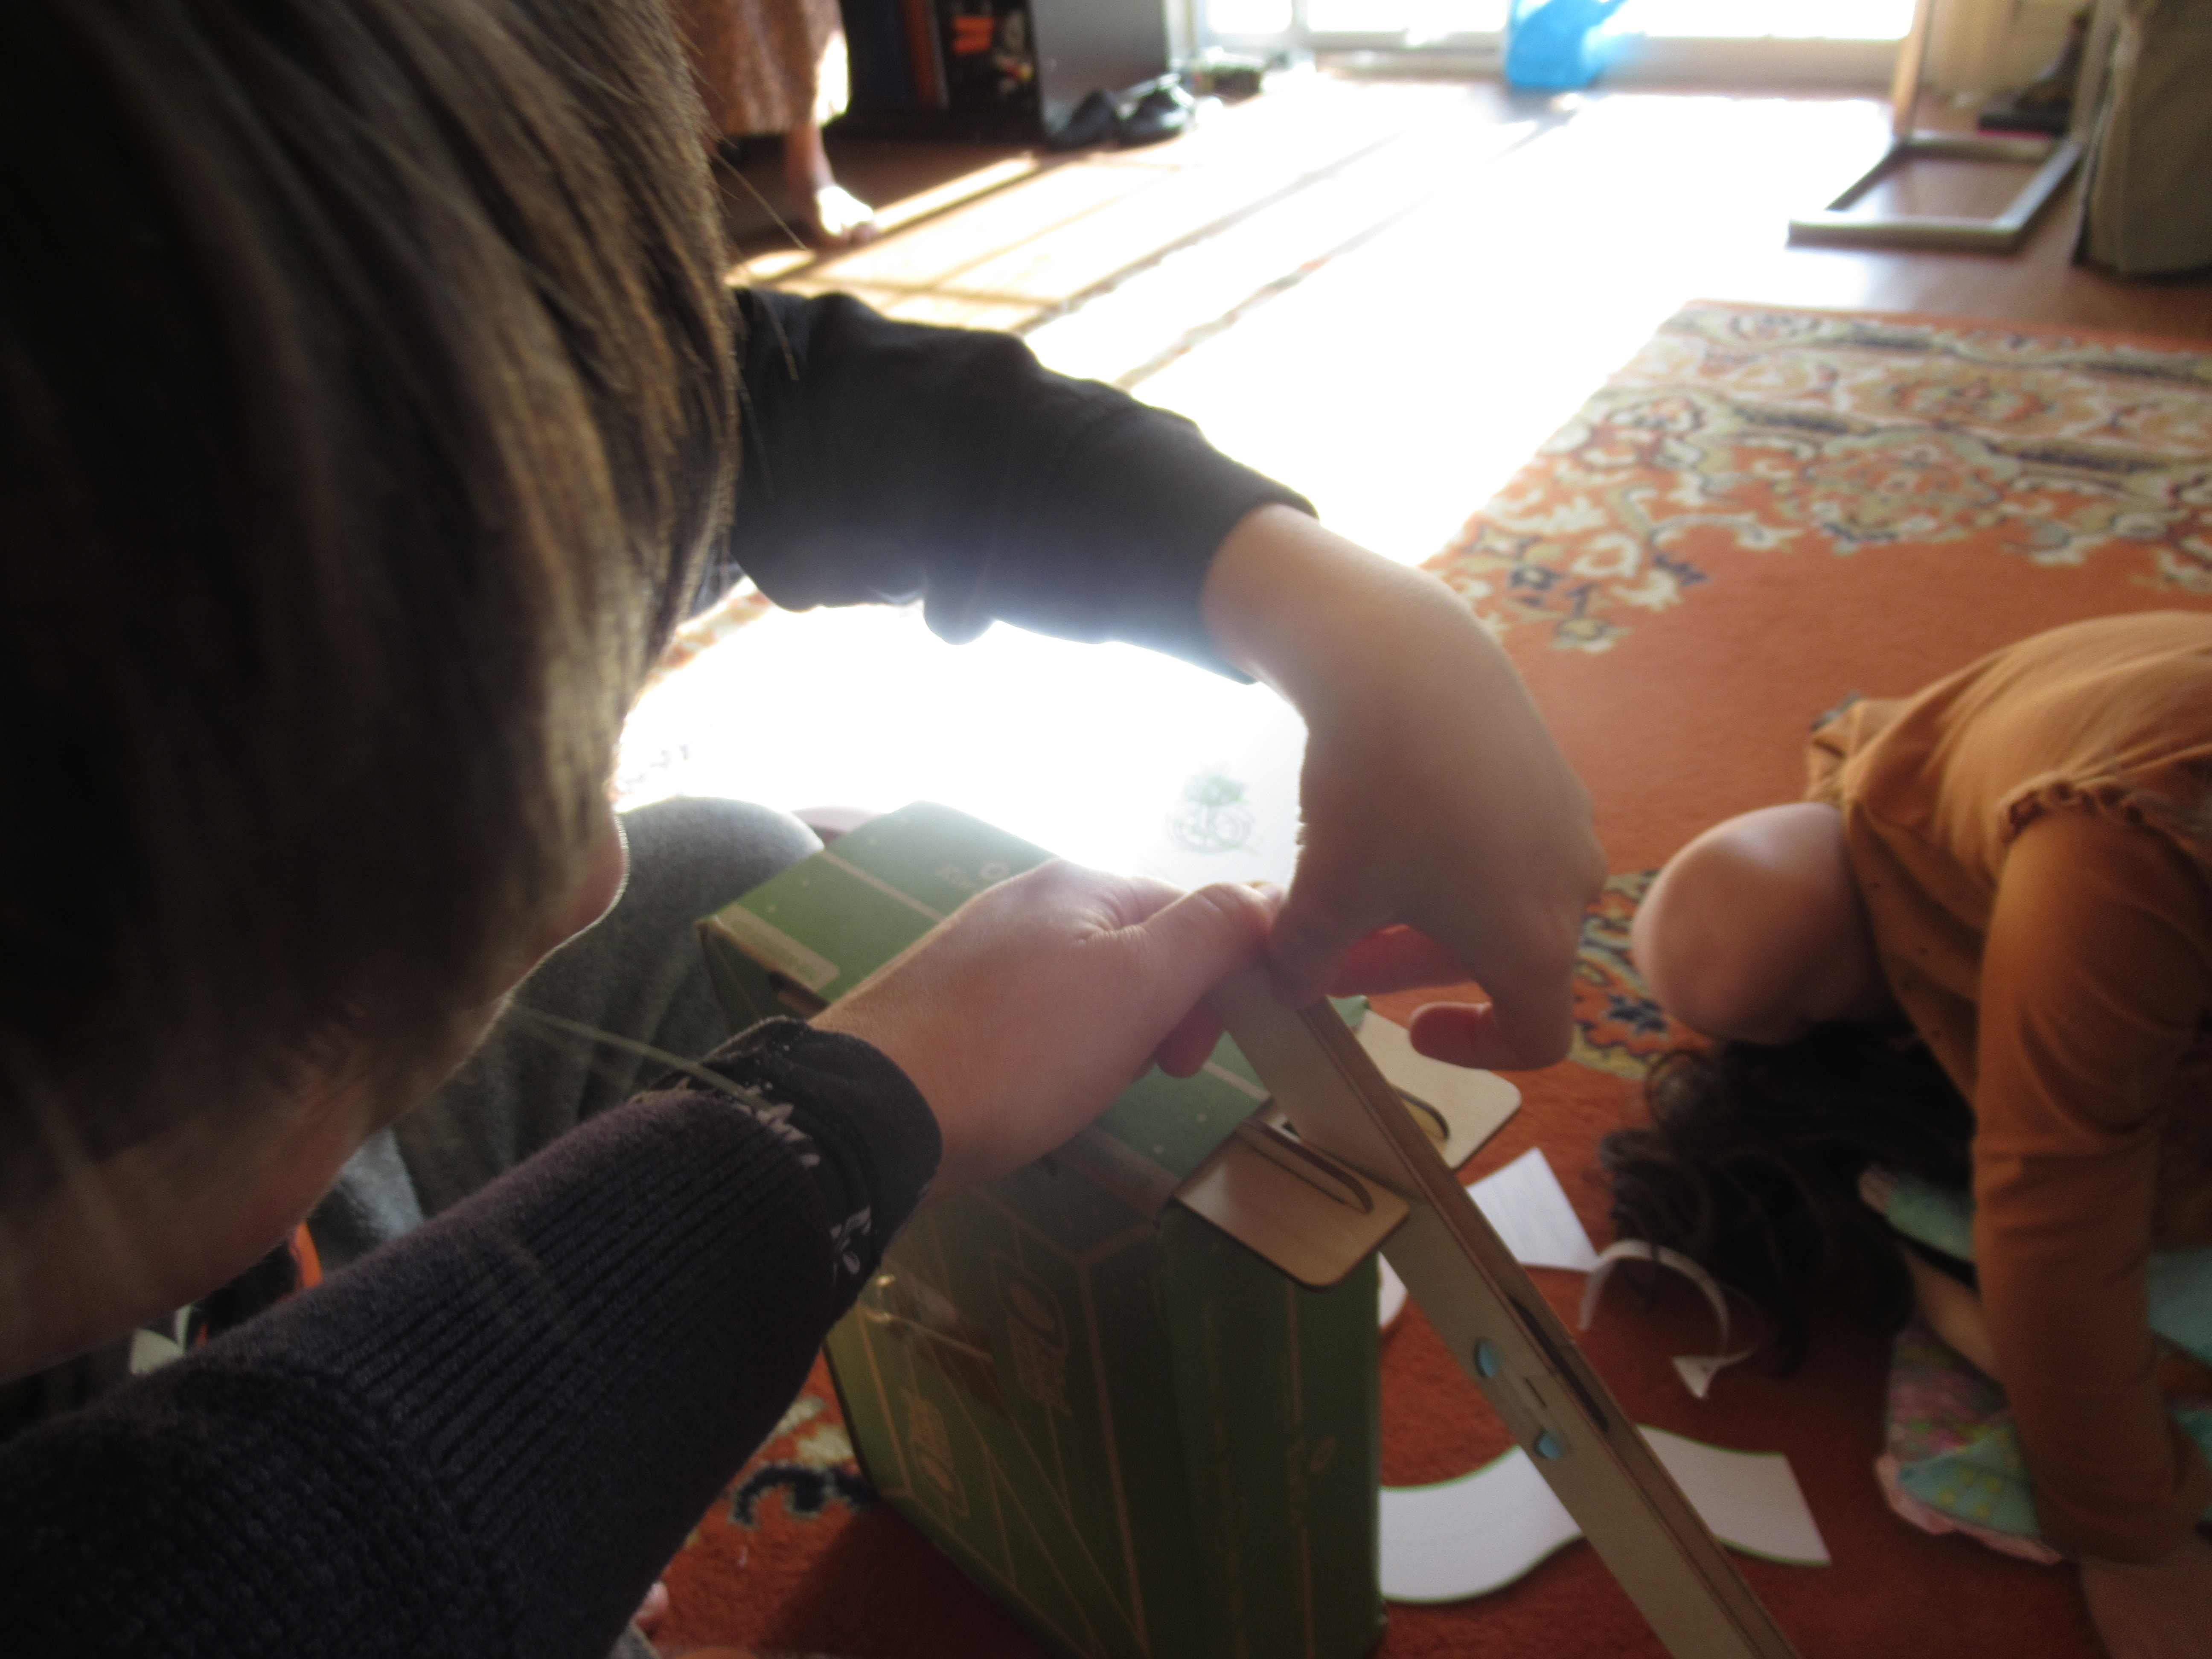
LP Iceland (2)

Canada:

LP Canada

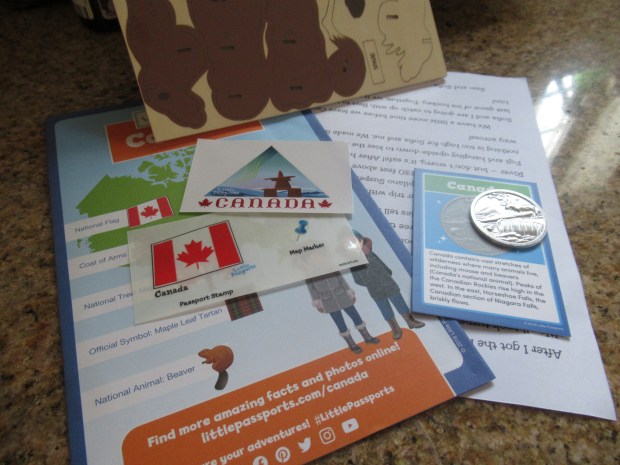
Oh Canada, our final stop! This booklet seemed particularly tricky including hockey score mazes and a spot-the-difference image.

LP Canada (3)

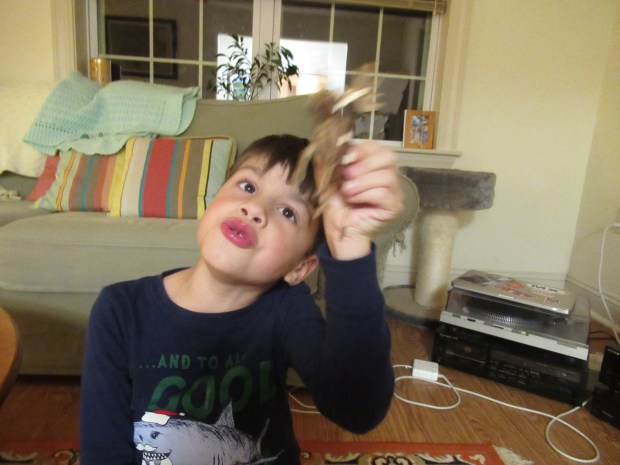
We made cookies sweetened with maple syrup, of course. The souvenir was a wooden moose 3-D puzzle.

LP Canada (2)

For all of the above countries, we checked out photos online and listened to phrases in each language. There’s so much more you can do for a deep dive; perhaps check out a book on each country from your local library, or watch a kids’ movie in the native language. What country would your child want to visit most? Please share in the comments!

International Recipe Round-up

Turkish Hummus (1)

Travis and I have had so much international fun in the kitchen over this past month, making five recipes from five different Little Passports country packages, all of which we adapted to fit our vegan family. Our culinary journey took us all around the world!

Turkey: Turkish Hummus

Turkish Hummus (2)

Ingredients:

  • 2 tablespoons olive oil, divided
  • 3 crushed garlic cloves
  • 1 (15-ounce) can chickpeas, drained
  • 1 cup water
  • 1 lemon
  • 3/4 cup tahini
  • 1 teaspoon cumin
  • 1/2 teaspoon paprika
  • 1 teaspoon salt
  • Vegan jerky
  1. Heat 1 tablespoon oil in a skillet over medium heat. Add the garlic; saute for 5 minutes. Add the chickpeas and water. Bring to a boil, then reduce heat and simmer for 10 minuets; the liquid should be nearly all evaporated.
  2. Meanwhile, zest the lemon, then cut in half and squeeze the juice.
  3. Transfer the zest and juice to a blender, along with the chickpea mixture, tahini, cumin, paprika, and salt. Process until smooth.
  4. Spoon the mixture into an oven-proof dish or skillet. Bake at 350 degrees F for 10 minutes, until warmed.
  5. To serve, drizzle with the remaining tablespoon olive oil and garnish with slices of vegan jerky, our nearest approximation to Turkish dried beef. Skip the bread and eat directly with a spoon!

Canada: Maple Sugar Cookies

Maple Sugar Cookies

Ingredients:

  • 1 cup Earth Balance butter, softened
  • 1 cup brown sugar
  • 1 tablespoon ground flaxseed
  • 3 tablespoons cold water
  • 1 teaspoon vanilla extract
  • 1 cup maple syrup
  • 4 cups all-purpose flour
  • 1/2 teaspoon salt
  • 2 teaspoons baking soda
  • 1/4 cup sugar
  1. In the bowl of a stand mixer, beat the softened butter and brown sugar until smooth and creamy, about 2 minutes.
  2. Meanwhile whisk the flaxseed into the water to make 1 egg.
  3. Add the flax mixture, vanilla, and maple syrup to the butter mixture; beat until combined.
  4. In a large bowl, combine the flour, salt, and baking soda. Add the dry ingredients to the wet ingredients and beat gently until combined.
  5. Roll the dough into one-inch balls and roll in the sugar, then transfer to baking sheets. Bake at 350 degrees for 10 minutes.

Poland: Potato Pancakes

Potato Latkes

Ingredients:

  • 4 baking potatoes
  • 3 vegan eggs
  • 1 teaspoon salt
  • 1 to 2 tablespoons flour
  • Vegetable oil
  • Non-dairy sour cream
  • Applesauce
  1. Peel and grate the potatoes and place in a large bowl.
  2. Make your favorite vegan eggs of choice and add to the potatoes, stirring to coat. Add the salt and flour, adding up to 2 tablespoons until the mixture sticks together.
  3. Coat a skillet with canola oil and heat on medium-high heat.
  4. Add the potato mixture by spoonfuls. Cook on both sides until brown and crispy, about 5 minutes per side. Transfer to plates lined with paper towels to drain and repeat with the remaining potato mixture.
  5. Serve warm with non-dairy sour cream and applesauce!

Italy: Marinara

Marinara

Ingredients:

  • 1/4 cup olive oil
  • 4 garlic cloves, peeled and chopped
  • 1 (28-ounce) can whole tomatoes, undrained
  • 1 teaspoon dried oregano
  • 5 fresh basil leaves
  1. Heat the olive oil in a saucepan over medium heat. Add the garlic and cook for about 4 minutes, until lightly browned.
  2. Add the tomatoes and oregano. Simmer for about 15 minuets, breaking the tomatoes apart as they cook.
  3. Just before serving, tear up the basil leaves and stir into the sauce.

We tried this sauce not just over pasta, but also vegan meatballs, Italian bread, and sauteed eggplant Note: Next time we would use a can of diced tomatoes instead of the whole ones, which resulted in some fairly large chunks.

Iceland: Cocoa Soup

Cocoa Soup

It was hard for us to believe that this rich thick chocolate soup is a main course in Iceland, not just a beverage. We had ours for a snack, but if you add warm bread on the side, it definitely could make a meal.

Ingredients:

  • 3 cups unsweetened coconut milk
  • 3 tablespoons cocoa powder
  • 3 tablespoons sugar
  • 1 teaspoon cinnamon
  • 1 teaspoon vanilla extract
  • 2 tablespoons cornstarch
  • 1 tablespoon cold water
  1. Heat the coconut milk in a saucepan until warm but not boiling. Mix together the cocoa powder and sugar in a small bowl and add to the milk, whisking until combined. Bring to a boil and simmer for 5 minutes.
  2. Stir in the cinnamon and vanilla.
  3. In a small bowl, whisk together the cornstarch and cold water. Add to the cocoa mixture, then bring to a boil and cook for an additional minute, until thickened.

Which country did your family like visiting in the kitchen best? Please share in the comments!

Cheese Bites

Cheese Bites (3)

The ever-expanding non-dairy cheese aisle is truly exceptional these days. To wit, we followed along with suggestions for cheese and snack pairings in Veronika’s latest issue of High Five, and managed to make them all vegan! These were fun to make as little “recipes”, too, since even the youngest kids can help out arranging slices of cheese and fruit on a plate for a mid-day snack.

Cheese Bites (1)

The kids tested out the following:

  • Colby jack (Violife) with red grapes and celery
  • Cheddar (Daiya) with apple slices and Tofurky
  • Soft cheese (Treeline) with red bell pepper and peaches
  • Gouda (Daiya) with pears and kiwi slices
  • Mozzarella (Miyoko’s Creamery) with Spanish olives
  • Feta (Follow Your Heart) with cucumber

Cheese Bites (4)

The winner? Hands-down it was the apple and cheddar. Meanwhile, olives and mozzarella got a big thumbs down. Do your kids have a favorite non-dairy cheese? Please share in the comments!

Cheese Bites (2)

Roller Coaster Science Kiwi Crate

A day off from school was the perfect opportunity for STEM fun in a roller coaster crate from Kiwi Co., focusing on the scientific concept of centrifugal force.

The first project, obviously, needed to be the Roller Coaster itself and this one was heavy on woodworking and engineering.

Travis lined up all the pieces to make sure we had the right number of each part (some with notches, some with slots, etc.). These attach with wooden connectors, followed by spacers, followed by a second layer of the wooden track, and then it’s all held together with clear rubber bands. To be honest, the pieces were tough to notch together and Travis grew frustrated after doing the first couple connection. Luckily mama was on hand to help out – and little sister, too!

Once the track was complete, we placed a water bottle inside the empty Kiwi box, and turned it upright. A wooden track mount notches into the ga; on the side of the box, held in place with a wooden rod and more rubber bands.

The roller coaster sits on a foam and felt base. Time to release the provided silver marbles and watch them loop the loop! Kiwi also provided a paper cup to aim for, and it was fun to move it closer or further until the kids could make the marbles land just right. Travis enjoyed launching the marbles, but the track is very wobbly and needs to be just right for the marbles to stay on it.

For some artwork after all that engineering, he made the Roller Coaster Signs. The kit included color-changing markers; write your roller coaster name of choice on a cardboard sign, then flip the marker around the white tip. Green becomes yellow, purple becomes blue etc., which got a big wow from the kids.

This being Kiwi Co., they even included a “name-o-matic” game of chance for kids to use. Roll a dice and match the pips to an adjective or noun. We ended up with a coaster named the Iron Fury! The signs then stand up with cardboard posts and a foam base, which was also wobbly and another slight criticism of this particular crate.

Finally, Travis made a Spin-o-Tron. Attach foam bumpers to a wooden stick and place two small white balls inside.

If you spin the stick between your hands, the white balls sit in the notches on either side of the bumper thanks to – you guessed it – centrifugal effect again.

Teach Your Child To… Introduce Themself

Introduce (3)

If you’ve ever been in a toddler class where the kids are asked to say their name, then you know how likely it is for little kids to clam up instead. We loved these fun suggestions from Parents magazine to address the issue, which helped give Veronika the confidence to introduce herself now that she’s in a preschool setting!

First, simply practice saying, “Hi, I’m [fill in the blank]”. Teach your child to give a big wave instead of a handshake, here in our pandemic era.

Introduce (1)

Next, we lined up some of her dolls and stuffed friends. She went down the line and said to each one, “Hello cat, I’m Veronika,” or “Hello [doll name], I’m Veronika.”

Introduce (2)

What great practice! Parents also suggests a trick to help older kids remember people’s names: Always say the name before a sentence. So instead of simply saying, “What would you like to play?” he practiced saying, “What would you like to play… Veronika?”

Introduce (4)

This can help your child remember new names at school or after-school activities… And heck, it works for grown-ups too!

Leaf Animals

Leaf Animals (4)

The next time you head out on a nature walk, be sure to collect some of the fall leaves on the ground. They’re begging to be used in so many art projects, and this particular one is perfect for preschoolers.

When we got home and set our leaves out on a tray, Veronika marveled at the colors. “The leaves come from the fall, and snowflakes come from winter!” she told me. Sounds like somebody is learning her seasons at preschool!

Leaf Animals (1)

The first step was to glue our leaves down to colored construction paper. We used reds, yellows, and oranges for the background, to keep up the autumnal color scheme. We then painted our leaves to turn them into various animals. Outlining “cheeks” and the tips of “ears” on a maple leaf made it look like a little fox!

Leaf Animals (3)

Turned sideways, the leaves were more like birds flying (headed south for winter of course). You can either paint on eyes, or glue down wiggle eyes to each animal, too.

Leaf Animals (5)

Veronika’s final creations were decidedly her own. Smiling frogs perhaps? Let your toddler create the animal he or she wants and see what creatures you end up with!

Leaf Animals (7)

We happened to have leaves of only one shape, but if you collect a variety, you’ll be able to explore even more options for painting animals. A long oval might be a deer face with narrow oak leaves for antlers, while a fat oval could be the body of an owl. Please share your animal leaf creations in the comments!

Leaf Animals (6)