Banana Ice Cream

Banana Ice Cream (1)Better known in our house as “Banana Swirl” (thanks to Daniel Tiger!) this healthy and yummy treat is easier-than-pie to whip up, and will delight your kids.

The first step is to peel your bananas, as many as you want, depending how many kids want the ice cream. Figure on 2 bananas to make 1 serving of banana ice cream for a toddler. Ripe bananas work best!

Banana Ice Cream (2)

Travis loved helping to peel them and then use his butter knife to slice them into imperfectly-perfect chunks. Freeze the bananas for at least one hour.

Banana Ice Cream (3)

I wish we’d frozen the bananas a little longer, but Travis was impatient! Soon it was time to give everything a whirly swirl in the blender until perfectly smooth.

Yum, banana ice cream.

Advertisement

Pasta Bead Sequencing

Pasta Bead (4)

Here’s another fantastic activity for the Kool-Aid dyed pasta we made a few weeks back. We’ve already strung together bracelets with our pasta beads, but this time I used the pasta for a slightly more educational purpose.

Using the template available from Kiwi Crate, I printed out pictures of the pasta beads arranged by color, and then had them laminated. You can skip the lamination, but doing so means you can do this activity again and again!

Pasta Bead (5)

Encourage your child to line up the beads in the order that’s shown on the card. As an alternative, give him or her a pipe cleaner, to thread the pasta in order.

Pasta Bead (6)

Travis is a little young to accomplish a task like this from start to finish still, but he loved selecting a pasta piece from his bag and placing it on the correct color. We’ll work up to completing the whole sequence on pipe cleaners as he gets older!

Pasta Bead (3)

This activity would be perfect for on-the-go moments when you need to keep your kiddo occupied, like a restaurant or waiting room.

Pasta Bead (1)

Update: At closer to 3, Travis now loves doing this activity directly onto a pipe cleaner!

kool aid update.JPG

Make a Rain Meter

rain-meter-2

Rainy March sure came in like a lion, and seems to be ending the same way! Meaning it was the perfect time to make a rain meter! Travis wasn’t especially interested in making this craft (another clever suggestion from High Five magazine), but he sure loved the results!

To make the rain meter, we laid a fork along a piece of masking tape and made 5 notches. Label them 1 through 5, having your child count along with you.

rain-meter-1

Place the tape on a plastic cup, then secure the cup some place outside where rain will fall. We taped ours quite securely to the balcony because our rain storm involved a lot of wind!

The next morning, we could check on our results. When I told Travis the liquid in the cup was rain, he was amazed. “Can I hold it?” he asked. “Can I touch it?” I have to admit, I’ve never put my fingers in a cup of collected rain water either, and it was neat to think that they started out as individual rain drops!

Rain Meter (4)

After the first storm, the rain was just above our 1 mark. We intend to keep collecting through upcoming April showers to see how much spring rain we get!

Rain Meter (3)

Spray Bottle & Watercolor

Spray Bottle (8).JPG

Travis has recently loved using a spritz bottle to “clean” alongside me. I’ve set up safe zones in which he can do so without getting the whole house wet – bathtub tiles, his chalkboard – but thought he’d love it if I granted him permission to spritz from the spray bottle in a rather taboo way… With colored water!

To make our “paint” we added one pack of Kool-aid – in black cherry thank you very much – for a nice dark result.

Spray Bottle (1)

I set Travis up with paper and newspaper to spray to his heart’s content, but it quickly became apparent that neither was absorbent enough.

Spray Bottle (4)

A switch to watercolor paper saved the day! We loved exploring the ways the bottle could make small dots from further way, and big wet blobs when held close to the paper.

Spray Bottle (6)

As a bonus, your “paintings” will smell fantastic once finished, making this a nice project for the senses as well.

Spray Bottle (7)

Be forewarned: Kool-aid stains, so you need to be careful or things will get really messy. You might consider waiting and doing the activity outside in the warm weather!

Stress Ball

Stress Ball (3).JPG

“Terrible twos” don’t have to be terrible. A simple too like a stress ball can help your child calm down in a rough moment – and help you stay joyful as a parent! We talked a lot about feelings lately with our Koala Feelings crate, and helping your child identify frustration is a key first step in quelling a tantrum.

Ready to help your toddler squeeze away emotions? Grab a balloon, a funnel, and cornstarch. Lacking a funnel, we actually used an old party horn, which was shaped perfectly!

Stress Ball (1)

Inflate the balloon a couple of times to stretch it out, then insert the funnel. Gradually add your cornstarch until the balloon is filled; you may need a kebab skewer or pencil to help push the cornstarch down – Travis loved this part.

Stress Ball (2)

Now it was time to give a squeeze; he thought it was very cool how soft and squishy it was. The stress ball would also work great in situations where your child is nervous or scared!


Marshmallow Sculptures

Marshmallow Sculpt (3)

Travis and I had some gooey fun attempting to make sculptures from marshmallows last November, but I confess our attempts were foiled by using large marshmallows and unsteady straws as construction materials.

This time we used toothpicks and the small marshmallows from Dandies, and were able to create much sturdier constructions! Note: I recommend playing this game soon after your child has had a meal or a snack – that way the marshmallows will be viewed more as building material, and less as a treat to eat… Although we did sneak a few bites along the way!

Already compared to November, Travis was much better at construction. He loved adding a marshmallow to either end of a toothpick, and loved that they looked like Q-tips!

Marshmallow Sculpt (2)

I then helped arrange these into more complex structures, whether two-dimensional shapes…

Marshmallow Sculpt (1)

Or three-dimensional creations.

Marshmallow Sculpt (6)

The project was a great way to discuss shapes and dimensions! We even tried a double-decker hexagon.

Marshmallow Sculpt (7)

In sum, sticky fun for everyone.

Marshmallow Sculpt (4)

Paint Up a Storm

Paint a Storm (7)

This idea from our April copy of High Five magazine was the perfect project on a gray day as we head into rainy April – what better way to help children enjoy all those April showers that will bring May flowers??

To start, we looked out the window at the stormy day, and I asked Travis what colors he saw, pointing out various tones of gray and deep blue. I asked him if he wanted to paint the day, and his enthusiastic answer was yes!

I set out watercolor and watercolor paper, but first we needed to add our “raindrops”: tear bits of masking tape into pieces, and adhere to the paper; when you remove the pieces later, you’ll have white raindrops left behind.

Paint a Storm (2)

Travis barely paused for this step before diving for the paints. He talked as he worked about the various shades of blue he made…

Paint a Storm (3)

…and then impressed me by painting “puddles”!

Paint a Storm (5)

Mama made her own watercolor while he worked, and we collaborated on a third, ending up with three stormy paintings.

Paint a Storm 6)

Let the watercolor dry completely before removing the tape and revealing your “rain drops”.

Paint a Storm (8)

The paintings are perfect to transform into gifts. We folded one in half to make a “Cloudy Card” as a gift for his grandpa. A second one we cut into strips to be “Rainy Day Bookmarks.”

Finally, we glued a photo in the center of the third, making a Stormy Weather Picture Frame – the perfect gift for daddy’s desk!

Paint a Storm (1)

What other gift ideas can you think of with these stormy paintings? Please share in the comments!

Scented Salt Dough


Scented Dough (5).JPG

Salt dough projects aren’t just for Christmas ornaments – we brought the scent of spring into our house with this neat take on the project!

The first step was to whip up salt dough of course, and Travis always loves projects that involve mixing. In a bowl, combine:

1 cup flour

1/2 cup salt

1/2 cup water

If your dough is too sticky, simply add a little more flour. Next we mixed in just a drop of food coloring and kneaded it in, resulting in a pretty marbled effect. Lavender and green felt like the perfect spring shades!

Scented Dough (1)

Instead of Christmas shapes, we rolled and cut our dough into animals like sheep, pigs, and cows. And of course Travis had fun just playing with the dough for a while, and requesting extra flour to make his hands a springtime mess!

Scented Dough (2)

Bake the dough at 350 degrees F for 30 minutes.

Scented Dough (4)

Once it cooled, we added the finishing touch – a drop of lavender oil to the back of each piece. After that, the whole apartment smelled like springtime!

Scented Dough (3)

A Week!

A week (17)

I can hardly believe it, but we’ve reached the end (beginning) of our Letter of the Week journey, begun last September. Twenty-six letter weeks (plus a few holiday weeks) later, I can say I have loved every step of this project. Travis can identify every letter, and understands the concept that letters are connected to words, the very first step toward reading. In addition, these weeks have helped me to be creative and joyful as a parent, deciding what would fill our activities and games based on the current letter each week. So please, go back through all my letter posts and I hope you enjoy as much as we did!

But first, don’t forget to take a look at our A week…

A week (2)

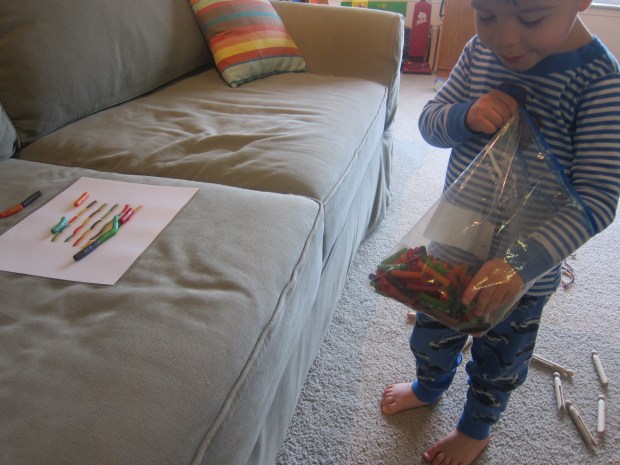
Animals: Pull out all your animal toys of course, whatever you have. You’re guaranteed to have some lying around, whether stuffed animals, plastic animals, puzzle animals, and more. In addition, we went back to old favorite games like an animal safari this week, and then acted out animals with a game of charades.

A week (6)

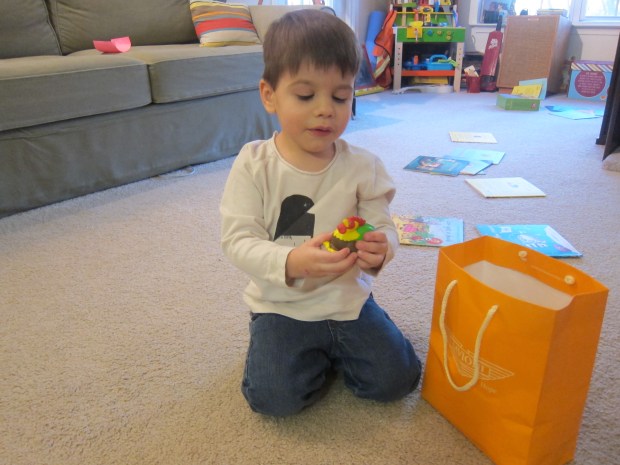
Put your child’s toy animals in a bag or bin, and take turns selecting. Act out the animal you selected and let the others guess what you are.

A week (9)

Apron: Pop a toddler-sized apron over your little one’s head and have them join you in the kitchen this week!

A week (13)

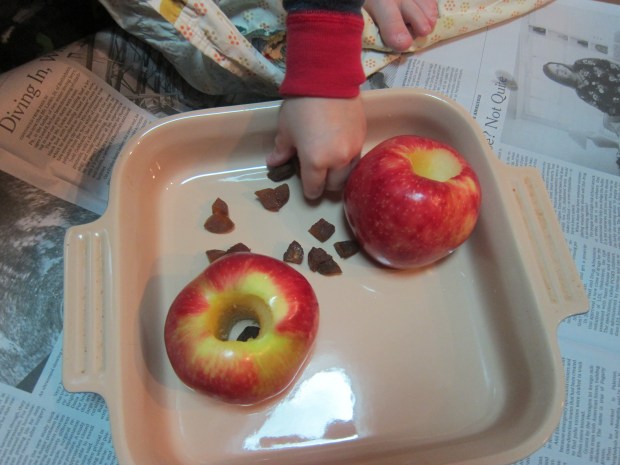
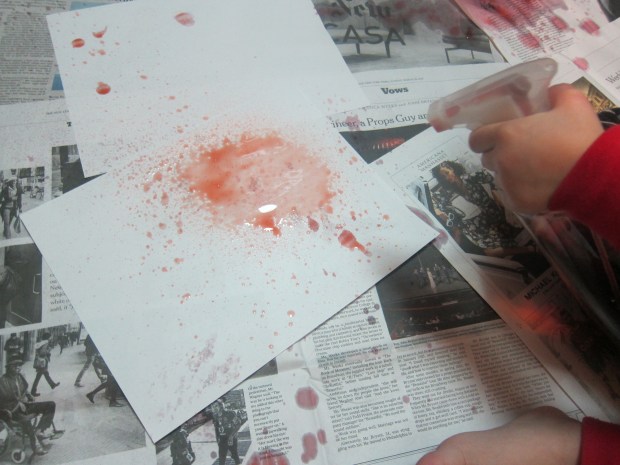
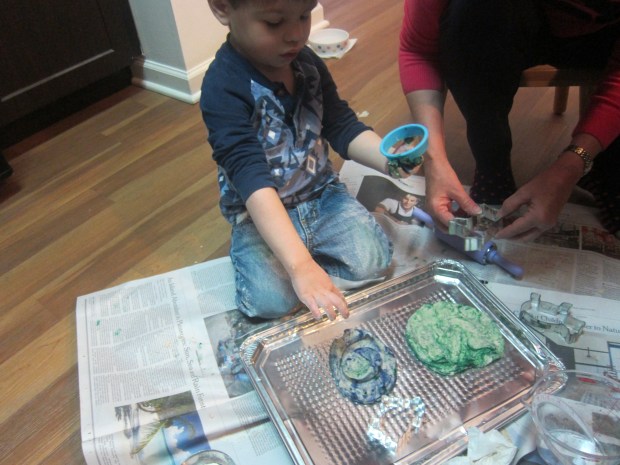
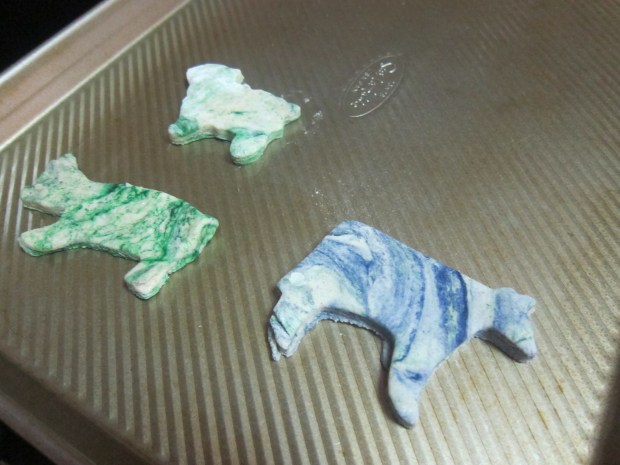
For bonus points, make sure your main ingredient starts with an A, as in the stuffed baked apples we put together.

Acorn Jewels (6)

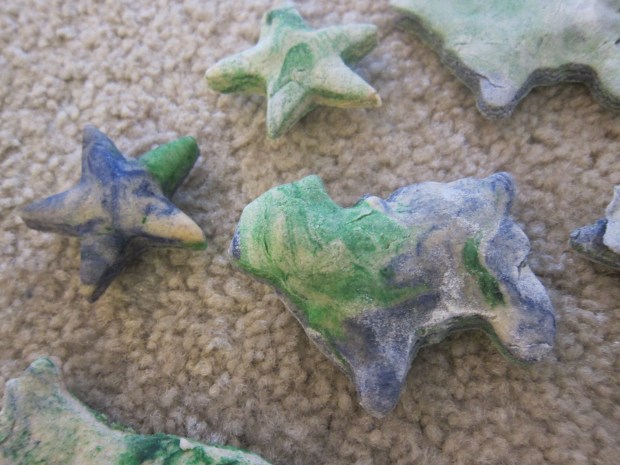
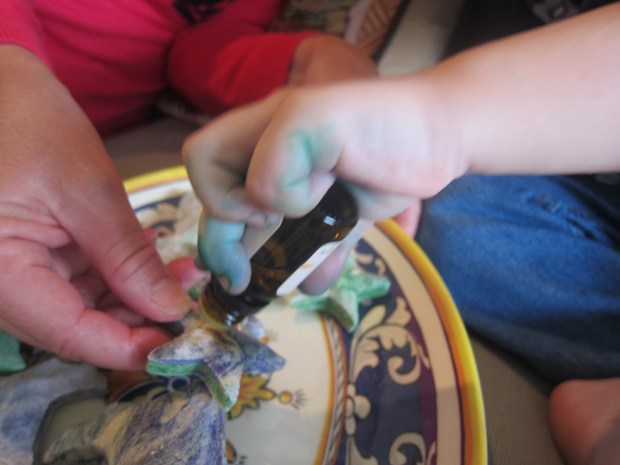
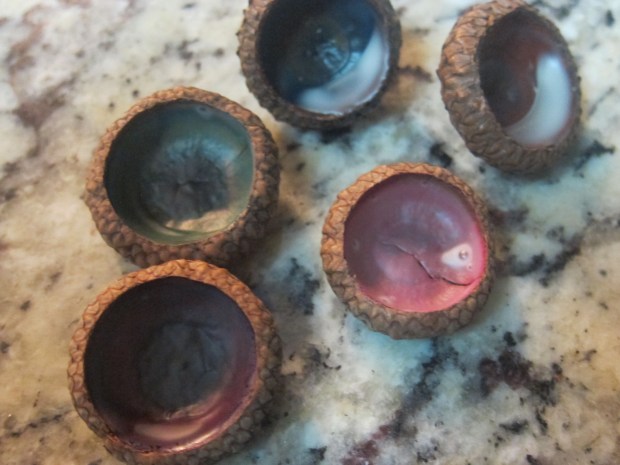
Acorns: We used a little collection of acorn caps (gathered at last week’s bird sanctuary!) and turned them into acorn jewels. Acorns lend themselves to any number of arts & crafts, so if “jewels” aren’t your cup of tea, fashion them into whatever your child will like best.

aquarium (1)

Aquarium: For our field trip of the week, we headed to a local aquarium! (Please note that I do not recommend facilities keeping dolphins and whales in captivity).

A week (14)

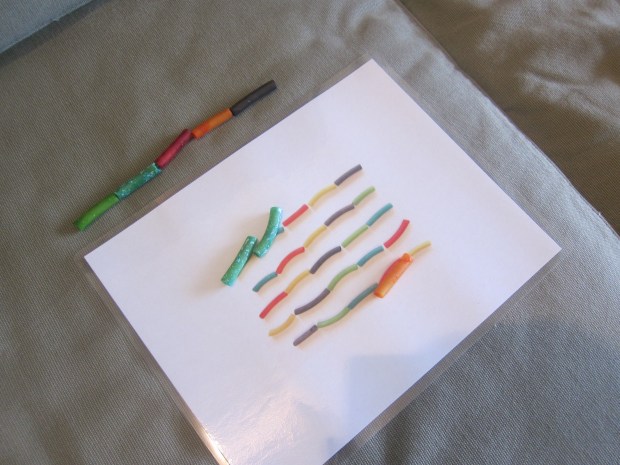
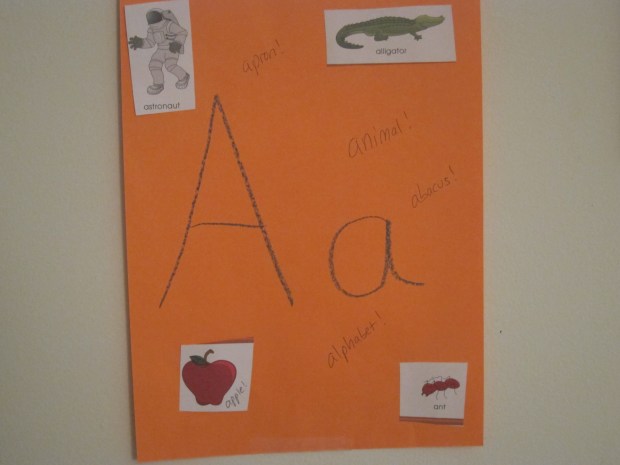
Alphabet: How appropriate that A week could also be a sort of recap week, since alphabet begins with (of course) A. We put together an alphabet flower garden, played with alphabet tiles, and searched for alphabet beads in a big bin of colored rice.

A week (7)

And some extras…

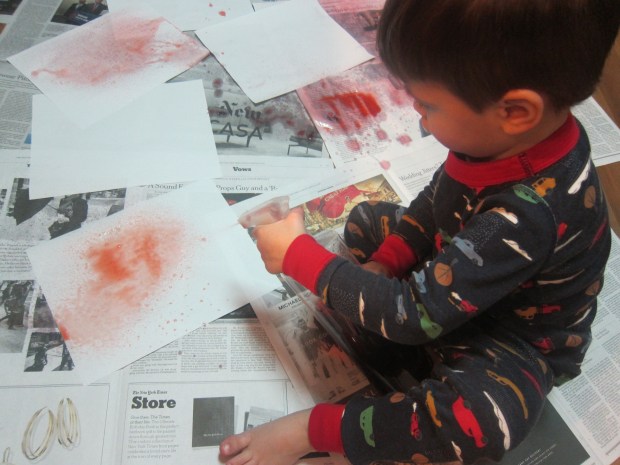
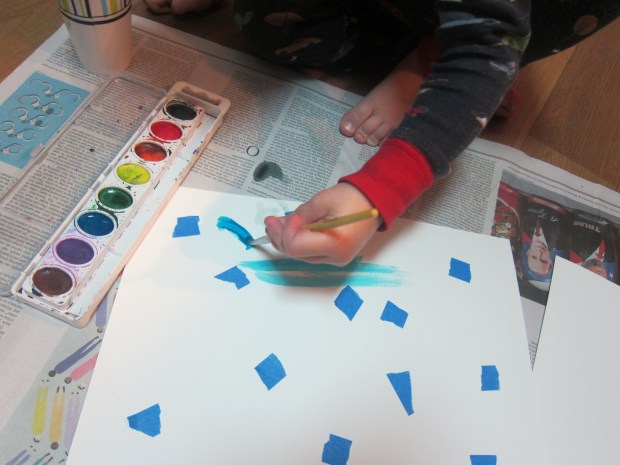
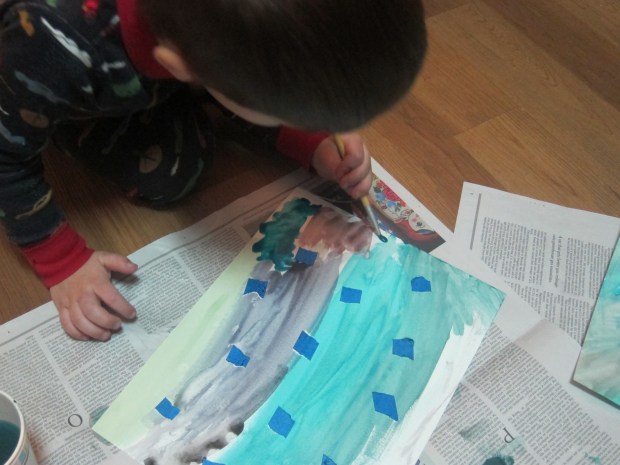
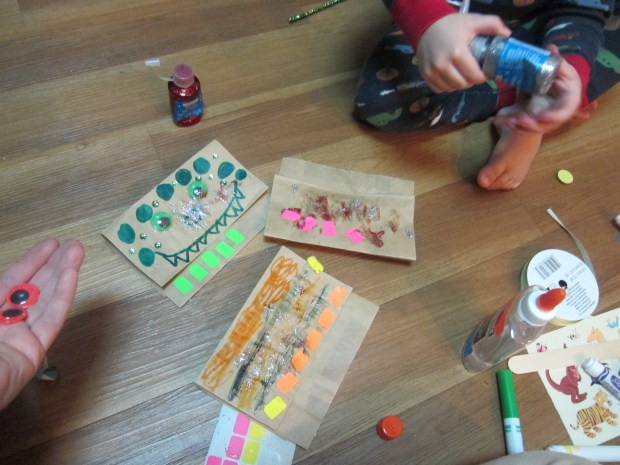
Fine art: The suggestion from Letter of the Week was to assemble paper bag animal puppets. I wanted to Travis to have full range of creativity, so rather than assign him a specific animal to make, I let him create and then built off his design to finish our puppets. He loved using glitter glue and stickers, and we wound up with an alligator and a tiger.

A week (12)

Food: In addition to painting with apples, we ate them in the form of applesauce. Travis also enjoyed animal crackers, avocados, and alphabet soup

A week (10)

Songs: Ants Go Marching is a big hit around here, and we also watched the clip of April Showers from Bambi (which brought back nostalgic memories!).

Books: Some favorites this week included apple books (Secrets of the Apple Tree and The Apple Pie Tree by Zoe Hall), Let’s Be Animals by Ann Turner, Eating the Alphabet by Lois Ehlert, and Alligator Wedding by Nancy Jewell. Check out your library’s non-fiction section for a cute intro to astronauts as well!

A week (15)

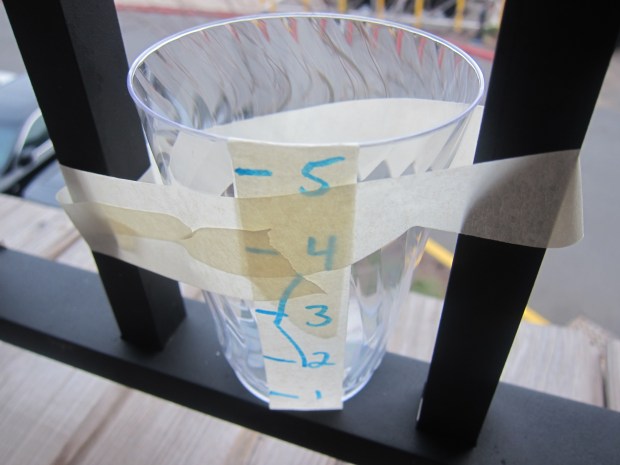
Math: An abacus was the perfect tool to help Travis visualize his age. I started by showing him two beads for his own age, then showed my age, my husband’s, and the ages of his friends and cousins. He loved seeing two ages in comparison (i.e. himself versus his 6 year old cousin). For preschoolers, you can use your abacus for early addition lessons as well!

A week (16)

All’s well that ends well… Thanks for reading along on this journey!
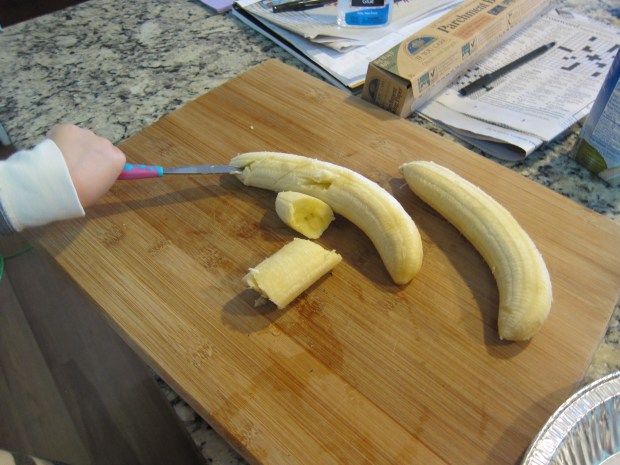
Acorn Jewels

Acorn Jewels (5).JPG

Although this project didn’t turn out quite as well as I hoped, I still love the idea and want to share!

The first thing you’ll need to make acorn jewels is… acorn caps! We didn’t let winter deter us from heading outside to collect a few. In fact, with all the acorns eaten up by animals, we found lots of large empty caps that were perfect for this project.

Next we needed to wash the winter dirt off of them, so gave the acorn caps a quick bath. This was arguably Travis’s favorite part of the entire project.

Acorn Jewels (1)

Color in each acorn cap with marker, preferably in a variety of jewel tones and bright colors. We used fabric marker, but I think maybe those Mr. Sketch scented markers would work better.

Acorn Jewels (2)

Now fill each cap all the way with glue.

Acorn Jewels (3)

Let sit for 24 to 48 hours – the glue should be completely dried up, and the color will have seeped into it, leaving a jewel tone behind.

Acorn Jewels (4)

What will you do with your acorn jewels? Please share in the comments!