Pumpkin carving is an obvious Halloween activity, but don’t neglect what a fantastic sensory experience the whole process is, even before you get to that spooky carved face. And that goes not just for toddlers, but for big kids, too!

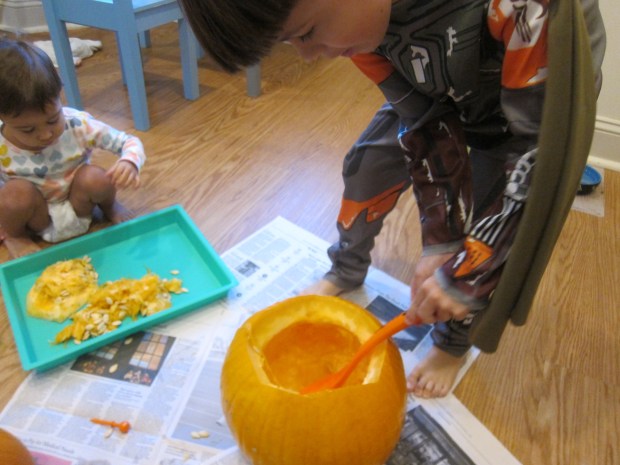
First, I set out our biggest pumpkins, along with newspaper underneath, a tray to catch all those insides, and a few zip-top bags. The kids had eagerly awaited this moment, as we’ve decorated smaller pumpkins here and there in anticipation. I invited them to explore the giant pumpkin first: the texture, the color, the smell, etc.

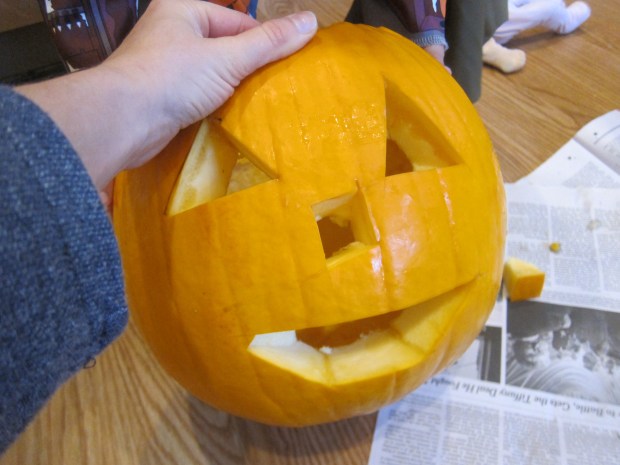
Then we cut off the top (grown-up step!). Now, the lid is like a puzzle piece that kids could take off and fit on over and over again.

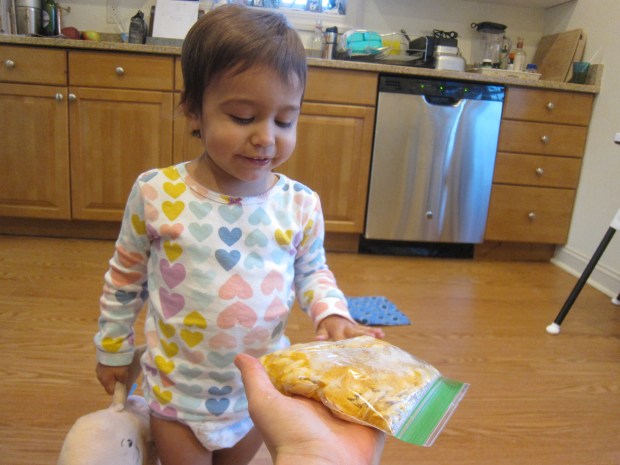
Time to scoop! Pumpkins are fascinating inside, starting with those stringy guts and slippery seeds, and then scraping down to the firmer flesh. I spooned some of the insides onto a tray for Veronika to explore with bare hands.

She also wanted to smell it!

I also sealed some in a zip-top bag in case the goop made her squeamish, but she actually preferred the stuff on the tray!
She also loved stirring through the mixture with our pumpkin scoop, which we could also tap against the pumpkin to play it like a drum!
 At last it was time to carve. We shifted a bit from sensory mode to learning mode, because as I popped out the first eye, Veronika said, “A triangle! I want a square.”
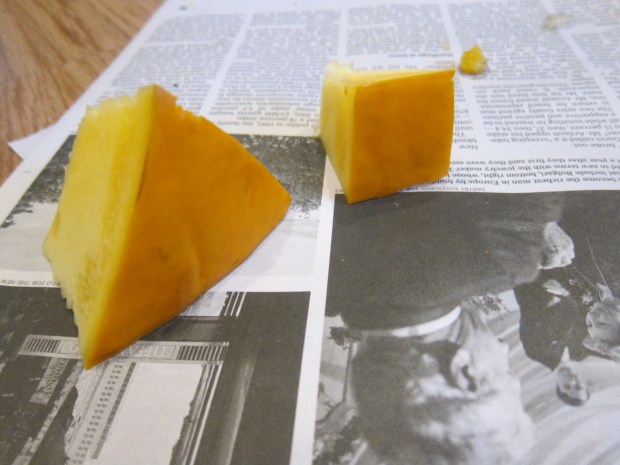
So now I was on the spot to carve a square nose!
The final sense to explore in a pumpkin is taste of course. We rinsed the seeds (which easily separate from the stringy stuff). Pat dry, then toss with about 1 tablespoon olive oil and 1/2 teaspoon salt. (Note: We had one cup seeds, so use more or less oil and salt depending how many seeds your pumpkin yields).
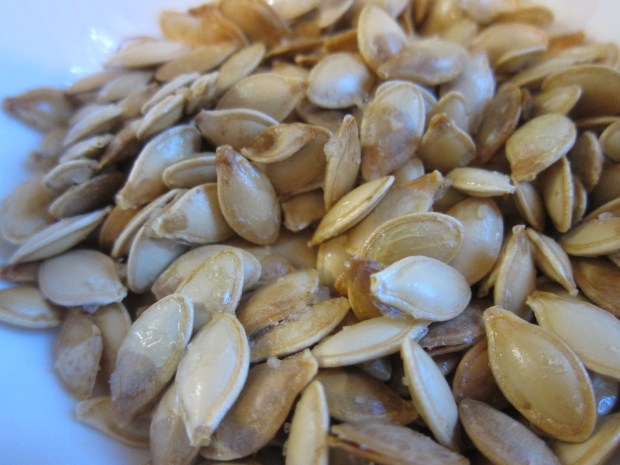
Roast at 400 degrees F for 10 to 15 minutes, then enjoy!

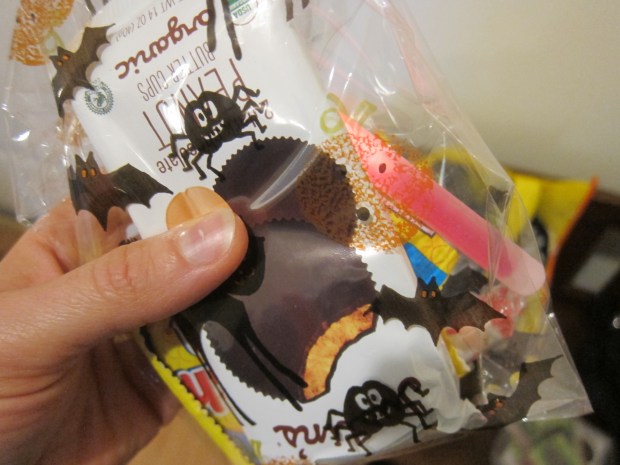

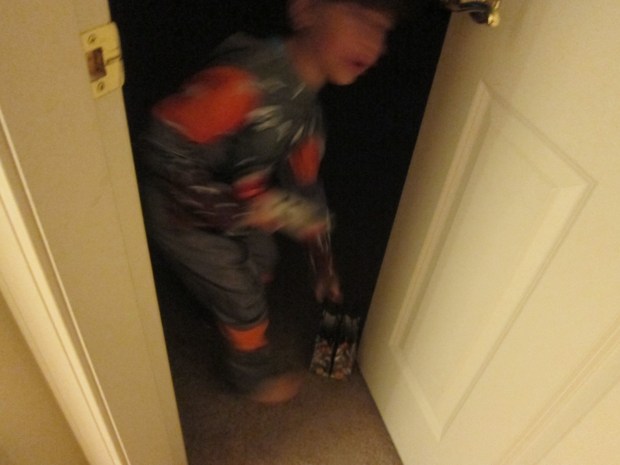

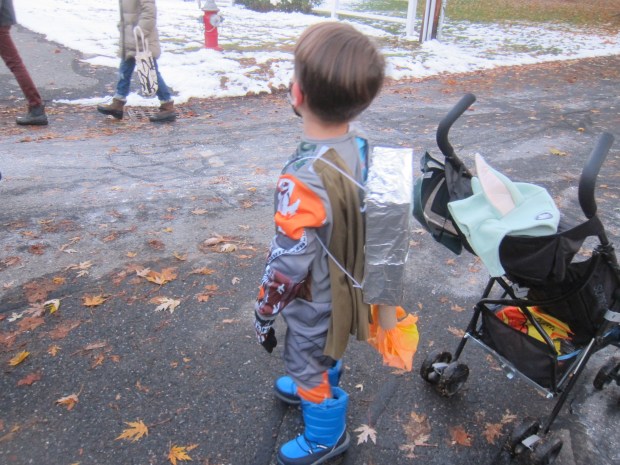 My little trick-or-treaters came home with quite the haul. So it’s safe to say, Halloween did not disappoint.