Frosted Cauliflower

Frosted Cauliflower

The kids enjoyed a recent recipe for whole-roasted cauliflower so much that we tried a second version today!

Ingredients:

  • 1 head cauliflower
  • 1/4 cup plain non-dairy yogurt
  • 2 tablespoons yellow mustard
  • 1 teaspoon agave nectar
  • 1/2 cup shredded vegan cheddar
  1. Trim the stem and leaves from the cauliflower and place in an 8×8-inch baking dish.
  2. In a small bowl, whisk together the yogurt, mustard, and agave nectar. Spread over the cauliflower head… just like you’re frosting a cake!
  3. Sprinkle with the cheddar, then cover and bake at 350 degrees F for 20 minutes. Uncover and bake an additional 25 minutes, until tender.
Advertisement

Waffle Rover

Waffle Rover (7)

What’s better than a little Mars Rover your kids can steer around the house? One they can eat, of course!

Waffle Rover (1)

This cute recipe comes together in mere moments. Toast two waffles and then trim the edges so you have 2 squares instead of 2 circles. Reserve one of the cut pieces and trim into a small rectangle (this will later be the rover’s head).

Waffle Rover (3)

Spread one waffle square with any sweet sticky spread. We tried one version with chocolate-hazelnut butter and a second with sunflower seed butter. Place the second waffle square on top. Spread additional sticky spread along two sides of the square and attach banana slices as wheels.

Waffle Rover (4)

To build the head of the rover, thread 2 blueberries onto a toothpick, followed by the small waffle rectangle and a final blueberry.

Waffle Rover (5)

We found that our rover head stood up better if we used two toothpicks instead of one.

Waffle Rover (6)

Chances are your rovers won’t have long to explore before they’re gobbled up!

Pocket Matching

Pocket Matching (14)

I had a few old scraps of fabric floating around our craft bin that were begging to be put to good use. So I put together this quick project for Veronika!

To start, cut a pocket shape from at least 3 different fabric swatches. (Note: you could also use gift wrap if you don’t have fabric).

Pocket Matching (1)

Arrange them on a piece of poster board and cover with contact paper. Carefully use a craft knife to make a slit at the top of each fabric swatch so that you now have pockets.

Pocket Matching (4)

To make “handkerchiefs” for each pocket, I cut two rectangles from each fabric pattern. Place these on squares of poster board as well and cover with contact paper. You’ll notice I needed a little extra tape to secure the fabric on the edges since my contact paper peeled off, which sort of spoiled the effect. Luckily, Veronika didn’t mind!

Pocket Matching (5)

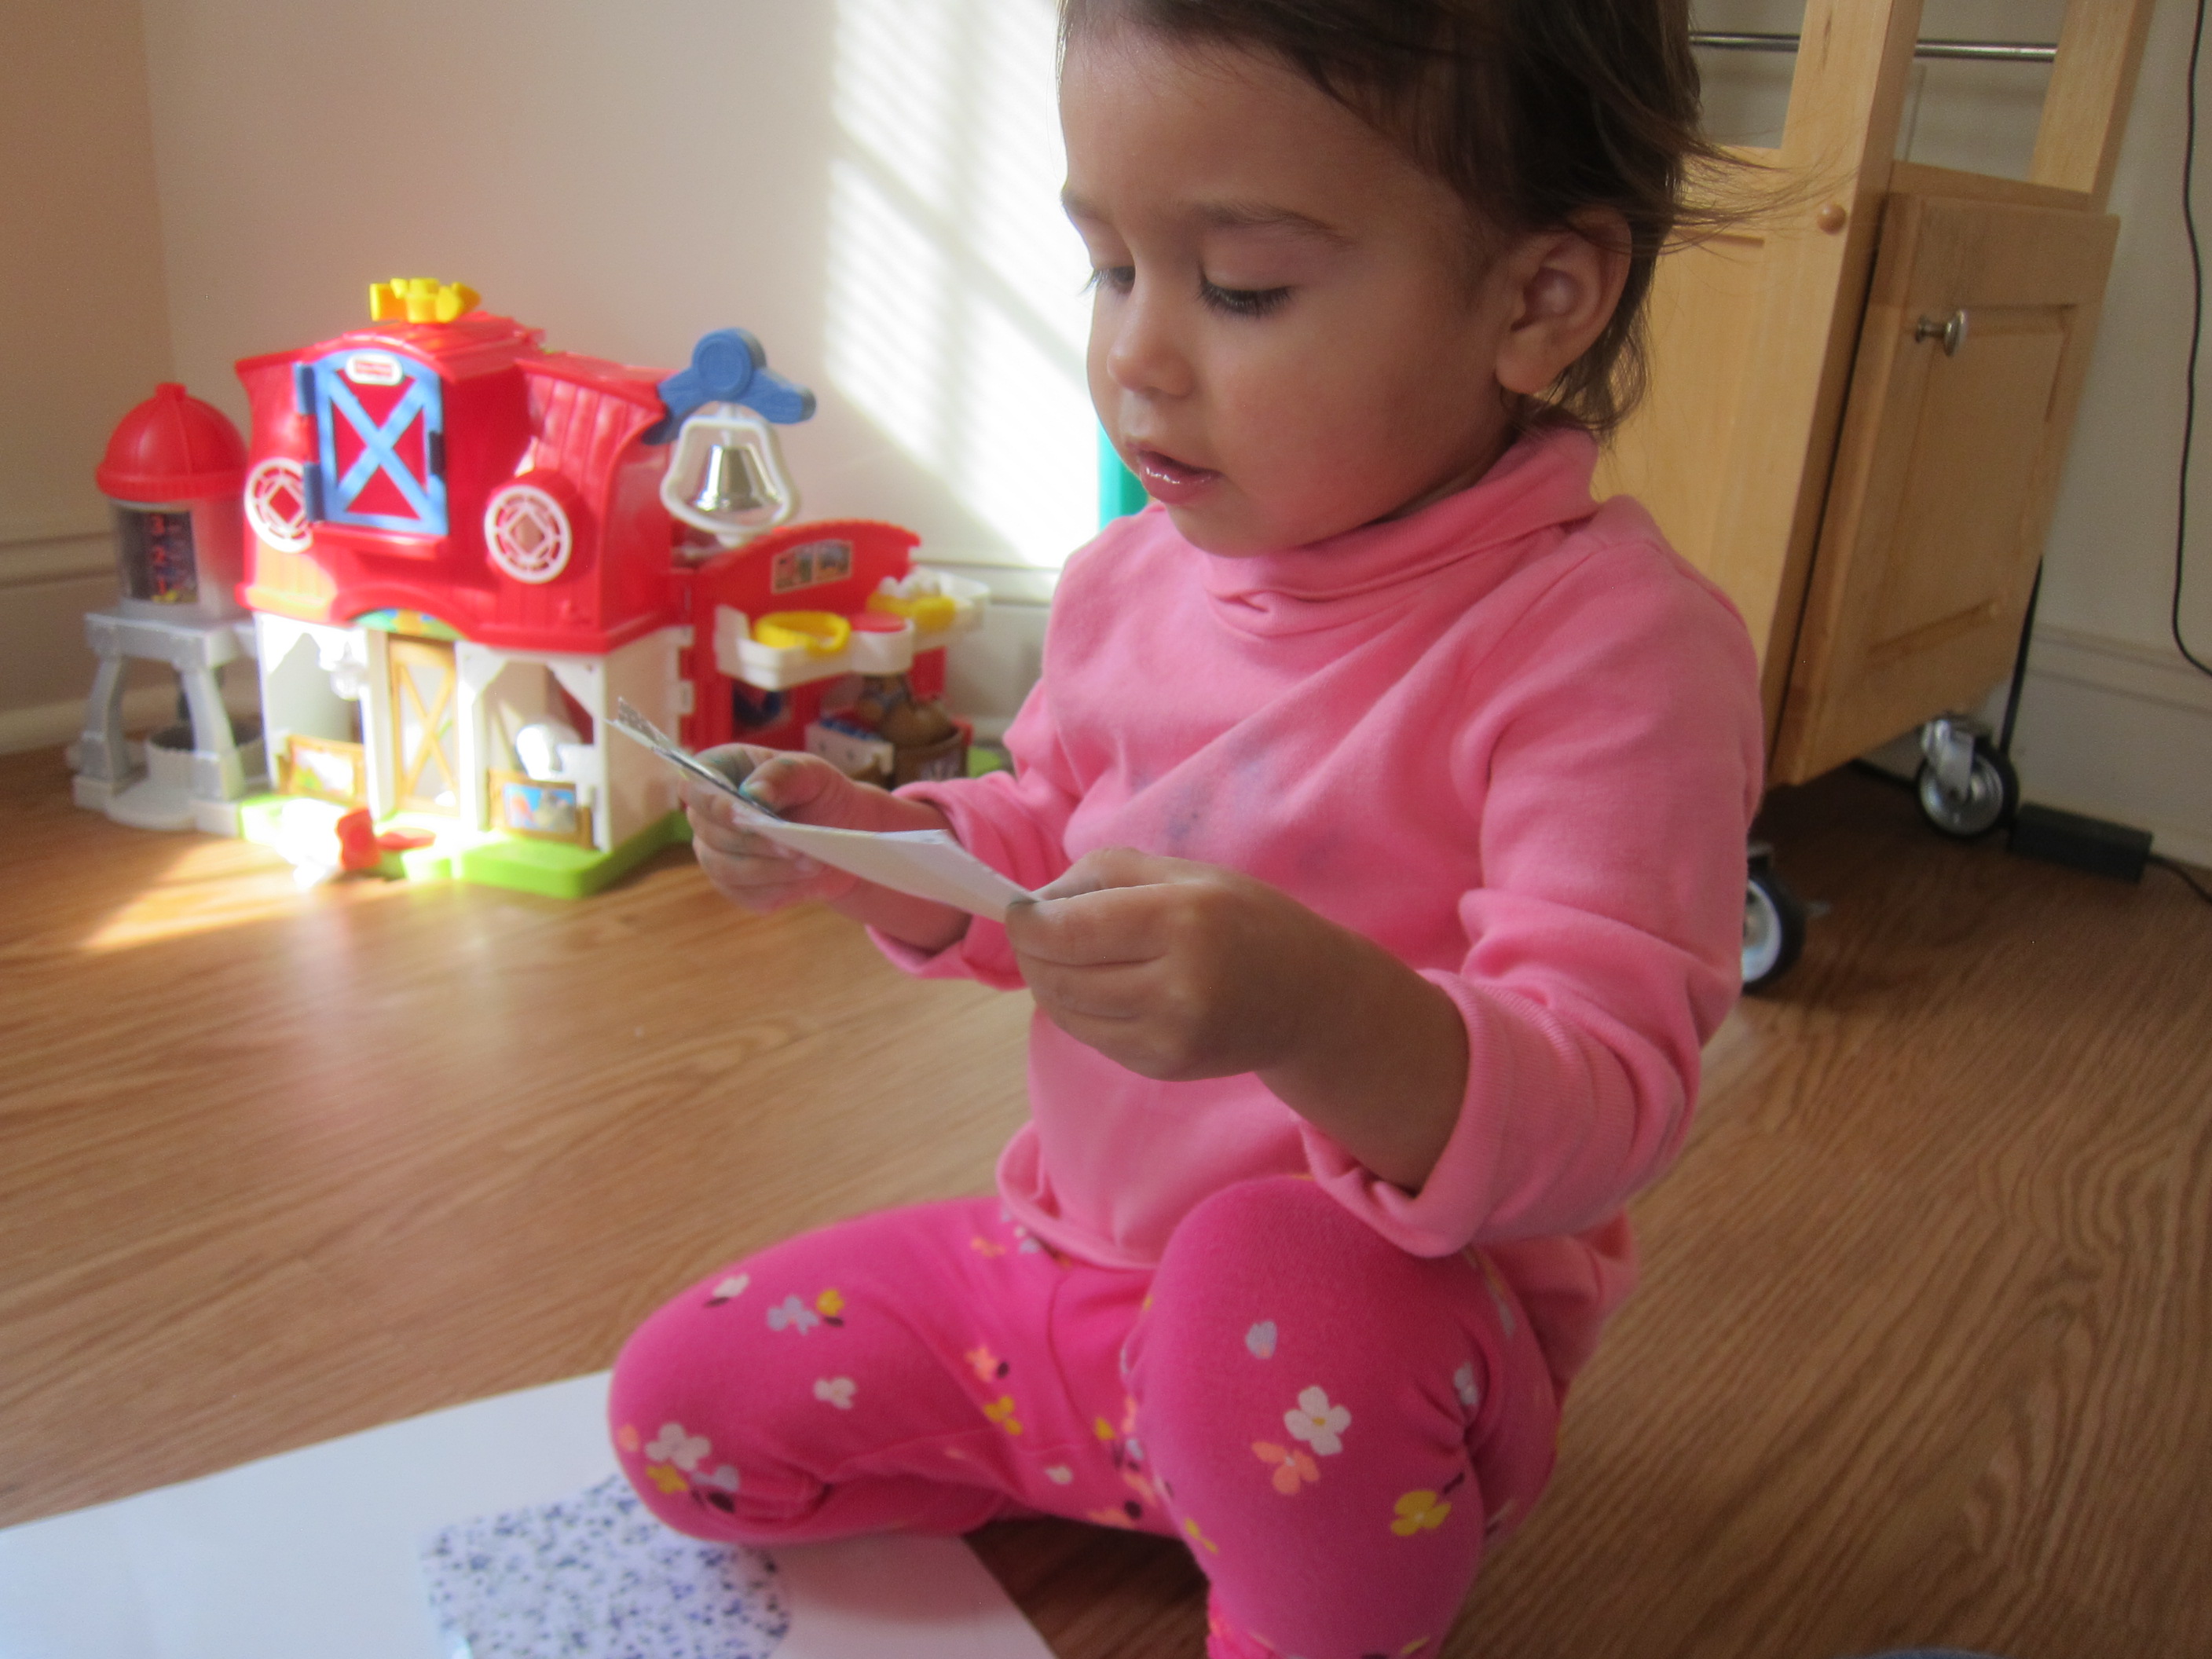
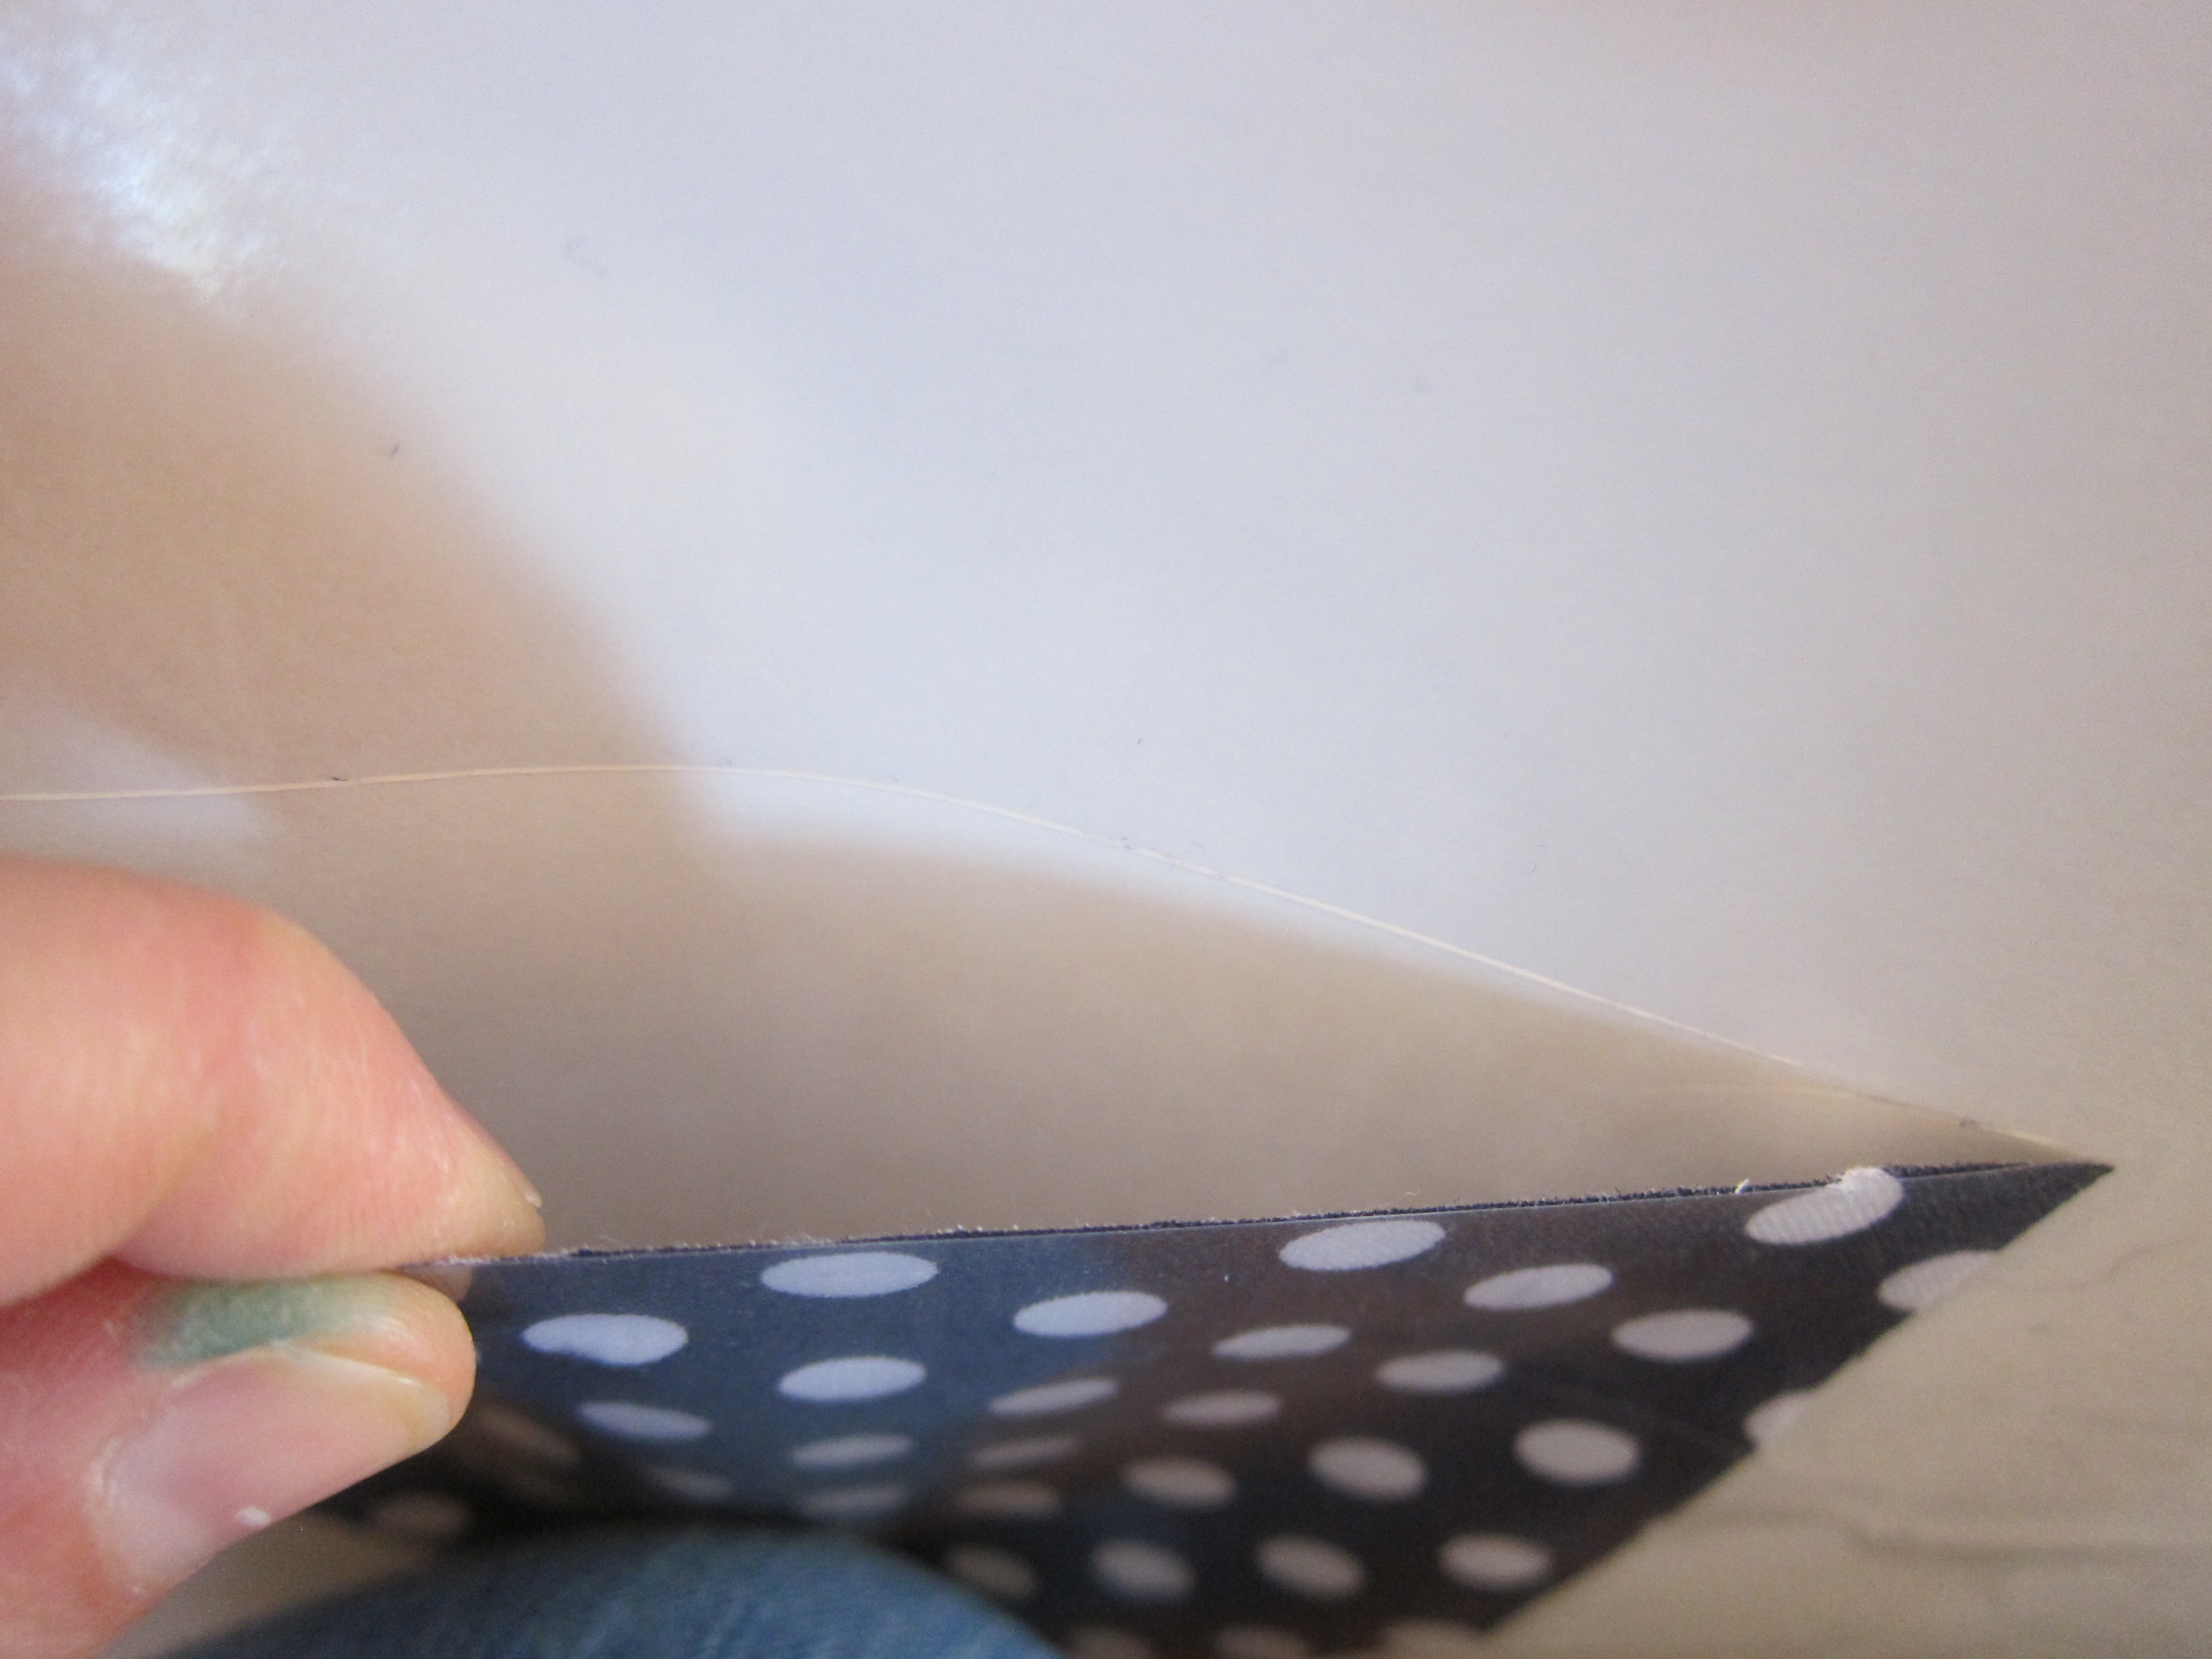
Now, I set down the poster board and laid the rectangles next to her. Because it stood out the most, I first asked her to find the polka dot fabric. Could she put it in the polka dot pocket? Yes!

Pocket Matching (8)

As soon as she had the idea, she matched up white flowers to white flowers and blue flowers to blue flowers.

Pocket Matching (7)

She absolutely adored these little “handkerchiefs” and opened up the pockets to find them and repeat several times.

Pocket Matching (11)

When I wasn’t directly guiding her, she mix and matched patterns of course. But she seemed aware of this, too. “They don’t match!” she chirped up at one point, putting the polka dot rectangle into one of the floral-print pockets.

Pocket Matching (12)

This activity is great both to engage directly with your toddler and to leave him or her to it solo as a busy activity.

Pocket Matching (13)

Pumpkins with Mustaches

Pumpkin Mustaches (4)

It was time to get silly with some of the pumpkins we brought home from the farm stand!

You can start with pale or white pumpkins for this project, saving yourself the step of painting. But since painting is half the fun, we used orange pumpkins and first pulled out the white paint.

Pumpkin Mustaches (1)

Veronika loved slathering it all over two pumpkins. I recommend at least two coats of paint if you don’t want any orange peeking through, and would have done a third coat had there been time.

Pumpkin Mustaches (2)

Once the paint dried, we glued on mustache templates that I found online. Travis got to pick which shapes we’d use! You could also draw them with marker, but the 3-D effect is so fun.

Pumpkin Mustaches (6)

Silly and unexpected pumpkins like these are sure to delight those who see them on your doorstep.

Pumpkin Mustaches (5)

Halloween Countdown Day 19: No Mess Pumpkin Art

No-Mess Pumpkin Art (8)

Here’s a quick seasonal spin for a toddler to paint in a zip-top bag. This time, instead of plain paper inside the bag, I inserted a template of a pumpkin.

You can squirt in orange paint, but where’s the fun in that? Add a little blob of red and a little blob of yellow and it will become a lesson on color mixing, too! Now simply seal tightly and hand across.

No-Mess Pumpkin Art (2)

Veronika was so surprised when she touched the red paint and realized her hand wasn’t messy.

No-Mess Pumpkin Art (3)

Same thing with the yellow!

No-Mess Pumpkin Art (4)

Now she was doubly intrigued. She either used the flat of her palm for squishing the paint, or sometimes scratched at it, too.

No-Mess Pumpkin Art (6)

As soon as our red and yellow started to mix, I pointed out that she was making orange. In retrospect, I should have added more yellow, as the red was definitely dominant. But we achieved a neat tri-color effect on the pumpkin.

No-Mess Pumpkin Art (7)

Note: Your piece of paper will be so saturated with paint that likely it will tear if you try and remove it from the bag. So this project isn’t a keeper, but it is fun in the moment!

No-Mess Pumpkin Art (5)