Pumpkin Fun with Washi Tape

Washi Tape Pumpkin (8)

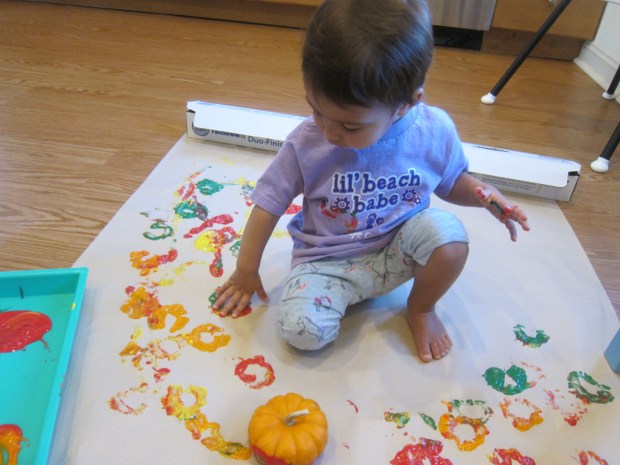
Here’s a great for even little kids to help decorate pumpkins, since there are no carving knives required.

I had a pack of decorative washi tape that’s been sitting around forever, so I pulled out all the rolls and broke off pieces of the various colors, arranging them around the sides of a craft tray.

Washi Tape Pumpkin (1)

In this way, I figured Veronika would be able to grab a piece and stick on a pumpkin (we used white ones!) without constantly needing me to rip a new piece for her.

Washi Tape Pumpkin (2)

Sure enough, she set to work right away.

Washi Tape Pumpkin (3)

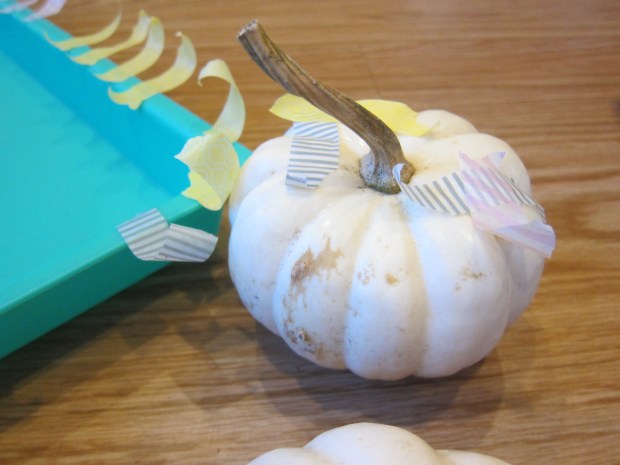
Through trial and error, we determined tricks for how best to washi tape a pumpkin. At first, the pumpkins were a little wet from having rinsed the dirt off, which meant the tape didn’t stick well. So make sure your pumpkins are dry!

Washi Tape Pumpkin (4)

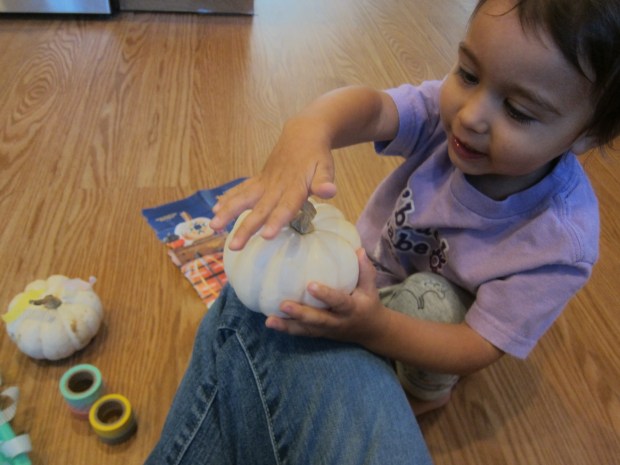
We also discovered that the edges of small tape pieces would curl up; long strips wrapped from stem to bottom worked best. At a certain point, I took over, but Veronika was an eager helper!

Washi Tape Pumpkin (6)

This was a great even-a-toddler-can-do-it way to decorate pumpkins.

Washi Tape Pumpkin (7)

Advertisement

Halloween Countdown Day 6: Paint with Pumpkins

Halloween 6 Paint with Pumpkins (8)

We’ll be doing lots of pumpkin decorating now that Halloween is fast approaching, but for today’s build up to the big fright night, it was time to paint not on a pumpkin, but with a pumpkin!

Yup, pumpkins can be your “brush”, instead of just your canvas. I rolled out a big piece of craft paper and set out a tray with all the colors we’re seeing outside right now: orange, yellow, red, and green.

Halloween 6 Paint with Pumpkins (1)

I showed Veronika how to hold a mini pumpkin by the stem, dip it in the paint, and then press onto the paper.

Halloween 6 Paint with Pumpkins (2)

“Let’s try yellow!” she said.

Halloween 6 Paint with Pumpkins (3)

“Let’s  try orange!”

Halloween 6 Paint with Pumpkins (5)

Because she had seated herself squarely in the middle of the craft paper, she soon had pumpkin marks all around her, just like a little pumpkin patch!

Halloween 6 Paint with Pumpkins (4)

You can also roll the sides of the pumpkins in the paint, and then roll them across the paper. But be careful, this gets a bit messier!

Halloween 6 Paint with Pumpkins (6)

Of course then Veronika wanted to get her hands in the paint. She dipped in curious fingers, and then smeared the colors across the paper.

Halloween 6 Paint with Pumpkins (9)

This was wickedly fun!

Halloween 6 Paint with Pumpkins (10)

If you have older kids, perhaps you’d even dare to try painting with full-size pumpkins. What happens, I wonder, if you roll them across the paper!

Halloween 6 Paint with Pumpkins (11)