Beef and Gnocchi Stew

Beef Gnocchi Stew (1)

A rainy day off from school called for stew! Luckily I had all the ingredients for this one in the freezer and pantry.

Ingredients:

  • 2 tablespoons olive oil
  • 1 (9-ounce) package Gardein beefless tips
  • 1 onion, hopped
  • 32 ounces vegetable broth
  • 2 (14.5-ounce) cans diced tomatoes with garlic, oregano, and basil
  • 1 pkg. frozen or refrigerated gnocchi
  • Chopped parsley (for garnish)
  1. Heat the olive oil in a Dutch oven over medium-high heat. Add the beefless tips and onion; cook for 10 minutes.
  2. Stir in the broth, canned tomatoes, and gnocchi. Bring to a boil, then reduce heat and simmer for about 15 minutes.
  3. Garnish with the parsley just before serving.

Comfort in a bowl!

Beef Gnocchi Stew (2)

Advertisement

Spider’s Web Discovery Basket

Spider Web Discovery (8)

This activity for toddlers isn’t technically Halloween-themed, but certainly there’s a connection between spiders and the spooky holiday so it felt like the right time of year to play! Of course you could also do this activity any time of year.

To set up, I wound long strands of white yarn in and out of the holes of the laundry basket until they made a messy crisscross web shape.

Spider Web Discovery (2)

I originally considered adding only bug stuffed animals, but decided this might hit too close to home (Veronika is sometimes scared of webs). Instead, I added lots of small stuffed animals of every variety, including forest creatures like foxes and chipmunks, as well as a puppy and kitty.

Spider Web Discovery (5)

She discovered the web first thing in the morning!

Spider Web Discovery (4)

Could she figure out how to reach in and free the stuffed animals? After a little demonstration and some trial and error, she soon had a knack for it.

Spider Web Discovery (6)

She also loved putting animals back in the web!

Spider Web Discovery (10)

I’m not sure she entirely understood that the yarn was meant to look like a spider’s web, but either way, she enjoyed the challenge and the play.

Spider Web Discovery (12)

Rubber Band Racer

Rubber Band Rover (3)

This project unfortunately didn’t work as hoped for Travis, namely because we didn’t have a drill bit small enough to make the necessary tiny holes. But we decided to go ahead with the craft because it made the perfect “barge” in his make-believe games.

The idea is to make a racing car that can wind up on rubber bands, similar to the Mars Rover from his recent Kiwi Crate.

This time we needed to prep all the materials ourselves! Cut the tip from a wooden skewer to measure .75 inch. Cut two additional skewers into 4 inch pieces, and cut 2 lollipop sticks into 2 and 1/2 inch pieces.

Rubber Band Rover (1)

Well already we were in trouble! We didn’t have lollipop sticks. Instead, we thought straws might work, but soon realized this was going to be our first hurdle.

Rubber Band Rover (2)

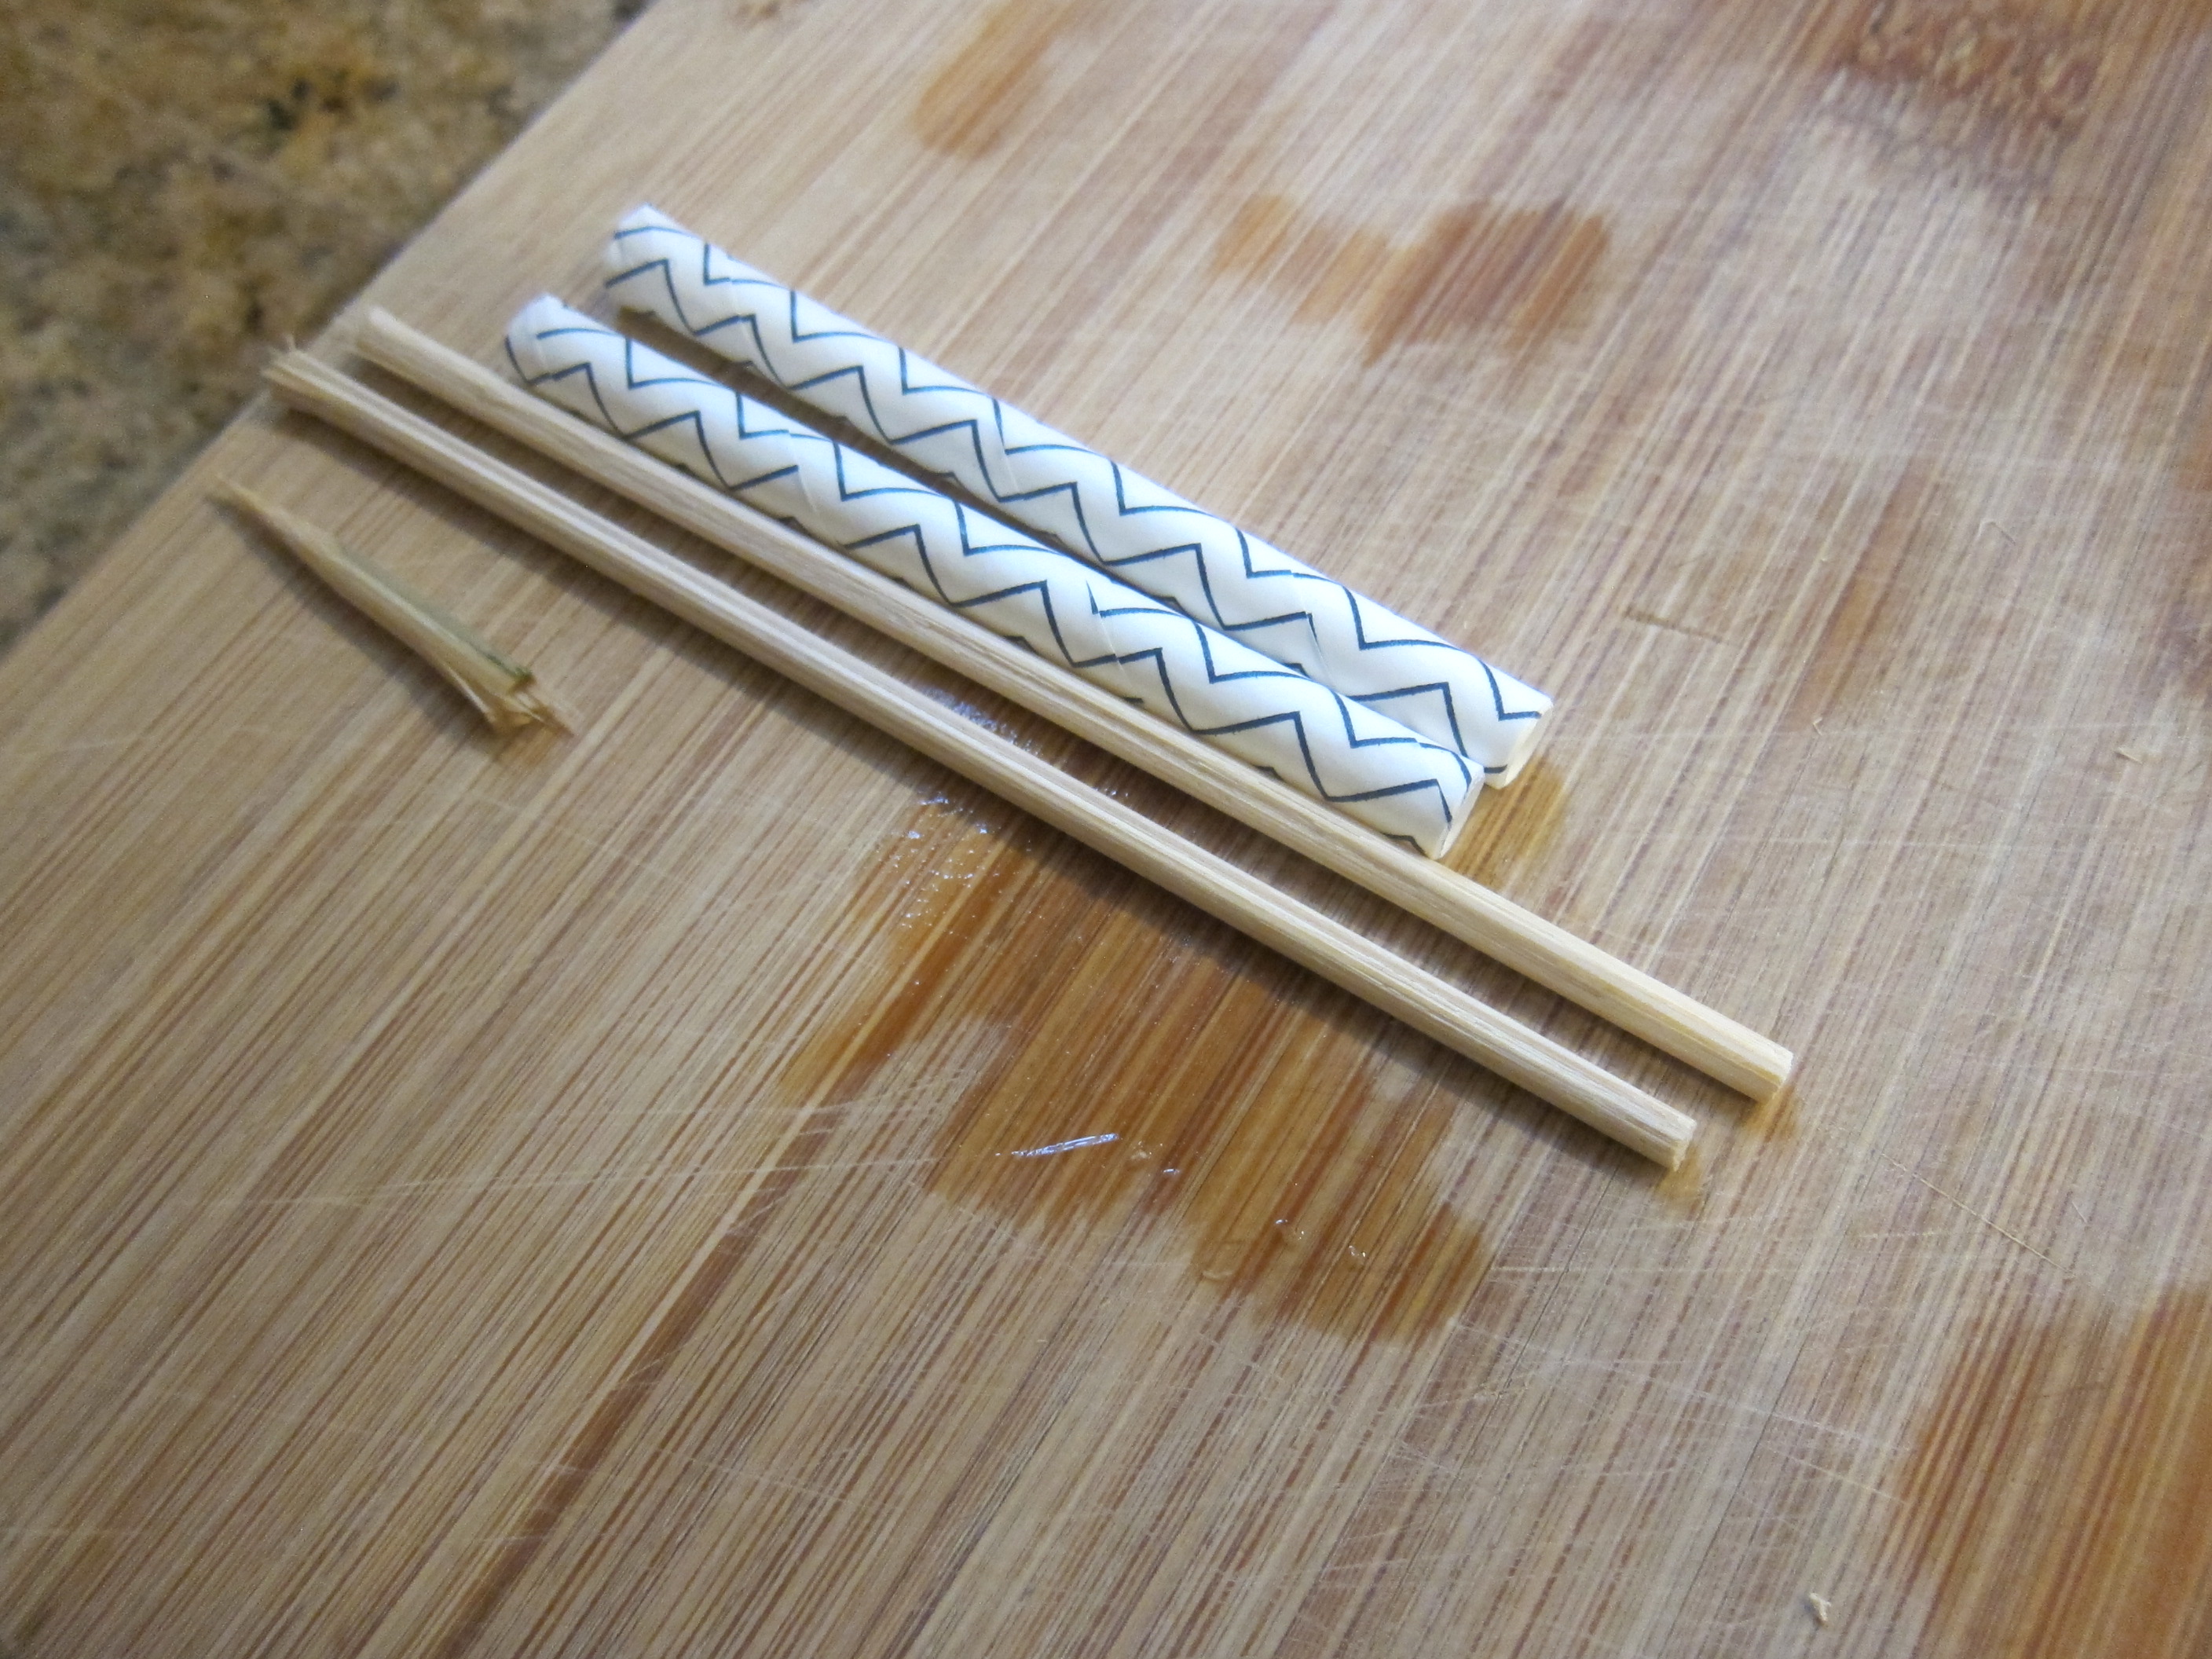
Take 2 additional decorative straws and mark with a pen 1 inch and 2 inches in from each end (so 4 pen marks per straw). This is where ideally you’ll use a drill to make tiny holes. I tried poking with a straight pin, but this warped the straws. I was able to thread through our first axle (the first 4 inch skewer piece) but not the second.

Thinking quick, we turned to hot glue. We could put the racer together, but the glue meant our wheels wouldn’t turn.

If you have a drill, here’s what you’ll do: thread the skewers through the holes that are 1 inch in, and thread the lollipop sticks through the holes that are 2 inches in. Next use the drill to make a hole in the center of two large round plastic lids and two small round plastic lids (we used the tops from juice and almond milk cartons). Use hot glue to add the .75 inch skewer tip off the center of the back axle.

Since ours was now just a hot glue project, of course this meant that our wheels wouldn’t roll, so we skipped the step entirely of looping a rubber band around the front lollipop stock, to then stretch around the back skewer tip. Need a visual for all that? Check here.

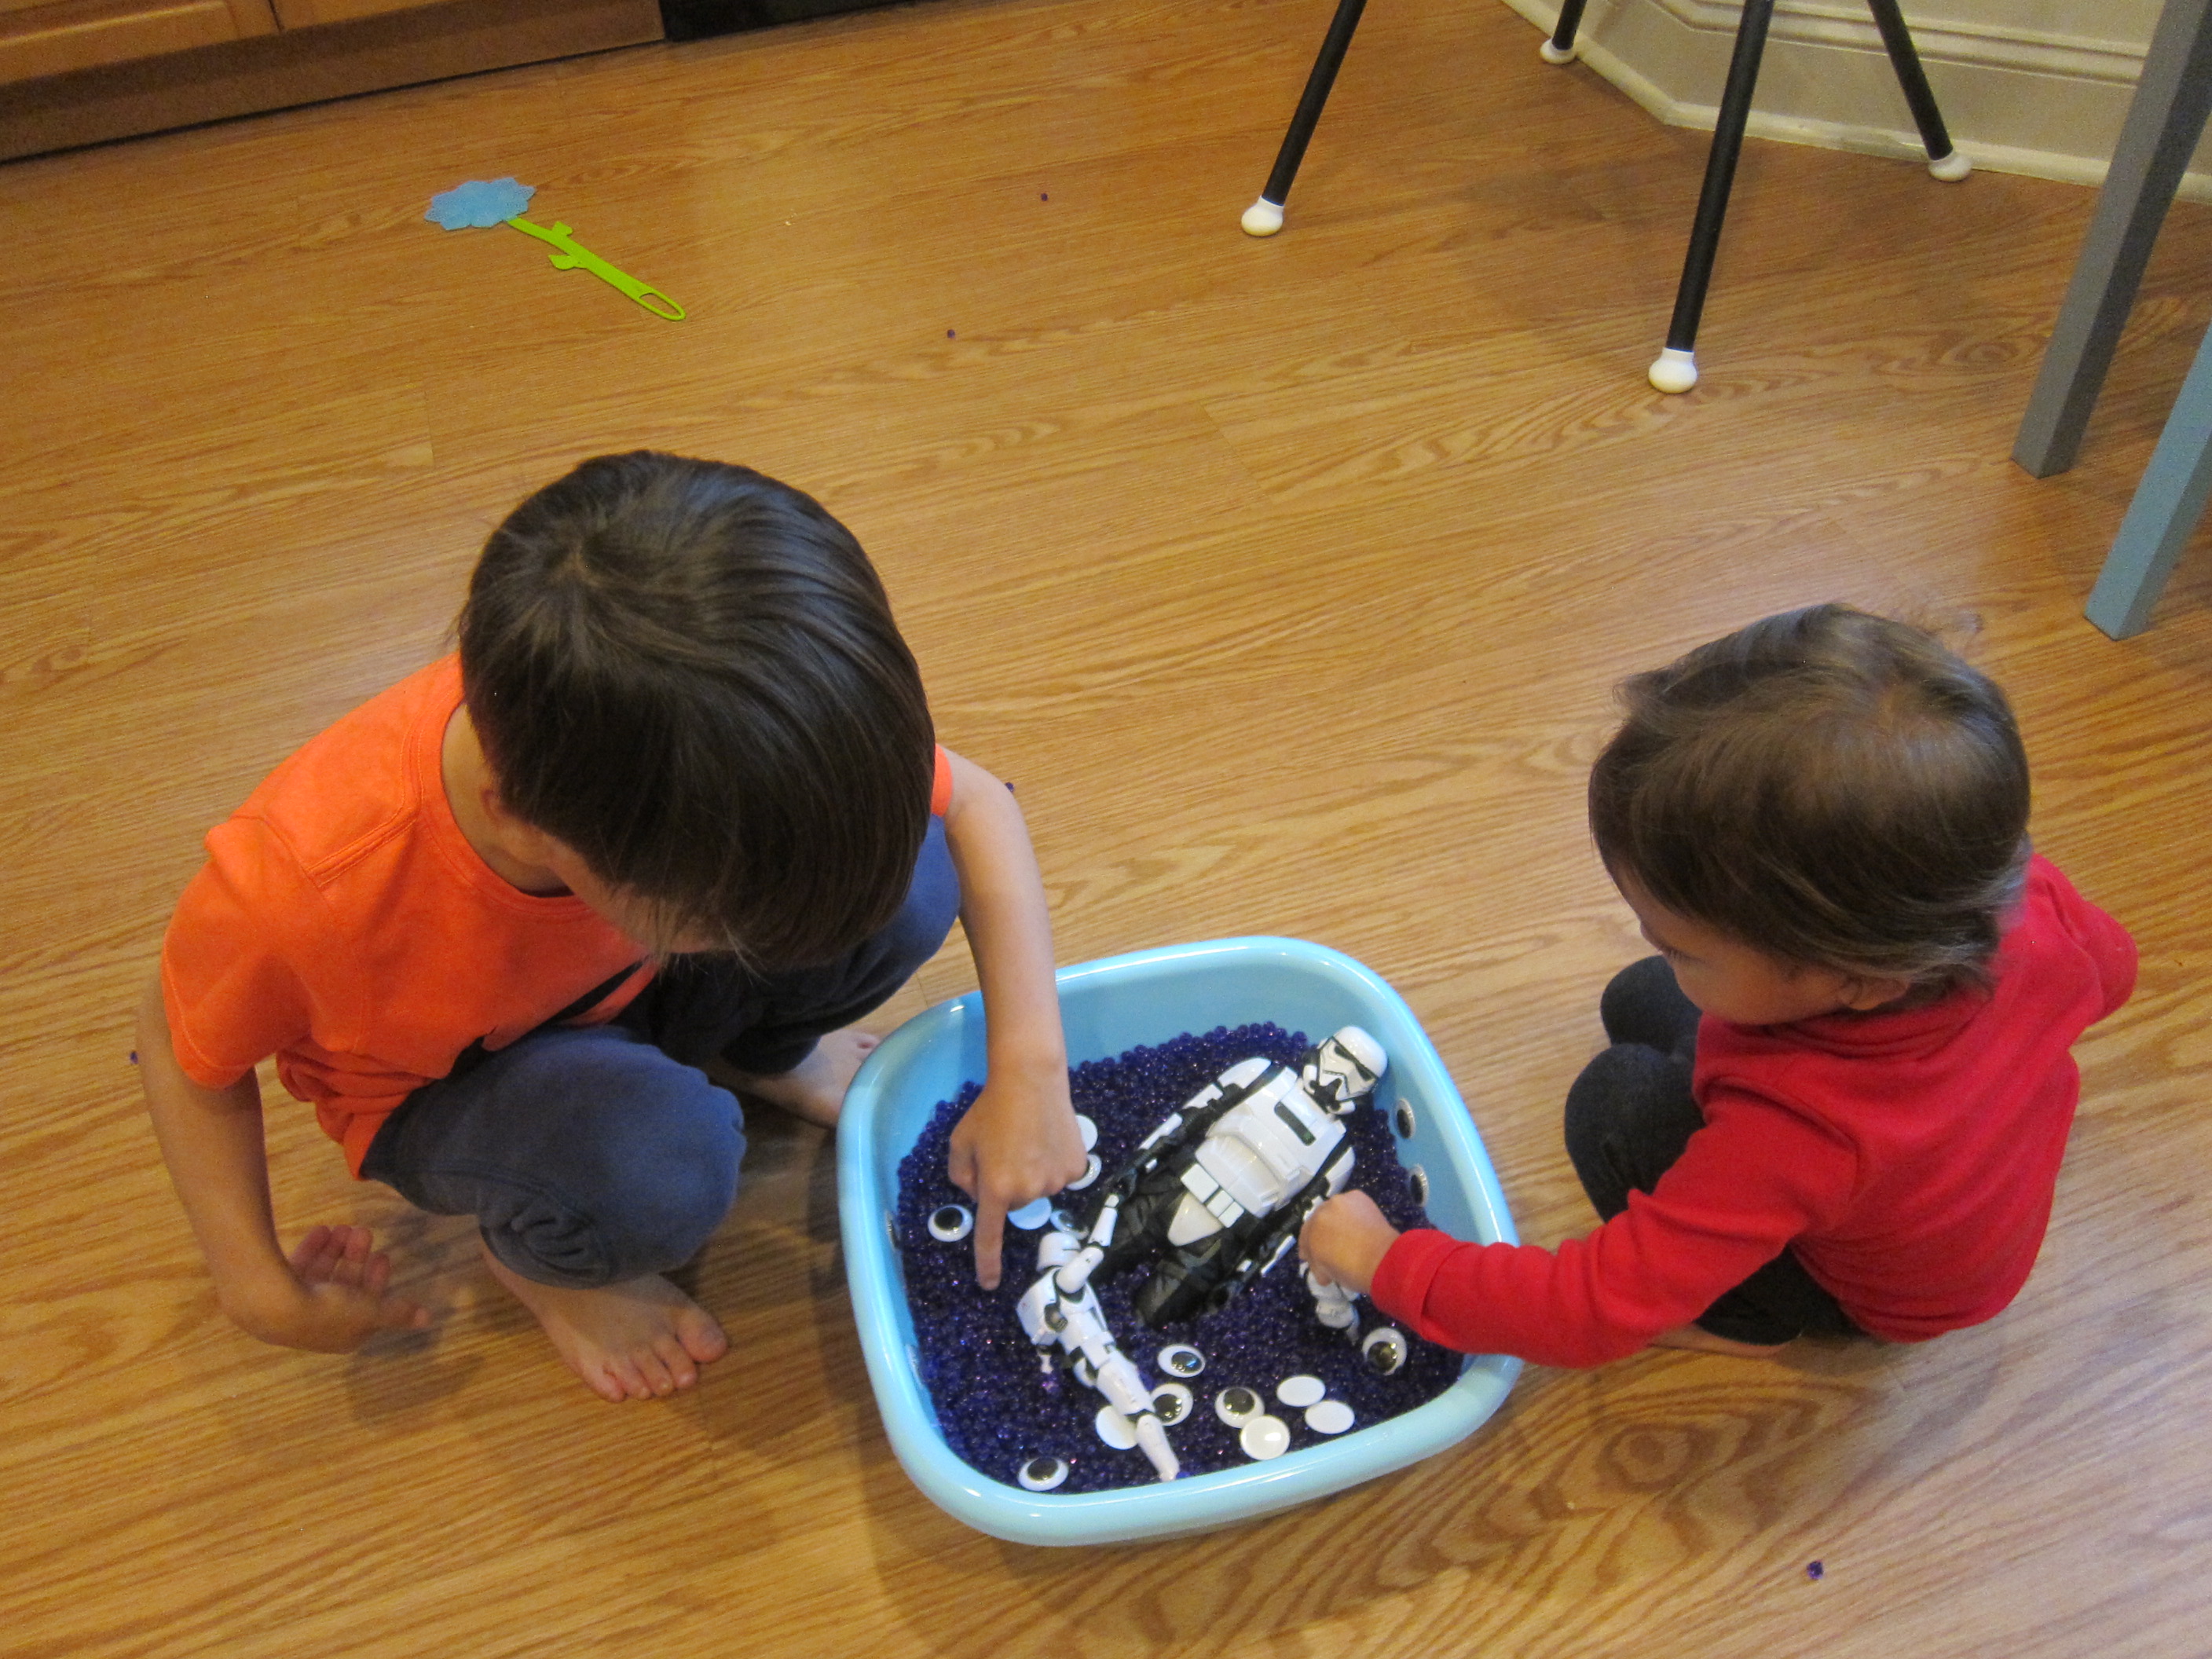
But as you can see, Travis’s vehicle now was Jabba the Hutt’s barge!

Rubber Band Rover (5)

Can your child get the rubber band racer to truly race? Please share in the comments!

Rubber Band Rover (4)

Halloween Countdown Day 13: Monster Sensory Tub

Monster Sensory Tub (1)

This activity doubled as the day’s sensory play and a way to tick off a box on our countdown to Halloween. And it couldn’t have been easier!

I filled a tub with purple water beads and water so the beads could grow to full size. The kids were so impatient to play, though, that I handed over the bin when the beads were only half as big as they could eventually get. To add spooky monsters, all we needed were large wiggle eyes.

Monster Sensory Tub (2)

At first the eyes were floating on the surface. But Travis loved burying them as deep under the water beads as he could, and then unearthing the “monsters”.

Monster Sensory Tub (4)

They were so eerie swimming to the surface. Veronika jumped right in to copy him!

Monster Sensory Tub (5)

She also loved scooping up handfuls of the water beads and then letting them trickle back down.

Monster Sensory Tub (6)

Before I knew it, the game changed slightly. Star Wars Stormtroopers needed to escape from the monsters!

Monster Sensory Tub (9)

This kept the kids so busy and happy the entire time I was prepping dinner. A definite spooky win.

Monster Sensory Tub (8)