Water Rhythms

Water Rhythyms (6)

It was 95 degrees today, which meant time to break out the baby pool and the hose! Since toddlers love to help with “chores”, I first enlisted Veronika to help hold the hose as we filled the pool with a shallow layer of water (about ankle deep).

Water Rhythyms (1)

Once she climbed in, she didn’t want to stop holding the hose! So we came up with this quick solution: I laid down a few old metal pots and pans (including cake pans and loaf pans) on the sidewalk, and let her take aim.

Water Rhythyms (2)

Each pan made a slightly different sound, and in turn the sounds would vary depending whether we had the pan upright or upside down.

Water Rhythyms (4)

She liked to listen to the trickle of water if we had them upright and filled each with a little pool.

Water Rhythyms (5)

One pan in particular made a great “plink plink” sound, which she returned to again and again with satisfaction.

A little musical play while simultaneously cooling off made this activity a big winner!

Indoor Cereal Sandbox

We often make indoor sandboxes when it’s too cold to go outside, but today was the opposite; it was too hot to head to the playground, so we needed a summer indoor sandbox!

I recently pulled out our inflatable baby pool for the summer, so instead of filling it with water, I added… puffed rice cereal! Two boxes made a nice layer on the ground without an overwhelming depth, and Veronika comfortably climbed right in.

She first wanted just to run her fingers through the cereal, or pick up handfuls and let it rain down. But the fun really picked up when we added “sandbox” toys. A rake, a few cups to fill and empty, and a few other items to scoop and shovel with, and she was having as much fun as when she’s at the sandbox at the park!

Bonus points: there was no danger of overheating, inside in the a/c!

How would you make an indoor sandbox on a hot day? Please share in the comments!

Homemade Fizzy Sidewalk Paint

This fizzy sidewalk paint is a fantastic upgrade over standard chalk on the sidewalk! Thanks to good old baking soda and vinegar, your kids can have some STEM fun watching the bubbly reaction.

To make the paint, I stirred together one (16-ounce) box baking soda, 1/2 cup cornstarch, and 1 cup warm water. Stir until well combined, then divide among plastic cups and add food coloring to each. The colors didn’t come out as rich as I hoped, but we had enough pigment to show up on the pavement, which was all that mattered.

We headed outside on a very hot afternoon, and started making designs. I showed Veronika a few examples of letters and shapes, while she painted something decidedly more abstract. Older kids can make as complicated a picture as they like!

But now for the real fun: once the paint is down, use a squirt bottle filled with white vinegar and spritz over your artwork. Note: An empty mustard bottle with the cap on works perfectly; simply squeeze and dispense a little vinegar at a time.

Every time the vinegar hits the paint, foamy bubbles ensue! This was such fun for Veronika to observe.

As a bonus, this paint washes off like a dream. Simply use a watering can to rinse everything off, and the clean up becomes part of the play.

Slide Painting Activity

Slide Painting (6)

Summer weather has us moving our painting to outdoor canvases, and today we found a way that was completely novel and new! To start, I lined our toddler slide with a large sheet of craft paper, securing with masking tape. It was also helpful to place an empty trash bag flat at the bottom of the slide, since this would protect the grass underneath from paint.

Slide Painting (1)

I then poured washable paint into plastic cups, thinning each with a little water.

Slide Painting (2)

Veronika’s task was to climb the rungs of the slide, and pour each cup of paint down. The colors instantly mix and run together in neat ways.

Slide Painting (4)

And then your child can help with the process along with a paintbrush.

Slide Painting (5)

The surface of the slide made such a neat impromptu “easel”!

Slide Painting (7)

When your child is done, simply gather up that messy paper, stuff it in the trash bag that’s already on hand, and clean-up is done!

10 Outdoor Toys

10 Outdoor (1)

Lounging outside on a summer afternoon is so indulgent and lazy… Until kids come along! Here are my favorite ten toys to keep on the back patio to entertain the kids, so I can maybe – just maybe! – steal a lazy moment in summer sunshine.

Gardening Tools:

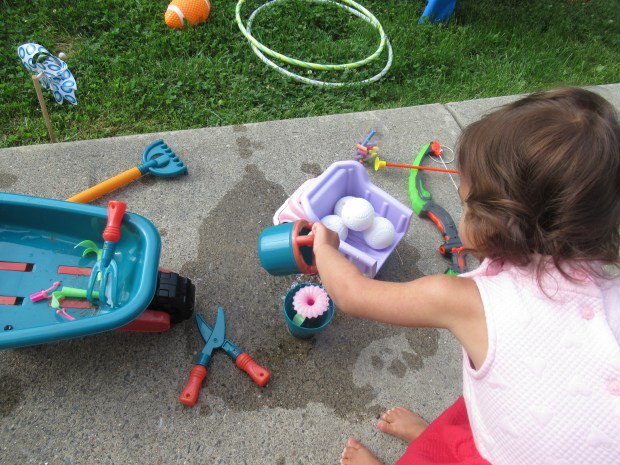
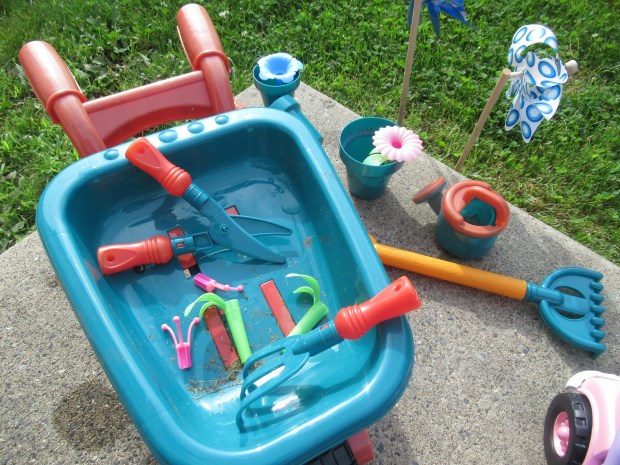
This category can include so many things, whether a mini wheelbarrow; kid-sized versions of garden shears, shovels, and hoes; pretend flower pots; or a watering can.

10 Outdoor (3)

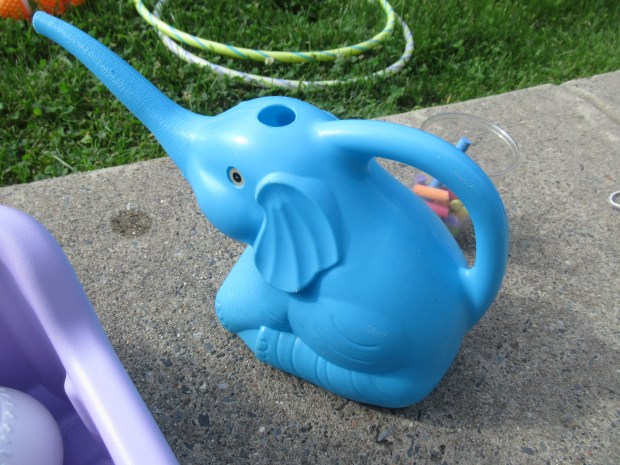
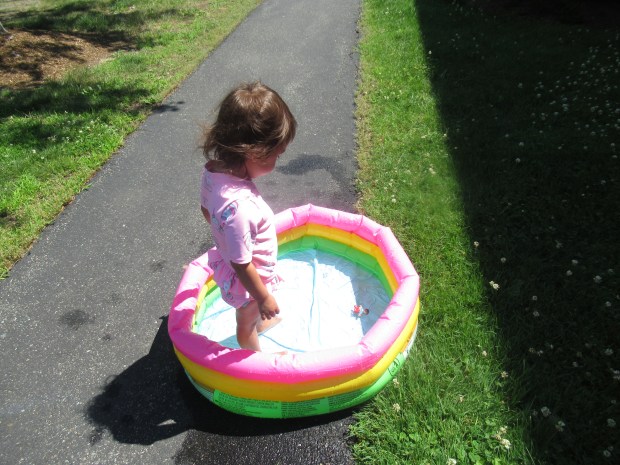
Veronika loves using our garden set for imaginative play, and the watering can in particular has so many uses, whether watering pretend flowers, real grass, or just making puddles to stomp in!

10 Outdoor (2)

Baseball Tee:

It goes without saying that you’ll also want a wiffle bat and ball, which are lightweight enough even for the youngest toddlers. Veronika loves to take a whack at the tee! The sturdy tee also means no parents are needed for pitching practice.

10 Outdoor (12)

Trucks:

Trucks are great inside, but they’re equally great outside. We like to bring out the bigger ones (Veronika loves her dump truck) and load it with nature treasures or toys. Hint: It can also be used to ferry all those wiffle balls back to the tee after they’ve been scattered around the yard.
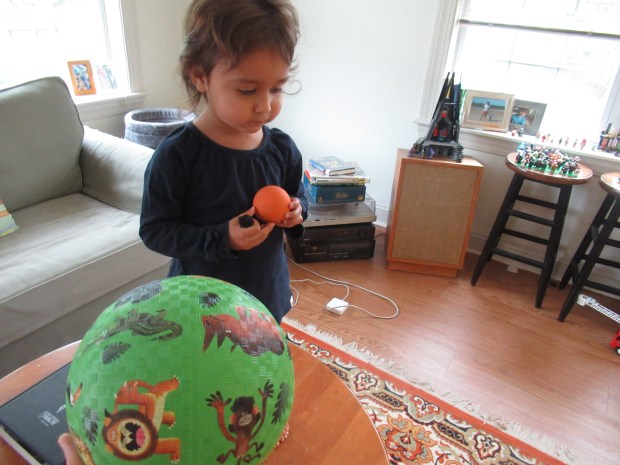
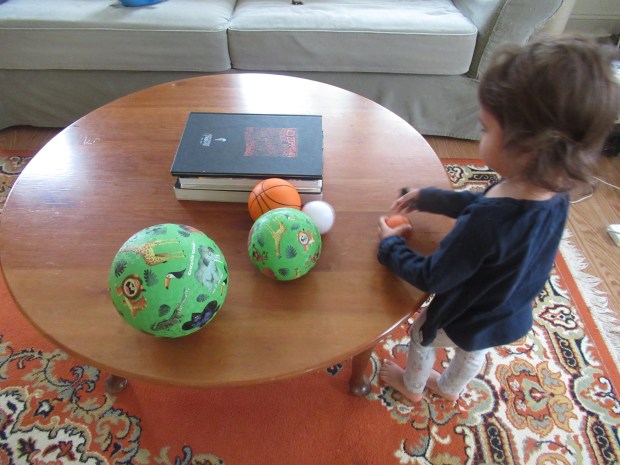
10 Outdoor (4)

Balls:

Okay, this category means I sometimes get up off the patio chair, but it’s worth it! Whether we’re tossing a football or kicking a soccer ball, the kids are working on their gross motor skills and we’re having a bonding moment.
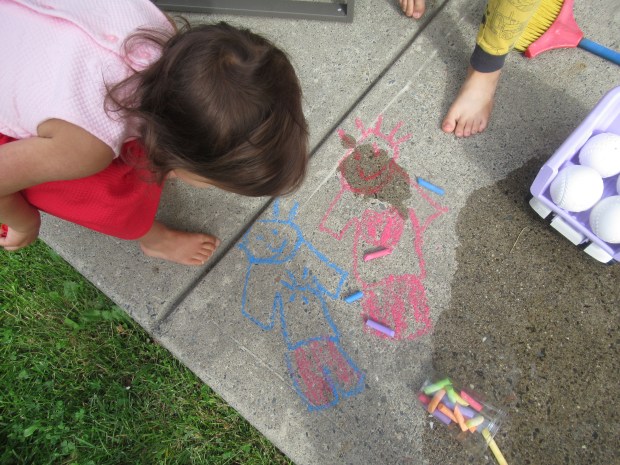
10 Outdoor (10)

Chalk:

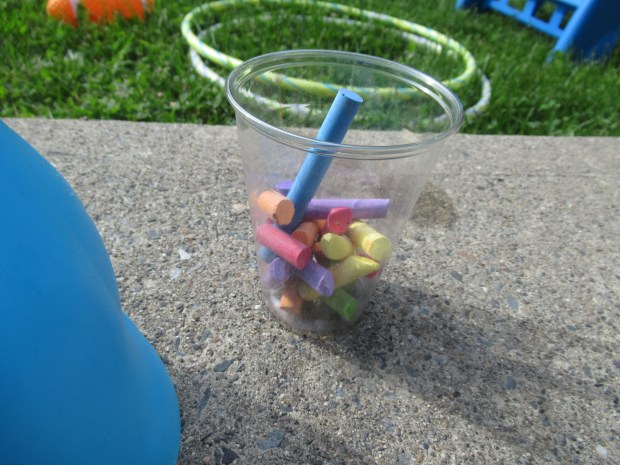
I always leave chalk pieces in a cup so little hands can reach in and start drawing any time.

10 Outdoor (5)

If you want more direction with your chalk games, check out our recent fun with Sidewalk Simon or chalk mazes.

10 Outdoor (14)

Bubbles:

A bottle of soap and a wand, enough said. Both kids love to blow bubbles, insisting they can do it all by themselves.
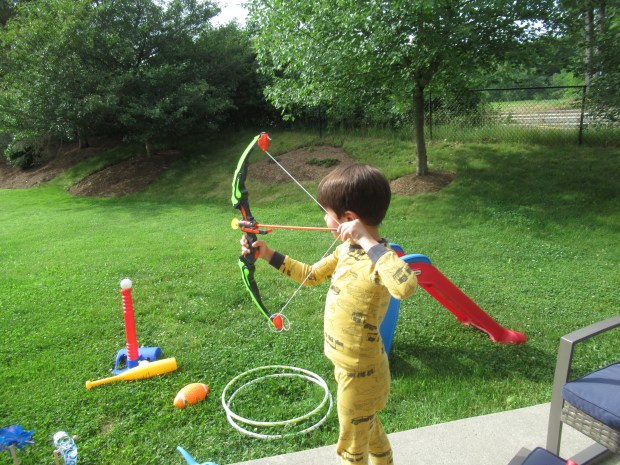
10 Outdoor (15)

Bow and Arrow:

This one is more for older kids, but Travis loves to take aim at nearby trees with our suction-cup tipped arrows.
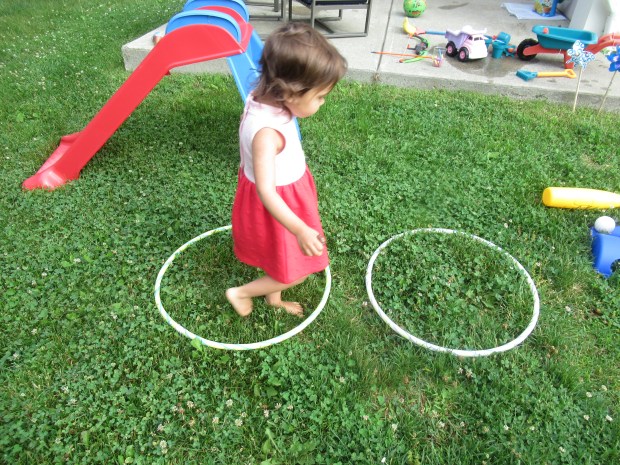
10 Outdoor (7)

Hula Hoops:

Whether the kids are using them around the hips, or to hop in and out of as part of an obstacle course, hula hoops never go out of style.
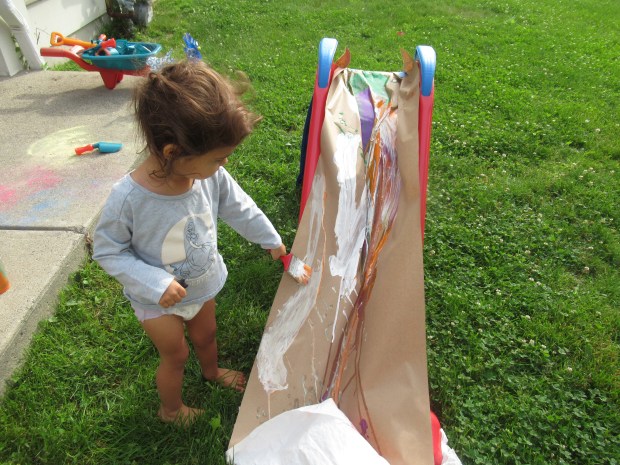
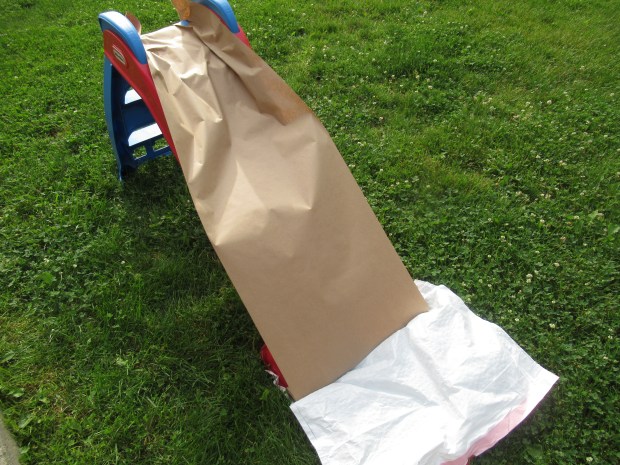
10 Outdoor (11)

Slide:

A small plastic toddler slide takes up almost no space, but provides endless entertainment. Climb up, slide down, run back to the steps, and repeat!

10 Outdoor (13)

Broom:

Yup, one of Veronika’s favorite things to do on the patio is clean! And this being outdoors, there’s always something to sweep up. Toddlers feel so important when they can join in with grown-up chores, so make sure to stock a broom that’s just the right size for little hands.

10 Outdoor (9)

What are your child’s outdoor favorites? Please share in the comments!

10 Outdoor (8)

G is for Gravity

G is for Gravity (4)

What’s the simplest way to teach a toddler about gravity? Hold a ball up high, drop it, and notice that it always falls down. You can make this experiment easy as pie for a toddler or slightly more complicated for preschoolers, and either way kids will learn and enjoy.

To start, I gathered a variety of the balls we have around the house, aiming for a collection with various sizes and weights. We had rubber bouncy balls, wiffle balls, a squishy basketball, and a slightly harder squash ball.

G is for Gravity (1)

Then Veronika had permission to stand on the table! Have your child stand on a similar lofted surface (with supervision of course!), whether indoors on furniture or at a playground on a higher playing structure level.

First I told her just to drop one ball. And of course it fell! We then played around dropping two balls of different densities at the same time. If done right, they should hit the ground at the same time, thanks to laws of acceleration, (but you can skip that fancy scientific explanation with your toddler!).

G is for Gravity (2)

Preschoolers might want to get more “scientific”, jotting down results, trying two balls of equal size but different weights, two balls of the same weight but different sizes etc. Did Veronika understand all this? Of course not, but she was up on the furniture tossing balls, then jumping down to retrieve them before running back to start again.

G is for Gravity (3)

So yes… She had a ball!

G is for Gravity (5)

Pretty Nature Collage Suncatcher

We love finding uses for the treasures we bring home from nature walks and scavenger hunts, and here’s an idea that a toddler can easily help craft!

To start, I cut the center from paper plates and laid them out next to an assortment of nature finds. We only had small plates, but you can do this on a larger dinner plate size, too.

Cover the back of the plate with a square of sticky contact paper, then flip the plate over so the sticky surface faces up. I showed Veronika how she how could press down her latest finds, including wildflowers and leaves.

Once decorated to your toddler’s satisfaction, press a second square of contact paper on top, sticky side down, to seal everything in place. All it needs now is a hole punch and some twine or ribbon to hang from a window and catch the sun!

If you use dinner plates, these might even be big enough to use as a “placemat”. As an alternative, skip the plate and simply have your toddler decorate one rectangle of contact paper, then place another piece on top to seal everything together. You’ll have an instant placemat!

Corn on the Cob with Herbed Butter

It wouldn’t be summer without fresh ears of corn on the cob to shuck! We love fresh corn simply boiled and then spread with this flavor-packed vegan butter. For a slight variation, use vegan feta crumbles (such as Follow Your Heart) instead of the Parmesan.

Ingredients:

  • 4 ears corn on the cob
  • 1/2 cup Earth Balance butter, softened
  • 3 tablespoons vegan Parmesan sprinkles
  • 2 tablespoon chopped flat-leaf parsley
  • 1/2 teaspoon dried oregano
  • 1/2 teaspoon garlic powder
  1. Bring a large pot of water to a boil. Add the corn and boil for about 4-5 minutes.
  2. Meanwhile, combine the butter, Parmesan sprinkles, parsley, oregano, and garlic powder in a bowl. Blend with a fork until well combined.

Why stop at corn? This butter spread is so good we love it on just about everything. Try it spread inside a warm pita pocket or served over orzo as a “pasta sauce”.

Herbed Butter alt

Easy Outdoor Scavenger Hunt

Easy Scavenger (2)

There are so many ways to do scavenger hunts in nature with big kids, including seasonal twists on the idea, hunting by color, and more. But these complicated hunts can be daunting to younger siblings along for the walk, so today I made a scavenger hunt that Veronika could do too, with items that she was guaranteed to find!

Before we set out, I printed out a template from The Resourceful Mama, and we had fun coloring the cards in together. This was a great way to set expectations for what we might see once outside! I cut the cards into squares, hole- punched each one, and then secured them together with a bit of yarn. This little packet was easier for toddler hands to hold than a standard scavenger hunt score sheet!

Easy Scavenger (1)

On our walk, everything was pretty much obvious right away, including tall trees, green leaves, and grass on the ground. But we had fun gathering items together, like a pine cone, stick, and rock.

Easy Scavenger (3)

The last item on the list that she spotted was the flower, which happened to be purple. How perfect because we’d set the goal to also find something in her favorite color!

Easy Scavenger (4)

You can also encourage your child to think beyond the cards. Could we find something that smelled nice? Had a nice texture? Feel free to ad lib!

In total, her list today included:

Tree

Grass

Rock

Stick

Insect

Leaf

Flower

and Pine Cone

Tin Foil River with Mini Ice Boats

Tin Foil River Ice Boats (4)

With summer officially here, it’s time to get out in the backyard for water play! We have so many ideas for this summer, but I started things off with a simple game for Veronika today, an idea originally spotted at Reading Confetti.

First I needed to make the boats; freeze water in the compartments of an ice cube tray, adding food coloring if desired. When the ice has just started to set, insert a toothpick into the center of each cube to be the boat’s mast.

Tin Foil River Ice Boats (1)

Once the cubes were set, I cut triangles from construction paper, and taped these to the masts for the sails.

Tin Foil River Ice Boats (2)

Veronika immediately loved these little boats, and might have been happy just to play with them, but now we needed a river!

Tin Foil River Ice Boats (3)

Take a long piece of aluminum foil and curl up both sides to form a channel down the middle. If you want to have a constant running river, you can start the garden hose and simply set place at one end of the foil.

Tin Foil River Ice Boats (5)

Veronika loves to pour from our watering can, though, so I decided to let her play the role of Mother Nature and add more water whenever the river ran dry. I set up the foil on a slightly sloped section of lawn, so as soon as the ice boats were in the water, they slipped “downstream”.

Tin Foil River Ice Boats (6)

Veronika loved watching the boats move faster and further every time she poured in more water!

Tin Foil River Ice Boats (7)

Of course this being summer, the ice bots didn’t last long. But even once the boats had melted away, she loved adding more water and playing with leftover masts and sails in the river. Your kids might want to set nature treasures afloat, too!

Tin Foil River Ice Boats (8)