Chalk Color Matching Game

Outdoor Color Match (3)

Here’s an activity that’s a bit like a paint chip rainbow nature hunt, but tailored more to fit a toddler’s age and abilities.

On a gorgeous garden walk today, I directed Veronika’s attention to lots of different colored flowers. (“Look, reds! “Can you see the blue flower?”). I didn’t specifically ask her to collect any one color, but I carefully made sure we had at least one item from each color of the rainbow by the end of our walk.

Outdoor Color Match (1)

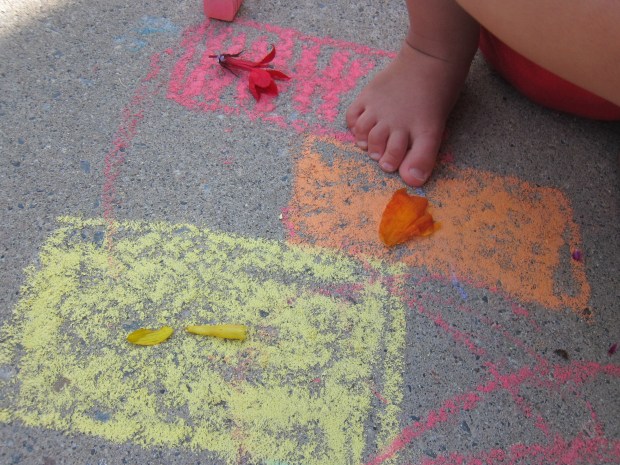
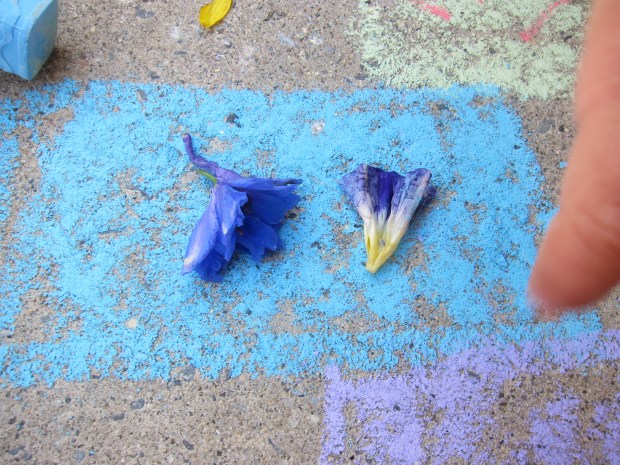
Once home, I sketched out a chalk rainbow on our back patio. As soon as I said, “Red…” she began to sing a rainbow song, going through all the colors!

Outdoor Color Match (6)

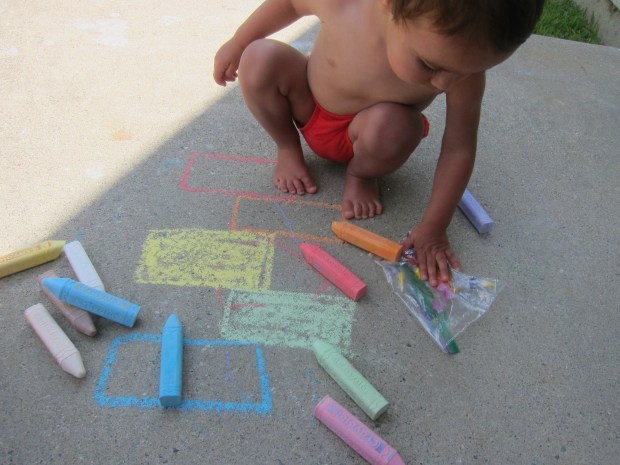
We then laid out our treasures from the garden. I placed red flowers on the red rectangle, orange on the orange, and so on.

Outdoor Color Match (4)

Soon she was helping!

Outdoor Color Match (2)

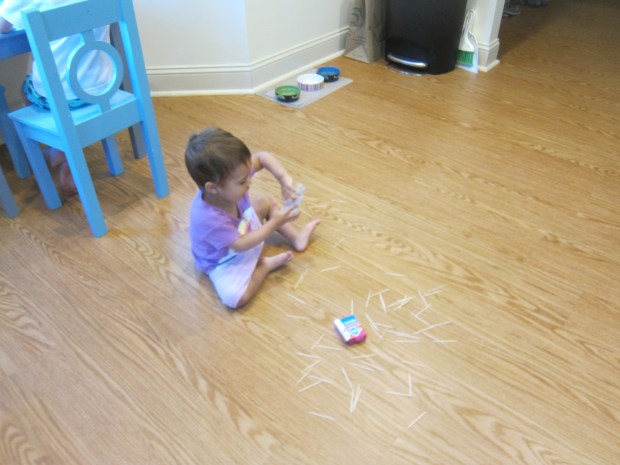
The flowers didn’t stay in one spot for long, since she wanted to pluck the leaves or rub them between her fingers. But I loved that she turned the color play into sensory play, too!

Outdoor Color Match (7)

Older toddlers can go even further with the game. Talk about shapes, or sort your colored items by a different attribute. I’d love to hear how the game goes for you in the comments!

Advertisement

Start a Tree

Start a Tree (6)

Unlike a tree sapling we planted earlier in the summer, today Travis conducted more of a science experiment; could he start a tree sapling from seeds we collected outside?

After dinner, we headed off on a pajama walk (one of the best parts of these long summer nights!) in hunt of seeds. You’ll want ones that you can easily plant in a cup, so think maple keys, acorns, or walnut seeds.

Start a Tree (1)

Once home, we investigated all of our finds, talking about their similarities and differences. Travis was especially fascinated by the black walnut pod we brought home, and then cracking it open to get to the seeds inside!

Start a Tree (2)

We then spooned a little potting soil into each of 3 foam cups, and added our tree seeds. Cover with a little more soil and water.

Start a Tree (3)

We labeled the cups and Travis sat down to begin a nature notebook, jotting down how the seed pods had looked on Day 1. The goal is to continue until we see little saplings grow!

Start a Tree (4)

To conclude the project, be sure to talk about the various ways that seeds can move to a new place. Travis laughed imagining seeds that could get up and walk, but then we reviewed some of the real methods (like wind, rain, or hitchhiking on animals!).

Blackberry Frozen Yogurt

Blackberry Frozen Yogurt (1)

Unlike turning out homemade ice cream, this frozen yogurt comes together with almost no effort.

Ingredients:

  • 1/2 cup frozen blackberries
  • 8 ounces non-dairy vanilla yogurt
  • 1 tablespoon apple juice
  1. Combine all the ingredients in a blender and process until smooth.
  2. Spoon into a freezer-safe container and freeze. Every hour, fluff with a fork, and repeat until ready to serve. Our frozen yogurt was creamy but still a little more liquid than solid after 3 hours, and perfect after 4.

Update: We discovered this is just as yummy with other frozen berries, too. Blueberries were a big hit.

Fro Yo Blueberry

Then we used 1 cup frozen fruit for our version with strawberries…

Fro Yo Raspberry

…and one with raspberries, for results that were deemed even more delicious!

Fro Yo Strawberry

Beach-Themed Sensory Bag

Beach-Themed Bag (6)
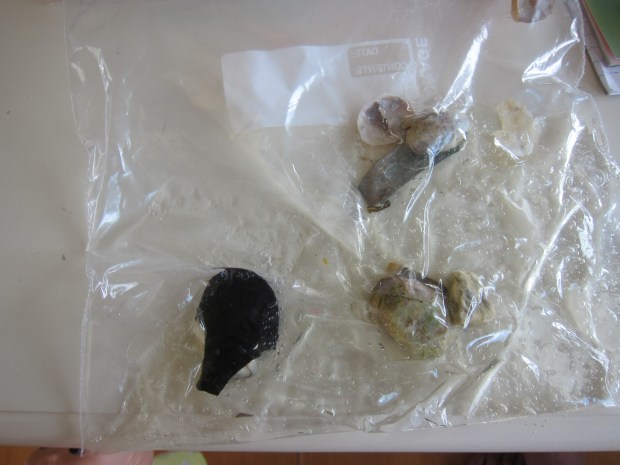
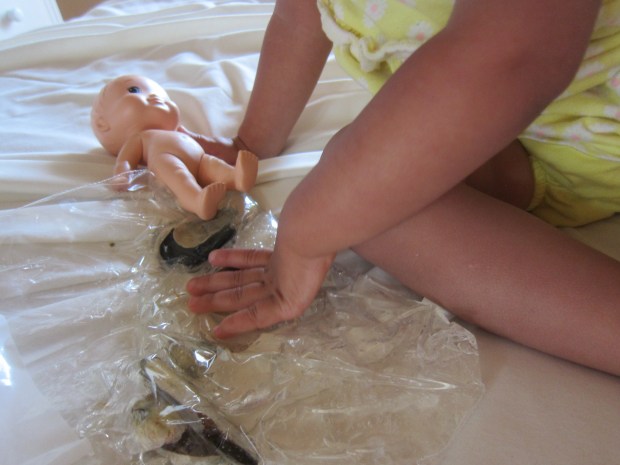
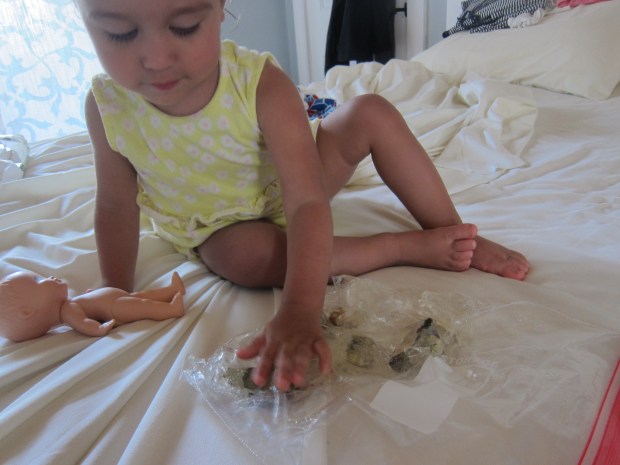
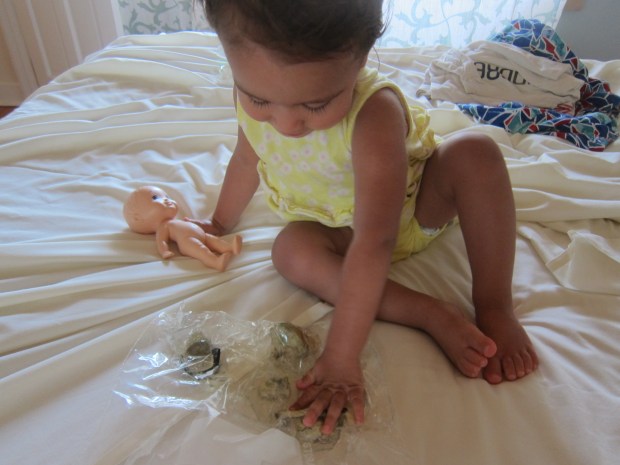
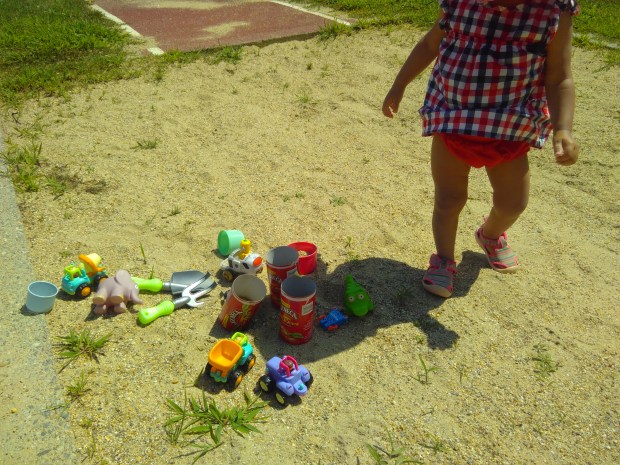
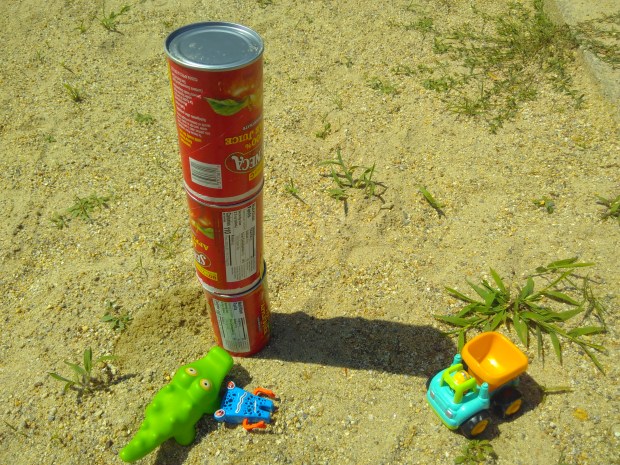
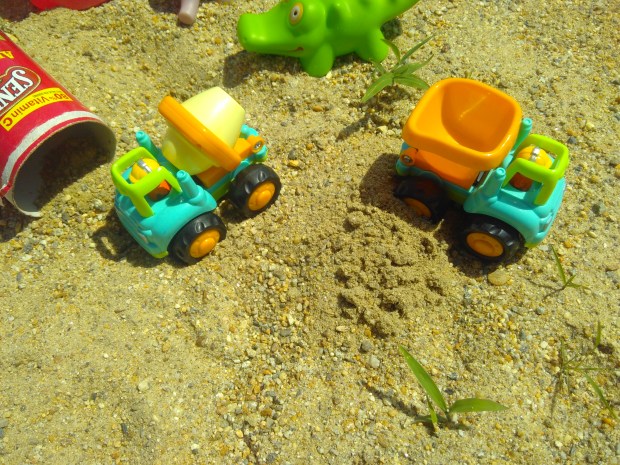
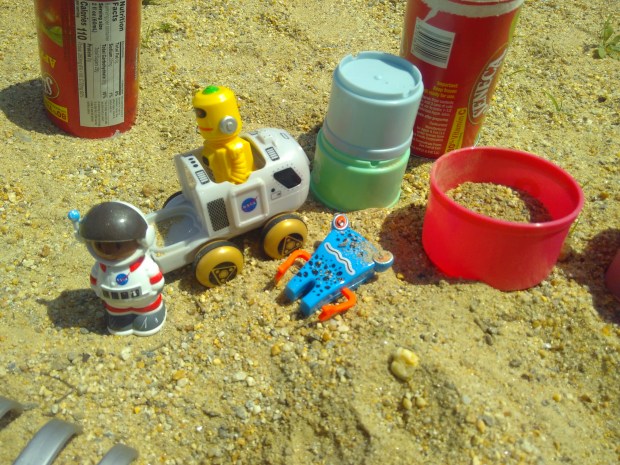
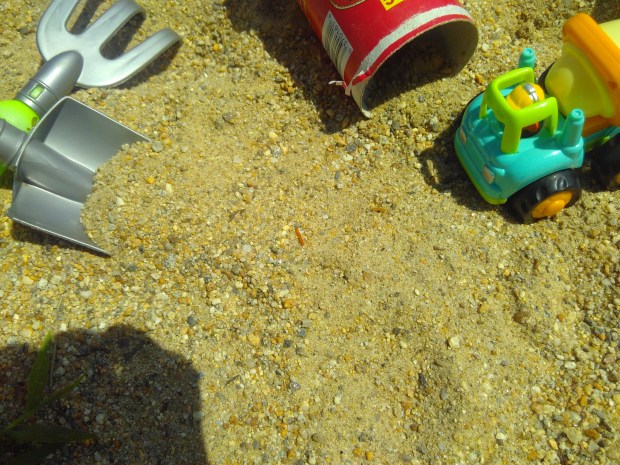
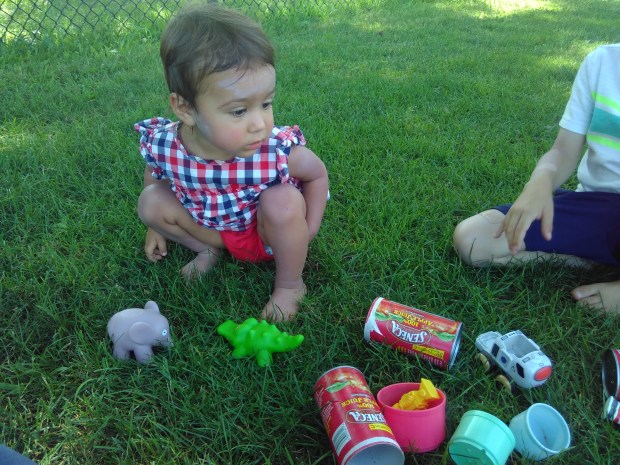
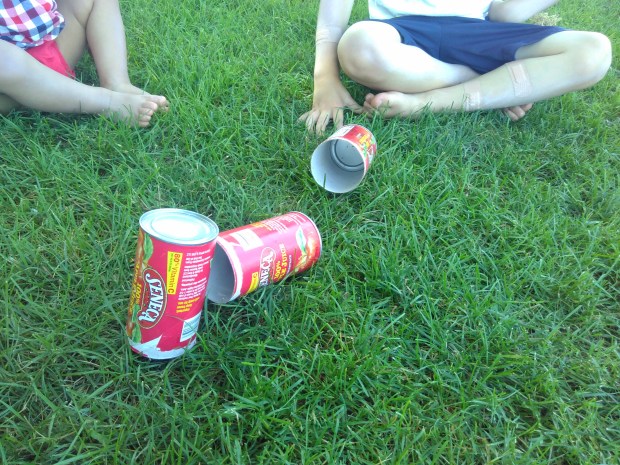
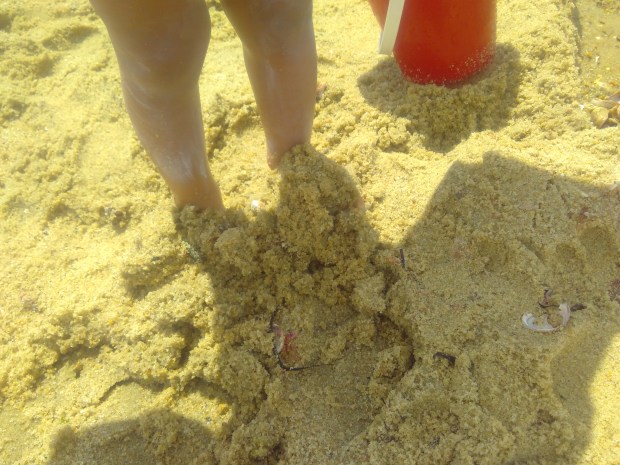
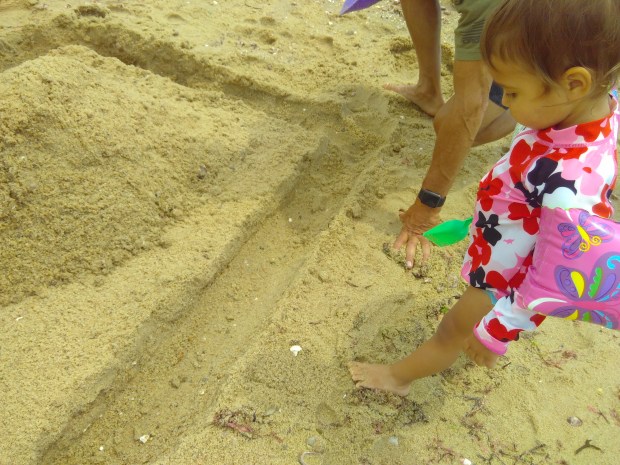
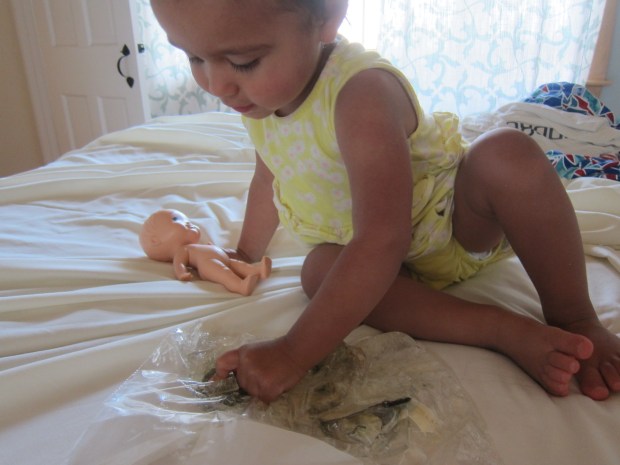
Here’s the perfect way to bring a bit of the beach home for your toddler after a day at the real thing. It’s a great way to extend the sensory play while remembering a day of fun in the sun!

While you’re at the beach, make sure to tuck aside shells or other little treasures.

cape (12)

Once home, I filled a gallon-sized zip-top bag with hair gel. Either leave the gel clear, or add a few drops of yellow food coloring, if desired. Then add your beachy treasures!

Beach-Themed Bag (2)

We had some beautiful finds, including a mussel shell, a razor clam, snail shells, and one that was nearly translucent gold. Veronika loved the contrast between the shells and the gel. “Bumpy!” she said first, followed by “squishy”!”

Beach-Themed Bag (4)

It was fun to watch her move the shells around within the bag. Next time, I might bring home a little bit of the beach itself and add sand, too!

Beach-Themed Bag (8)

Perfect beach house fun.

Beach-Themed Bag (7)

Car Book

Car Book (8)

Veronika is obsessed with cars and trucks right now, so today I made her a picture book about cars of her very own!

First, we sat down to go through an old car magazine together, which was half the fun, talking about each vehicle as we came to it. I then tore out pages with clear, complete pictures of cars and trucks. You can also add pictures of tractors, motorcycles, or other favorite vehicles, if you find them in a magazine’s pages.

Car Book (2)

Glue each picture onto a square of poster board. Line up the pages and punch holes, then secure with two pieces of string.

Car Book (3)

Veronika instantly loved flipping through it at home…

Car Book (5)

…but of course there’s no better place to read her car book than in the car!

Car Book (7)

I love that I catch her “reading” this book to herself in the backseat. “There’s truck! There’s green car!” We’ll get a lot of mileage out of this one.

The Sandbox Scene

Sandbox Scene (1)

We’ve made a lot of at-home sandboxes in miniature this summer, but today we needed the real thing! To keep things fresh, I made sure we brought along toys that would add novelty to Veronika’s sand play. Because many public sandboxes encourage at-home toys these days, it was also the perfect excuse to mix things up!

First up: empty frozen juice containers. These are great because unlike other metal cans, they have no sharp edges. They are perfect for stacking into towers.

Sandbox Scene (2)

I also brought along construction vehicles…

Sandbox Scene (4)

Toy figures…

Sandbox Scene (3)

And shovels of course.

Sandbox Scene (5)

Measuring cups are great if you want to toss in a little learning, like concepts about size or volume. If you don’t want your real kitchenware getting sandy, bring along a few cups from a set of stacking cups.

It turned out the afternoon was really hot and the sandbox was in direct sunlight… but wouldn’t you know it, all those toys were just as great in nature’s other great play space: the grass box!

Sandbox Scene (8)

We got silly trying to stack our frozen juice containers here since the grass made things uneven.

Sandbox Scene (6)

Then of course, there’s the option of using the biggest “sandbox” of all: the beach! Here, we have a few extra options thanks to wet sand.

We could stack up a hill and then try to dig through to each other’s hands; we could bury toys and then unearth them; and of course we could bury our feet!

Sandbox Scene (13)

It’s also fun to dig a trench or hole, fill it with water, and watch what happens.

Sandbox Scene (11)

Veronika was amazed with how quickly the water was absorbed.

Sandbox Scene (9)

What’s your kids favorite thing to bring to the sandbox? Please share in the comments!

Object Matchup

Object Matchup (6)

Veronika loves spotting her own outline in her shadow, so today I thought it would be fun to teach a bit about how objects have shadows too, not just people. Recognizing shadows and outlines can help with skills like puzzle-solving down the line; plus this game is great for vocabulary!

Simply trace a variety of household items onto index cards. I used things that were familiar to Veronika, including: a key, a heart-shaped cookie cutter, scissors, and a crayon.

Object Matchup (1)

If you want this game to be more permanent, cover each card with contact paper for durability.

I then laid the cards out in front of her, along with the pile of objects. It was time to see if she could match them up! At first she didn’t quite understand, because she wanted to color the crayon’s outline with… the crayon.

Object Matchup (2)

But then she looked at the scissors in her hand and the outline of the scissors on the card, and declared, “Scissors!”

Object Matchup (3)

Soon she was matching up the spoon to the spoon card, the heart to the heart card, and so on. A simple but nice activity for cognitive development.

Object Matchup (5)


Flying Saucers

Flying Discs (6)

Travis is just learning to toss a Frisbee, so today we played this quick take on H-O-R-S-E. I suspended a hoop from a tree (which was actually a play tunnel folded up, but it worked in a pinch), and then handed Travis the Frisbee.

Flying Discs (1)

Each player takes a turn tossing. If the disc goes through, the other player must make the shot from the same spot, else he or she earns a D. Continue play until somebody spells out D-I-S-C, and the other person wins!

Flying Discs (5)

The spelling element meant this game was not just physical activity, but also a quick learning activity!

Flying Discs (4)

Meanwhile Travis enjoyed honing his Frisbee skills. We’ll be playing this one again soon!

Flying Discs (3)

Toddler Toothpicks

Toddler Toothpicks (2)

While big brother was busy making a big kid craft involving toothpicks, Veronika wanted in on the action. Luckily I knew just how to keep a toddler busy with toothpicks in a safe way! Note: You will still want to supervise this activity a little more closely than most, since the ends of the toothpicks are pointy.

Give your toddler an empty spice jar with small holes in the cap, along with a pile of toothpicks. Chances are you won’t even have to demonstrate!

Toddler Toothpicks (1)

The holes are like a magnet for toddlers, begging to be filled up with those little toothpicks.

Toddler Toothpicks (3)

This activity was great for Veronika’s fine motor skills, since she had to pinch up the toothpicks from the floor. Then it became an exercise in hand-eye coordination to find a hole.

Toddler Toothpicks (5)

Once the jar was filled, she loved taking the lid off to dump it and start over again!

Toddler Toothpicks (7)

At a certain point, she realized that the closed jar made a shaky sound when the toothpicks were inside. An instant maraca, and an instant way to keep a toddler busy.

Toddler Toothpicks (8)

Clothespin Colors

Clothespin Colors (7)

I had two goals for this simple activity: to review Veronika’s color knowledge and to hone her pinching skills. She’s just old enough now (at 21 months) to pinch a spring-type clothespin, but I realized quickly that it’s still a struggle for her. So you may want to wait until your toddler is a little older before setting up this activity.

Still, we made it work! I put colored dot stickers at intervals around the rim of an empty coffee can.

Clothespin Colors (1)

Then I put corresponding dot stickers on the clothespins.

Clothespin Colors (2)

For each one, I asked her, “What color is this dot?” Once she answered, I had her hunt through her pile for the same color on a clothespin.

Clothespin Colors (3)

Since the pinching was hard for her, I helped her secure the clothespin to the dot, then moved on to the next one. “What color is here?”

Clothespin Colors (5)

“Green!” she said proudly.

Clothespin Colors (6)

We worked our way once around the coffee can one time, though she did then lose interest and wanted to play with more dot stickers instead. Luckily there’s lots to do with leftover clothespins and empty cans if you leave them lying around.

Clothespin Colors (3)