Apple-Cereal Bites

Apple-Cinnamon Bite alt

These sticky-sweet cereal bites make a fun little snack. The recipe feeds a crowd, making it a great choice for parties or big family events!

Ingredients:

  • 3 cups o-shaped cereal
  • 1 cup chopped dried apples
  • 1/3 cup pepitas
  • 1/2 cup brown rice syrup
  • 3 tablespoons peanut butter
  • 1/2 teaspoon vanilla extract
  1. Combine the cereal, apples, and pepitas in a large bowl; set aside.
  2. In a saucepan over low heat, combine the brown rice syrup, peanut butter, and vanilla. Cook until the mixture becomes runny (about 2 minutes), stirring with a whisk. Pour over the cereal mixture, stirring to coat evenly.
  3. Shape the mixture into 24 balls; it helps to have wet hands or the brown rice syrup may become too sticky. Let the balls set on parchment paper at room temperature for at least 1 and /12 hours before serving.

Apple-Cinnamon Bite

Advertisement

Indoor Snow Play

Indoor Snow (6)

Baby it’s cold outside! When the kids want to play out in the snow but the temperatures are hovering near zero, do the opposite: Bring the snow inside! If nothing else, the novelty of this idea is sure to delight any little ones feeling cabin fever.

First, we braved the cold for just a few minutes to shovel up snow, filling a few large plastic bins. Travis loves his child-sized shovel, and would happily have stayed outside longer if I let him.

Indoor Snow (1)

Inside, set down your snow on towels to contain any drips.

Indoor Snow (2)

Waterproof mittens are a definite plus…

Indoor Snow (3)

… although Travis decided he liked using his regular mittens best.

Now just have fun with the snow! Fist we made snowy roads for his cars to drive down.

Indoor Snow (4)

By far his favorite activity was stirring together a snow soup. I gave him little odds and ends from our craft bin, such as blue stones, buttons, and sparkly pom poms.

Indoor Snow (8)

You can’t have indoor snow play without adding some glitter.

Indoor Snow (7)

Finally, we made a little indoor snowman! The snow wasn’t the right texture for perfect snowman building, so two tiers was the best we could do. We decided he looked more like a Snowfrog, and put him outside on the patio where he won’t melt.

Indoor Snow (9)

Here’s wishing you and yours a happy and healthy 2018, hopefully with warmer weather to come soon!

Salt Painting Ice Sculptures

Salt Sculpture (12)

Not only is this project visually stunning, but it’s a neat way to teach kids why they see salt on the sidewalks and roads in the wake of a snowstorm… bcause the salt helps the ice to melt faster! Bring the concept to life with this fun activity.

First, fill an empty milk container with water and freeze overnight. In the morning, cut away the box (make a slit with sharp scissors, and the rest will peel away) to reveal a huge ice cube.

Salt Sculpture (1)

Travis was quite impressed – the biggest ice cube ever! Place in a baking tray to catch the mess you’re about to make.

Salt Sculpture (2)

Next, sprinkle a healthy dose of salt over the top of the ice cube.

Salt Sculpture (4)

Set out food coloring and invite your child to drip it all over the ice. You’ll soon see runnels of color and salt melting away at the ice block.

Salt Sculpture (5)

The effect is quite stunning! Travis had fun mixing colors, and watching it all run down the sides.

Salt Sculpture (7)

It was his idea to pull out a flashlight; lighting up the rivulets made them appear even cooler!

Salt Sculpture (10)

Of course then we needed to add extra salt and more color a few times. We then left the ice block out all morning, and checked on its progress. I had to pour off the melted water a few times, and then we could watch new pools of colored water form.

Salt Sculpture (13)

The craggy surface was fascinating for Travis!

Salt Sculpture (14)

And it turns out we had perfect timing since we got another snowstorm today – and another chance to see salt out on the sidewalks and pavement.


Arctic Crate

Koala arctic (12).JPG

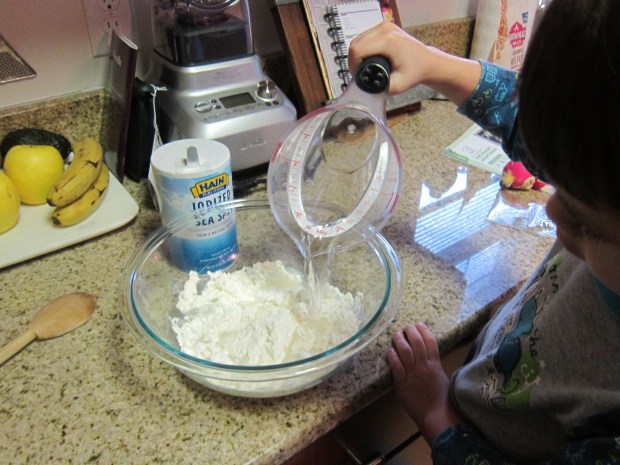
Last winter we received a Snow Crate through our Koala Crate subscription, so it seemed sort of redundant to receive an Arcitc Crate this time around; I worried the crafts inside might not be novel enough. Luckily the projects were quite different. So even if learning about the Arctic in particular and snow in general had some overlap, we had plenty to keep us entertained. 

As always, you can copy the ideas below with materials from a craft store. First though…

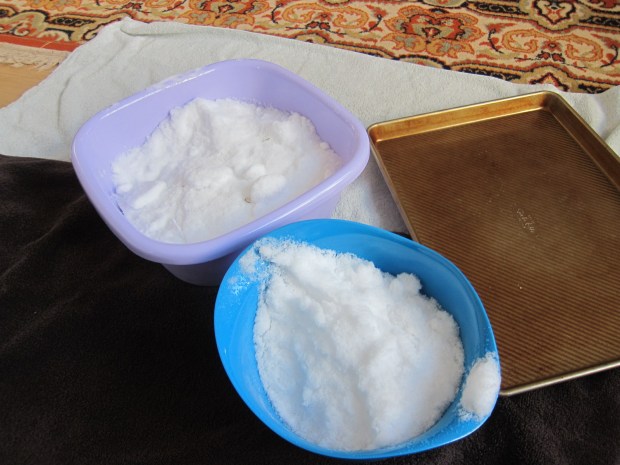
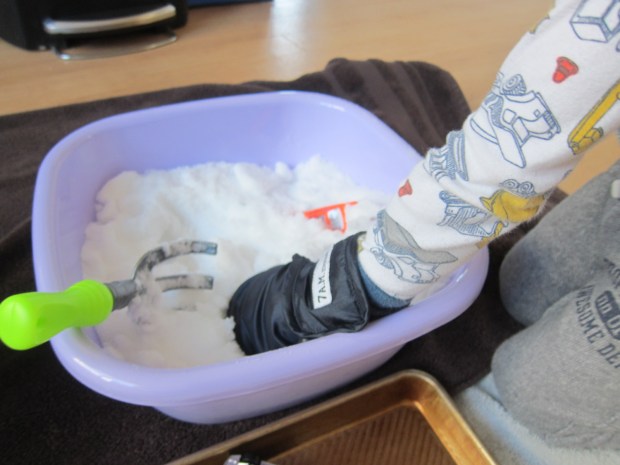
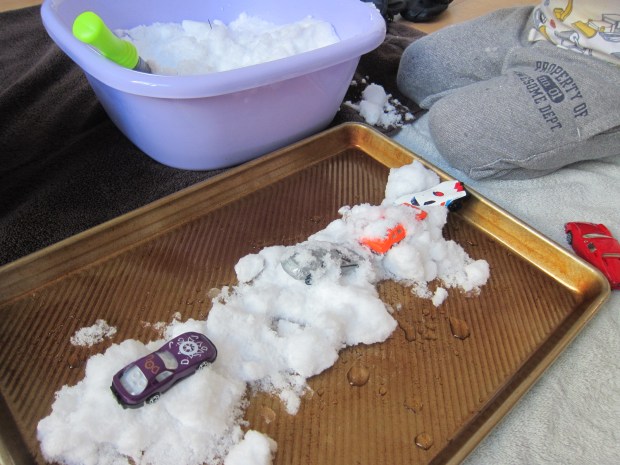
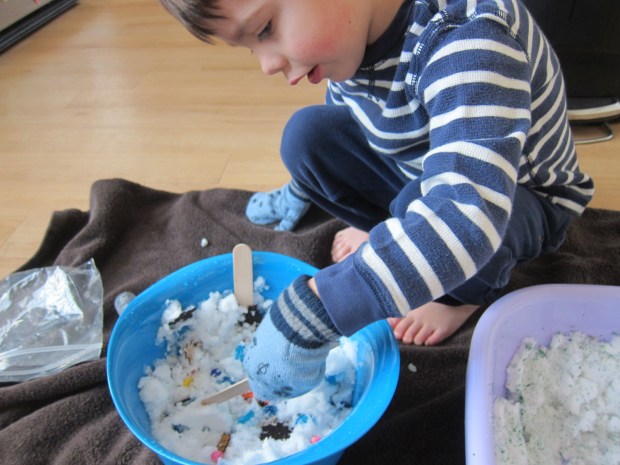
…it was tough to get going on the crafts because Travis loved the materials themselves when we popped open the box. Fluffy ribbon that would later be used to make a “snowball” first had to be incorporated into music and movement play.

Koala arctic (4)

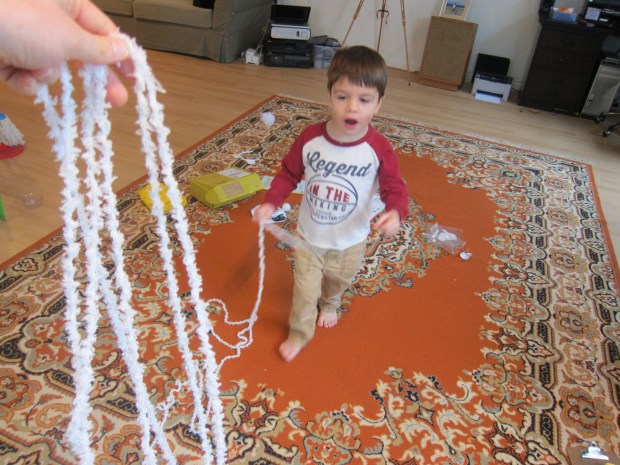
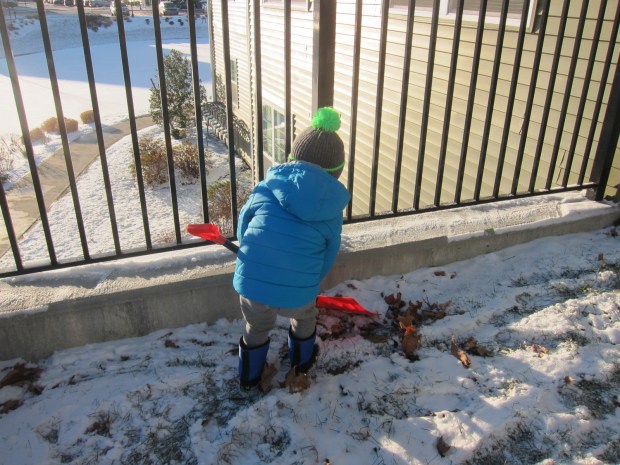
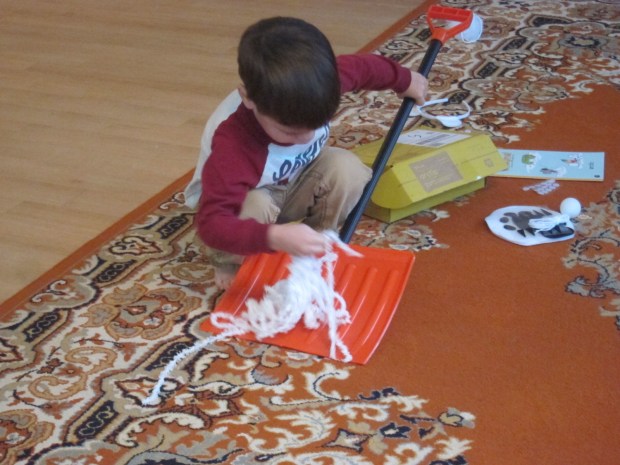
After that he decided it was “snow” and shoveled it up off our carpet. Koala Crate wins for sparking imagination with this one! 

Koala arctic (5)

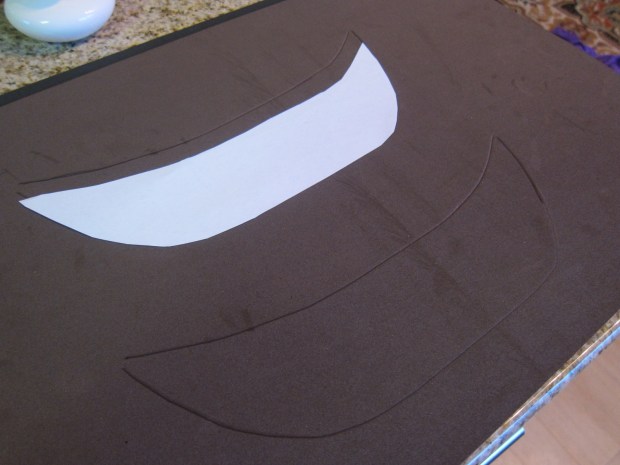
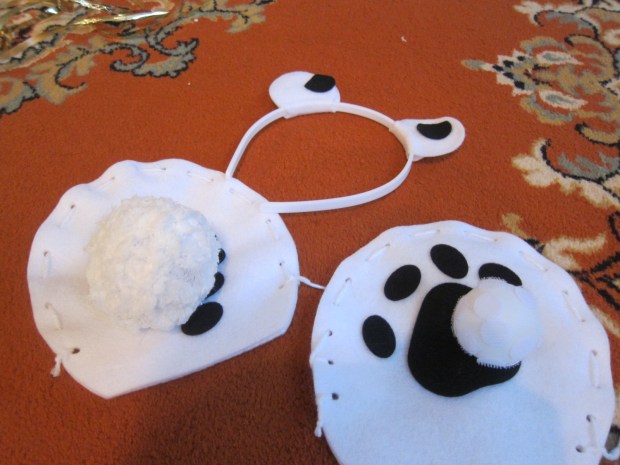
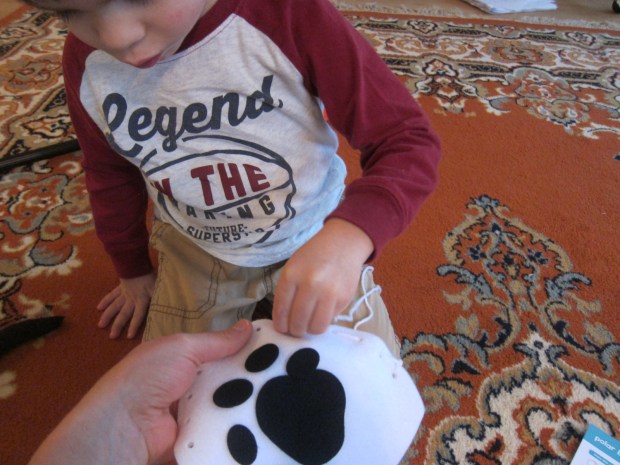
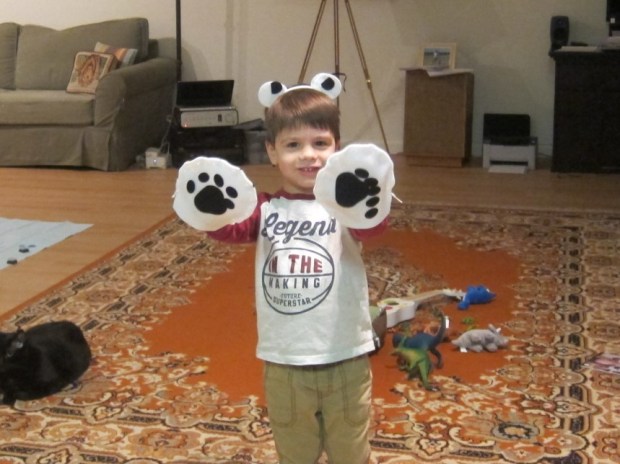
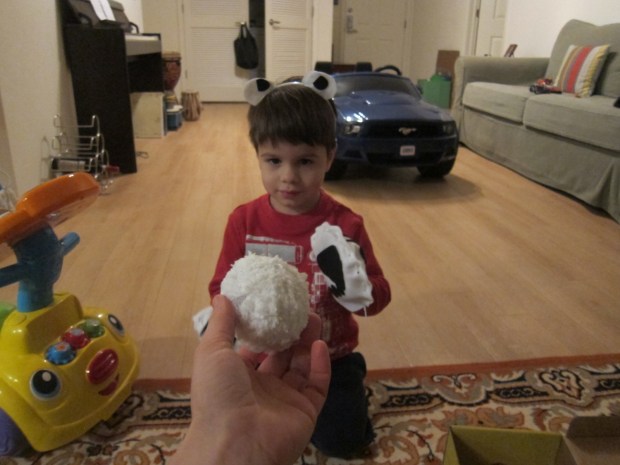
Once he was ready, we started by putting together the Polar Bear Dress-Up costume, and I was impressed by his focus. He decided all by himself where the felt stickers should go to be the pads and claws on the paws.

Koala arctic (2)

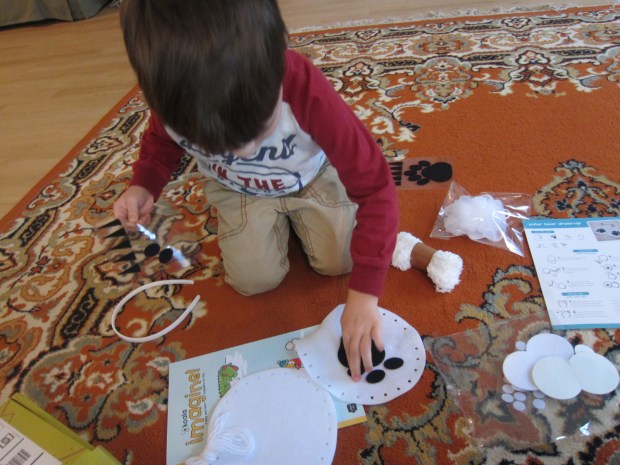
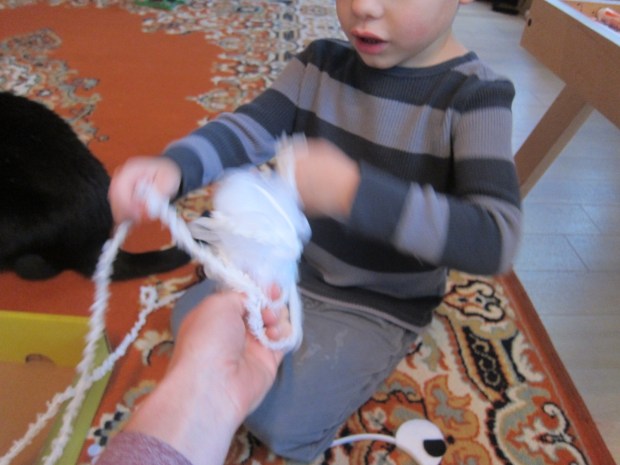
Next he laced around a whole paw with the white string provided. I thought for sure he would tire of the task – polar bear paws are big! – but he insisted on finishing the whole paw himself. (I did lace up the second one for him).

Koala arctic (16)

The headband ears were simple: attach white felt stickers with black felt dots in the middle to a white headband, and you have polar bear ears. Lots of roaring ensued once he had the ears and paws on!

Koala arctic (8)

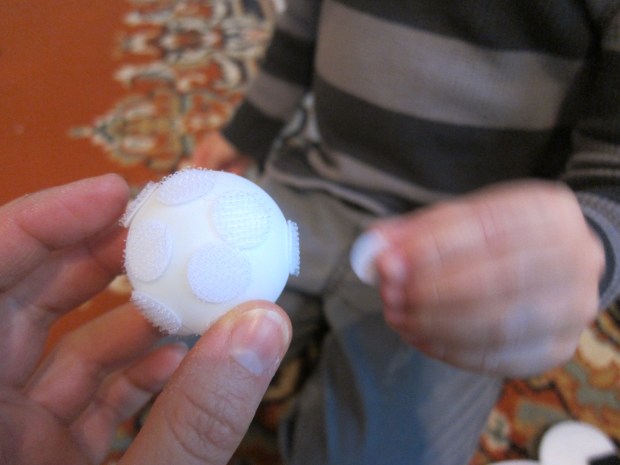
Next up was Snowball Toss, a craft that doubles as a sports game. We covered a Styrofoam ball with sticky Velcro stickers to make the “scratchy snowball.”

Koala arctic (11)

To make the “fluffy snowball,” we wound white fluffy yarn (mentioned earlier!) around a bath loofah. Now it was time to test out games of catch!

Koala arctic (9)

Travis was amazed when the scratchy snowball latched right onto a felt polar bear paw.

koala arctic (19)

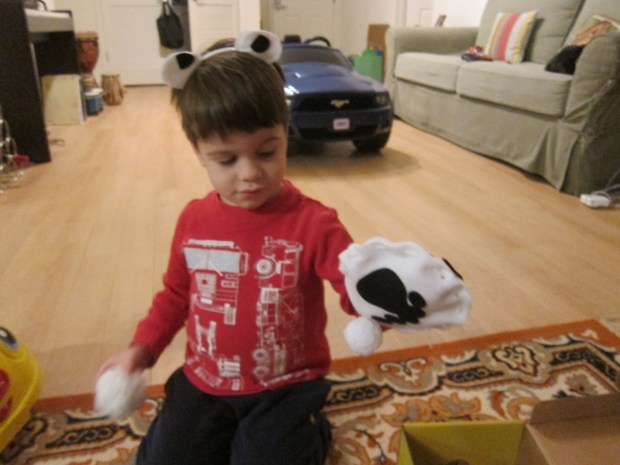
The soft snowball took more dexterity. As you play, you can ask your little one questions about the differences between the two balls, and why one is easier to catch than the other.

koala arctic (18)

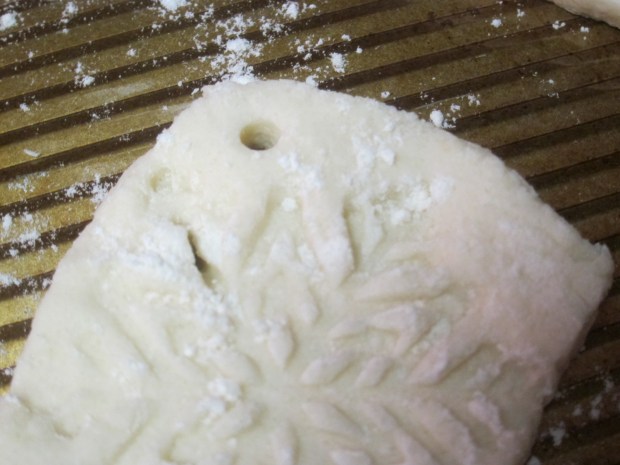
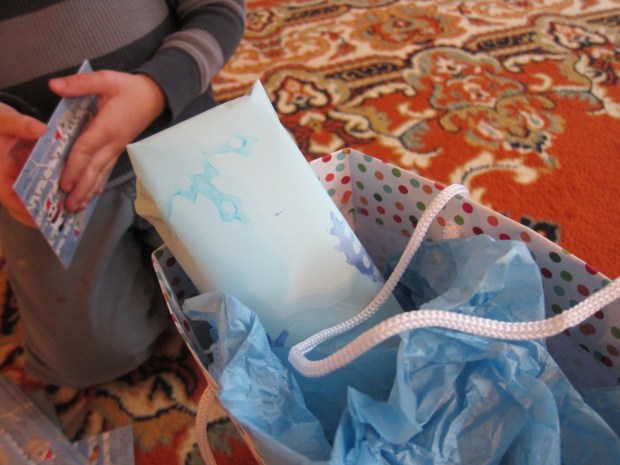
The final craft, Snowflake Stamps, was remarkably similar to a wrapping paper activity we enjoyed just before Christmas. Travis was super eager to see how the snowflake stamps worked, but he lost interest quickly.

Koala arctic (6)

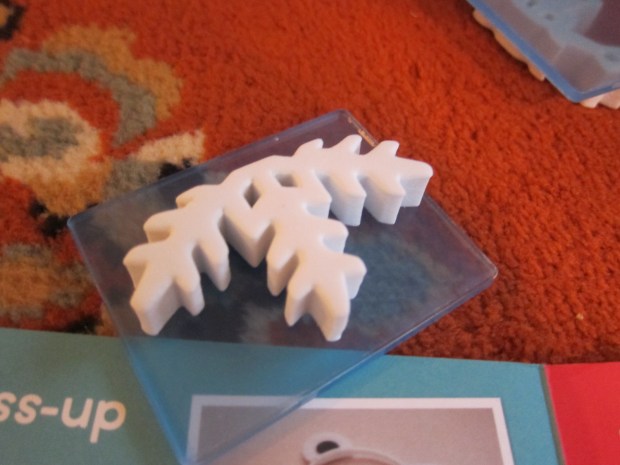
As a minor gripe, the ink pads were smaller than the snowflake stamps, which frustrated him and led to his disinterest. He decided it was more fun to stamp ink pad squares directly onto the paper.

Koala arctic (13)

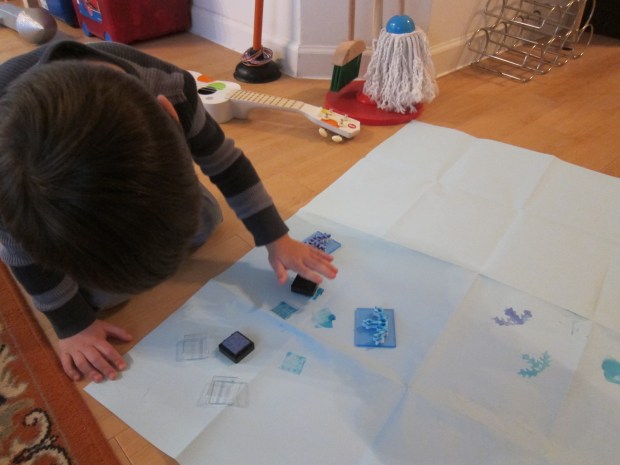
Still, we ended up with enough stamps to cover the provided blue paper, which can then be used to wrap gifts.

Koala arctic (14)

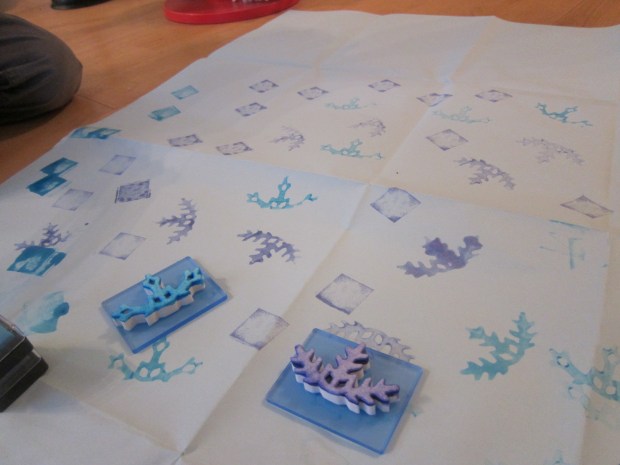
Perfect for winter holidays or upcoming winter birthdays!

Koala arctic (15)

In sum, I didn’t necessarily feel like Koala needed to send us a wintery themed crate just because it’s cold outside… but they did an admirable job of making this one quite different from last year’s Snow. 


Salt Dough Snowflakes

Salt Snowflake (13)

Here’s a beautiful snow-themed project, perfect for Christmas tree ornaments or for hanging around the house as wintery decoration even once the holidays are over. We loved the idea of the craft, but had no snowflake cookie cutter at home. Read on for our improvised version!

To prepare the salt dough, mix together 1/2 cup salt…

Salt Snowflake (1)

1/2 cup water…

Salt Snowflake (2)

and 1 cup flour. Travis was a very happy mixer. If the dough is too sticky, add a bit more flour.

Roll the dough to about 1/4-inch thick, then cut out snowflake shapes with a cookie cutter.

Salt Snowflake (5)

As mentioned, we didn’t have the right cookie cutter… but I did have a snowflake-shaped pendant, that I thought we could press into the dough.

Salt Snowflake (4)

After some trial and error…

Salt Snowflake (6)

…we found it worked best to cut out squares of dough first and place them on a baking sheet, then to imprint the snowflake.

Salt Snowflake (7)

Poke a small hole in one corner of each snowflake using a straw, then bake at 275 degrees F for 90 minutes, or until hard.

Salt Snowflake (8)

They looked so pretty when they came out of the oven!

Salt Snowflake (9)

As the final touch, your child can decorate with paints or markers. I had fun coloring in a few with Christmas-y colors. Travis was equally delighted to paint several of them, and although perhaps not as “pretty”, I loved his creativity as he worked.

Salt Snowflake (10)

Thread a string through the hole in each one,. As mentioned, they make great ornaments (we’ll have to save ours for next year’s tree!) or even work as gift tags if you use a marker to write the name of the recipient on the reverse.

Salt Snowflake (12)


Mitten Match: Alphabet Game


Mitten Match (5).JPG

Here’s a cute and seasonal alphabet match game to keep little mind’s sharp over winter break!

You’ll need 52 mitten shapes to play the game, labeled with all the letters in both upper and lower case. So yes there’s quite a bit of parental prep-work, but you can spread out the task over the course of an afternoon.

Mitten Match (2)

First, I printed out a mitten template (just Google and dozens will pop up), and traced a pair of mittens onto paper for every letter. You can trace onto any paper you like; colored construction paper would be pretty, although white paper would work just fine. I have a pad of patterned paper which worked great because each letter pair could have its own distinct pattern. This served as a cue for finding matches if Travis was in doubt, later on.

Label each mitten pair with the capital and lower case of each letter. Cut out.

Mitten Match (6)

Now it’s time to play with your mittens, and there’s no right or wrong way to do it!

You can set up a hide-and-seek around the house. If playing this version, choose just a few mitten pairs – 26 letters would require a lot of patience and good hiding spots.

Mitten Match (3)

Travis balked a little at the learning aspect of the game, until we found ways to make it exciting. Before bed, I showed him an upper case letter, and he used a flashlight to pinpoint the matching lower case, for example.

Mitten Match (7)

Even more fun, Travis loves loading up toy trucks and cars like they are dump trucks, and I encouraged him to load all the mittens – but only once he had an upper and lower case match.

Mitten Match (8)

He was so thrilled that he went through all 26 pairs, proudly showing me each before it was loaded up into the truck.

Mitten Match (9)

How else will you play with your mittens? Please share ideas in the comments!

Mitten Match (4)


Flower-Power Fruit Pizza

flower pizza

Dress up your everyday English muffin breakfast rut with this adorable “floral” idea.

Ingredients:

  • 1 English muffin
  • 2 tablespoons non-dairy cream cheese
  • 1 teaspoon agave nectar
  • Clementine slices
  • 2 raspberries
  1. Cut the English muffin in half and toast.
  2. Meanwhile, stir together the cream cheese and agave until blended. Spread evenly over both halves of the English muffin.
  3. Arrange the clementine slices in a circle like petals of a flower, and add a raspberry in the center of each. Blueberry centers look pretty, too!

Sweet-Potato-Fry Nachos

Sweet Potato Nachos alt

Frozen sweet potato fries are the base in this novel twist on nachos. My preschooler dubbed this the “cheesy dinner,” the perfect alternate name! Note: For older kids, you can add a bit more zip by adding 1 cup store-bought green or red salsa in step 2 below.

Ingredients:

  • 1 (20-ounce) bag crinkle-cut sweet potato fries
  • 1 (15-ounce) drained and rinsed can black beans
  • 1 (15-ounce) drained can corn
  • 2 cups shredded Daiya cheddar
  • 1 avocado, sliced
  1. Spread the fries on a baking sheet and bake at 425 degrees F for 24 minutes.
  2. Top the fries evenly with the black beans, corn, and cheddar (and salsa, if using). Return to the oven and bake for an additional 5 minutes.
  3. Divide the nachos evenly among 4 to 6 plates, and top each serving with sliced avocado.

Sweet Potato Nachos.JPG


Foam and Cork Canoe

Foam Canoe (11).JPG

This was not so much a craft that Travis and I did together, but more of a toy that I put together for him. It mainly involves scissors and hot glue, so definitely grown-up materials! If your kids are8 years old and up, they can help out with the hot glue under careful supervision.

I had actually hoped to put the little canoe together around Thanksgiving, when Travis learned about Native Americans and the holiday. But alas, at the time I didn’t have enough wine corks! With a trove of 5 corks now on hand, I finally got around to making the canoe. If you want a bigger boat, use up to 8 wine corks.

foam canoe (3)

To start, I drew a canoe shape on white paper, and traced that two times on brown craft foam. Cut out; these are the two sides of the canoe.

foam canoe (1)

To make your boat buoyant, hot glue together the wine corks in a row. Travis did venture over to see this stage, thinking it was pretty neat!

foam canoe (6)

Glue the corks near the bottom edge of one canoe half, then add drops of glue to each cork and press on the other half of the canoe.

foam canoe (7)

Seal the top edges of the canoe together with more hot glue.

foam canoe (8)

You can assemble your canoe’s passenger from additional shapes of craft foam. I snipped out red rectangles for body and arms, a brown square for the face, and a larger square of black foam for the hair, all of which I attached together with hot glue.

foam canoe (4)

Cut fringe in the black foam for a cute touch.

foam canoe (5)

Now we needed to test if he would float! To Travis’s delight, the canoe worked great.

Foam Canoe (10)

It wasn’t long before he grew impish and wanted to see if our little foam person could swim.

Foam Canoe (12)

This being closer to Christmas than Thanksgiving, he turned the canoe into Santa’s “sleigh” during his bath. Bath was nearly double its normal length because he was having so much fun. However you use it, a great floating toy.

Foam Canoe (13)

One-Pot Spaghetti with Sausage

One-Pot Spaghetti

This was such a novel way to cook spaghetti, and it was so easy and satisfying that it’s definitely now a part of my repertoire. You can vary the taste of the dish based on which Field Roast sausage you choose. For a mild taste that my preschooler likes, I recommend their smoked apple sage. Older kids and adults would love the zip of the Italian variety.

Ingredients:

  • 1 tablespoon olive oil
  • 3 Field Roast sausages, chopped
  • 2 cups chopped mushrooms
  • 14 ounces vegetable broth
  • 2 cups water
  • 1 (6-ounce) can tomato paste
  • 2 teaspoons dried Italian seasoning
  • 8 oz spaghetti, broken into pieces
  1. Heat the olive oil in a large saucepan over medium heat. Add the sausage and mushrooms; cook for 5 minutes, until browned.
  2. Add the broth, water, tomato paste, and Italian seasoning; bring to a boil.
  3. Add the spaghetti pieces, and return to a boil. Continue to boil for 15 minutes, until the spaghetti is tender and most of the liquid is absorbed.

One-Pot Spaghetti alt