Here’s a beautiful snow-themed project, perfect for Christmas tree ornaments or for hanging around the house as wintery decoration even once the holidays are over. We loved the idea of the craft, but had no snowflake cookie cutter at home. Read on for our improvised version!
To prepare the salt dough, mix together 1/2 cup salt…
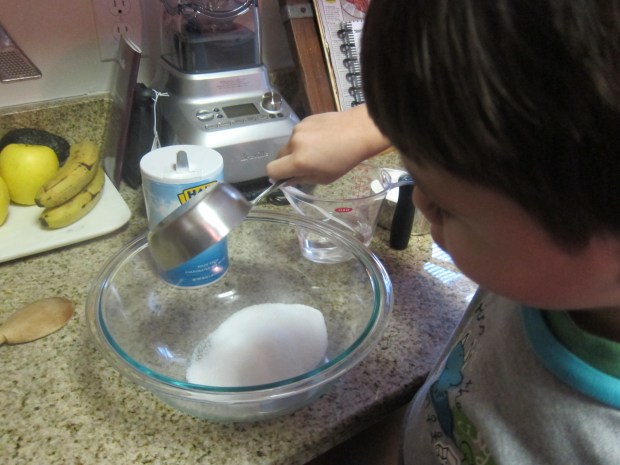
1/2 cup water…
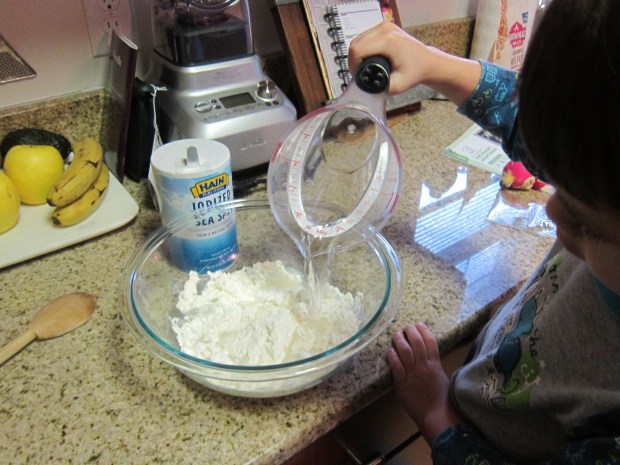
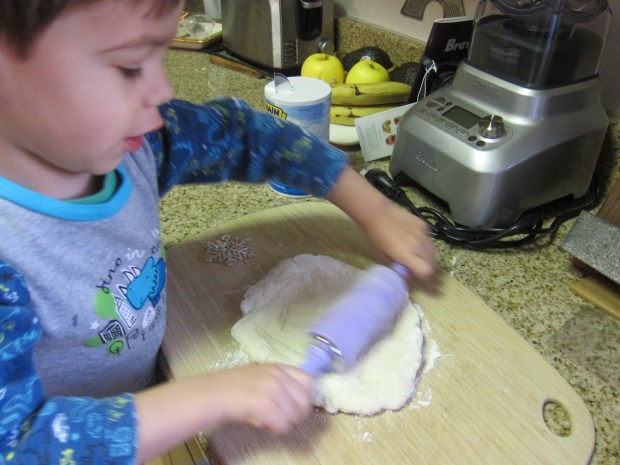
and 1 cup flour. Travis was a very happy mixer. If the dough is too sticky, add a bit more flour.
Roll the dough to about 1/4-inch thick, then cut out snowflake shapes with a cookie cutter.
As mentioned, we didn’t have the right cookie cutter… but I did have a snowflake-shaped pendant, that I thought we could press into the dough.

After some trial and error…
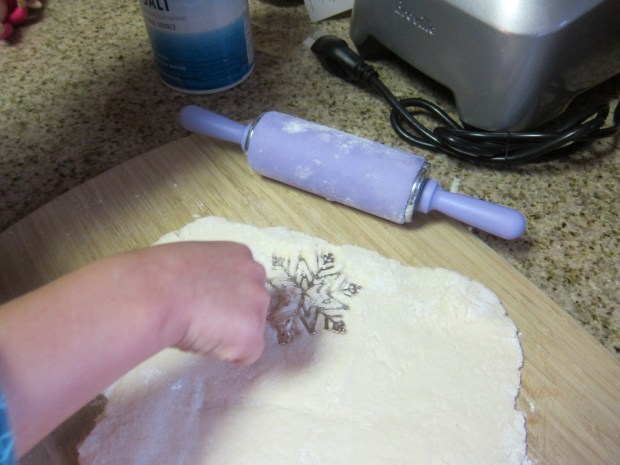
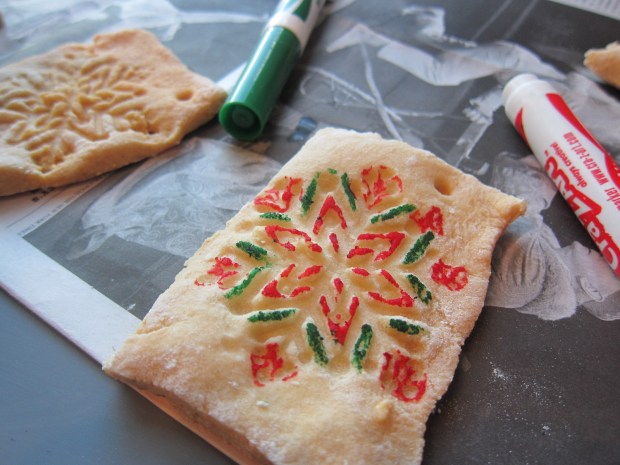
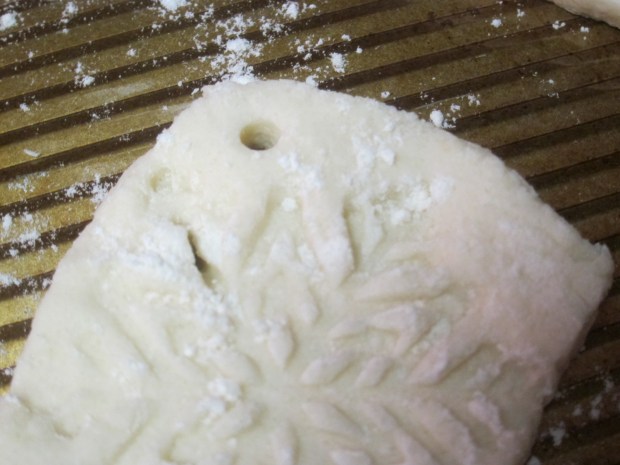
…we found it worked best to cut out squares of dough first and place them on a baking sheet, then to imprint the snowflake.

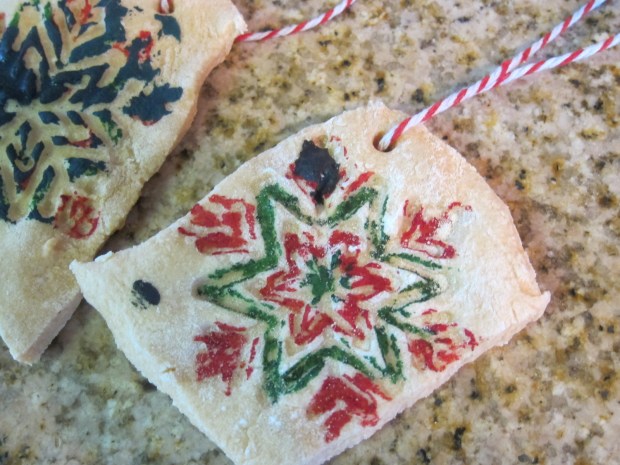
Poke a small hole in one corner of each snowflake using a straw, then bake at 275 degrees F for 90 minutes, or until hard.
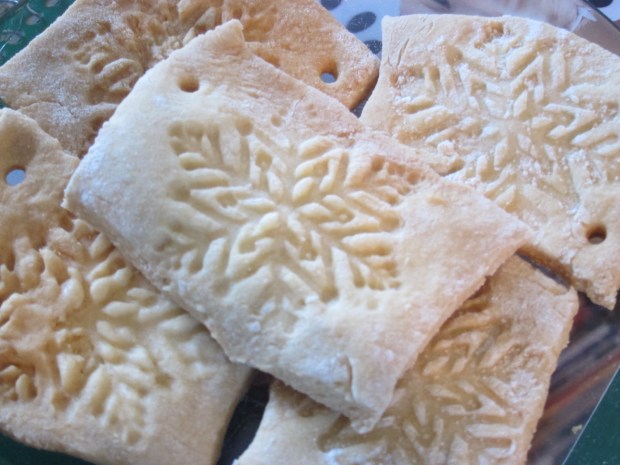
They looked so pretty when they came out of the oven!
As the final touch, your child can decorate with paints or markers. I had fun coloring in a few with Christmas-y colors. Travis was equally delighted to paint several of them, and although perhaps not as “pretty”, I loved his creativity as he worked.

Thread a string through the hole in each one,. As mentioned, they make great ornaments (we’ll have to save ours for next year’s tree!) or even work as gift tags if you use a marker to write the name of the recipient on the reverse.