Dancing Bats and Ghosts

Dancing Ghost (7)

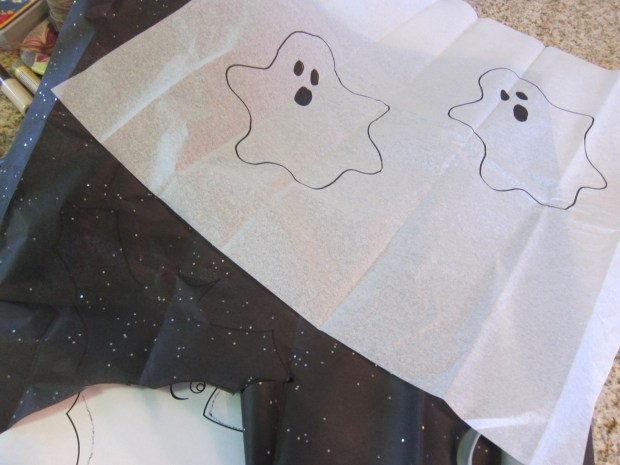
What is it with playground slides and static electricity? Travis was fascinated the other day when he kept picking up a shock each time he went down the slide and then touched the railing on the stairs back up. So we turned it into a teachable moment – minus the shock! – with this little lesson on static electricity at home. You can cut any shape you want into tissue paper, but since it’s Halloween, we had to go with bats and ghosts of course.

Dancing Ghost (1)

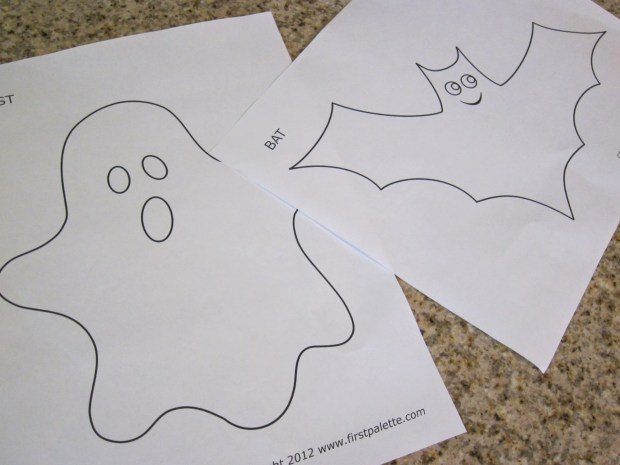
I didn’t trust myself to cut tissue paper free-hand, so downloaded templates of a bat and ghost, and traced onto the paper before cutting out.

Dancing Ghost (2)

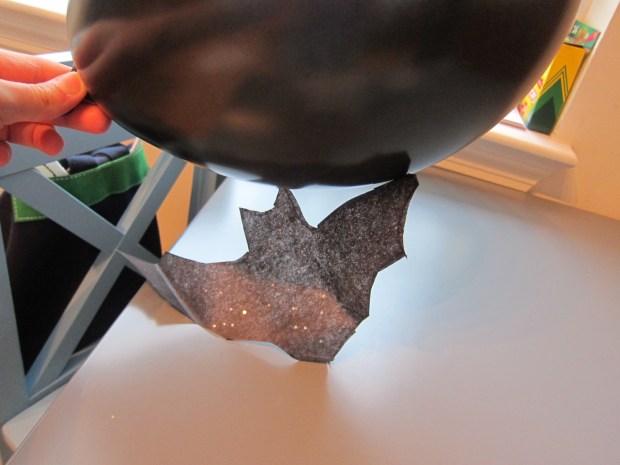
Tape the shapes to a tabletop or similar surface; set aside.

Dancing Ghost (3)

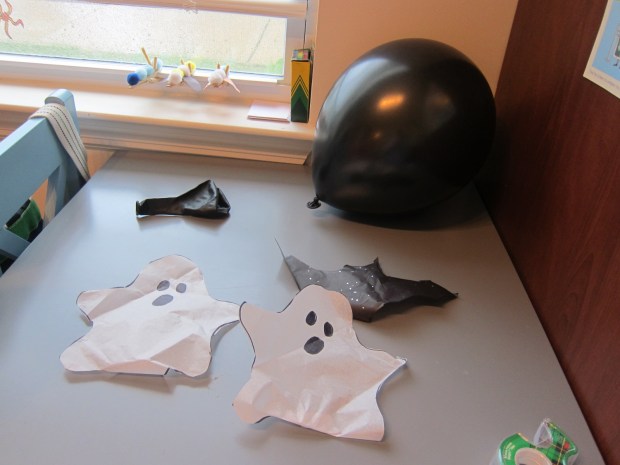
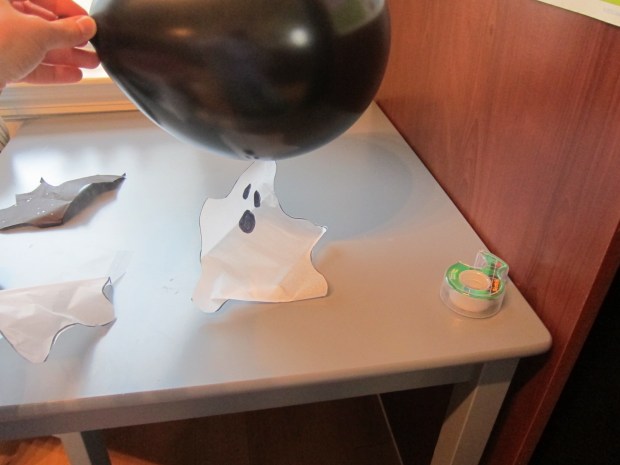
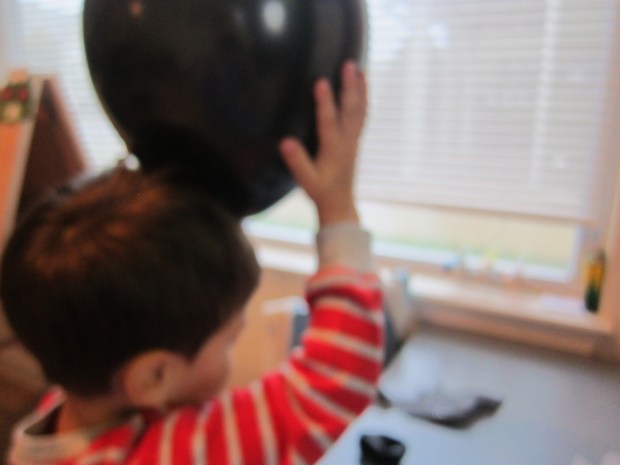
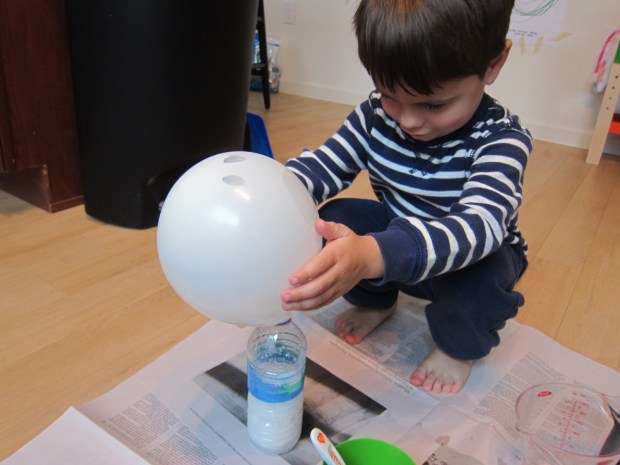
To create the static, blow up a balloon (a spooky black was the perfect shade for today), and rub in your hair (or on a sweater). Hold the balloon over the tissue paper, and the static will make the ghosts and bats lift up and dance!

Dancing Ghost (6)

Travis loved every element of this experiment, including making static from his own hair…

Dancing Ghost (5)

…And seeing if he could make the tissue paper rise up.

Dancing Ghost (4)

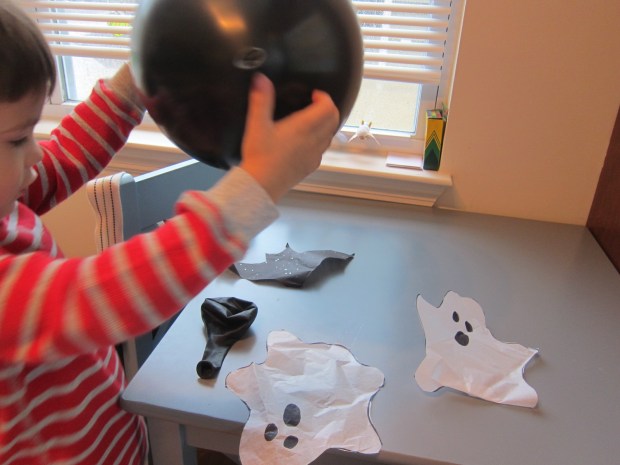
Of course you also could just create static and the tissue paper will stick directly to the balloon, but taping our tissue paper spookies to the table turned it into a hokey Halloween jig.

Dancing Ghost (8)

Mexican Horchata

Horchata (4)
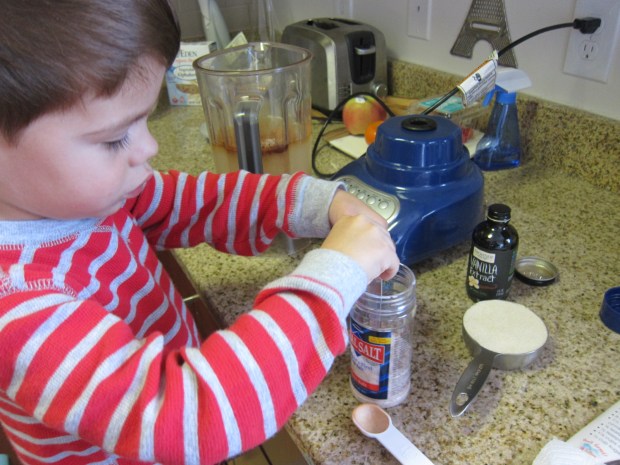
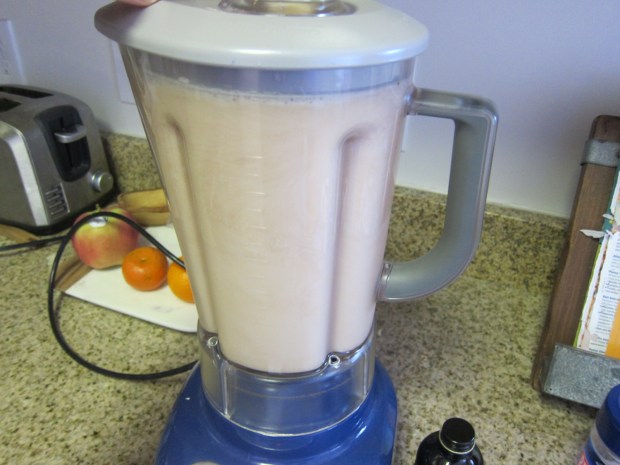
Happy Day of the Dead/Dia de los Muertos! The holiday, a traditional Mexican festival honoring ancestors and children’s spirts, starts tomorrow and runs through November 2. You can celebrate the holiday and teach your child a bit about international cuisine with this hands-on recipe. This suggestion from High Five magazine was a fun way to introduce my son (normally an almond milk drinker) to rice milk.

Have your child help scoop 3/4 cup uncooked white rice into 4 cups water; let soak overnight.

Horchata (1)

The next day, transfer the rice mixture to a blender, along with 1 and 1/2 teaspoons cinnamon, 3/4 teaspoon vanilla extract, 1/2 teaspoon salt, 1 cup + 2 tablespoons rice milk, and 1/2 cup sugar.

Horchata (2)

Adults, run the blender and process until very smooth. Travis preferred to step away for this step, as it was loud!

Horchata (3)

Strain the mixture through a fine-mesh sieve into a pitcher. Stir well before serving.

Here is my very happy horchata taste-tester! After a few sips, he decided he is sick of milk, so “from now on let’s have horchata.”

Horchata (5).JPG

Spooky Expanding Ghost

Spooky Ghost (4)

Your little one will get a kick out of watching the spooky-not-scary ghost puff up in this experiment, a trick made possible with good old vinegar and baking soda. It might not be quite as impressive as flaming ghosts, but is sure to earn a giggle.

First we gathered our materials, and I drew two ghost eyes and a big ghost mouth on an uninflated white balloon.

Spooky Ghost (1)

Have your child carefully help add 1/2 cup white vinegar to an empty plastic bottle; set aside.

Spooky Ghost (3)

Next, fill the balloon with 1 tablespoon baking soda. A funnel is your best bet to get the baking soda into the narrow neck of the balloon, but we managed to do so with one adult holding the balloon wide and the other spooning in the baking soda with a baby spoon.

Fit the balloon over the opening of the plastic bottle – don’t let the baking soda fall inside just yet.

When you’re ready, stand the ghost up straight; the baking soda will sprinkle into the vinegar, and the resulting air makes him puff up.

Spooky Ghost (5)

Boo!

Travis loved this so much we went through 3 ghost balloons before the fun was done.

DIY Glow in the Dark Comet

DIY Comet (6)

We added a little light into an otherwise dreary rainy morning with this glow stick project. It’s perfect for any kids interested in outer space, or who are learning what comets are – or just any kid who loves glow sticks of course.

To make our comet, I trimmed the sides, top, and bottom from a trash bag, leaving us with a large sheet of plastic.

DIY Comet (1)

Travis traced around the rim of a bowl with a marker to make the center of our comet – I love how steady his hand has become at tracing!

DIY Comet (2)

To make the tail of the comet, we cut the plastic into strips, cutting from the edges up to the center circle.

DIY Comet (3)

Place a small ball in the center (such as a wiffle ball or tennis ball), and wrap up with the plastic bag; tie with a ribbon to secure. We added extra ribbons in red and orange for fiery comet flair!

DIY Comet (5)

As the finishing touch, we tied on two glow sticks (go ahead and use more than two if you like, but that’s all we had in the house).

We dimmed the lights and Travis dashed around to make the comet fly. If you’re having a sunny day, you’re definitely going to want to save this project for nighttime.

DIY Comet (7)

After a while, Travis decided the comet could also be a flare for mountain recues, so we acted out a few “cliff” rescue scenarios on the couch as well.

DIY Comet (8)

What else could your glowing comet become? We’d love to hear your ideas in the comments!


Ooey Gooey Pumpkin Slime

Pumpkin Slime (6).JPG

True slime enthusiasts and experts will probably cringe at this post, so my apologies in advance! But Travis and I weren’t aiming to make the perfect slime ball, just to have some oopy, goopy, gooey, messy Halloween fun!

We’ve largely skipped the slime craze because I was hesitant to use liquid starch or borax, two ingredients normally called for to pull together a slime solution. Just in time for this Halloween project though, I learned you can use contact lens solution (a buffered saline solution) instead. If you’re looking for a good cruelty-free option, check out Clear Conscience contact solution.

To make the base of the slime, we dumped two small bottles of white glue into a plastic bin. I’m sure there is an exact amount to use, but this seemed to give us about 1/2 cup, which looked about right. Sprinkle your glue with 1/4 teaspoon baking soda and stir.

Pumpkin Slime (1)

Now begin adding the saline solution one spoonful at a time; you’ll see it seize up almost right away. Only a few spoonfuls are necessary.

Pumpkin Slime (2)

Now came the real goopy part; stir in leftover pumpkin guts and seeds from pumpkin carving!

Travis was hesitant to get his hands in the stuff at first, but wearing a glove helped.

Pumpkin Slime (3)

His favorite part was when we added glitter. We started with a bit of gold, but he soon decided we needed silver and green as well.

Pumpkin Slime (5)

After that he wanted to squeeze in more saline. To our great delight, this really made the mixture seize up, until you could left it cleanly up out of the plastic bin. Then it stretched back out like long snotty spider webs.

Pumpkin Slime (7)Perfect for Halloween, in sum.

Confetti Pumpkin

Confetti Pumpkin (7)

If you want to decorate a pumpkin with the kiddos this Halloween but aren’t up for carving, consider adorning just the outside of your pumpkin. The effect of this design is particularly dazzling!

You can use this method on tiny pumpkins or on big ones, although I have to say my patience wore out covering an entire large pumpkin with confetti, so choose your size accordingly.

Confetti Pumpkin (2)

To start, we painted our pumpkins white. This step isn’t strictly necessary, but the white was such a lovely background for the sparkly confetti we had, and I was afraid a bold orange would compete too heavily. Besides which, Travis enjoyed the painting!

Confetti Pumpkin (1)

Once the white paint dries, dip a paintbrush in glue and make dots all over your pumpkin. Cover each dot with confetti.

Confetti Pumpkin (5)

Travis preferred to make big globs of glue and then sprinkle on handfuls of confetti, which worked just as well. As always, I like seeing his creative response to projects these days, as opposed to having him just follow along.

Confetti Pumpkin (4)

For additional security, dab over the confetti with a second layer of glue, then set aside to dry before adding to your Halloween decor.

Confetti Pumpkin (6)

Another boo-tiful project!

Confetti Pumpkin (8)

Spiked Hummus

Spiked Hummus (2)

Take your hummus to the next level with a little jolt – of barbecue sauce that is! This recipe doubles easily, so just double each ingredient below if you’re feeding a crowd.

Ingredients:

  • 1 (15-ounce) rinsed and rained can chickpeas
  • 1 minced garlic clove
  • 1/3 cup olive oil
  • 1 tablespoon water
  • 2 tablespoons tahini
  • 2 tablespoons barbecue sauce
  • 2 tablespoons fresh-squeezed lemon juice
  1. Combine all of the ingredients in a food processor, and process until smooth. Spoon into serving bowls

We like this one with warm pita wedges and lightly steamed carrot sticks.

Spiked Hummus (1)

Overnight Pumpkin Oats

Overnight Pumpkin Oats.JPG

Steel-cut oats are a wonderfully hearty way to start the day, but since they require 20 to 25 minutes to simmer on the stove, they aren’t always practical. You can get a head start with this recipe – the oats soak overnight, which cuts the cooking time nearly in half come morning.

Ingredients:

  • 1/2 cup steel-cut oats
  • 1 cup rice milk
  • 1/4 cup canned pumpkin pie puree
  • 1 tablespoon maple syrup
  • 1 teaspoon pumpkin pie spice
  • 1/4 teaspoon vanilla extract
  1. Combine all the ingredients in a large bowl; cover and refrigerate overnight.
  2. In the morning, bring the mixture to a boil in a saucepan. Reduce heat to medium-low and simmer for 15 minutes, until the oats are tender, stirring occasionally.

Builder’s Special Pumpkin

Builder's Pumpkin (4)

After a few weeks with pumpkins perched on our patio, Travis couldn’t wait any longer… So it was time to turn pumpkins into jack-o-lanterns! We added to the fun with this quirky idea from Parents Magazine.

First came all the fun of carving a pumpkin. With a three-year-old, carving is still a grown-up job in our house, but Travis was thrilled to see our pumpkin’s face take shape. And loved the way the lid fit back on top like a puzzle piece!

Builders Pumpkin (1)

Then came the goopy fun of scooping out all those guts. (Hint: Save your pumpkin guts, I have blog posts coming up with how to continue the excitement…).

Builder's Pumpkin (2)

Once the pumpkin was carved, it was time for the finishing touch. Travis and I sorted through his Duplo bins for all the construction-themed pieces.

Builder's Pumpkin (3)

We set up the Duplo figures, tools, and construction vehicles around the jack-o-lantern after inserting a battery-operated tea light inside.

Builder's Pumpmin (3)

Bonus points for adding pumpkin guts into the scoop or your excavator or bed of your dump truck! This project got great giggles, and is perfect for any Duplo or Lego fanatic.

Builder's Pumpkin (5)

Huff and Puff Monsters

Huff and Puff (7)

We’ve made monsters “silly” a few times so far this October – it’s the first year that Travis has really been cognizant of monster decorations around Halloween, and he’s starting to feel a little afraid of them. The sillier and more fun we can make monsters seem, the better!

To prepare the project, pour a little tempera paint into cups, and thin each cup with water, one spoonful at a time. You want each batch of paint to have the consistency of cream.

Huff and Puff (1)

I placed construction paper and the paint cups on the floor (cover your work surface, things are about to get messy!) and invited Travis over. We used dark construction paper as the background for a Halloween feel, but white or any other color would work just as well.

Spoon some of the paint onto your paper, then cut straws in half, and get down low to blow out the shapes of your monsters.

Huff and Puff (2)

Travis soon decided he didn’t love the blowing part of the project, but he loved spooning blobs down, and then watching our creatures appear.

Huff and Puff (3)

“Don’t forget here!” he would instruct, pointing to a thicker portion of paint.

Huff and Puff (4)

We decided the white blobs were “baby bear monsters.”

Huff and Puff (5)

Once the paint dries, finish your new silly friends with a glue stick and eyes. I always seem to be out of googly eyes these days, but mini pom poms did in a pinch.

Huff and Puff (6)

Spooky, not scary!

Huff and Puff (8)