Simple Stuffed Tomatoes

Simple Stuffed Tomatoes

Here’s an adorable little snack that takes tomatoes from good to gourmet! If a store near you doesn’t sell Miyoko’s creamy cheeses (or a similar substitute), you can order online from purveyors like Vegan Essentials.

Ingredients:

  • 6 grape tomatoes
  • 1 ounce Miyoko’s double cream chive cheese
  • 1 tablespoon walnuts
  1. Halve the tomatoes, and scoop out the seeds with a small spoon. Arrange on a platter.
  2. Break the cheese into crumbles and divide evenly among the tomato halves.
  3. Finely chop the walnuts, and sprinkle evenly over each piece.
Advertisement

Pillowcase Wish Flags

Pillowcase Flags (7)

This project is yet another that I’ve tabled for over a year, since I needed a hot glue gun. Armed with my latest favorite crafting tool, it was a beautiful project after school one day this week.

Wish flags (also called Prayer Flags) are rectangular strips of cloth traditionally found outside in the Himalayas, used to bless the countryside or impart another wish. I told Travis a bit about the history and context of the project as I cut an old pillowcase into 4 rectangles.

Pillowcase Flags (1)

Cut a long piece of twine, and arrange your rectangles in a row with the twine extending across all 4; make sure to leave enough twine at the end to hang your flags up later. Fold each rectangle in half over the twine, using hot glue to seal it down.

Pillowcase Flags (2)

If it’s not glitter paint these days, then Travis isn’t interested, so glitter paint it was to decorate our wish flags!

Pillowcase Flags (3)

The idea was to mimic the woodblock-printed text and images that can be found on Tibetan prayer flags. Travis mostly just had fun painting, but I asked him if any of his art work represented a wish or hope he had for anyone. Older children may really want to put some thought into this part!

Pillowcase Flags (5)

Mama added a wish flag for love and peace on earth for all humans and animals.

Pillowcase Flags (4)

Once the paint dried, we hung our project outside in the sunshine – what a beautiful addition to any landscape!

IMG_0020


Erupting Apples

Exploding Apples (3)

We pretty much never tire of making baking soda explode with vinegar around here. To add an autumnal spin to the project, this time we erupted “apples” instead of volcanoes!

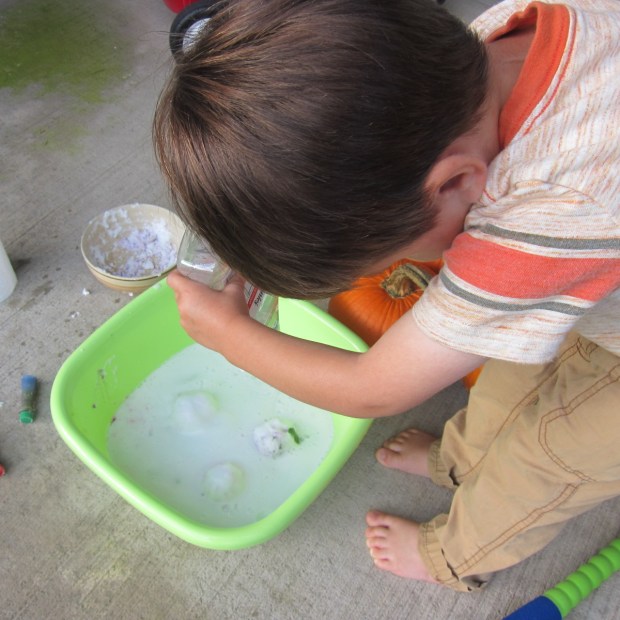
To make your apple mixture, combine 1 cup baking soda, 1 tablespoon dish detergent and 1 tablespoon water. We had everything ready to go in a bin for outside, since we knew this was going to be a messy one…

Exploding Apples (1)

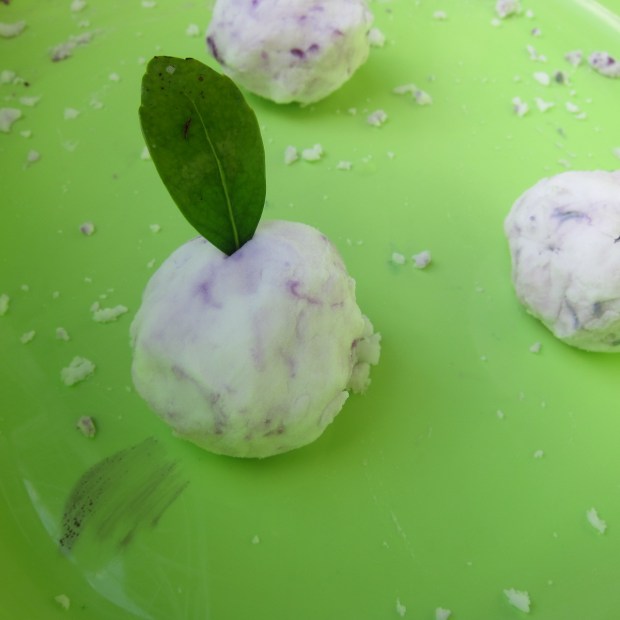
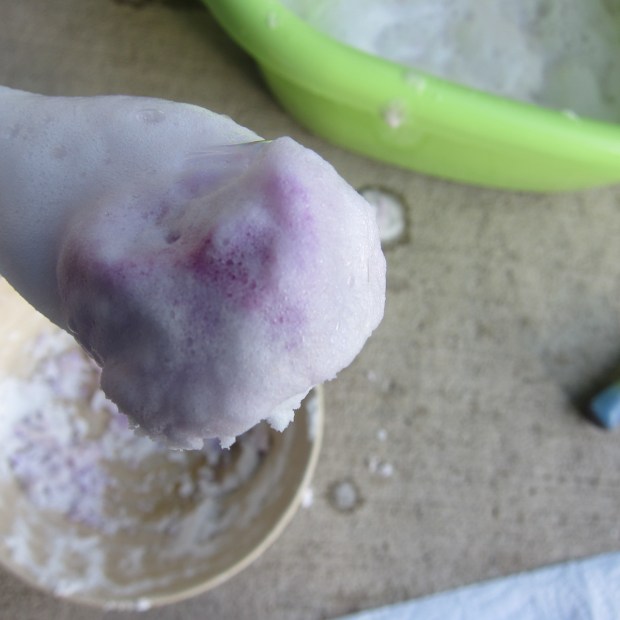
Time to get your hands dirty! Get in there and mush your baking soda mixture around, until you can form it into balls as the apples. We squirted in a little red food coloring, but oddly this made our apples purple, not red! Ah well, a little leaf as the finishing touch made them super cute.

Exploding Apples (2)

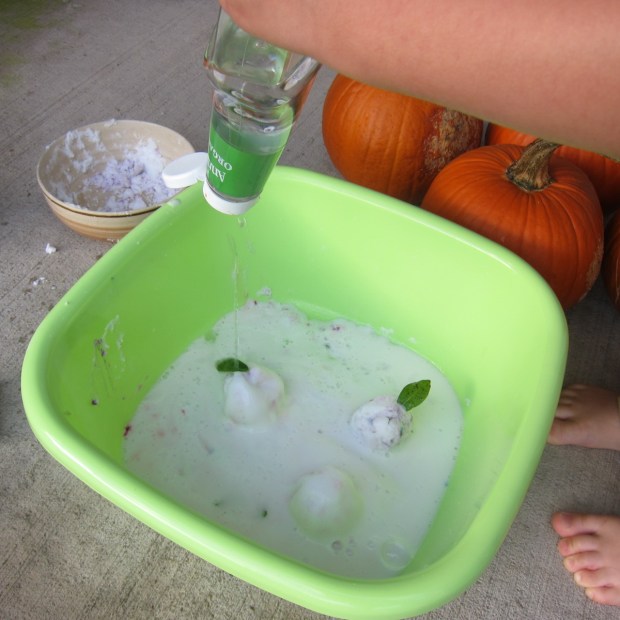
I gave Travis an old ketchup bottle filled with white vinegar, and he went to town squirting onto the apples, delighted by the foamy erupting result.

Exploding Apples (4)

He couldn’t stop there of course; half the fun is stirring around the foamy mixture afterwards. Look, a leftover apple!

Exploding Apples (6)

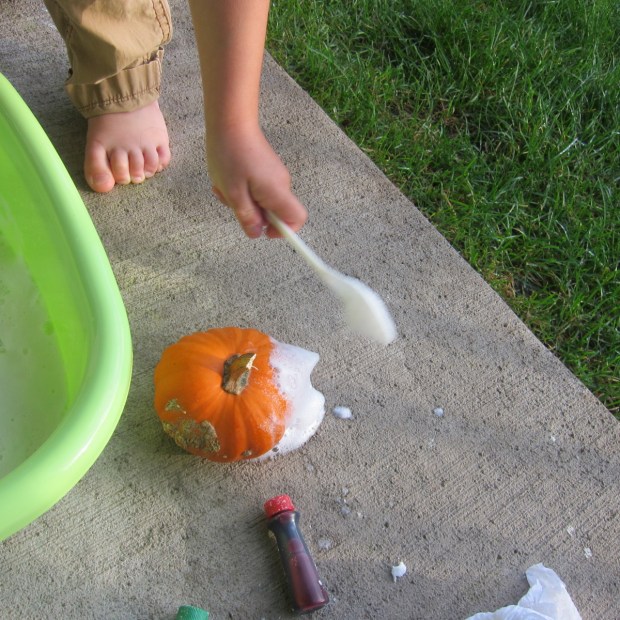
Travis also decided he wanted to cover one of our gourds with the foam – why not, since this added to the fall feel of the project.

Exploding Apples (7)

As always, this activity is the perfect way to blow off energy when your kids just want to get messy!

Exploding Apples (5)