Halloween Luminaries

Halloween Luminary (10)

Last year we indulged in an extra crate from Kiwi Co to make a trick-or-treat tote bag (which we’ll be using again this year!). This Halloween, Travis has graduated up in crafting skills and could help put together Kiwi Co’s neat luminary project, a reminder that it’s not just pumpkins that glow on All Hallow’s Eve.

To replicate the project at home, you can purchase similar materials to everything described below at a craft store.

To start, we taped down the two provided clear sheets of flexible plastic onto a work surface (a brown paper bag or scrap paper work fine), and painted them with a layer of glaze (which looked quite similar to Mod Podge).

Halloween Luminary (1)

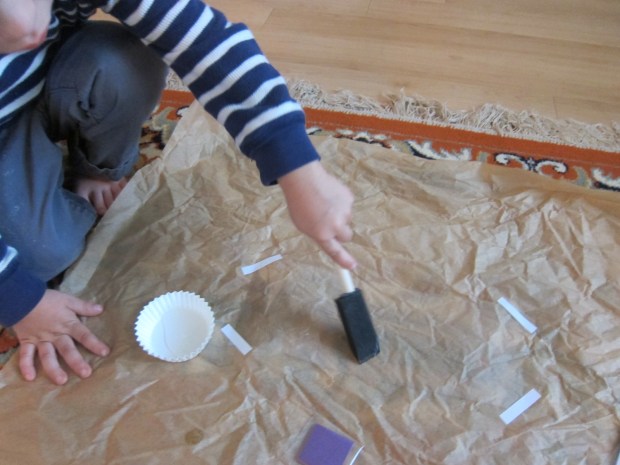
We divided the provided tissue paper squares into oranges and purples, and pressed onto the sticky glaze.

Halloween Luminary (2)

Travis had fun with the orange one, but then decided he didn’t like the way the glaze felt on his fingers. So I finished up the purple one, and then we painted over the tissue with an additional layer of glaze before setting them aside to dry.

Halloween Luminary (3)

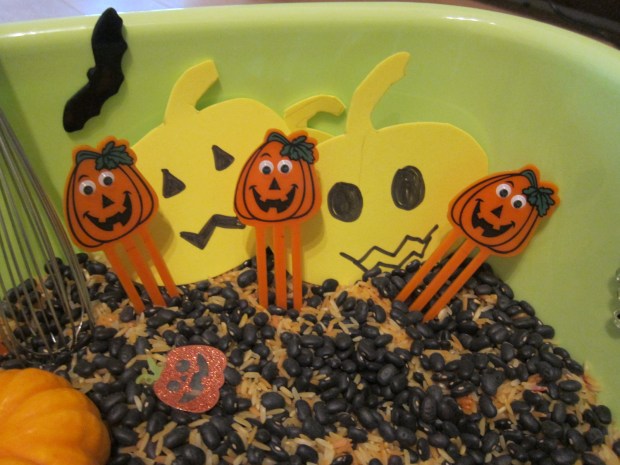
To make our luminaries spooky, we had fun adding the provided stickers – Travis particularly liked making a “pumpkin patch” on one.

Halloween Luminary (4)

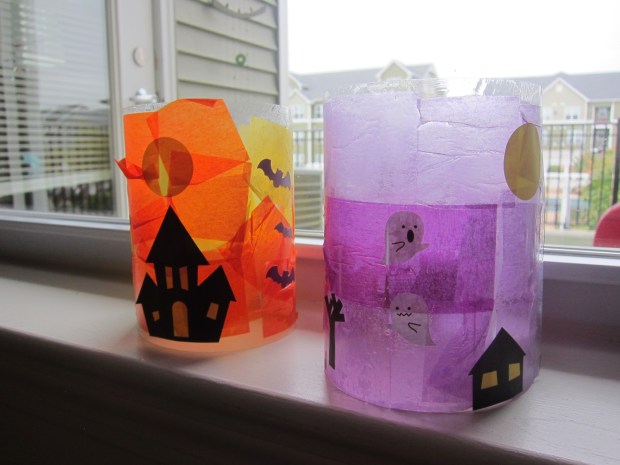
The plastic is then folded into a cylinder, and secured with clear round stickers.

Halloween Luminary (6)

Place your luminaries on any surface, then add a tea light inside.
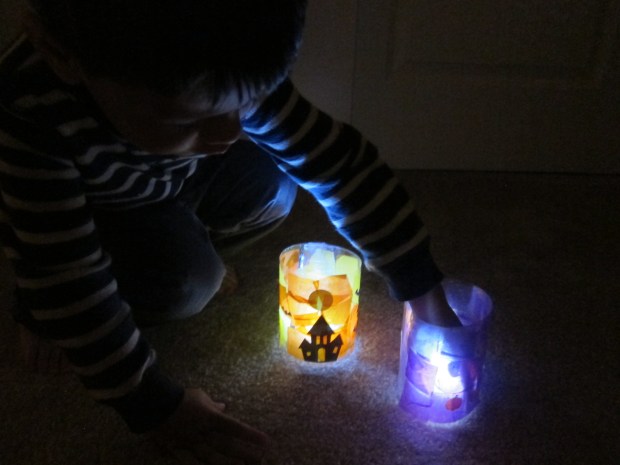
Halloween Luminary (7)

Boo-tiful!

Halloween Luminary (8)

Advertisement

No-Bake Spider Cookies

Spider Cookie (1)

We’re one week from Halloween, and the bushes all around town are draped in fake cobwebs or plastered with giant black spiders. We added to the arachnid fun with this easy dessert idea from Highlights magazine. For vegan chocolate cookies, try the wheat-free Newman O’s oreo cookies; scrape out the crème filling and replace with the cream cheese or peanut butter. If you can’t find Newman O’s, any vegan chocolate cookie will do!

Ingredients:

  • 8 round chocolate cookies
  • 1 tablespoon non-dairy cream cheese or peanut butter
  • 16 pretzel sticks
  • 8 raisins
  1. Divide the cream cheese or peanut butter evenly among 4 of the cookies. Set aside.
  2. Snap the pretzel sticks in half so you have 32 pieces. Arrange 8 pieces on each of 4 cookies, to be the spider legs, using the cream cheese as “glue” to hold them in place. Top with the remaining 4 cookies.
  3. Add an extra dot of cream cheese on the top cookies, and press on the raisins as eyes.

If only all spiders were this adorable!

Spider Cookie (2)

Blow Your Nose!

Nose Blow (2)

As much as we all hate to think of it, cold and flu season will be upon us all too soon. Before those first stuffed-up sniffles hit your little one, arm them with the knowledge of how to blow their nose. It seems obvious to adults, but how do you explain this motion to a little tyke? With a game, of course!

To start, set out a variety of light objects such as pom poms or wadded up pieces of tissue paper. We’ve played games where we tried to move such objects about by blowing through a straw. This time I challenged Travis to huff through his nose.

It took him a few tries, but soon he got the hang of it!

Nose Blow (1)

If you want to make things more interesting or challenging, try moving the items to a goal line, using nothing but your nose blows. Older kids might enjoy turning this into a race!

Nose Blow (4)

Just be forewarned that your play surface might get a bit… snotty. Have wipes on hand to clean up any mess when you’re done.

Halloween Sensory Bin

Halloween Sensory (3)

Seasonal sensory bins are always good fun, equally delightful for little tots as they are for preschoolers. This one gets an October twist with an orange and black background, and Halloween goodies tucked inside.

To prepare the rice, place white rice in a zip-top bag and shake with orange food coloring – I achieved a nice orange by mixing the yellow and red from Color Kitchen. Spread on a foil-lined baking sheet and let dry.

Halloween Sensory (1)

Fill a tub with the orange rice on one half and dried black beans on the other – it’s getting spooky in here!

Halloween Sensory (2)

Next I placed a few odds and ends in the bin, like mini pumpkins and gourds, and foam in the shape of jack-o-lanterns. I added a whisk and spatula, then presented the bin to Travis after a morning at school.

Halloween Sensory (4)

He loved sprinkling the black beans onto the rice for a startling contrast. Pretty soon this was an imaginative game of making pumpkin soup.

Halloween Sensory (7)

The texture of the dried beans was a big hit…

Halloween Sensory (5)

…as was the sound they made when sprinkled on top of the pumpkins, making this bin a delight for auditory senses as well.

Halloween Sensory (10)

You can keep bins like this around for a couple of days for children to return to. Later, we added some wobbly Halloween stickers and a few more pumpkins to our “patch.”

Halloween Sensory (12)

What else would you add to your Halloween sensory bin? Please share in the comments!

Halloween Sensory (13)