Sushi-Stuffed Avocado

Sushi Avocado (1)

This recipe takes avocados from everyday to gourmet for my little avocado lover. The ingredients might sound fancy, but my preschooler gobbles this one up to the last bite! I love using chopped hearts of palm as a vegan alternative in any recipe that calls for crabmeat, which is what I’ve done here.

Ingredients:

  • 6 tablespoons cooked white rice
  • 2 teaspoons vegan mayonnaise
  • Pinch of sugar
  • 2 tablespoons finely chopped cucumber
  • 1/3 cup finely chopped hearts of palm
  • 1 avocado
  • Sesame seeds (optional)
  1. In a bowl, combine all ingredients except the avocado, mixing well.
  2. Cut an avocado in half and discard the pit. Divide the rice mixture evenly between the two avocado halves, and sprinkle with sesame seeds if desired.

Sushi Avocado (2)

Underwater Felt Board

Underwater Felt (3)

I always joke that I haven’t a crafty bone in my body, and that before my son was born, I never would have believed it had you told me I’d one day create so many toys and games with him at home (much less have something in my home labeled a “craft bin”!).

With this craft, I feel like I’ve moved up from the minor leagues to – if not the majors – at least Triple-A status because… I finally purchased a hot glue gun. I’ve had a hot glue gun phobia for years (which dates back to witnessing the sticky dangerous mess they made in childhood theatre productions), but the time felt right to make the leap.

Travis couldn’t have been more excited; he didn’t even care what new projects this tool would allow us to create together, he just thought the whole apparatus was fascinating!

Once I was certain he understood that the glue gun and glue sticks were for mom’s hands only, we embarked upon our first glue gun craft, and I was thrilled with the results.

Underwater Felt (1)

I really only needed the glue gun for a simple purpose this time, but was glad to have it. To create the ocean backdrop for our Underwater Felt Board, I glued together two pieces of blue felt (one dark, one light) on three edges, leaving the fourth side open. This leaves a pocket so you can store all the other pieces of felt inside when you’re finished.

Underwater Felt (9)

Travis was quite literally shaking with glee as he watched me work, and equally loved watching me cut out additional felt shapes to populate our ocean.

Underwater Felt (2)With my very amateur crafting skills, I cut out fish, anemone, shells, and a little crab with legs we could attach and unattach.

Underwater Felt (5)

The biggest hit was cutting lots of circles and diamonds, which could be added to our sea friends as scales or eyes.

Underwater Felt (4)

Travis decided even our anemone needed eyes and a smile!

Underwater Felt (6)

You can of course just build playful and colorful scenes, but you can also use the felt board as a prop to narrate any books about the sea. We used it at bedtime for a rendition of Rainbow Fish which had Travis enthralled with the story in a new way.

Rainbow Fish needed beautiful scales of course…

Underwater Felt (7)

And a little imagination helped our crab become the octopus!

Underwater Felt (8)

What ocean stories would you tell with your felt board? Please do share in the comments, and here’s to many more glue gun projects to come!

Avocado Mousse

Avocado Mousse (2)

Here’s a dessert you can really feel good about giving your kids – they’ll never suspect that the decadent treat is healthy!

Ingredients:

  • 1 avocado
  • 1 banana
  • 3 tablespoons maple syrup
  • 1/2 teaspoon vanilla extract
  • Pinch of salt
  • 4 tablespoons cocoa powder
  1. Place the flesh of the avocado and banana in a food processor; discard the peels and pit.
  2. Add the remaining ingredients to the food processor and process until smooth. Divide evenly among 3 bowls.
  3. If desired, you can add toppings like sliced fruit or chopped nuts.

Avocado Mousse (1)

Early Explorers Natural Wonders

LP Natural a

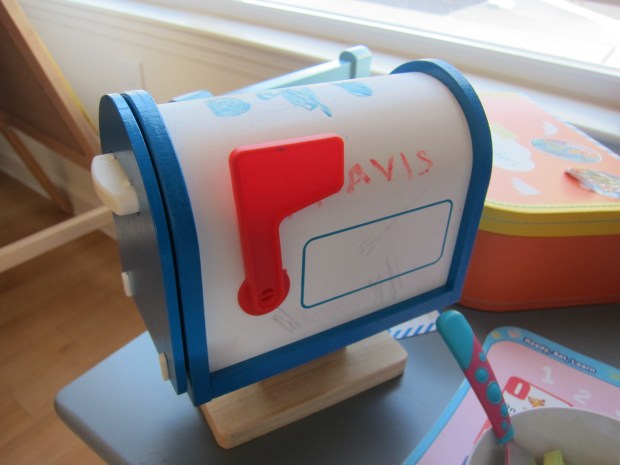
Welcome to our second journey with our Little Explorer subscription! Each month we receive a new topic to learn about. Now that Travis understands the learning journey we’re on, I set the stage for him…Max and Mia’s letter was waiting in his mini mailbox! He loved discovering their letter, and diving right in.

LP Natural (1)

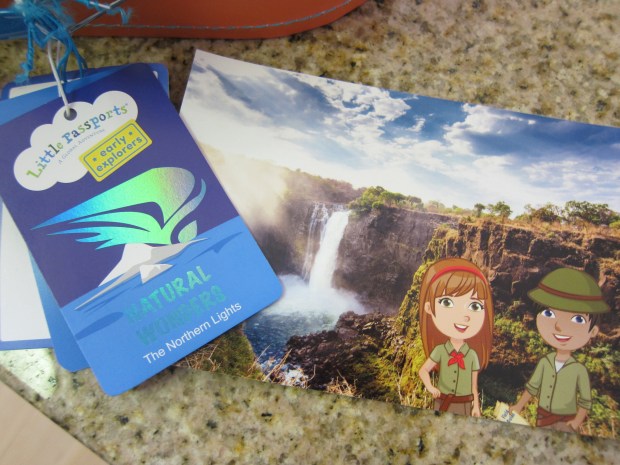
Our Natural Wonders kit contained the standard items that were now familiar from our Oceans pack – a luggage tag, a postcard, an activity booklet, and stickers for our wall map. Thanks to our stickers this month, we learned about the Chocolate Hills, Northern Lights, Paradise Harbor, and Glowworm Caves.

LP Natural (3)

Instantly we needed to find YouTube clips of these strange-sounding wonders! The Glowworm caves were a huge hit.

Natural Wonders Craft:

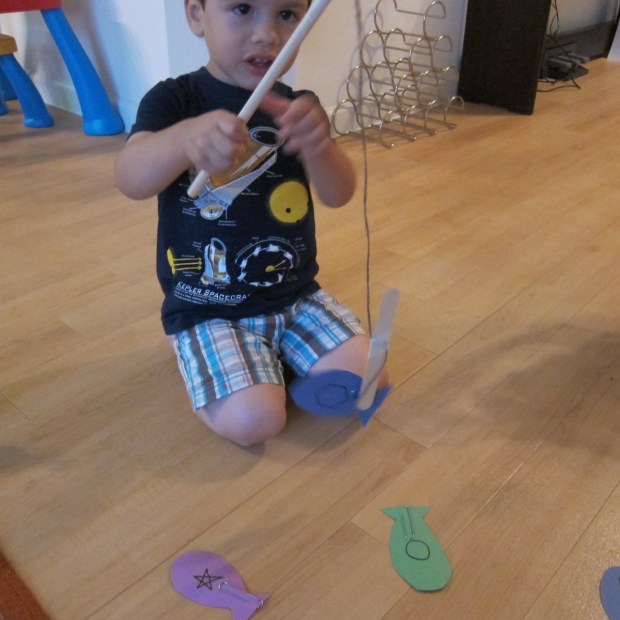
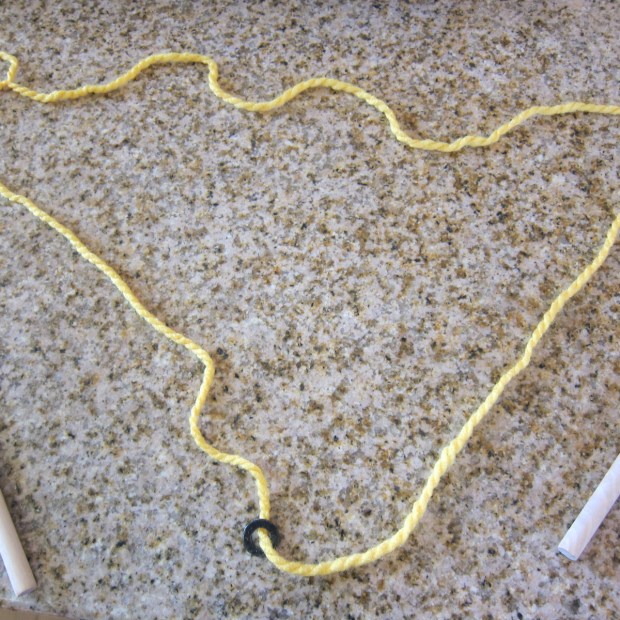
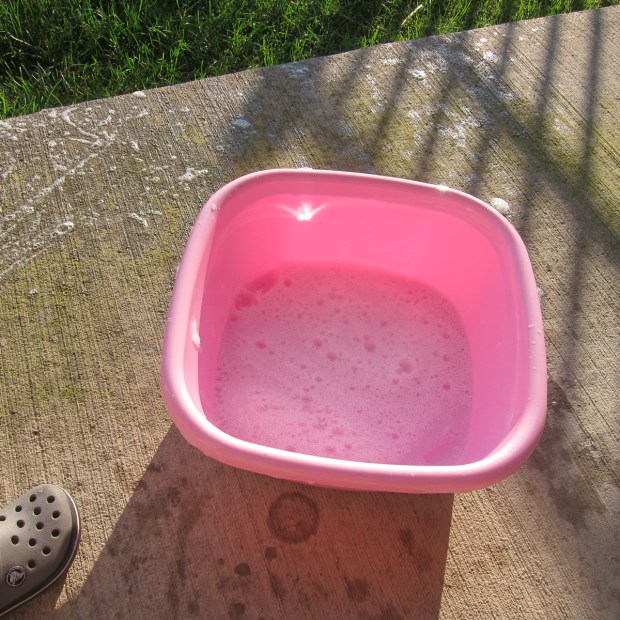
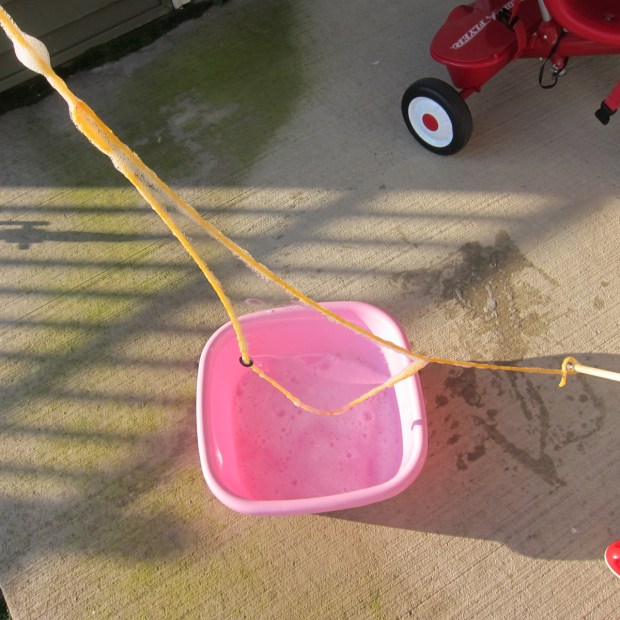
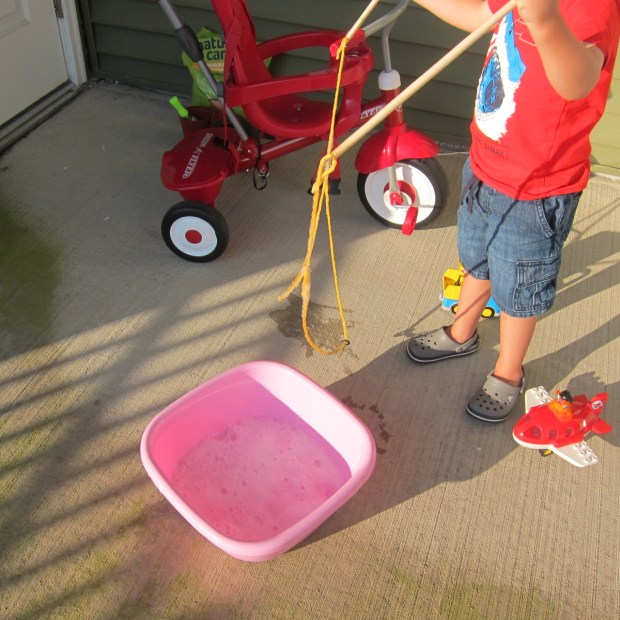
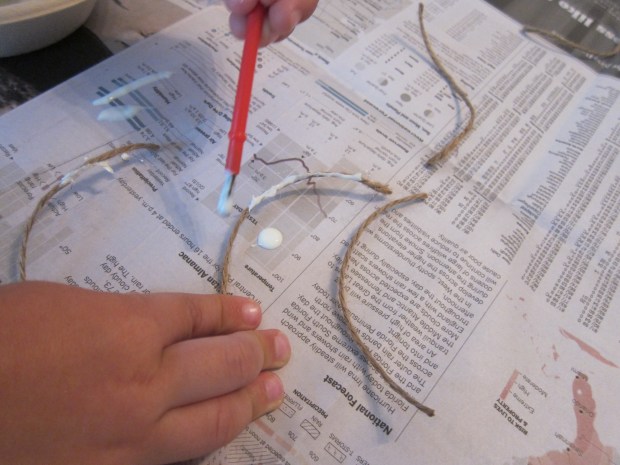
The suggested craft this month was to make our own glowworm cave, using string and glow-in-the-dark paint. The craft ought to have been easy, but we really struggled with this because I only had thick twine on hand – whoops! If you paint very thin string, and you’ll likely have better luck.

LP Natural (10)

It took three coats of glow-in-the-dark paint before we were satisfied.

LP Natural (14)

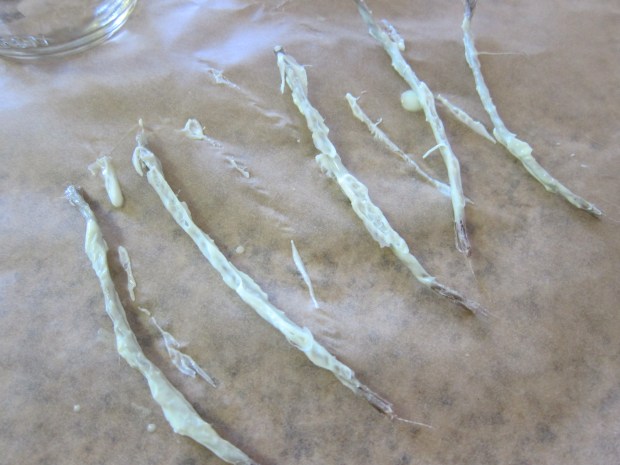
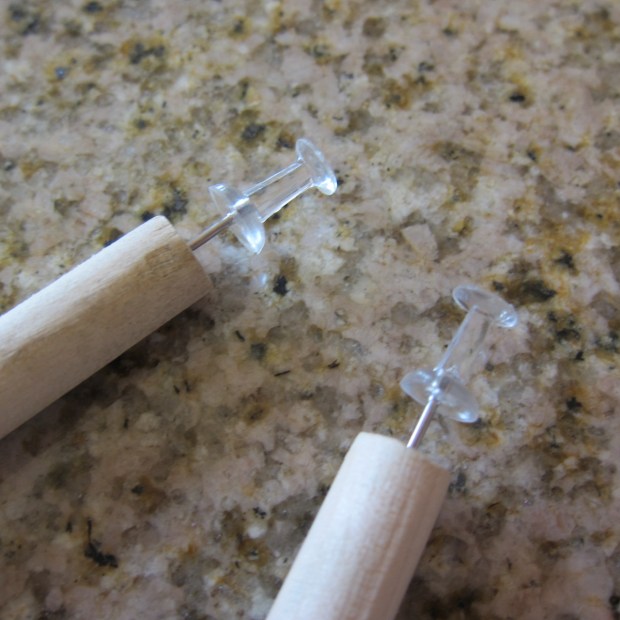
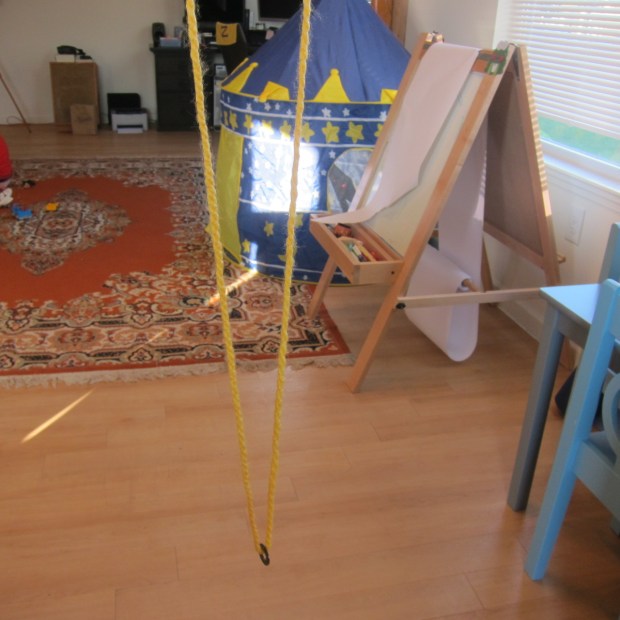
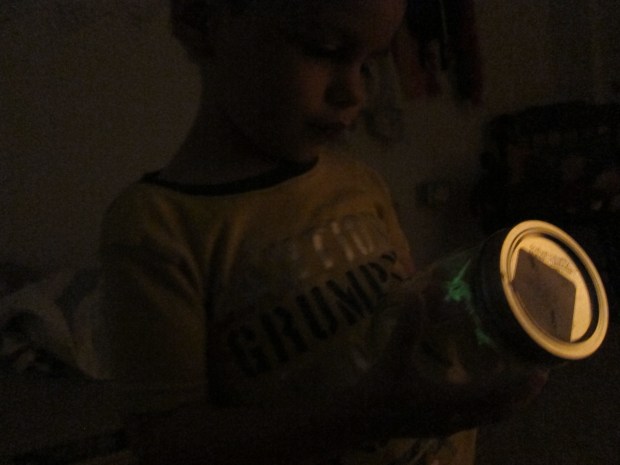
Then we glued the “worms” (which are actually beetles, who knew?!) to the lid of a mason jar. Again, we had lots of trouble because our strings were so stiff. I wrestled our glowworms onto the lid with the help of lots of glue and lots of tape. Then it was time to see them glow.
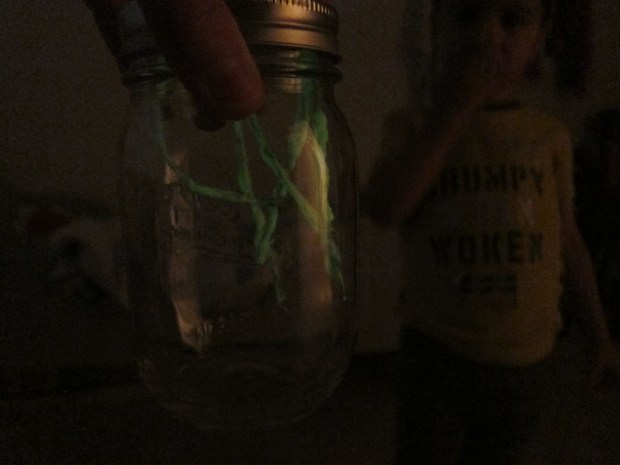
LP Natural (19)

Wonder indeed!

LP Natural (17)

Natural Wonders Science:

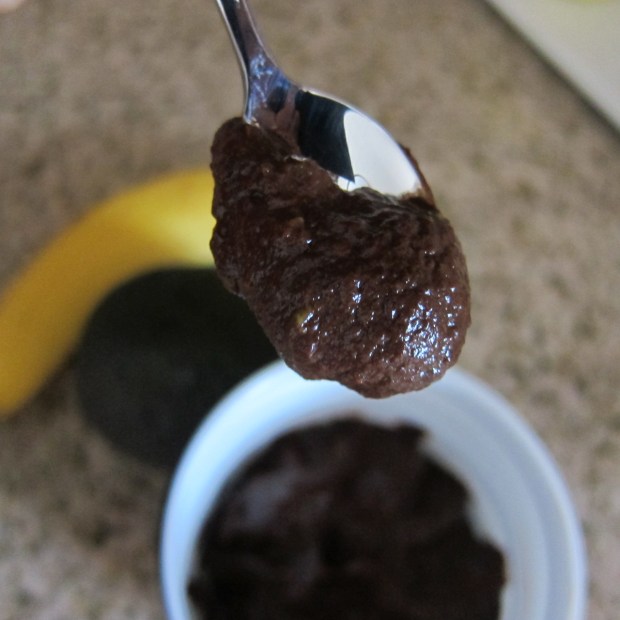
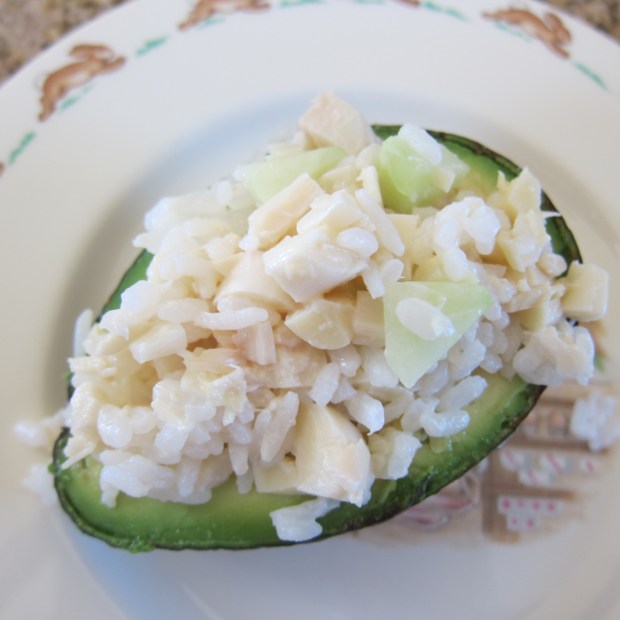
This month’s booklet did not include a science project, but Little Passport’s blog contained a timely post. We could make our own geode, and it would be edible! The craft was so intricate and neat that I devoted a separate blog post to it.

LP Natural (22)

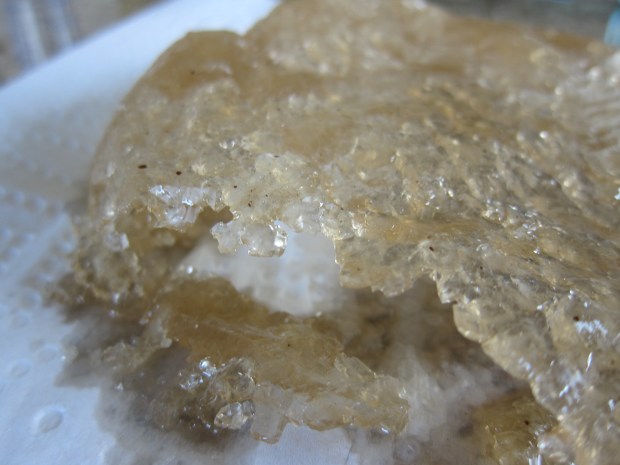
I was thrilled when we happened upon this geode at a local exhibit purely by happenstance, and Travis could view a real world comparison.

LP Natural (21)

Natural Wonders Keepsake:

The little present tucked into our kit this month was a big hit – his very own pyrite rock. As a parent, I loved seeing Travis with his first “fool’s gold” since I remember proudly having one in my rock collection as a child.

LP Natural (2)

We later found a store where Travis could select his next wonder!

LP Natural maybe.jpg

Natural Wonders Field Trip:

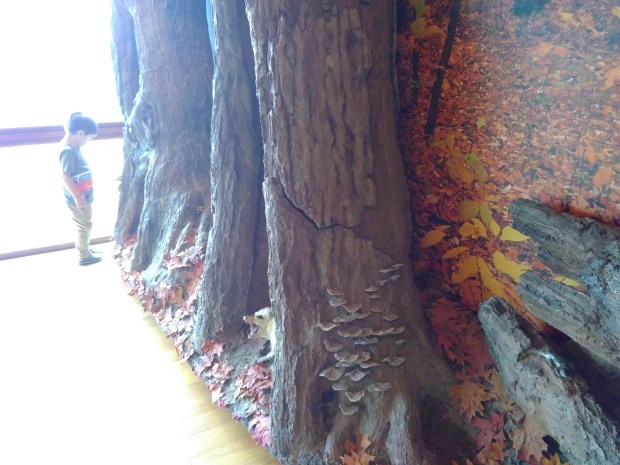
A natural history museum was the obvious suggestion, of course. The one closest to us unfortunately didn’t have the big “wonders” I was hoping for – no collection of geodes or different habitats – but it did have great exhibits on our local ecosystem.

LP Natural (23)

It was a reminder that even the most ordinary-looking trees can be full of wonder, as Travis discovered in a “lift a flap” tree full of bugs and animals.

LP Natural (22)

Natural Wonders Further Activities:

As we were quick to learn, Little Explorers mailing is intended as just the beginning; there is lots more to explore as parent and child, and the only limit is how much time you want to devote to each kit! I found myself disappointed as we worked our way through some of the items below; we don’t live near any of the great “wonders” Max and Mia talked about in their pictures, and I wanted Travis to experience something grand. But I was soon reminded instead that wonders come in all shapes and sizes…and Travis wasn’t feeling disappointed in the slightest!

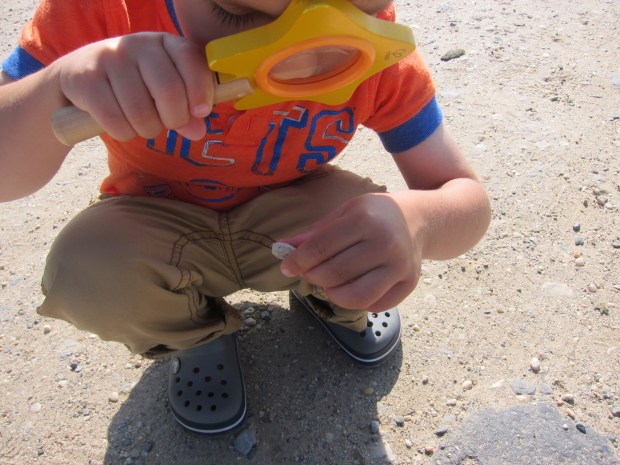
Rocks, of course, are everywhere, and sometimes as marvelous to behold as grand formations. A trip to a local park is all you need for some exploration! We might not have found any fool’s gold, but we did have fun looking through a magnifying glass…

LP Natural (6)

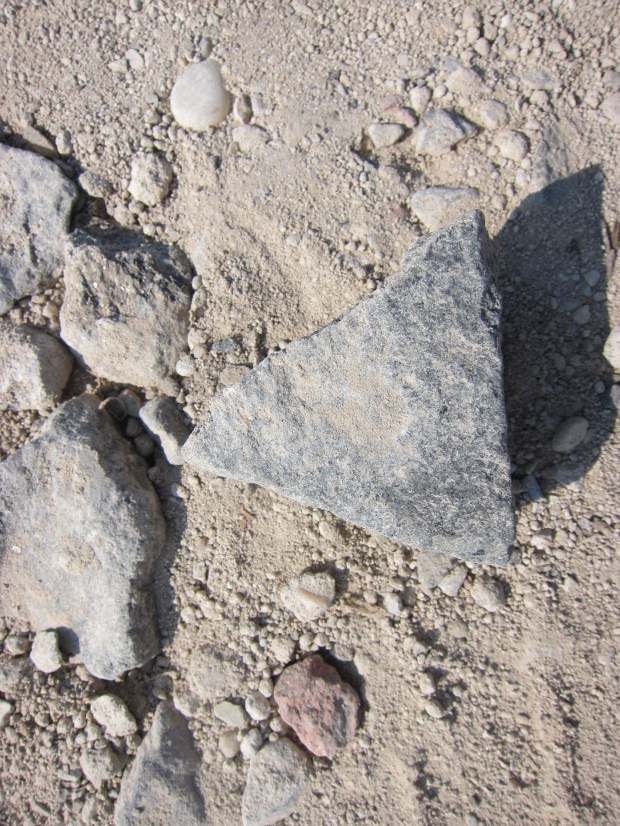
Finding neat shapes (a perfect triangle!)…

LP Natural (9)

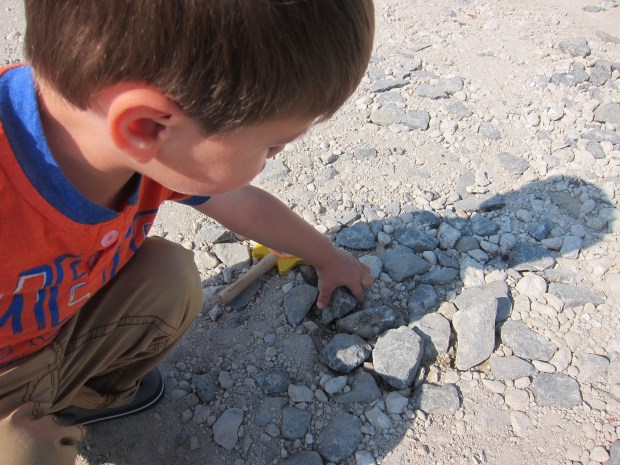
And pondering the difference between rocks that were stuck in the ground versus those that were loose for Travis to pull out.

LP Natural (8)

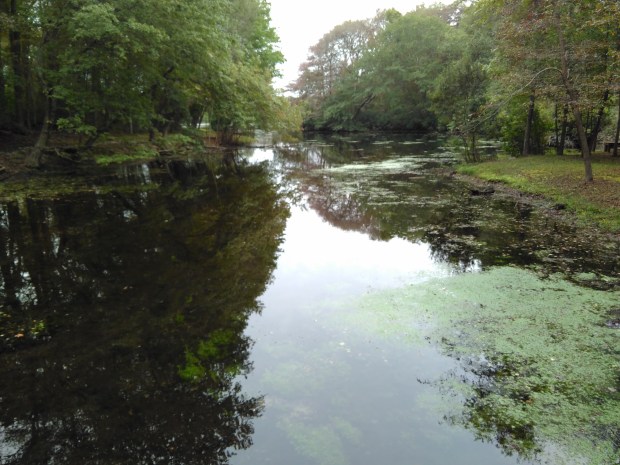
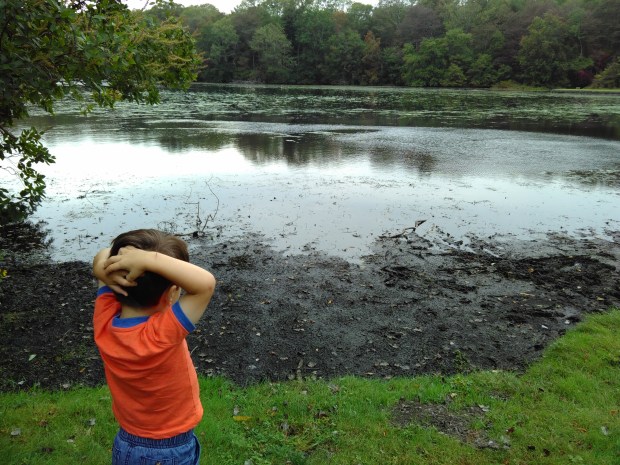
The next suggestion was to pick any natural wonder near you and visit. This doesn’t need to be anything fancy; a lake, river, or waterfall counts. We live near plenty of coastline, but surprisingly few lovely ponds, so that is where Travis and I headed.

LP Natural (30)

We spotted lots of other wonders as we walked – lichen on trees:

LP Natural (26)

An incredible old stump:

LP Natural (31)

And leaves that floated downriver in a gentle current:

LP Natural (29)

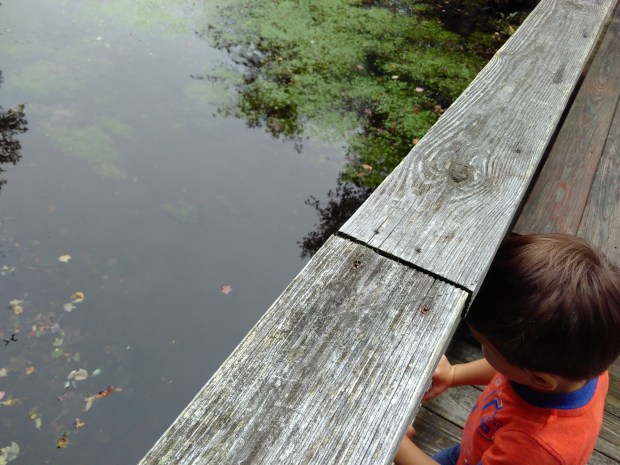
Okay, so the stream was no Victoria Falls, but we loved watching our little red leaf disappear under the bridge and then pop out on the other side!

Finally, we went off in search of the tallest tree in our local area. A newspaper article tipped us off that this 167-foot-tall specimen was only 30 minutes away, so we set off to the swamp preserve to locate it.

LP Natural (32)

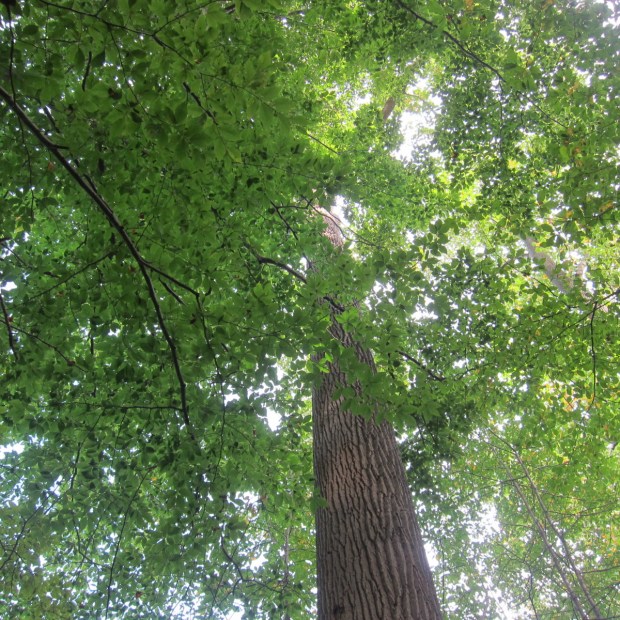
I’m actually not sure we found the exact right tree, but Travis marveled as we looked up at the canopy! Plus we found this:

LP Natural (34)

We finished off all this tromping with some armchair exploration, looking up Max and Mia’s suggested wonders online and learning neat facts. For example did you know Old Faithful has erupted more than a million times, since it became a National Park in 1872?

In sum, the lessons in this month’s kit were kind of advanced for Travis, but opened up a realm of curiosity and exploration, and served as a reminder that wonders are around every corner if you look for them.
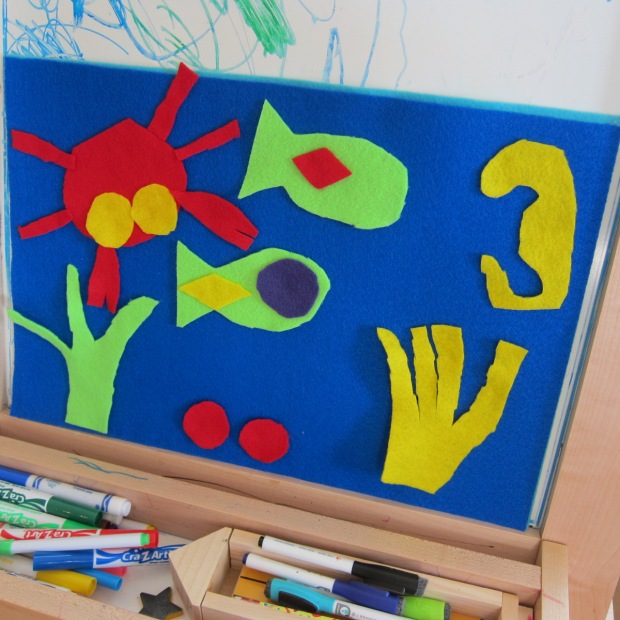
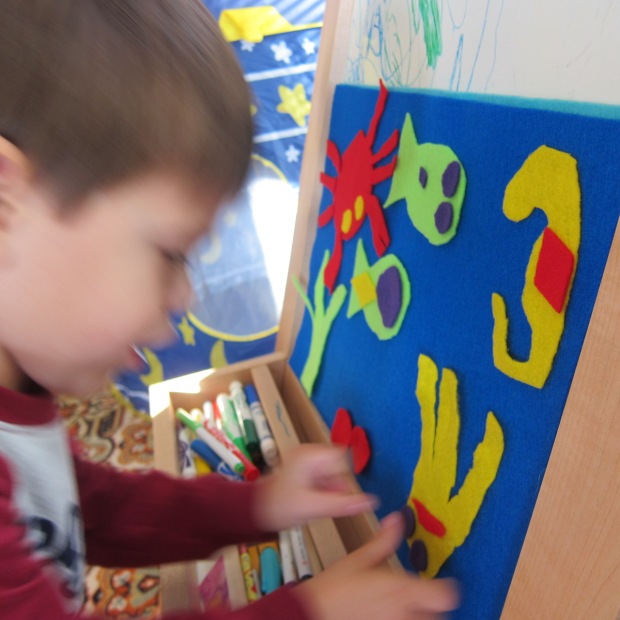
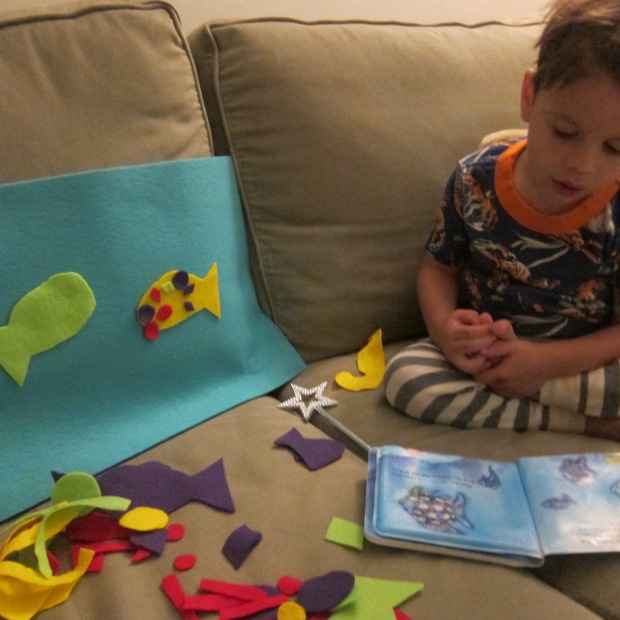
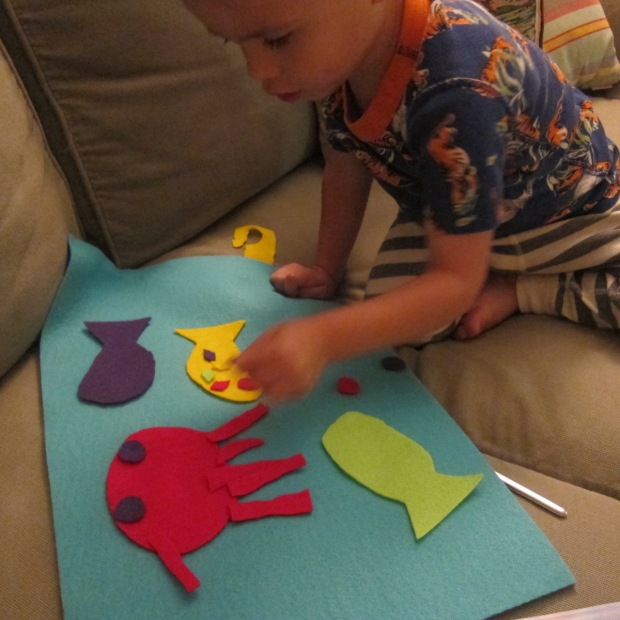
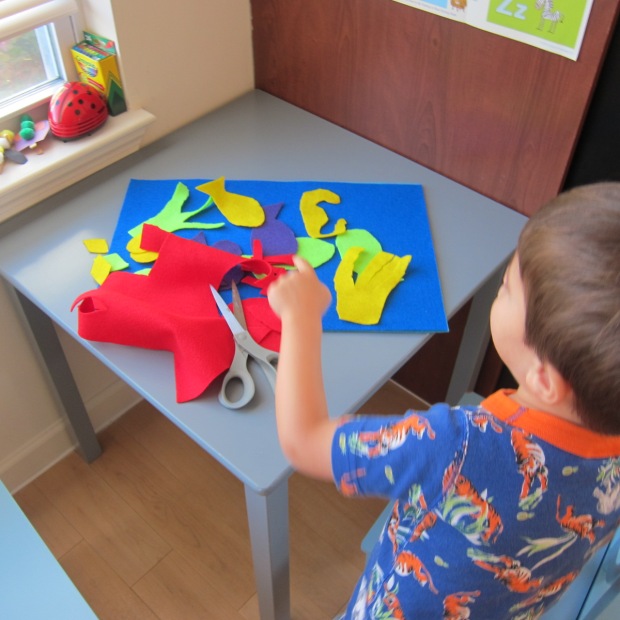
LP Natural (25)

Banana-Split Popcorn

Banana-Split Popcorn.JPG

We love this salty/sweet popcorn mix, perfect for snacking on during a family movie, or as an afternoon treat. I like to divide the mixture ahead of time into snack-bag size portions, so we can grab one for the road in a pinch.

Ingredients:

  • 4 cups plain popped popcorn
  • 1/2 cup banana chips
  • 1/4 cup vegan chocolate chips
  • 3 tablespoons freeze-dried raspberries
  • 1/4 cup toasted walnuts
  • 1/4 teaspoon salt
  1. Combine all of the ingredients in a large bowl, tossing to combine. Serve!

Banana Popcorn alt


Baked Pita Pizzas

Pita pizza

These pizzas require only four ingredients and they bake in 6 minutes – need I say more? This one is perfect for your most hectic weeknights.

Ingredients:

  • 4 (6-inch) whole wheat pitas
  • 4 tablespoons marinara sauce
  • 1/2 cup shredded Daiya mozzarella
  • 12 meatless meatballs
  1. Spread 1 tablespoon sauce on each of the pitas, and sprinkle each with about 2 tablespoons mozzarella.
  2. Meanwhile, cook the meatballs according to package directions. Cut into slices, and divide evenly among the pitas.
  3. Place on a baking sheet and bake at 375 degrees F for 6 minutes. Let cool slightly before serving.

Pita Pizza alt


Starfish Friend

Starfish Friend alt

If clay is fun, then sand + clay is infinitely more so! You can find colored sand at craft stores, and use whatever color you like best for this project.

After a recent trip to a natural history museum’s touch tank, Travis was in love with the feel of sea animals, so we decided to make our own starfish at home. The project was great for using clay in multiple ways. First we rolled it flat.

Starfish Friend (1)

Then we needed to cut out our starfish. A big star-shaped cookie cutter would have worked great, but I couldn’t find ours, so a plastic knife did in a pinch.

Starfish Friend (2)

Now it was time for the extra special sand bit. It was amazing how much more fun this made clay play. Travis loved the way it made the clay look, so we couldn’t stop there – he began adding other denizens to our “touch tank” including “snails” and “crabs,” which all needed to be sprinkled in sand of course.

Starfish Friend (3)

These were “snail eggs.”

Starfish Friend (7)

Meanwhile, use googly eyes or buttons for the eyes to finish your starfish friend; we chose the latter, after which Travis loved pressing buttons into additional pieces of clay.

Starfish Friend (5)

For the final touch, we left our clay to air-dry slightly curved on a piece of newspaper; this gave it that real starfish look once it had dried!

Starfish Friend (4)

Fall Potpourri

Potpourri (14).JPG

We were a little aimless on Sunday morning, so I asked Travis if he wanted to help me make the whole house smell like fall. I’ve never made potpourri before, and to be honest, have always equated it with those little sachets of lavender that you put in the sock drawer. However, in looking up potpourri recipes online that were kid-friendly, I learned that potpourri doesn’t need to be tied into a sachet, and is often left on a bowl or container on the counter, simply to scent a home. This seemed like a wonderful way to invite fall inside!

To make a super-simple countertop potpourri, we started with juicy oranges, and cut them into 1/8-inch thick slices. Travis loved the smell already!

Potpourri (1)

He helped me arrange the slices on a wire rack, after which they went into the oven at a low setting (250 degrees F) for a full 2 hours to dry out. We loved peeking at them through the oven door on occasion to check their progress, and the house already smelled lovely!

Potpourri (3)

When the oranges had dried, we combined them in a bowl with cinnamon sticks, and set it out on the counter. Easy as that!

Potpourri (6)

For a version that would last a little longer, we re-used those orange slices and cinnamon sticks, but added a whole lot more. To make your potpourri, follow my guide below as closely or loosely as you like, using whatever appeals to you best. I had originally intended to use pine cones, but we haven’t brought any home recently from nature walks. It turns out I didn’t miss their omission, but feel free to incorporate into yours!

Instead, I laid out a tray for Travis with all sorts of goodies – whole nuts in the shell, orange leaves, bay leaves, whole clove, and of course the cinnamon and orange.

Potpourri (8)

I also set out options for essential oils to add, choosing three that seemed autumnal – clove, pine, and sweet orange.

Potpourri (7)

Travis loved the multi-sensory tray, needing to smell and touch everything on it! We simply filled our jars in whatever mood struck us, layering the items as we went.

Potpourri (10)

Sprinkling on cloves was a particular favorite.

Potpourri (11)

At the end, Travis decided he liked the clove scent best, so we sprinkled in a few drops of that essential oil to one jar.

Potpourri (12)

What a gorgeous final product!

Potpourri (16)

The clove-scented one found a home in his room, and we made a jar scented with pine for mommy and daddy’s room.

Potpourri (15)

Magnetic Fishing Game

Magnetic Fish (8)

Disappointed with the mechanics of two recent fishing games, we decided to make our own version instead!

As a bonus, this activity was less about the “fishing” and more about a little learning that I wanted to sneak in.

While Travis slept, I cut lots of fish from construction paper – you can use a template or just freehand the shapes.

Magnetic Fish (1)

Some of the fish received a letter, and others a shape, and then each one got a paper clip to make it magnetic.

For the wand, tie yarn to a wooden dowel, and secure the yarn with tape. Tie the other end of the yarn onto a magnet. I have a craft stick with a magnet glued to the tip, which makes for sturdier “fishing“, so used that here.

Magnetic Fish (3)

Now it was time to go fishing! (Or, as we like to say in this vegan household, “rescue” the fish).

Magnetic Fish (5)

For kids just learning the alphabet, you can simply ask them to find any letter at random. For older kids, this is a great name recognition game. We found T-r-a-v-i-s in both caps and lower case!

Magnetic Fish (6)

Next up was a shape hunt, which Travis loved. There are so many other variations you could do with this game, such as finding fish of all one color, or finding the biggest and smallest fish.

Magnetic Fish (2)

Travis ultimately decided that he liked fishing in a slightly different way, affixing the magnet to the paper clip by hand, then tugging up. Either way, I loved that this activity got him playing and learning at the same time.

Magnetic Fish (7)

Giant Bubble Wand

Giant Bubble (6)

I’ve been eyeing this project for over a year, but it looked too technical and difficult so I kept tabling it for another day; parents and caregivers, I’m here to reassure you not to be daunted! The wand was so simple to put together, and the result is fantastic. With 80 degree morning sunshine on our back patio, how could we not pop out for bubble play?

To make the wand, insert a push pin into one end of each of two dowels; a twisting motion works better than pushing, so you don’t bend the plastic bit by accident. Leave a little space instead of pushing the pins all the way in, as shown.

Giant Bubble (1)

Cut a four foot length of yarn, and tie one end to one exposed push pin. Insert that push pin fully to hold the yarn. Loop the yarn through a metal washer, then tie around the other exposed push pin.

Giant Bubble (2)

Finally, cut a smaller length of yarn (about 18 inches), and tie a few inches below the dowel on each side – you’ll wind up with a triangle shape when the dowels are held apart. This is now your wand.

Giant Bubble (4)

To make the bubble solution, combine dish soap and water in a 9-to-1 ratio – I used 1/3 cup dish soap and 3 cups water.

Giant Bubble (9)

I showed Travis how best to dip the wand for the first few tries.

Giant BUbble (7)

Wave it in the wind, and you’ll discover that this thing makes serious bubbles!

GIant BUbble (11)

It was hard for him to get the hang of holding a dowel in each hand, instead of gripping it with one hand, but that didn’t stop him from loving the mere sensation of wand and bucket.

GIant Bubble (5)

When we tired of bubbles, the wand made a fantastic “mop” for the patio, which kept Travis happy in the sunshine for quite some time.

Giant Bubble (10)