Vegetable Custard

Vegetable Custard (2).JPG

This elegant little custard dish is a yummy way to introduce a milk other than breastmilk to your baby, if you’re closing in on weaning. I prepared it with almond milk for Veronika; other non-dairy options include soy, hemp, rice, coconut, or oat. There are pluses and minuses to all of them, so find the one that’s best for your family and baby!

Ingredients:

  • 2 Ener-G eggs
  • 1/4 cup pureed orange vegetables (such as pumpkin, carrot, or sweet potato)
  • 1/4 cup non-dairy milk
  1. Whisk together the ingredients in a bowl. Divide evenly among 2 custard cups.
  2. Place the custard cups in a baking dish and fill with 1 inch water. Bake at 375 degrees F for 30 minutes.

Vegetable Custard (1)

These puff up in the oven almost like a souffle, although they will deflate as they cool. The custard is thick and won’t slide off a spoon, which makes it great for babies who want to use their fingers or their own utensil.

Vegetable Custard alt

Advertisement

Music is Hiding

Music is Hiding (11)

Musical toys are a great way to teach babies about object permanence since they can be out of sight but not out of ear shot. Today, I pulled out several of Veronika’s musical toys and music boxes to see if she could find them once hidden. This is a slightly more sophisticated variation on a musical “hide and seek” game we played when she was just an infant. This time around, there’s an added element of enticing your baby to crawl.

She loves music boxes when out in the open.

Music is Hiding (1)

I thought for sure she’d go for them right away once I hid the box under a blanket, but little Miss Busy had her attention elsewhere.

Music is Hiding (2)

A toy music cube grabbed her attention better. I pretended to crawl around next to her. Where was the music?

Music is Hiding (5)

I had to slightly pull back the edge of the blanket before she truly noticed the musical toy.

Music is Hiding (4)

But now she’s got it!

Music is Hiding (7)

If you repeat this game over and over, you’ll reinforce the idea of object permanence. Later in the afternoon, I hid the music box behind pillows.

Music is Hiding (9)

This time she was more interested. She bopped along to the sound and then went looking.

Music is Hiding (10)

Ta da!

Music is Hiding (12)

You can have so much fun with this one in various ways as your baby continues to grow. Once he or she is really crawling, try hiding the musical toys behind furniture. And during the toddler stage, let them be the hider, and mommy and daddy can go on a music hunt.

Symmetrical Art


Symmetrical Art (10)

Travis has done so many crafts at camp that it felt like a while since we’d sat down just to paint together. We amended that this morning with a craft intended to follow up on recent fun with symmetry.

First he folded a piece of paper in half, very importantly made a nice crease, and opened it back up again.

Symmetrical Art (6)

I squirted out big blobs of paint near the center crease, according to his preference. “Red, and orange, and blue!” he instructed.

Symmetrical Art (1)

He smeared them all together, noting the way the blobs ran together, made new colors (purple!), and got super smeary.

Symmetrical Art (2)

Now we folded the paper over again, smooshing the paint inside. We opened it back up for a neat symmetrical reveal. “I made a footprint!” he said.

Symmetrical Art (3)

He loved it so much that he immediately requested to use the second piece of paper I’d folded. This time he chose a different set of colors, including light blue, yellow, and black.

Symmetrical Art (4)

Blob blob blob and smoosh smoosh smoosh and we opened it up again.

Symmetrical Art (5)

He thought this one looked like Darth Vader’s mask – even cooler!

Symmetrical Art (7)

X X-ing

X Xing (3).JPG

Travis traced X today (we’re so near the end of the alphabet!) and then crossed (x’d) two items to make big X and little x.

For the first, he stood up tall and crossed his arms. No x-ing here!

X X-ing.JPG

Next, I gave him two carrot sticks (stix?) and he crossed them into a little x.

X Xing (2)

Short and sweet today!

Baby Led Weaning: 8 Months

Tofu Papaya (2)

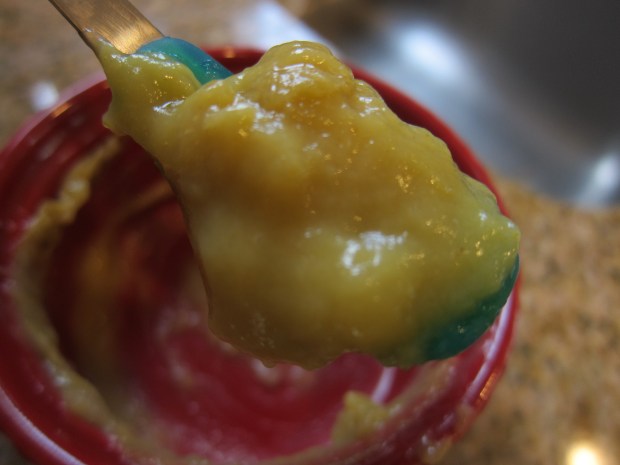
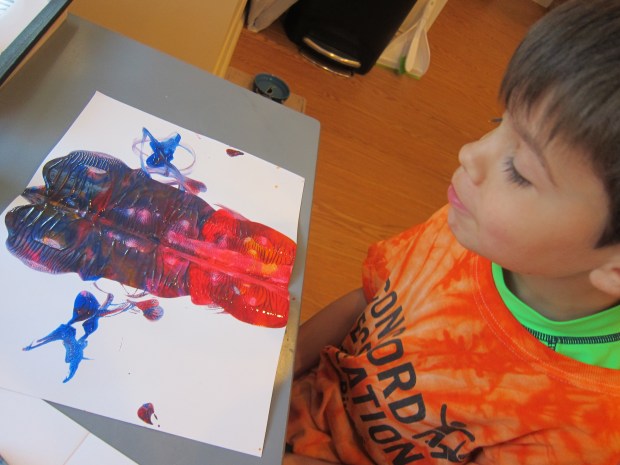
A month ago, I posted some of the foods my little baby-led-weaner had enjoyed over a few weeks. Here are some new favorites as she hits her 9 month birthday!

Peach Slices with Oatmeal

Cut a very soft peach into slices. Dip into prepared iron-fortified infant oatmeal and serve!

Peaches with Oatmeal

Avocado and Black Beans

Combine 2 tablespoons mashed avocado for every 2 tablespoons mashed canned black beans.

Avocado Black Bean.JPG

Lentils

Combine 1 cup lentils and 2 and 1/2 cups water in a saucepan. Bring to a boil; reduce heat and simmer, covered, for 45 minutes. (Note: This is, hands-down, Veronika’s favorite food. She eats them by the fistful, which makes a spectacular mess, but I’m so glad she loves them!).

Lentils

Kasha

Bring 2 cups water and 1 tablespoon olive oil to a boil. Add 1 cup kasha. Cover, reduce heat, and simmer for about 20 minutes, until very tender. Cool before serving.

kasha

Note: You can also stir in 2 tablespoons peach puree and 2 tablespoons pear puree for every 2 tablespoons kasha, if the grain alone is too dry for your baby.

Kasha Peach Pear

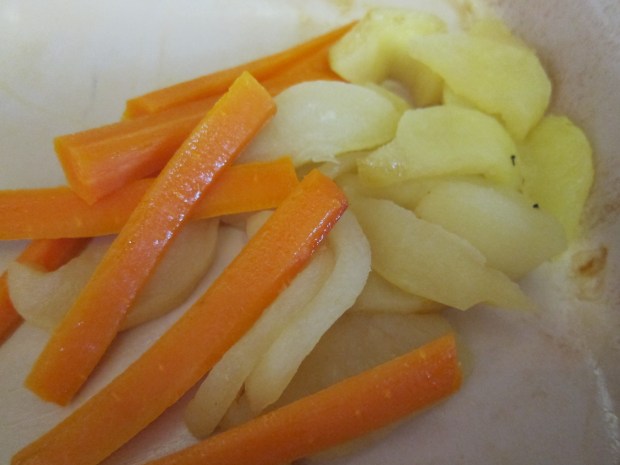
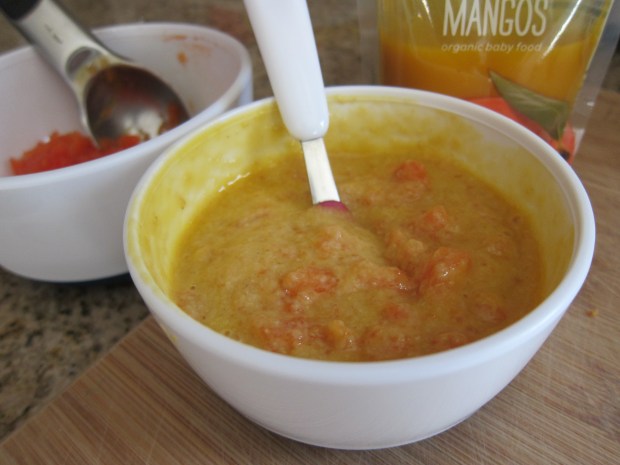
Roasted Apples and Carrots

Peel 1 apple and 1 carrot, and cut into 2-inch sticks. Arrange on a baking dish coated with cooking spray; cover and cook at 350 degrees F for 40 minutes, until tender.
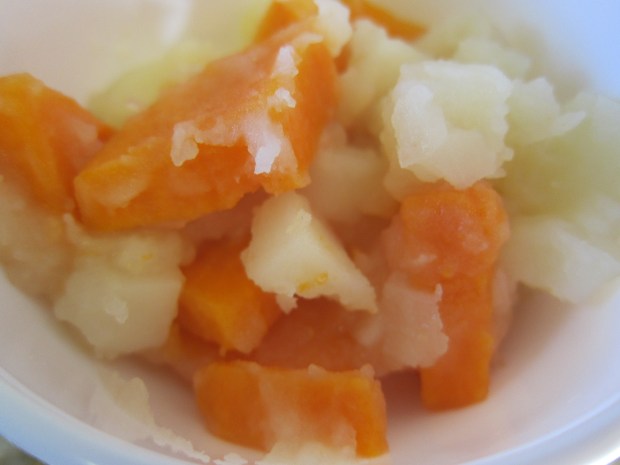
Roasted Apple Carrot

Two-Potato Boil

Peel and cube 1 russet potato and 1 sweet potato. Cover with water and boil for 20 minutes, until very tender. Drizzle with 1 teaspoon canola oil. You can serve these as cubes on the tray, or mash them up slightly with your fingers before placing on baby’s plate.

Two-Potato Mash

Tofu, Papaya, and Nutmeg

This particular recipe felt like Veronika’s first gourmet meal! Slice 2 ounces firm tofu into strips, and top each with a dollop of mashed papaya.

Tofu Papaya (1)

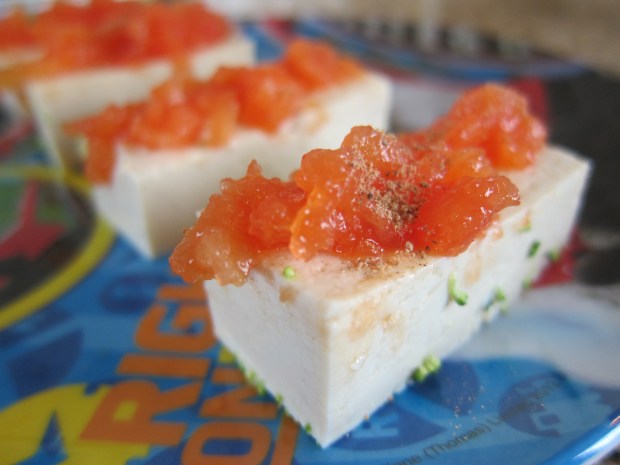
Sprinkle with a pinch of nutmeg.

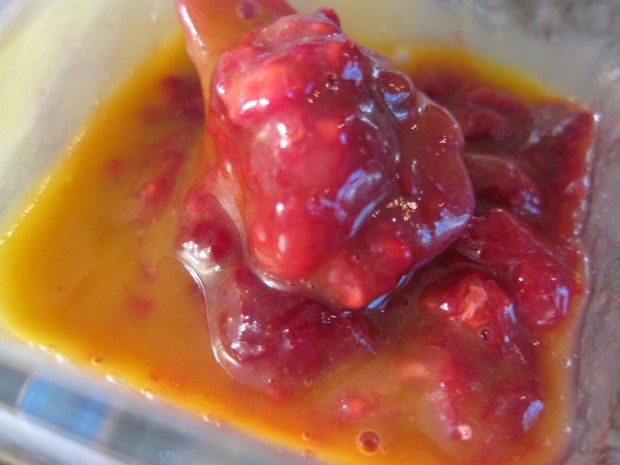
Peach Raspberry Mash

Place 2 tablespoons thawed or fresh raspberries in a bowl and mash slightly. Spoon in 2 tablespoons peach puree.

Peach Raspberry.JPG

Orzo and Sweet Peas

Cook 1/4 cup orzo pasta according to package directions; drain and rinse under cool water. For every 2 tablespoons orzo, stir in about 2 tablespoons pea puree.

Orzo Peas

Peaches and Quinoa

Stir 1 tablespoon peach puree into every 1 tablespoon cooked quinoa for a break from an oatmeal breakfast rut!
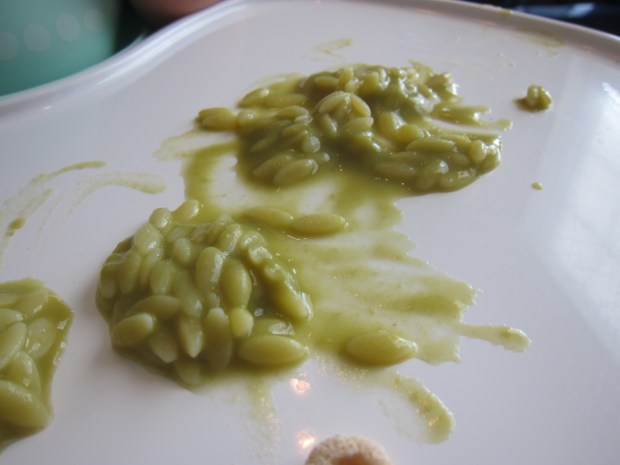
Peach Quinoa.JPG

Split Peas

In a saucepan, combine 2 cups water and 1 cup split peas. Bring to a boil; cover, reduce heat and simmer for 40 minutes, until very tender. Add water when reheating if the peas have thickened.

Split Peas.JPG

Potato and Plum Mash

Peel 1 russet potato and cut into matchsticks. Cover with water in a saucepan and bring to a boil.

Add 1 peeled and chopped fresh plum. Continue to cook for 10 to 20 minutes, until the potato is very tender. The plum will completely break down and infuse the potato with sweet, fruity flavor.

Potato Pear (1)

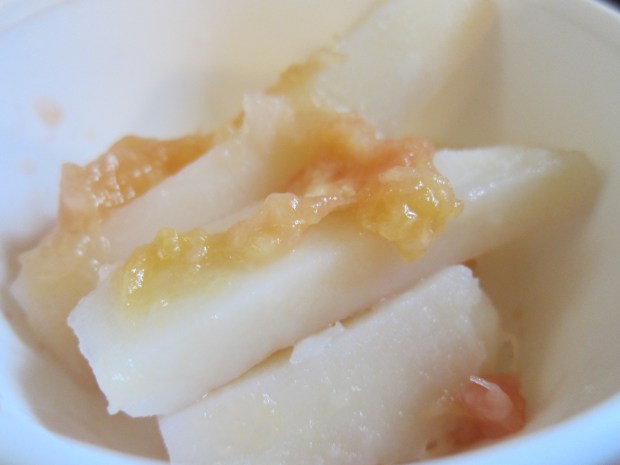
There are two ways you can serve this; either with the potato sticks as a finger food, or mashed up a bit on the tray for your baby to eat by the handful. Veronika prefers the latter!

Potato Pear (2).JPG

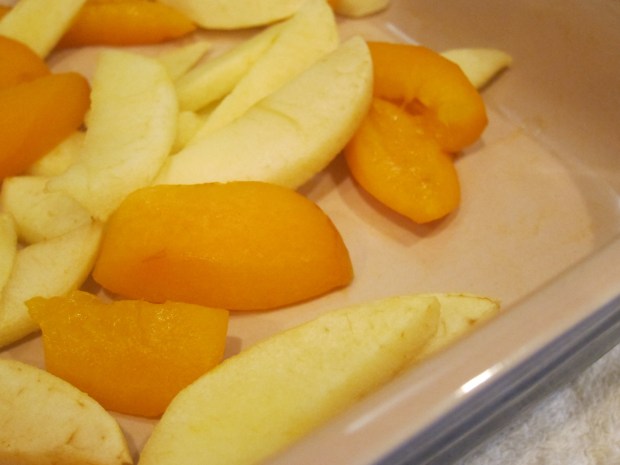
Baked Apricots and Apples

This one is great for breakfast. Peel and thinly slice 1 apple; bake at 350 degrees F for 20 minutes. With about 5 minutes left, add 2 peeled and thinly sliced apricots.

Apricot Apple.JPG

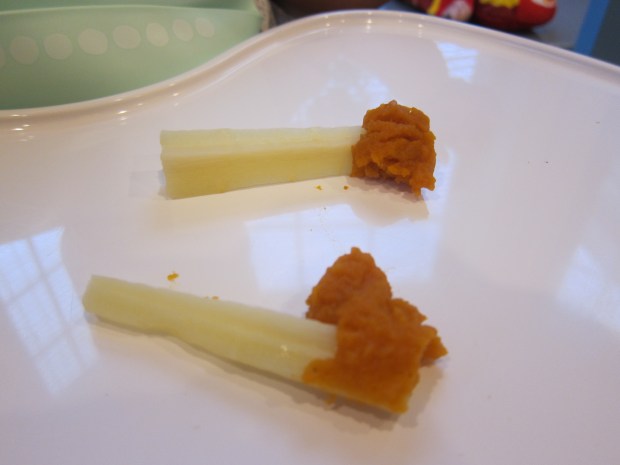
Parsnip Sticks with Pumpkin

Peel 2 parsnips and cut into thin strips. Cover with water and bring to a boil; continue to cook for 10 minutes, until tender.

Dip into canned pumpkin puree to serve.

Parsnip Pumpkin

Tofu with Cherries and Rice

This one makes a rounded-out little meal!

Tofu with Cherries (1).JPG

Cut firm tofu into matchstick pieces your baby can pick up. Cook brown rice according to package directions. Meanwhile, bake fresh cherries at 350 degrees F for about 10 minutes, until tender.

Tofu with Cherries (2)

Serve all three components on the tray; alternatively, puree the cherries and dip the tofu pieces into this cherry sauce.

Island Breakfast Cereal

In a bowl, stir together 2 tablespoons prepared infant barley cereal, 2 tablespoons mashed papaya, and 2 tablespoons mango puree.

Island Breakfast

Papaya and Banana Mash

Stir together 2 tablespoons mashed papaya and 2 tablespoons mashed banana.

Papaya Banana Mash

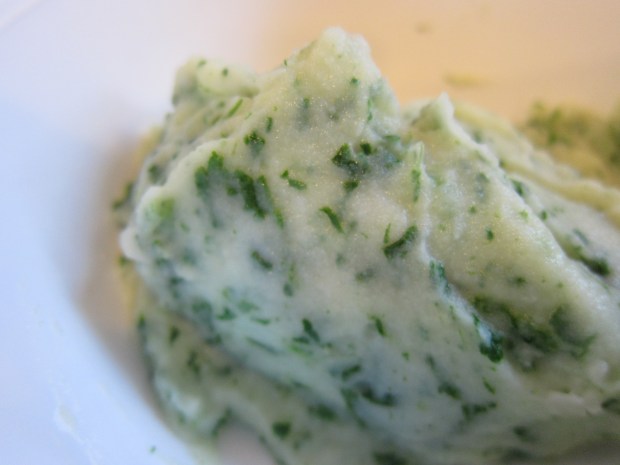
Spinach and Potato Puree

Bake 1 peeled russet potato until tender (or microwave for about 5 minutes) and mash until smooth. Meanwhile, cook 1 cup fresh spinach in boiling water for about 2 minutes. Transfer the potato and spinach to a food processor and process until smooth.

Spinach Potato Puree

One last note about eating at this age: it’s all still mostly practice, so don’t worry if it seems like more is winding up on the floor or smeared on your baby’s thighs than in his or her mouth!

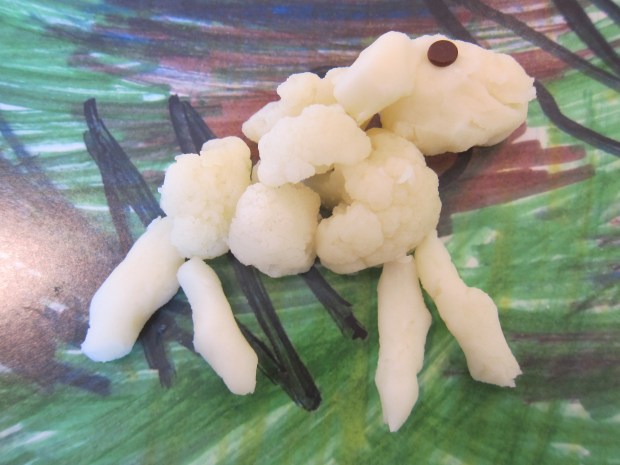
Also, don’t give up if a food is rejected at first. Research shows that it can take up to 20 tries before a baby will enjoy a food. Have fun and be playful: to wit, by making cauliflower and mashed potato sheep on baby’s tray before letting the messy fun begin.

20 Times Try Out.JPG

Either way, the above “recipes” give lots of room to touch, taste, smell, mash about, and learn to enjoy.

Counting and Sorting

Counting and Sorting (1)

Today Travis took a break from tracing the alphabet and focused instead on summer math skills: counting and sorting.

There are so many ways to approach this, and you can tailor it to fit what’s in your home! First up, we pulled out a collection of his toy cars, and I asked him to sort them in two ways. He wanted a quick reminder on what it means to sort, i.e. grouping things by a common characteristic. The first category he came up with was color. Our red pile was the biggest.

Counting and Sorting (2)

I helped him look for a different way to sort this same set of cars and he settled on size. I thought he would do big and small, but he made sure even to include a medium pile!

Counting and Sorting (4)

Next we went through our craft bin to find things to sort. Foam stickers in fun sports shapes were a perfect find! At first, I just gave him the pile and set him the task of sorting them (keeping those fingers busy while I prepped dinner).

Counting and Sorting (7)

This proved to be a little too open-ended, so I gave him two options: sorting the balls by sport or by color. He opted for sport, and soon was off and running. At the end, we wondered: which pile had the most? He proudly counted out 14 soccer balls, but then loved discovering that there were even more footballs – 15!

Counting and Sorting (6)

Another great time for sorting is during clean-up! If your house is anything like ours, the Lego sets are all mixed together and a constant mess. I purchased a set of craft bins to sort the Legos by color, which meant Travis was doing “math” while helping me… and didn’t even realize it was a chore.

Counting and Sorting (8)

The possibilities are almost endless. Have your child count out and then sort their markers or crayons.

Or they can sort the coins in your wallet by denomination.

Counting and Sorting (9)

Or just for fun, make a busy box of different dried pasta shapes and have your child sort and then count out piles of each. Either way, counting and sorting are the perfect math activity to prevent the summer slide.


Bottle Sailboat

Bottle Sailboat (6)
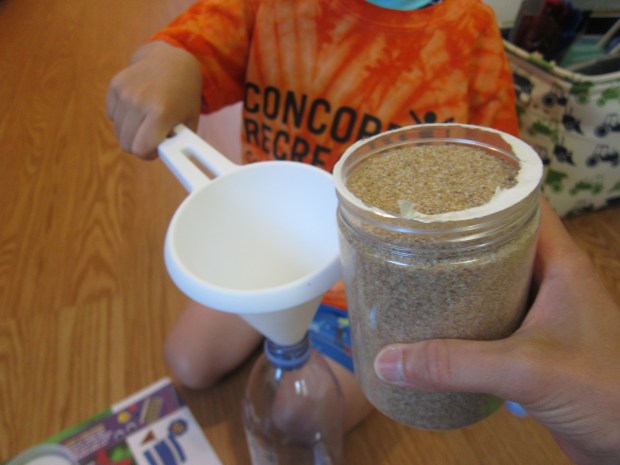
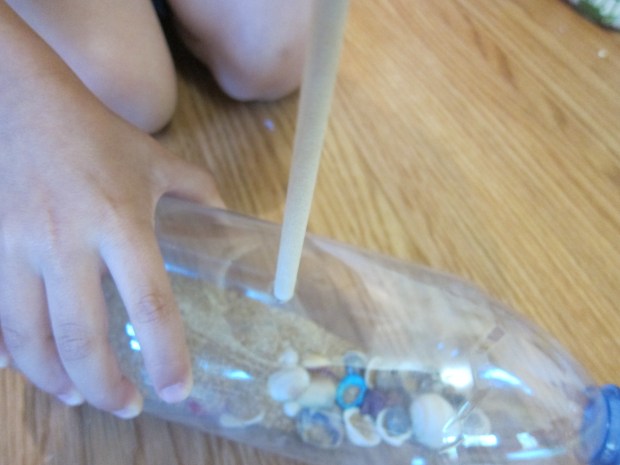
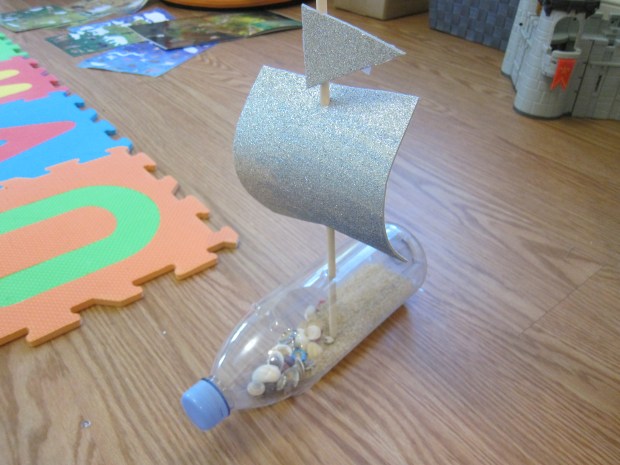
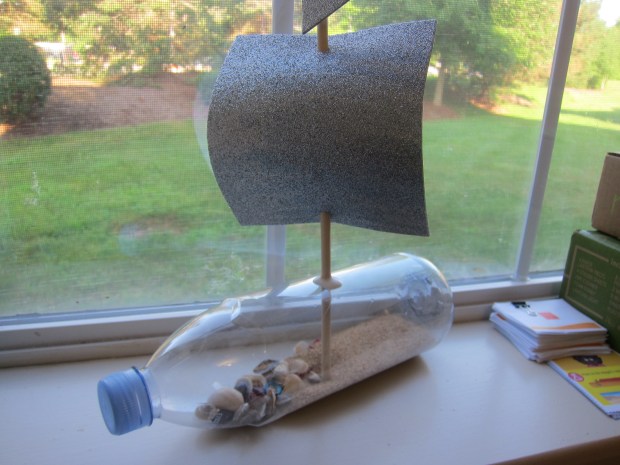
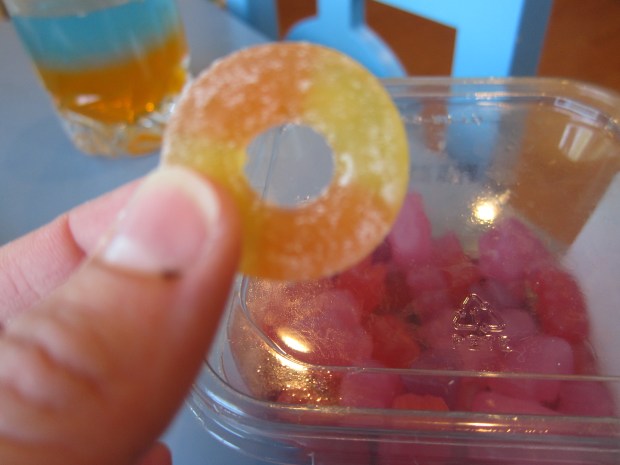
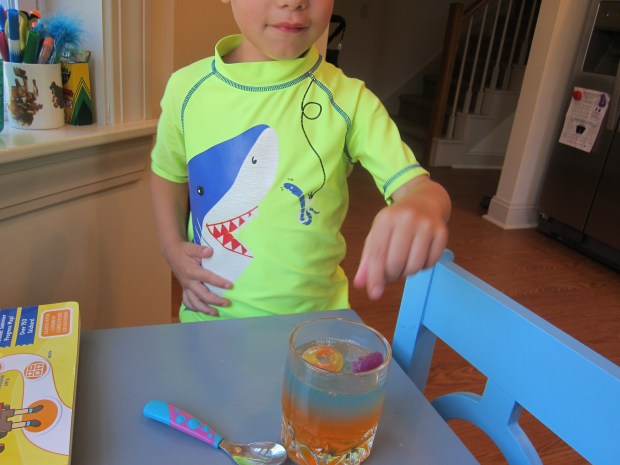
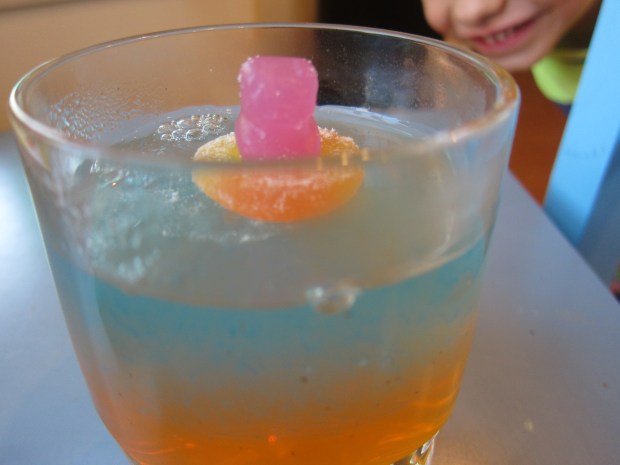
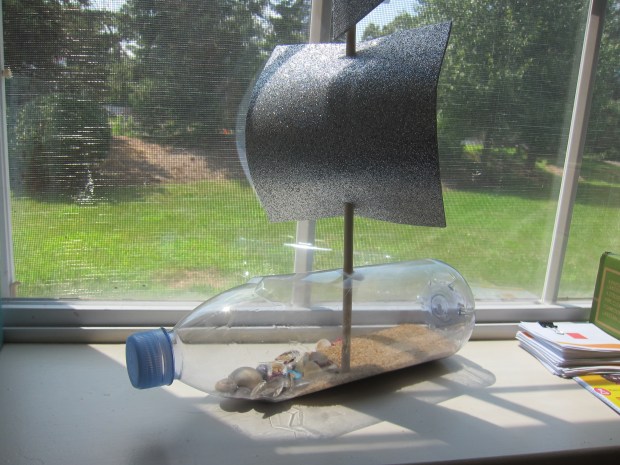
Although not nearly as expert or astonishing as a model ship in a bottle, this craft is a cute riff on the idea, and a version that kids can make all by themselves!

Remove any labels from a plastic water bottle and insert a funnel into the opening. Pour in about 1/2 cup sand; you can use some you’ve saved from the beach, or buy it at the craft store. Travis loved being the very important funnel holder while I poured.

Bottle Sailboat (1)

Sprinkle in a few small sea shells; again, these can either be ones you’ve collected, or store-bought in a pinch. Replace the cap on the bottle.

Bottle Sailboat (2)

To make a sail, pinch the bottle slightly to cut a slit in the center. Insert a wooden dowel and secure with glue.

Bottle Sailboat (3)

Cut out a square from craft foam for a sail, and a triangle from the foam for a flag. Because we used sparkly craft foam, Travis didn’t add much decoration. Your kids may want to decorate their flags with markers or stickers.

Bottle Sailboat (4)

Punch two holes in the “sail” and insert onto the dowel mast. Tape on the flag.

And now set sail! Although the bottle will really float in the tub or a pool, we thought it was prettier just to look at.

Bottle Sailboat (5)

You Did It!

You Did It (1)

Veronika loves clapping these days, especially now that she’s figured out not just the mechanics, but how to make a loud clapping sound. So today, I gave her a few tasks we could celebrate with a hearty cheer of “you did it!” and some clapping.

First up: making a rabbit pop up from a jack-in-the-box. I let Veronika turn the handle (giving a little assistance until there were only one or two rotations left).

You Did It (2)

Pop! She looked so surprised and pleased. “You did it!” I said with a big smile, and clapped. She instantly had to clap along of course.

You Did It (3)

Next we rolled a ball down an inclined piece of cardboard. I showed her how to hold the ball, place it at the top…

You Did It (5)

…and then let it go. And of course every roll got more clapping and cheers.

You Did It (4)

Another fun one for babies this age? Simply ringing the doorbell.

You Did It (6)

What other cause-and-effect games do you and your baby enjoy? Please share in the comments!

Bottle-Top Mobile

Bottle Top Mobile (6)

I recently recommended a Tupperware cupboard to keep your baby busy while you’re busy in the kitchen. Here’s another DIY toy you can make that will entertain your little one for quite some time.

Collect plastic bottle lids for about a week, and then make a hole in each one. The awl tool of a Swiss army knife did the job easily; lay a piece of cardboard underneath the bottle caps so the awl doesn’t damage any surface on the other side.

Bottle Top Mobile (1)

Thread the caps along twine or string.

Bottle Top Mobile (2)

Tie the “mobile” between two legs of a table, at about your baby’s chest level.

Bottle Top Mobile (3)

Veronika was so intrigued with this toy! She twirled the beads on the string first.

Bottle Top Mobile (4)

Next I showed her how to scoot them along the string from side to side.

Bottle Top Mobile (5)

Note: She also just loved the string itself, giving it tugs and boings, but supervise carefully if you find that your child is playing more with string than with the bottle caps. One way or another, this certainly entertained her.

Gummy Ocean Vacation

Gummy Ocean (6).JPG

This snack idea from Highlights magazine is pure summertime fun! We adapted it slightly for our vegan family, and Travis loved the results.

Prepare 1 package of orange-flavored vegan jel dessert (such as Simply Delish) according to package directions. Pour a layer into clear glasses and chill for at least 1 hour, until firm. This will be your beach “sand”.

Gummy Ocean (1)

Prepare 1 package of clear vegan jel dessert according to package directions. Add drops of blue food coloring a few at a time until desired color is reached.

Gummy Ocean (2)

Cool slightly, then pour a layer over the orange dessert. Let chill and set for at least 1 hour.

Gummy Ocean (3)

Now for the real fun! Top your “ocean” with a little swimmer. We used peach gummy rings from Smart Sweets as life preservers and vegan gummy bears from Whole Foods.

Gummy Ocean (4)

Travis absolutely adored watching his bear go for a swim.

Gummy Ocean (7)

These were arguably more fun to play with than to eat… but good for eating, too!

Gummy Ocean (5)