Second Birthday Party: Construction Trucks

second bday (4)

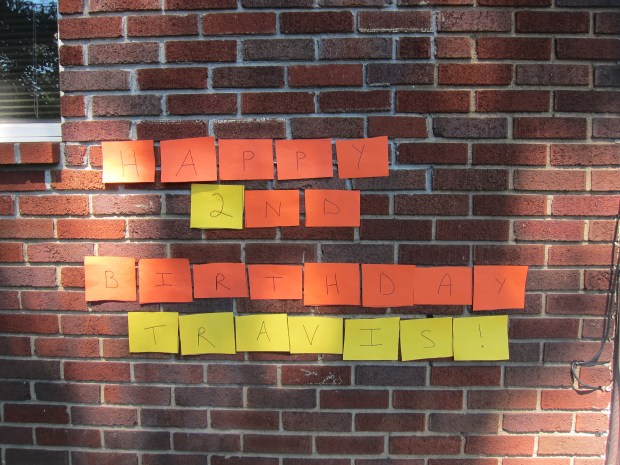
By his or her second birthday, your toddler will have definite ideas about what they like and don’t like. Pick a favorite theme and make their special day truly all about them (unlike the first birthday, which I always feel is more of a milestone for proud mamas and papas!).

Travis shakes with excitement for trucks – diggers, cement trucks, steamrollers, bulldozers, you name it – so it was only natural to go with a construction truck theme. I didn’t go crazy with decoration, but wanted a few construction touches throughout the event.

Line the display table with caution tape, and use large toy dump trucks as containers for party snacks.


second bday (2)

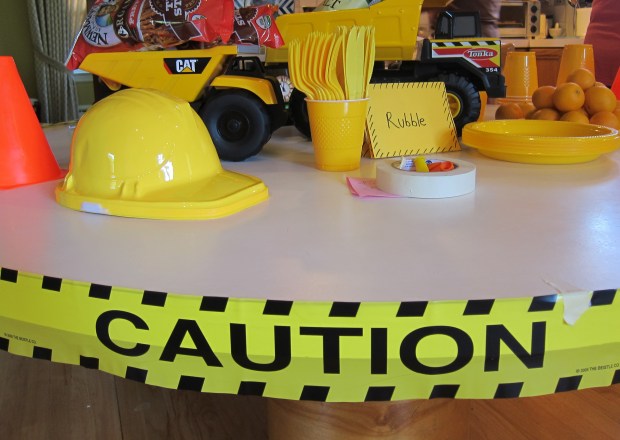
To wit, we had potato chip “rubble” and pretzel stick “beams.” Use trucks you already have at home… or make them a birthday gift for the lucky boy or girl!

second bday (5)

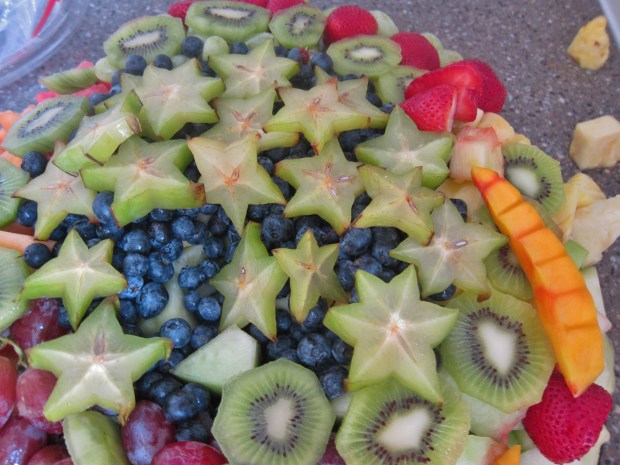
Continue the food play with “cement” (hummus for dipping cut veggies), “rocks” (fruits such as grapes and blueberries), and “wrecking balls” (clementines). A few strategically placed construction cones (from Birthday Express) completed the decor.

second bday (6)

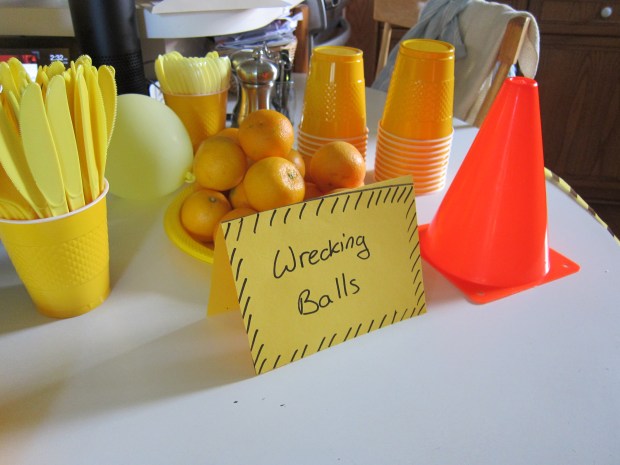
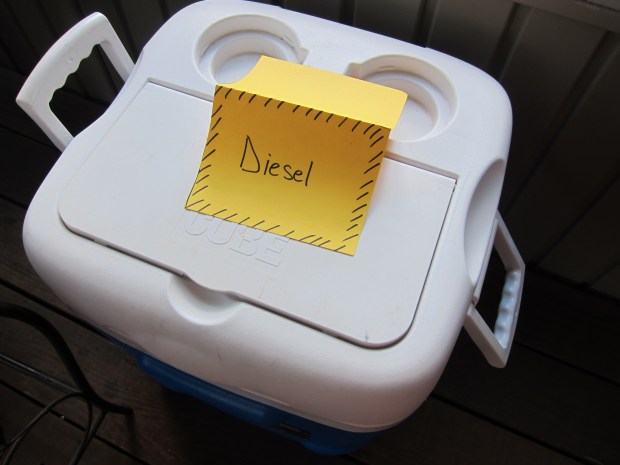
And of course you’ll want “diesel” (beer!) for the grown ups who need fuel.

second bday (10)

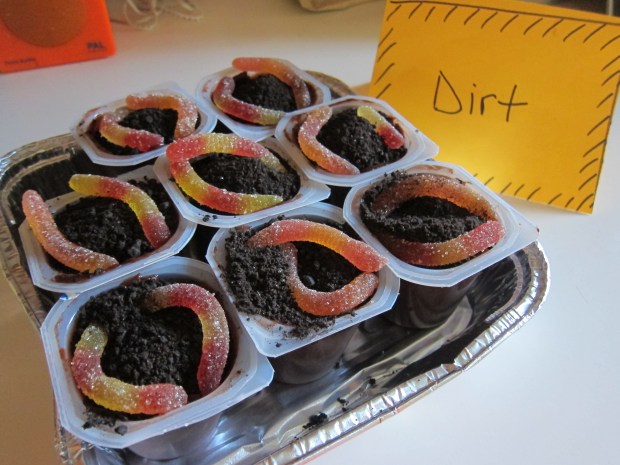
Dessert was a huge hit with the under-3 set: Chocolate pudding “dirt” cups. You can make your own pudding, but to simplify life I purchased Zen Soy’s chocolate pudding, and filled each cup with cookie crumbs (made from Newman’s Own chocolate alphabet cookies). Vegan sour worms from Surf Sweets were the finishing touch – and arguably Travis’s favorite part of the whole party!

second bday (7)

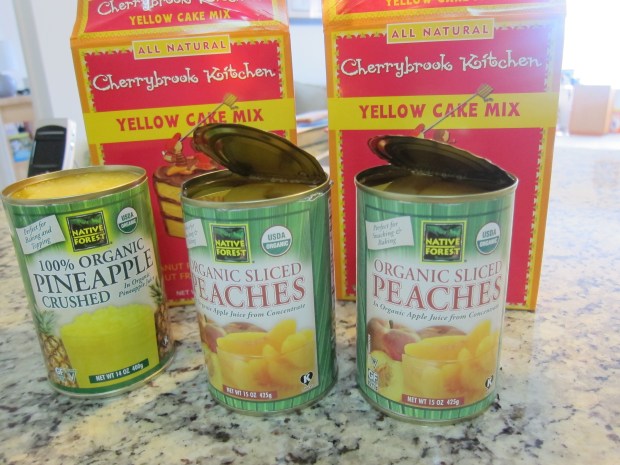
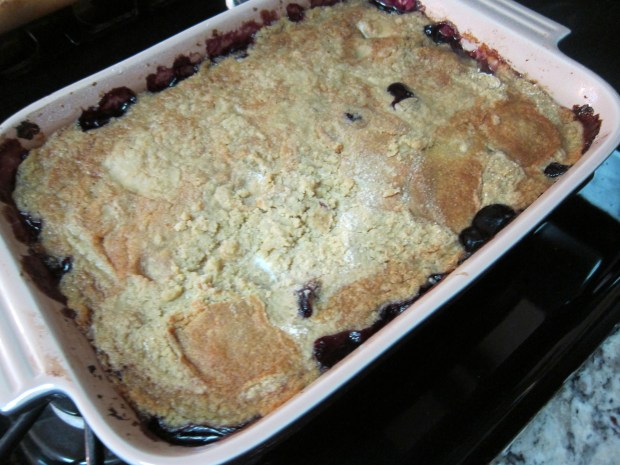
For the birthday cake, we had to go with Dump Cake of course!

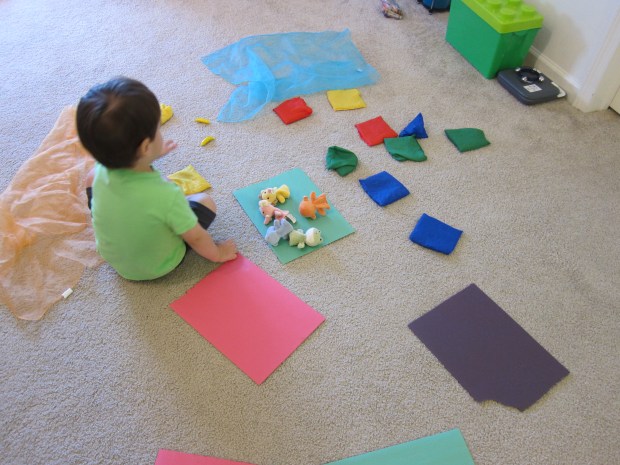
Rather than overwhelm young guests with too many games, I carefully curated the toys to fit the theme. Fill a small sandbox with dried rice or beans, and add all the trucks and vehicles you have around the house for the ultimate construction site play area.

second bday (13)

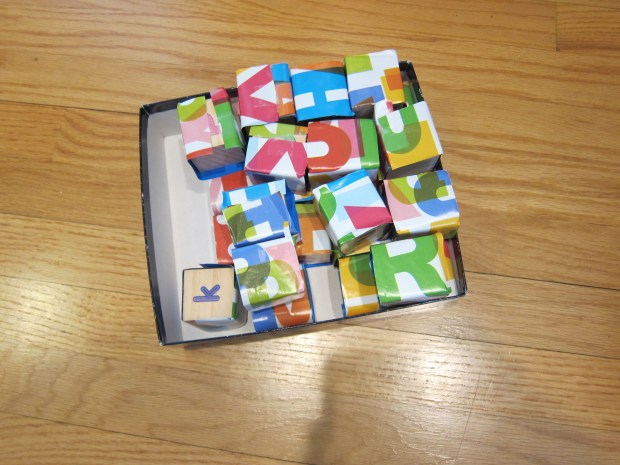
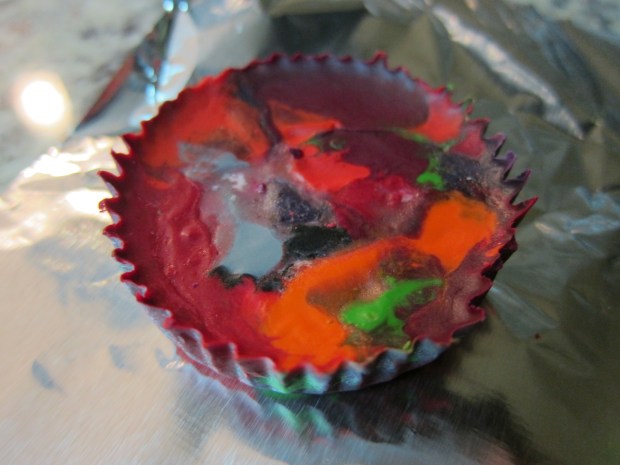
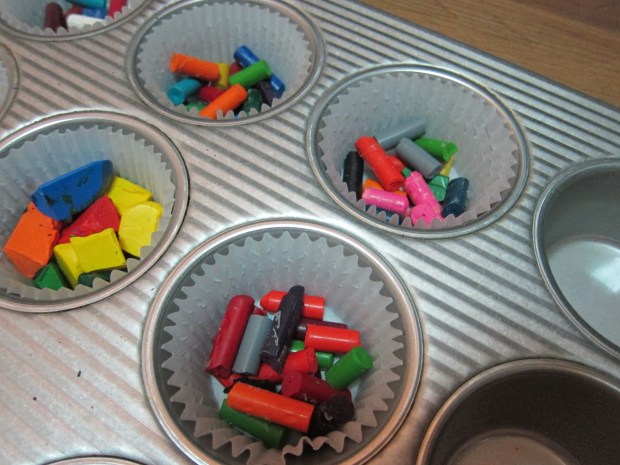
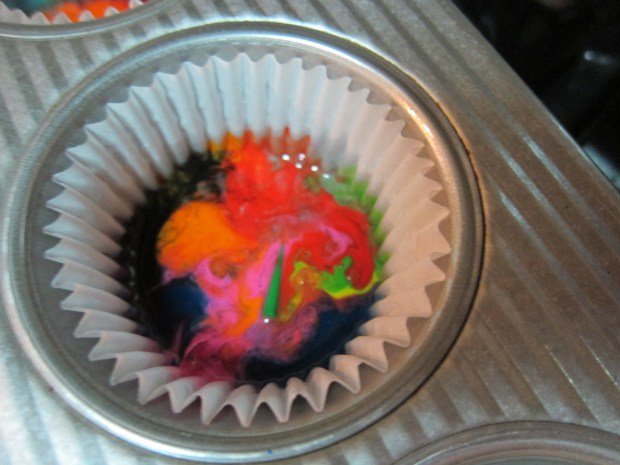
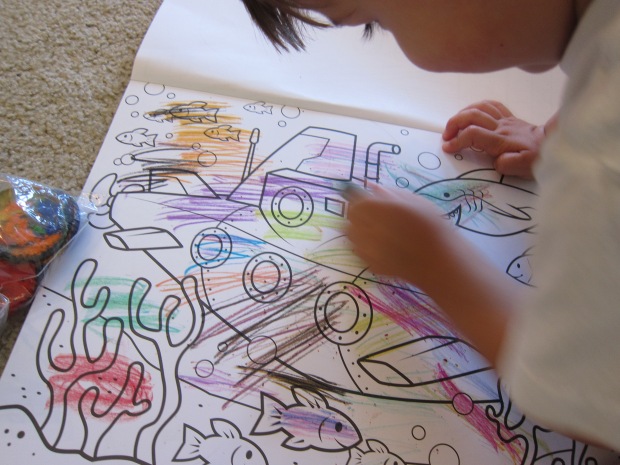
I set out cupcake crayons and coloring book pages featuring construction trucks; Travis’s various toy tools and hammer boards; Birthday Blocks to build with; and empty soda cans for kids to pile into the highest tower they could.

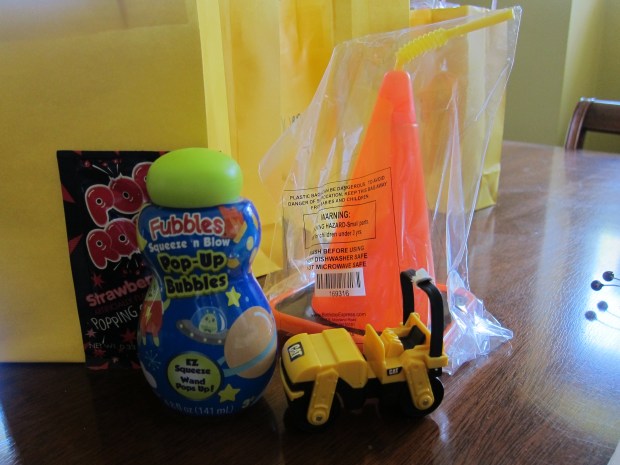
Party favors continued the theme, with a mini truck for each guest to take home, construction cone sippy cups, a yellow construction hat (also from Birthday Express), and “pop rocks” candy – maybe better for Mom and Dad to eat at this age, but the closest candy I could think of to fit the theme!

second bday (1)

The birthday boy got a special extra… his very own construction vest and tool belt.

second bday (8)

First Birthday Party: Twinkle, Twinkle Little Star

party (11)

I’ve always felt that first birthday parties were more of a celebration for the parents – we made it one full year! – than for the child, who’s not quite old enough to understand that the day is all about them. So for Travis’s first birthday, I kept with a simple theme. The event was low-key, a 2-hour afternoon time to socialize with friends and their children, but with no organized activities or big meal.

Travis latched onto Twinkle Twinkle Little Star as an early favorite song, imitating the hand gestures from about 9 months on, so it was a natural theme to choose. Stars lend themselves perfectly to little decorative touches!

party (8)

Star toothpicks and a shooting star from Etsy helped make the vegan cupcake display (care of Babycakes) into a twinkling display.

party (12)

I continued the star theme throughout the menu. Use cookie cutters to make stars out of peanut butter and jelly sandwiches:

party (7)

And homemade tortilla chips:

party (4)

Sliced star fruit atop a simple bowl of fruit salad adds a beautifully whimsical touch.

party (9)

Star bubble wands (also from Etsy) were a great toy for older children at the party, as well as the perfect favor to take home.

party (6)

The final touch was 12 enlarged photos of Travis, one from each month of his life, arranged in the shape of a 1. A beautiful trip down memory lane!

party (5)


Toddler Tie-Dye

Toddler Tie-Dye (4)

Here’s a simple – groovy! –  way for even the youngest toddler to make his or her own tie-dye. Preschoolers will no doubt enjoy the craft, too… and perhaps more so, knowing you’re allowing them to play with normally-taboo permanent markers.

Stretch any white fabric over the rim of a wide plastic jar (like an empty peanut butter jar), and secure with an elastic. Since we have so many plain white onesies, I decided it would be fun to let Travis make a few into one-of-a-kind pieces! If you don’t want to sacrifice white onesies, napkins or handkerchiefs would also be fun.

Toddler Tie-Dye (1)

Let your toddler use colorful sharpie pens on the fabric, adding dots, lines, or circles.

Toddler Tie-Dye (3)

Using a water dropper, add drops of rubbing alcohol until all of the ink has been moistened. The sharpie colors will bleed, producing a beautiful tie-dye effect. I was impressed to see how Travis’s skill with the dropper had improved, even over the course of the few days since we used it to make a rainbow tote bag.

Toddler Tie-Dye (2)

Shift a clean section of fabric to the mouth of the jar, securing with the elastic again, and repeat as many times as desired. Once finished, place in the dryer for 15 minutes to set the colors.

Since our first onesie was purely a toddler creation (in every color imaginable!) I made a second version after Travis was busy elsewhere, this time with a unified color scheme. I look forward to having him wear these!

Toddler Tie-Dye (5)

Birthday Blocks

Birthday Blocks (1)

It can be hard to plan games for kids to play at a birthday party for a one- or two-year-old. At this age, kids are still engaging in “parallel play,” so you’re not going to have great luck corraling them into organized games of Pin the Tail on the Donkey and Simon Says. Instead, foster their enjoyment and let them socialize side-by-side with this cute idea, care of 365 Toddler Activities That Inspire Creativity.

Before the party, wrap any building blocks you have around the house in wrapping paper. I used alphabet blocks,leaving the alphabet face of each block uncovered, to encourage the children’s curiosity about what was hidden underneath the paper. If you prefer, you can wrap the blocks completely.

Birthday Blocks (2)

Kids can either build with the wrapped block or – more likely! – will want to tear the wrapping paper open and discover the blocks inside; this way everyone gets to tear open a “gift” at the party! Whichever way they play with them, the kids are sure to have fun.

Dump Cake

Dump Cake (8)

We had a construction truck theme for Travis’s second birthday. When I stumbled across this recipe, I thought: what better name for a construction party cake than a “Dump” Cake?

It turns out the name has nothing to do with dumps or construction sites, but rather with the fact that all of the ingredients are simply dumped into a baking pan, no mixing or measuring required. That means your toddler can literally make it him or herself! It was a doubly-perfect recipe for his second birthday cake.

Dump Cake (1)

Ingredients:

  • 2 (15-ounce) cans sliced peaches in juice (such as Native Forest)
  • 1 box vegan yellow cake mix
  • 12 tablespoons Earth Balance butter
  1. Grease a 13×9-inch baking dish, and have your child dump in the peaches, including the juice.
  2. Sprinkle the cake mix over the top of the fruit. (Adults: you can step in and make sure the mix is sprinkled evenly, if your child is concentrating things in one corner).
  3. Add 12 tablespoons of butter, spaced evenly over the top. (Again, adults may need to do a little “clean up”).
  4. Bake at 350 degrees F for 1 hour – the cake should be bubbly.

Dump Cake (2)

You can also prepare a version using 1 (15-ounce) can crushed pineapple and 4 cups cherry pie filling. Native Forest’s canned pineapple is vegan, but I needed to step in with a tiny bit of prep for a homemade cherry pie filling, meaning Travis didn’t quite make the second version all by himself… but close enough!

Dump Cake (7)

He was so proud when the moment came to blow out two candles, and tell relatives he had made the cake his “whole self.”

Dump Cake (9)

Rainbow Painting

Rainbow Painting (2)

We’ve enjoyed exploring rainbows recently, and I read about this neat painting method to continue our fun – perfect for little hands not yet ready to draw an arced rainbow line by line. It’s a little bit messy, but great fun!

Paint the colors of the rainbow in order on a clean sponge, making the paint quite thick. Preschoolers can paint the rainbow on themselves, but toddlers will no doubt need adult help. This craft was a great opportunity for us to try out our new Glob paints, another great vegan and all-natural option. When the powder is mixed with water, the paints were as globby as their name would suggest, with wonderfully vibrant colors, and a rich texture on paper whether we used sponges or regular paintbrushes.

Rainbow Painting (4)

Flip over the painted sponge, drag it across white construction paper or poster board, and you’ll create a perfect rainbow – wow!

Travis did rather quickly lose interest in the rainbow exploration, but thought painting the globby paint on the sponges was fantastic fun, so we continued that for a while. We had a good time seeing what other prints we could transfer from sponge to paper (I made this little flower for him to press down):

Rainbow Painting (8)

….painting on other color combinations of stripes:

Rainbow Painting (5)

… and just painting on the sponges!

Rainbow Painting (7)

Travis loved when his hand got messy in the process, too. “I have a rainbow on me!” he told me proudly. And then of course it was clean up time!

Rainbow Painting (6)

Feed the Baby Bird

Feed the Baby Bird (2)

We’ve had fantastic tenants at our apartment recently – a family of barn swallows decided to make their nest on our balcony, and we’ve been honored to watch the mommy and daddy bird grow their family!

It all started with a flutter of activity one morning in June – no doubt daddy bird scouting his nest-building location. We woke up the next morning to the nest! Unfortunately, I had a hard time getting photos, as the balcony corner is dark, but hopefully you can see a little here:

Feed the Baby Bird (3)

The next few days were quiet. Daddy bird would sit on the balcony railing or wind chimes, and give a signal of alarm for any noise or worry, sending mommy bird flying from her cupped nest.

We departed on vacation, and I worried Travis would miss the chance to see the birds hatch, but nope! It wasn’t until early July that we saw little beaks appear above the rim of the nest. We got to watch mommy and daddy bird swoop in to feed them many times over the next few days. Travis loved the excitement, calling out whenever he saw “Daddy bird.”

Feed the Baby Bird (5)

I was amazed how long the four chicks stayed in the nest; they looked awfully cramped up there by the end. Then one day, we looked outside and saw that two of the fledglings had taken their first flight! They were perched on the balcony, looking very downy and adorable and uncertain.

Feed the Baby Bird (6)

A torrential rain storm swept through right after, unfortunately. We were very relieved to see at least one of the fledglings had returned to the nest after, and I’m hopeful the other one made out okay in the storm. Meanwhile it was touching to see mommy and daddy bird swoop in during the storm to make sure their chicks were okay!

Travis and I continued the fun at home with mommy and baby bird play. He sat in a little nest made out of brown blankets, and I “flew” in to give him bites of Surf Sweets gummy worms (a leftover birthday treat!) as a snack. He gets a kick out of the fact that birds eat worms, and now probably believes all worms taste gummy and fruity.

Feed the Baby Bird (7)

We’re still waiting for the final two chicks to leave the nest, and are honored to have shared in the birds’ journey!

Update: Here are the three surviving chicks, on the day before they left us for good. I had heard swallows didn’t return to the nest after their first flight, so was delighted that they lingered for nearly a week, playing on our balcony by day, and sleeping in the nest at night. So glad we were able to give them a safe place to begin their life’s journey.

birdie final

Rainbow Crate

koala rainbow (8)

Please forgive the long post, but we’ve received our first Koala Crate, and the projects inside were fantastic! A year’s subscription to the crate was my gift to Travis for his second birthday, and I’m so excited to delve into a year of crafting and exploring with him.

This month’s theme was rainbows, and the crafts inside ranged from super-simple to a bit more involved. Travis needed my help with all three, since technically the crates are marketed to age 3 and up… but he understood the concepts and fun behind them!

You could easily pick up the materials needed at a craft store for a DIY version of all the following crafts.

First up was a cute rainbow cloud pillow, adding half-circle stickers to a felt cut-out of a cloud. I directed Travis to put the stickers on in rainbow order, and he surprised me knowing what should come next!

koala rainbow (2)

Not all of his stickers ended up in the “right” spot, though I hesitate to use the term. I corrected the ones towards the back, just so he could see that we were producing an arced rainbow. By the time we got to blue and purple, I left them where he placed them, slightly askew – it was his project after all!

koala rainbow (4)

He was fascinated by fluffy roving (filling) for the pillow and called it a cloud – how appropriate!

koala rainbow (5)

He very eagerly helped me stuff the roving in, and once our rainbow pillow was sealed shut, it needed a big soft hug

koala rainbow (7)

Craft #2 was a rainbow-dyed tote bag. If you have no Koala Crate, buy any small canvas tote bag, and do the steps below using tissue paper and rubbing alcohol, rather than plain water. Q-tips will work in place of a water dropper.

Travis loved helping get the bag wet under the faucet, but was slightly frustrated as we laid down the tissue paper squares, since the wet squares stuck to his fingers. I covered the remainder of the bag, and then introduced him to the water dropper!

Koala rainbow tote (1)

This was a great challenge for little fingers. Although I needed to drip enough water over the squares to make an effect, Travis got in excellent practice making droplets onto a paper plate.

Koala rainbow tote (3)

We left the bag to dry overnight, and then removed the dried tissue, revealing our colors. Travis didn’t quite grasp that it was our water droplets that had done the work, but we had fun talking about the colors – which were bright (blue!), which were very hard to see (yellow!) – and adding cloud stickers as the finishing touch.

Koala rainbow tote z

The perfect size tote for a toddler to carry his toys to the car!

Koala rainbow tote c

Finally, craft #3 was a “stained glass” window. Use clear contact paper, construction paper shapes, and tissue squares, if you’re not a Koala member.

koala rainbow stained (2)

The shapes provided were fun to punch out and add to the sticky “window frame.” I made a sun, and Travis joined a bunch of circles together and told me he’d made a cloud.

Once our black shapes were in place, we stuck on the remainder of our tissue squares – great fun!

koala rainbow stained (3)

Best of all was setting the “stained glass” up in our window, beautiful with light filtering through.

koala rainbow stained (7)

To finish our rainbow exploration, we made rainbows at home with two easy tools. A CD in a ray of sunlight produces a great rainbow against a wall.

Koala rainbows alt (1)

A prism takes a bit more work, to find the perfect angle, but Travis had so much fun waving it in sunlight until he spotted a rainbow.

Koala rainbows alt (2)

“I see it, I see it!” he would exclaim, and delighted in touching the colors on carpet and wall.

Koala rainbows alt (5)

Stayed tuned for more Koala Crate adventures!

koala rainbow stained (5)

Cupcake Crayons

Rainbow Crayons (6)

Ever wonder what to do with all the broken crayons a toddler seems to endlessly generate? I sure did! We had so many crayon pieces that I began compiling what we called our “broken crayon collection” – a plastic bag filled with all the bits and pieces. Travis even comes running now with a broken one, and watches with fascination as I add to our growing pile. It was finally time to do something about it!

Remove the paper wrappers from all the crayons. This is really an adult task, since I recommend making a small slit with an x-acto blade in each wrapper; this way, the two halves peel away easily from the crayon. Preschoolers can probably help with a bit of the peeling and unwrapping though!

Rainbow Crayons (2)

Break the crayons into small pieces, and arrange in muffin tins lined with cupcake liners – don’t fill the cupcake liners very high, just a layer or so of crayon pieces on the bottom of each.

Rainbow Crayons (3)

Bake at 170 degrees for 20 minutes, until the wax is melted. Cool completely, then peel away the liners.

Rainbow Crayons (4)

Kids will be fascinated  by the circular shape of these crayons, since they’re used to straight ones, and will love how each crayon produces a “rainbow” of colors, as they rotate it from side to side.

Rainbow Crayons (5)

To be 100% honest, Travis turned to me after a bit of exploration, and asked for his “pointy crayons” back. Can’t win ’em all!

Update: Turns out the third time was a charm! When I pulled out our cupcake crayons about ten days later, Travis was suddenly fascinated. He loved the “magical” way that each crayon could change color. “It turned blue!” he would cry with delight. “It turned orange!” We also tested out what he needed to do if he wanted a particular color to appear on the page – perhaps he needed to rotate his wrist, or turn the crayon a certain way? In sum, wonderful exploration.

Rainbow Crayon alt

Rescue

Rescue (5)
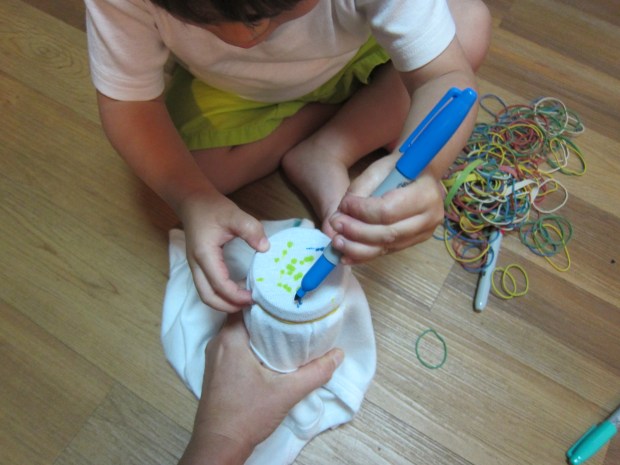
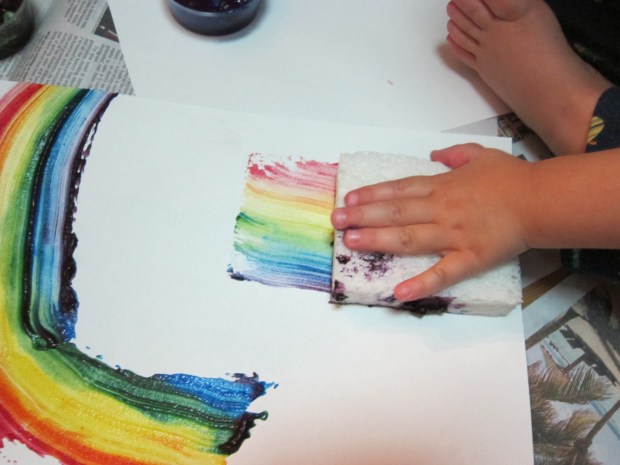
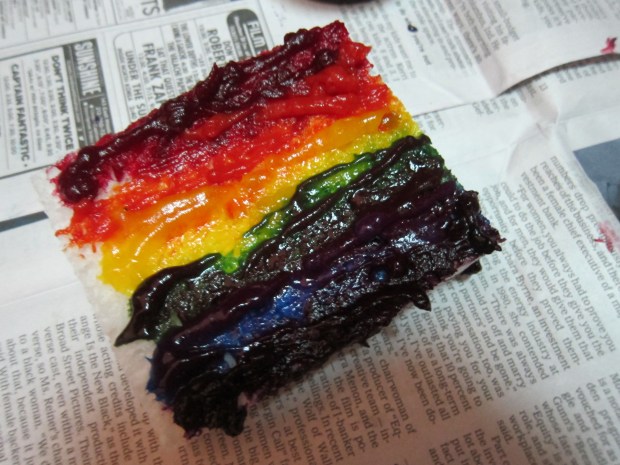
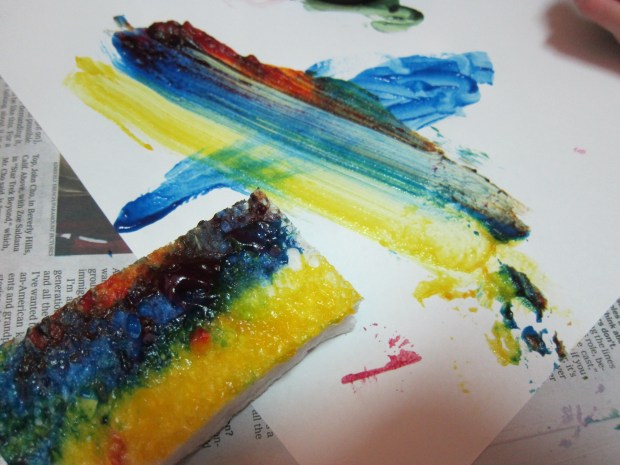
The cute idea for this game came from 365 Toddler Activities that Inspire Creativity. Although we didn’t exactly adhere to the script, the game is a great launching-off point for imaginative play. In our case, I started Travis with a few prompts, but then he took the game in his own direction! Try it and see where your imagination takes you.

Have your child help you scatter rags or beanbags on the floor – anything that can be used as “dangers” to avoid. We dubbed our bean bags “alligators”.

Rescue (1)

Next, place a stuffed animal or toy in the center, and have your child “rescue” the toy without touching any of the dangerous bean bags.

Travis found the task to be very easy – he just reached in and picked up his stuffed owl – but was also very proud! He had a great time messing the bean bags all around, saying, “don’t step on the alligators!”

Rescue (2)

Next we set up a car in need of help:

Rescue (3)

Rescue!

Rescue (4)

But because the game seemed too easy, we reversed things next – what if Travis could only step on the bean bags, and needed to avoid the “alligator-infested” water around him? This led to great fun stepping from bag to bag:

Rescue (6)

And practicing a big jump off of them.

Rescue (7)

Oh no, Travis fell in the ocean!

Rescue (8)

I’m not even sure what’s going on here, except that he clearly had some game going in his head!

Rescue (9)

After seeing if he could walk around from bean bag to bean bag, Travis reversed things again. What if he could move around without the bean bag falling off him?

Rescue (10)

This proved delightful for a little while, although he was frustrated it didn’t stay on his back as long as he hoped. I swooped in and made the bean bag fall off my head a few times – always a sure way to make him laugh!