Colors Crate

Koala Colors (7)

I was surprised when a color-themed crate arrived from Koala Crate this month. Colors seem so basic compared to other topics our subscription has covered, more like something we’d receive toward the beginning. Happily, we found that the activities and crafts inside were surprisingly complex and engaging. The booklet also felt especially interactive this month, including a color-by-shape page, seek-and-finds, and more.

Koala Colors (1)

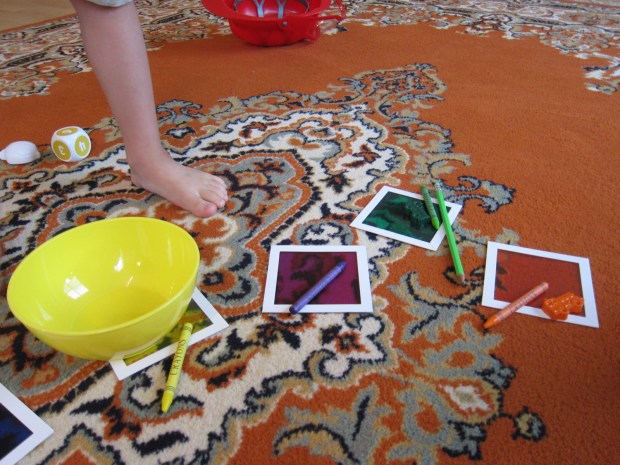
First up was the Color Scavenger Hunt, using colored cellophane squares in all shades of the rainbow and a set of dice.

Koala Colors (8)

Roll one for color and one for the number of objects, then hunt for items around the house. Travis loved this little challenge!
Koala Colors (9)

The squares can be used for multiple purposes when your hunt is done. Roll a color and then think of something in that hue. Here’s Travis drawing a few items he thought of, like lettuce and carrots.

Koala Colors (10)

You can also hold the colored squares in front of familiar objects around the house and see how the colors shift, as with this apple.

Koala Colors (11)

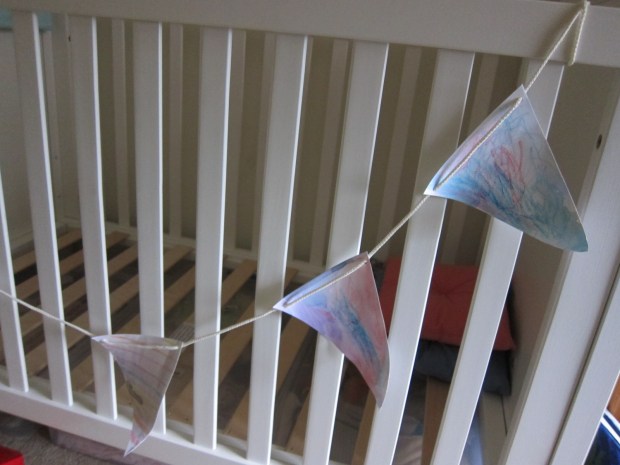
Next we made the Watercolor Banner, which kids decorate first in crayon and then in watercolor (all materials provided in the kit).

We talked about things we see with lots of colors, which soon had Travis drawing nature scenes (flowers, a swamp) on his flags. I added a flag with rainbows and one with stripes.

Koala Colors (2)

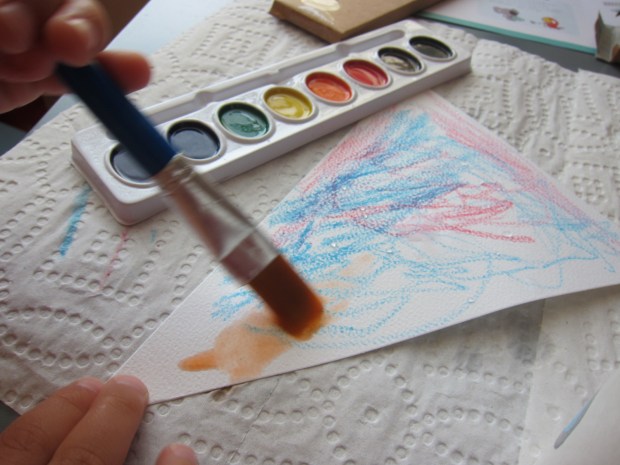
Next, use the provided watercolors to paint over the crayons (a neat lesson in “resist” painting techniques).
Koala Colors (4)

Let dry before threading onto the provided rope, then find a spot to hang your banner. Travis opted for the old nursery!
 

Koala Colors (6)

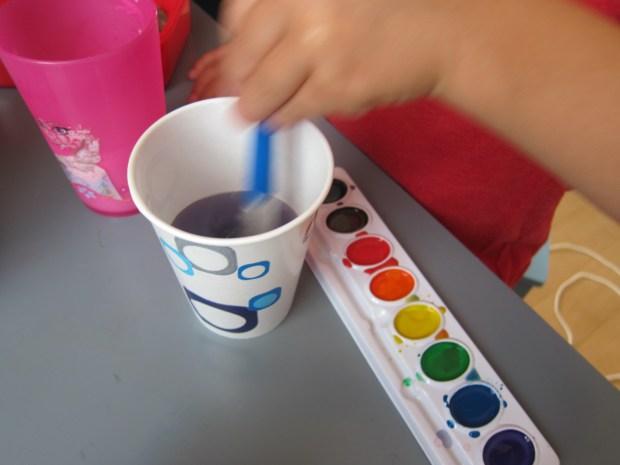
Before you put away the watercolors, have some additional mixing fun. We started with the primary colors (dip your brush in the color, then in a cup of clear water), and I asked Travis what shade he’d like to make. Oh no – he requested white! The only one we couldn’t make. But we mixed up the secondary colors first, and then discovering how to make brown was a big hit.
Koala Colors (5)

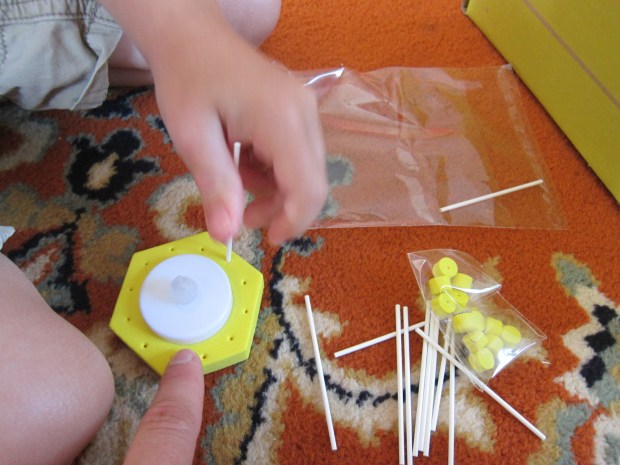
The third craft, a Colorful Luminary, was a hit – and excellent for fine motor skills. Fit the provided tea light into the provided foam base, and add thin craft sticks in a circle around it.
Koala Colors (13)

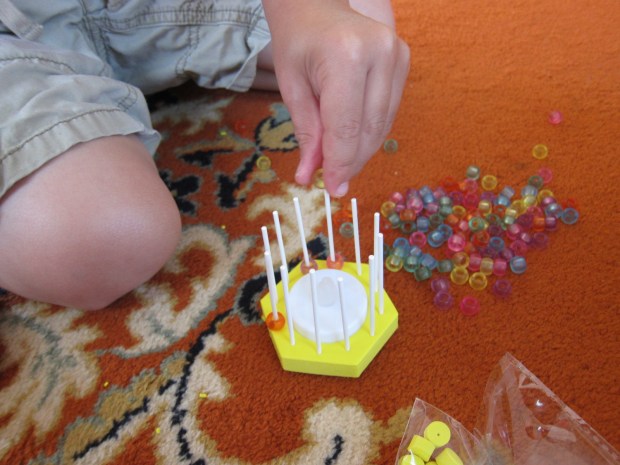
Now add colored beads to each stick. I asked Travis if he wanted to do all one color per stick or arrange them in a pattern, but this was a bit advanced and he preferred randomly threading them onto the sticks.
Koala Colors (14)

Cap each stick with another foam piece to seal the beads in place.
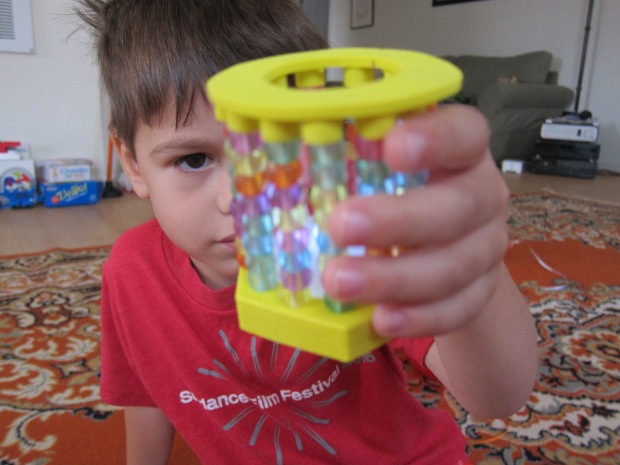
Koala Colors (15)

Find a dark spot, and set the tea light ablaze. Beautiful! We talked about the ways the colors changed when the light was lit versus unlit.
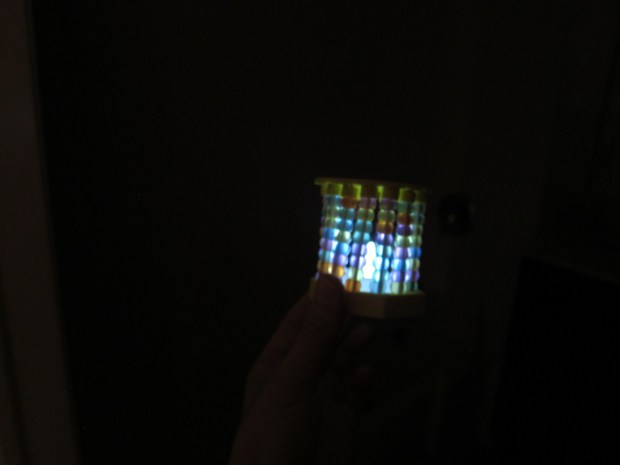
Koala Colors (16)

Before we put away the fun, we repeated an old activity, Dyed Flowers, made by dying white carnations with food coloring. This is a great way not only for kids to see fun colors, but also to witness how liquids travel up a plant’s stem. Fill test tubes or small cups with water, and add food coloring to each. Place a white carnation in each tube, and let sit overnight.
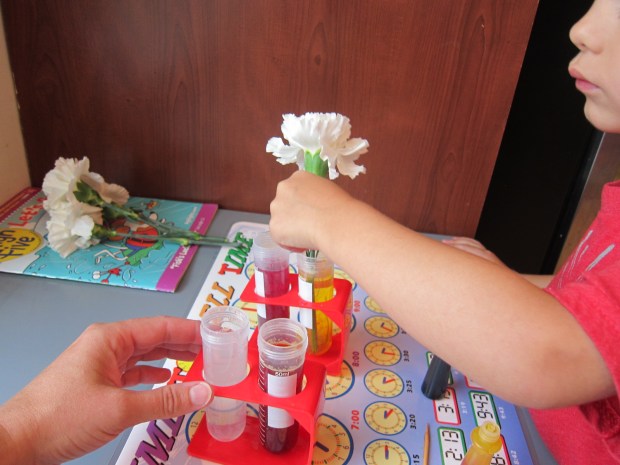
Koala Colors (17)

You’ll have a lovely (though faint) color in each flower by morning. Our red worked best.

Koala Colors (18)

In sum, lots of great activities here, including for kids who learned their colors ages ago.


Fourth Birthday Party: Firefighters

Fire Party (19)

After a year-long obsession with firefighters and Fireman Sam, it was only natural to throw Travis a firefighter-themed party for his fourth birthday. This theme is so easy and fun to do at home, and the kids were finally at an age where organized activities can kick in. Top it all of with a big surprise from a real truck – read on!

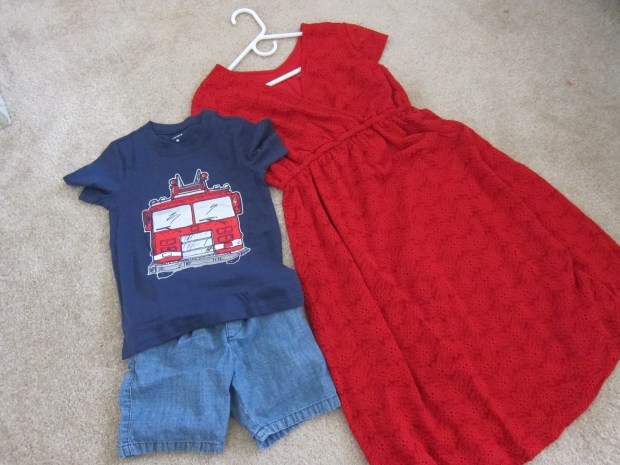
We held the party mid-afternoon in our apartment with family and a few close friends – nothing too big to overwhelm the birthday boy! Mama and son both got new outfits for the occasion. The boy’s shirt is Carter’s and the dress is Isabel maternity.

Fire Party (3)

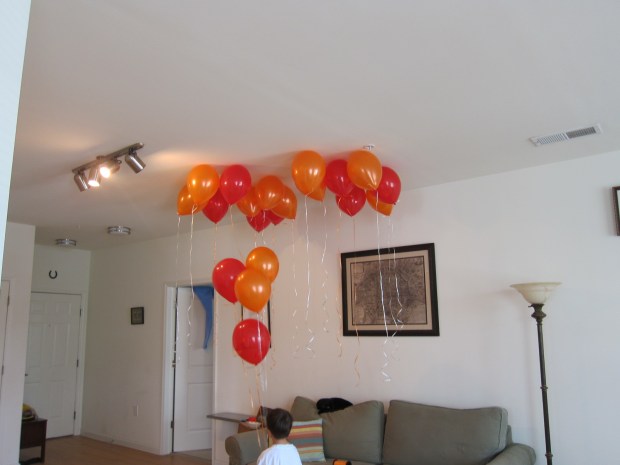
To set the stage (er, station), we set up a table with red tablecloth, along with red and orange balloons.

Fire Party (12)

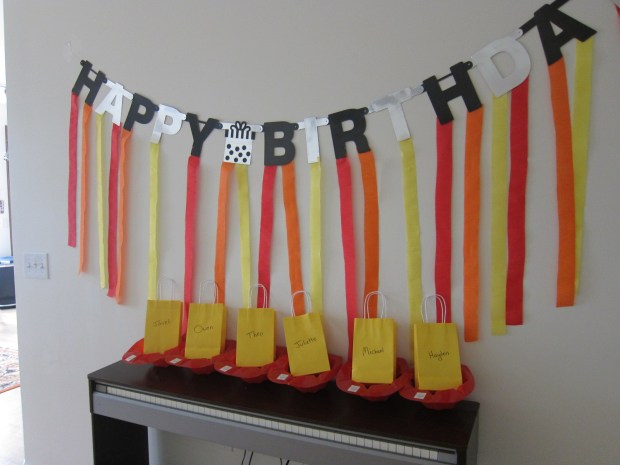
I strung a Happy Birthday banner with red, orange, and yellow streamers hanging from each letter. These were supposed to replicate flames, and although my husband teased that they didn’t look like flames at all, at least they carried on the color scheme!

FIre party (2)

If you can score old firefighter boots or a helmet (we borrowed ours from a volunteer firefighter friend!) fill it with red, yellow, and orange flowers.

FIre Party (15)

Firetruck plates and napkins carried the theme over to the food area, as well as a fire hydrant lemonade dispenser, which was a huge hit with the birthday boy. The hydrant is from Oriental Trading, as were individual hydrant cups that the kids first had to find hidden around the room.

Fire Party (8)

Don’t forget plastic utensils, set up in red and yellow fire buckets.

Fire Party (9)

As mentioned, this year the kids could really comprehend organized activities, so we had five “stations.”

Station 1:

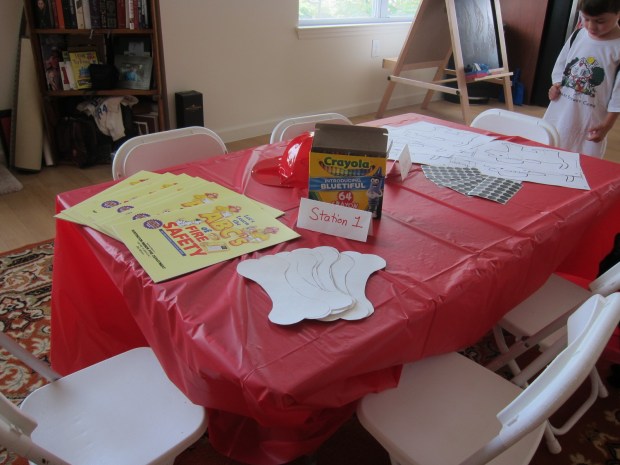
One half of the kids table featured fire safety leaflets and dalmatian doggie bones to color. The little artists in our group of friends had great fun here!

Fire Party (10)

Station 2:

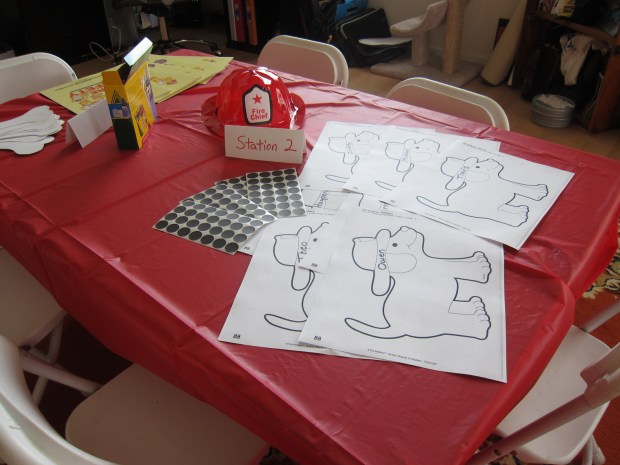
Find a dalmatian printable or draw your own, and label each dog with a guest’s name. Once children find their dog, they can decorate it with black dot stickers. The perfect firefighter’s companion!

Fire Party (11)

Station 3:

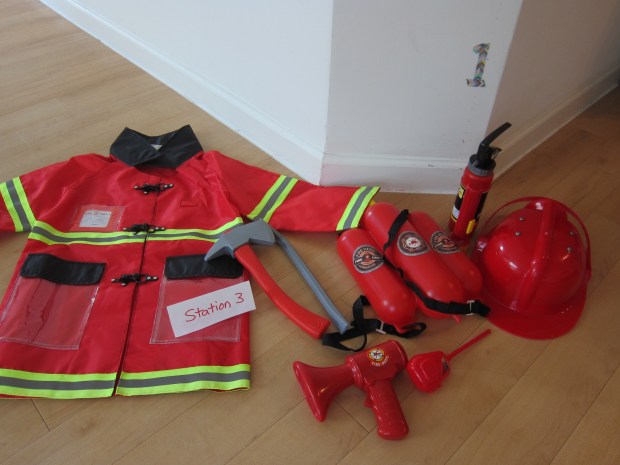
A dress-up selfie station. I purchased one firefighter costume set with lots of props like axes, hydrants, radios, and helmets. Consider making a filter on an app like Snapchat, and proud parents can take pics of their kids dressed up. The more imaginative kids didn’t want to stop playing in this area!

Fire Party (5)

Station 4:

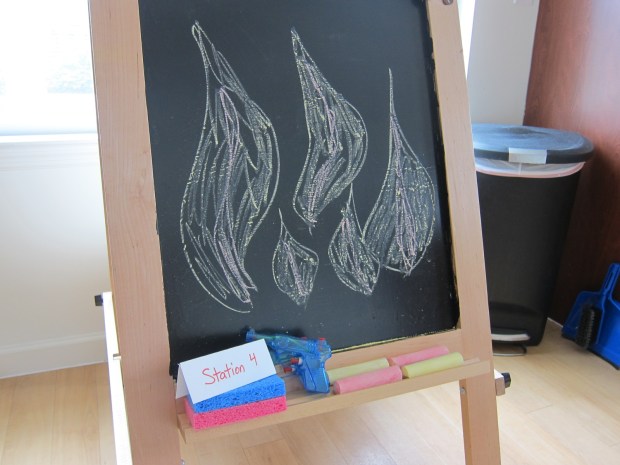
Time to put out the fire! We don’t have a chalkboard, but I painted a whiteboard surface with chalkboard chalk and let dry completely. Decorate with yellow and red chalk “flames” and provide the children with small water guns to squirt out the fire. The youngest guests in our group were happy here nearly the whole party!

Fire Party (4)

Station 5:

Back to headquarters for meal time! The food continued the fiery theme, with “Five-Alarm Chili” for the grown-ups (consider serving a milder version for kids) and hot dogs fresh off the grill. Although I normally keep food vegan at Travis’s parties, we did grill up a selection of meat dogs and vegan pups. “Water-hose-melon” and “hot” tomatoes (decorated with tissue paper flames) rounded out the simple meal.

Fire Party (16)

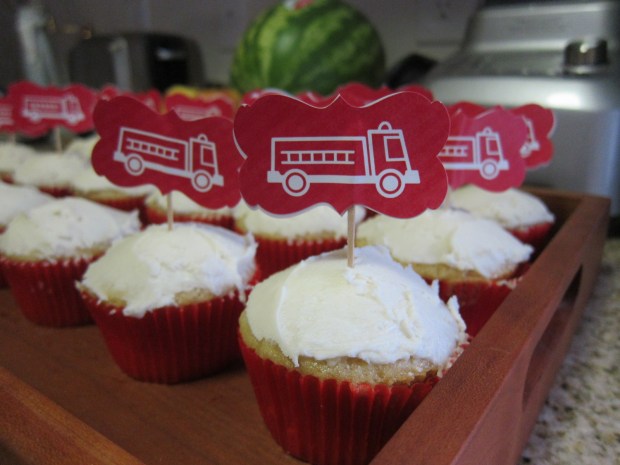
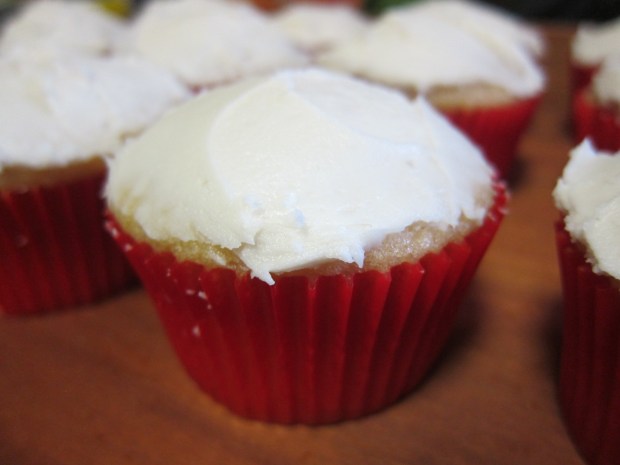
For dessert, bring out a tray of homemade cupcakes in red liners. Little fire engine toothpicks are the perfect finishing touch!

Fire party (1)

The highlight of the afternoon was a visit from a real firetruck. Contact your local fire station and see if they can send a truck and a few firefighters to provide a demo and safety tips. Many are very happy to do so, especially for a small donation for their time!

It turned out our local firefighters were busy with their 175th Anniversary fair, but we found a fantastic local party service, Captain Jack’s, who was happy to come for a half hour and show the kids his truck.

bday (13).jpg

And the hydrant, a huge hit!

bday (11)

Send guests home with little goodies that will continue the theme. Our goodie bags had items from Oriental Trading Company like firetruck crayons, mini water guns, firefighter tattoos, firefighter badges, mini flashlights, red lollipops (from Yummy Earth), and a fire hat for each child.

FIre Party (20)

Sound the alarm! This was one red-hot party.

Fire Party (17)

Fluffy White Cupcakes

Cupcakes (2)

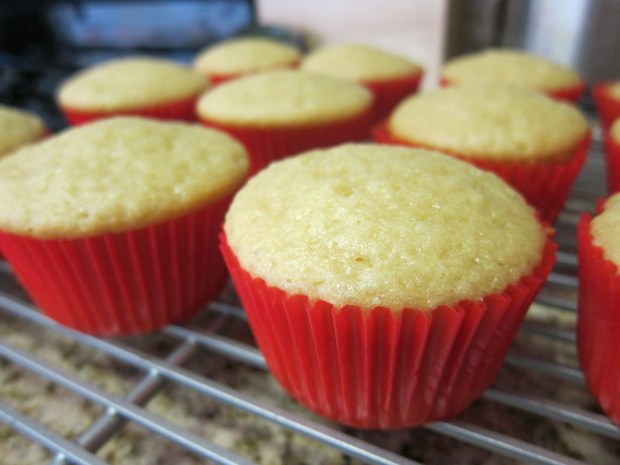
In the past, I’ve outsourced birthday party cakes to vegan bakeries in our area, but this year I decided to be brave and go homemade. I’m happy to report these cupcakes are nearly foolproof, and were a huge hit!

Ingredients:

  • 1 tablespoon apple cider vinegar
  • 1 and 1/2 cups vanilla soy milk
  • 2 and 1/8 cup all-purpose flour
  • 1 and 1/8 cup sugar
  • 2 teaspoons baking powder
  • 1/2 teaspoon baking soda
  • 1/2 teaspoon salt
  • 1/2 cup canola oil
  • 1 and 1/4 teaspoons vanilla extract
  • 1/2 teaspoon coconut extract
  1. Line 20 muffin cups with paper liners (find a color that fits your party theme!), and coat with cooking spray. Set aside.
  2. Pour the cider vinegar into a measuring cup, and add soy milk to equal 1 and 1/2 cups; this will sour the mixture.
  3. Meanwhile combine the flour, sugar, baking powder, baking soda, and salt in a large bowl; set aside.
  4. Combine the soy milk mixture in the bowl of a stand mixer with the canola oil, vanilla, and coconut extract. Add the flour mixture, beating until combined.
  5. Divide the batter evenly among the cupcake liners (about 1/4 cup batter per cupcake).
  6. Bake at 350 degrees F for 20 minutes. Cool in the pan for 5 minutes, then transfer to a wire rack and cool completely before frosting.

Cupcakes (1)

Ok, I did cheat on the frosting and opted for a jar of Wholesome Sweeteners’ vanilla flavor. Go homemade on the frosting too if you have the time!

Track the Moon

track moon (5)

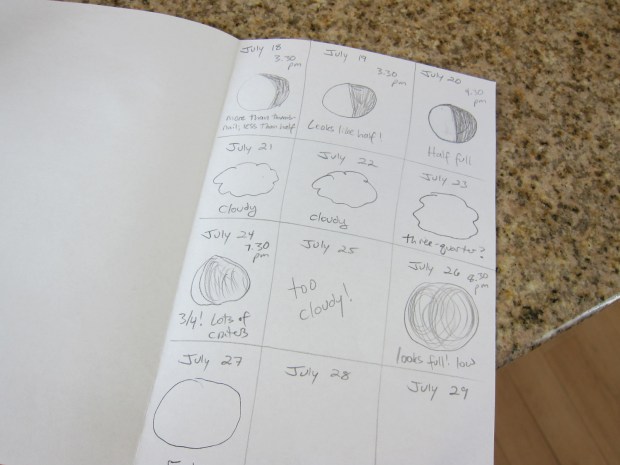
Although we weren’t in the path for July 27th’s remarkable eclipse, it got us thinking about the moon… That and the suggestion from High Five magazine to track the moon over a few days of its cycle.

We began about ten days out from the full moon, noting it as thumbnail-sized and high in the sky in the mid-afternoon. It grew for a few days before we lost it to a string of cloudy days – oh no!

Track Moon (1)

Luckily the clouds parted by the time we had a three-quarter moon, and then a gorgeous full moon rise on July 26/27.

Track moon (2)

Each day, have your child tell you what they’ve observed, and then draw a picture or words to accompany it (older kids can, of course, draw the moon themselves!). This is a great way to show kids how the moon changes in a cycle. Travis loved spotting craters, too, and noticing how much brighter the moon is by night than by day.

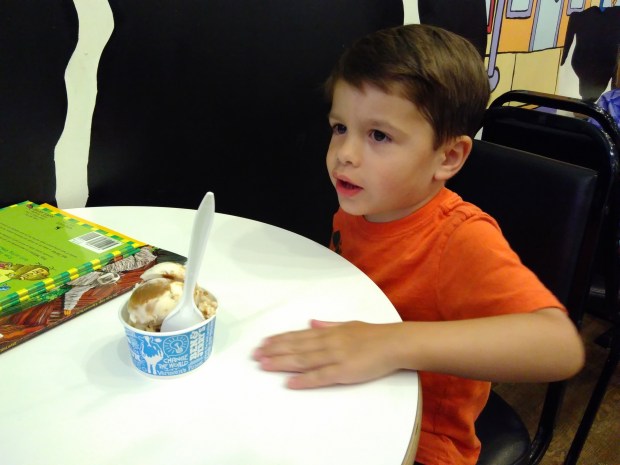
Moon rise can be late (8.20 pm for the full one in our area!) but it’s one of those perfect summer excises to stay up late. Why not make a night of it? Go out for ice cream (thanks Ben&Jerry’s non-dairy!), have story time right in the ice cream parlor, and watch the moon rise before heading home to bed.

Track moon (3)

The next full moon will be August 26, giving you one more chance before summer’s out (hint hint!).

Summer Smoothie Bonanza

smoothies (2)

We’ve been having fun this summer testing lots of fruit-and-veggie combo smoothies. Some have been bigger hits than others, but the following all got the seal of approval from my preschooler.

Banana-Pea Smoothie

  • 2 cups sliced banana
  • 1/2 cup frozen peas
  • 1 tablespoon sunflower butter
  • 1 and 1/4 cups coconut milk

Strawberry-Spinach Smoothie

  • 2 cups frozen strawberries
  • 1 cup fresh baby spinach
  • 1 and 1/4 cups vanilla almond milk
  • 1/2 teaspoon vanilla extract

Smoothies (4)

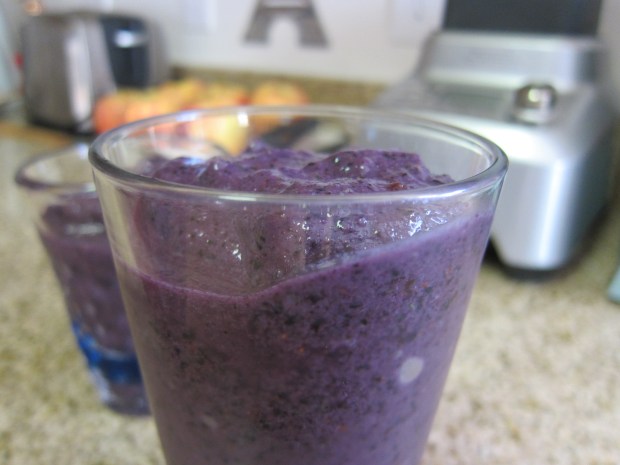
Blueberry-Broccoli Smoothie

  • 2 cups frozen blueberries
  • 1/2 cup broccoli florets
  • 2 to 3 chopped, pitted dates
  • 1 and 1/2 cups vanilla almond milk

(This was the best one yet, earning a “delicious!”)

Smoothies (5)

Peach-Carrot Smoothie

  • 2 cups frozen peaches
  • 1/2 cup cooked carrots
  • 1 and 1/2 teaspoons cinnamon
  • 1 and 1/2 cups vanilla almond milk

The grown-ups liked this one best!

Smoothies (7)

Cantaloupe-Cauliflower Smoothie

  • 2 cups cubed cantaloupe
  • 1/2 cup frozen cauliflower florets
  • 1 tablespoon chia seeds
  • 1 and 1/2 cups vanilla soy milk

Smoothie (8)

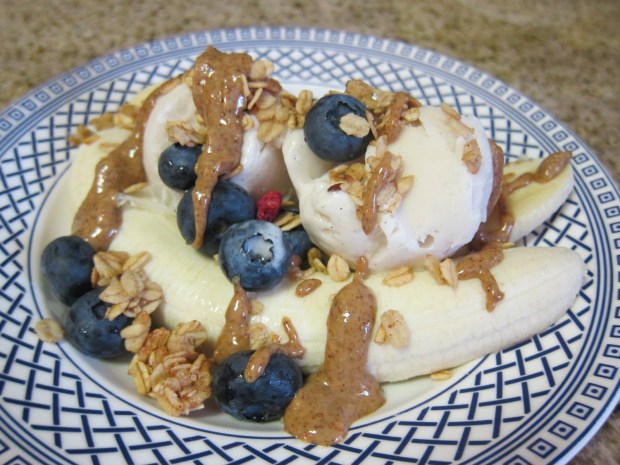
Breakfast Banana Split

Banana Split

It’s my boy’s fourth birthday, and that calls for something a little extra special at breakfast. Ice cream sundaes for breakfast? Why not, if it’s summer and you’re turning 4! If you want to make this dish a little more everyday-friendly, replace the ice cream with your favorite non-dairy vanilla yogurt.

Ingredients:

  • 1 banana
  • 2 scoops non-dairy vanilla ice cream
  • 1/4 cup blueberries
  • 2 tablespoons granola
  • 1 tablespoon almond butter, warmed
  1. Cut the banana in half lengthwise, and arrange on a plate.
  2. Top the banana with the ice cream, blueberries, and granola. Drizzle with the almond butter.

Now that’s a sweet start to the day!

Early Explorers Weather

LP Weather (22)

I remain half-convinced that there is a spy working between our Kiwi Co. and Little Passport’s subscriptions because once more they are sync. Having recently received Koala’s crate all about the wind, we found the more broadly themed Early Explorer’s Weather package waiting in our mailbox. No complaints here; there wasn’t too much overlap, and we love anything that continues our learning of a topic.
LP weather (3)

As usual, we received a booklet of activities to fill out, stickers for our map and suitcase, flashcards, and a “flashlight adventure.” Matching up peas and pennies to see various hail stone sizes was particularly fun!

LP Weather (8)

Weather Craft:

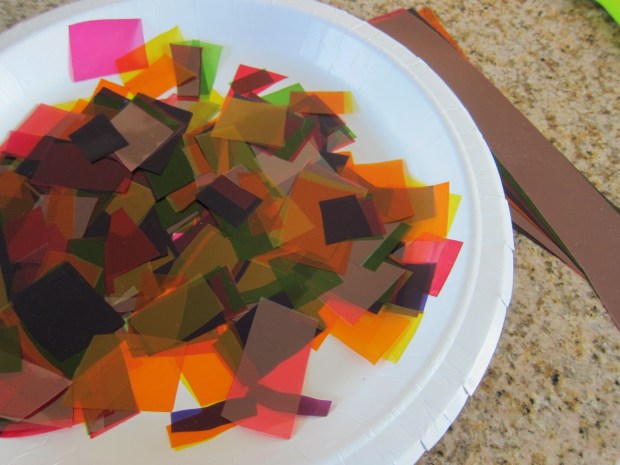
It’s easy to forget that “sun” counts as weather, since it can seem like the default, but these gorgeous suncatchers are a great way to appreciate the sunlight. Place a piece of contact paper, sticky side up, on a large work surface. Give your child pieces of colorful cellophane to put all over the paper.

LP Weather (11)

Note: I recommend purchasing small sheets of craft cellophane, which you can then easily cut into squares. Large rolls of cellophane (sold for wrapping gifts) would be a huge pain in this case.

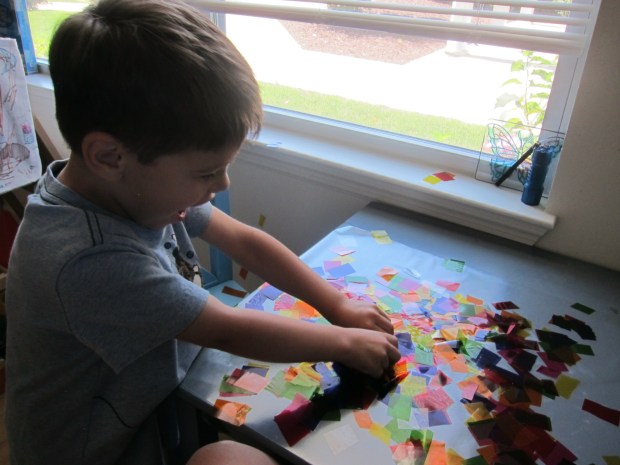
Travis started out placing each piece deliberately.

LP Weather (12)

But then dumped on the whole plateful!

LP Weather (13)

Cover with a second sheet of sticky paper to seal in your child’s design, then cut to desired size and hang in a sunny window.

LP Weather (10)

Weather Science:

The booklet included a great experiment to showcase the water cycle and evaporation on a small scale that kids can grasp. Plus any experiment with food coloring is always fun.

LP Weather (5)

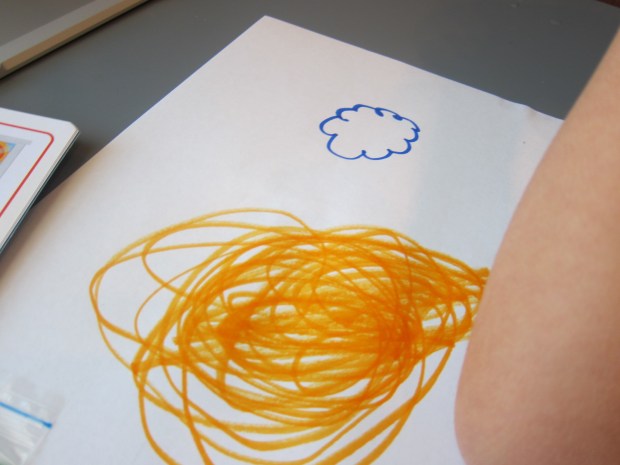
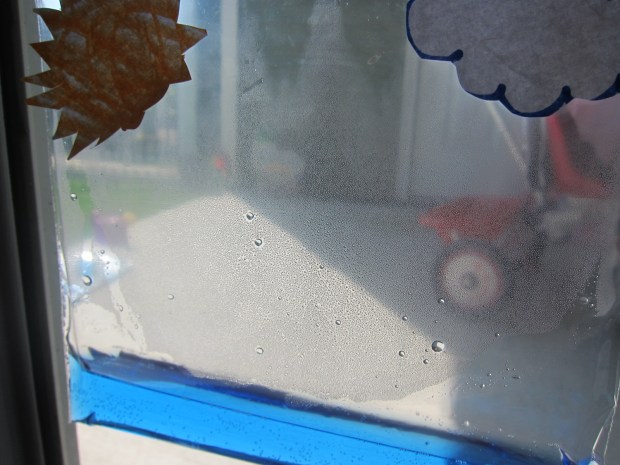
Add two drops of blue food color to 1/4 cup water, then pour into a zip-top plastic bag. Color a sun and cloud (Travis drew a huge sun, which I then cut down to size), cut out, and attach to the bag.

LP Weather (4)

Now hang the bag in a door or window of your house that gets direct sunlight. Soon we could see evaporation at work!

LP Weather (7)

Weather Keepsake:

The weather wall calendar was the closet overlap with our Koala Wind Crate, but we loved the ease of attaching the felt pieces on this one.

LP weather (2)

There’s also a handy pocket for storing all the pieces that are not in use. Simple, but fun for kids each morning.

Weather Field Trip:

For this one I had to get creative. Where could we best observe the weather? I decided a lighthouse would be great fun, both for the novelty of it, and because lighthouses were meant to protect ships in all sorts of stormy weather. We headed off on a slightly unsettled day to visit one about an hour away.

Travis loved the climb.

summer 44 (i)

And the beacon up top!

summer 44 (l)

Make sure you do your research before you go, as many lighthouses have age and height requirements for those hoping to ascend to the top.

And sometimes, weather field trips are unplanned. We just happened to be at the beach when this ominous thunderstorm rolled in. Travis loved watching from a nearby cafe window!

summer 40 (b)

Weather Further Activities:

As always, there were suggestions for lots more activities, and we had fun ticking them off (weather permitting!) over the course of a couple weeks.

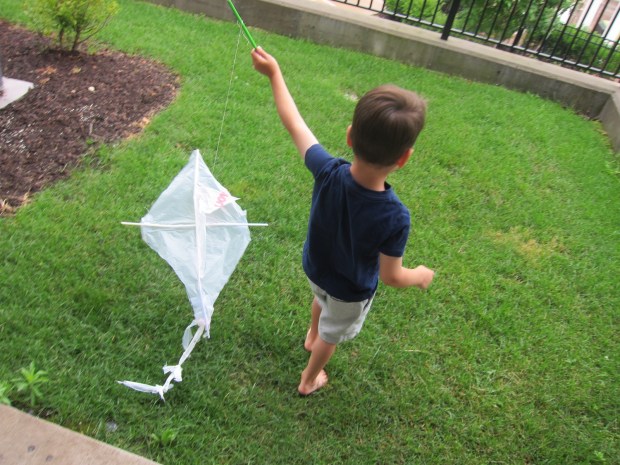
Take advantage of a windy day (and a trusty plastic bag kite) and watch the wind make your kite soar.

LP Weather (21)

Then cook up some cloudy day fun in the kitchen. Tint your favorite vegan jel dessert with a few drops of blue food coloring and prepare according to package directions.


LP Weather (17)

Once it sets, top with SoyaToo whipped cream, and eat the clouds out of the sky!

We then repeated an old activity, collecting rain in a jar for a homemade rain meter. We had an absolute downpour, and I was sure we’d have at least an inch, but later discovered the wind had knocked our jar over. We learned that the storm had dumped nearly 5 inches of rain in some parts of the state, and about 1.5 inches in our area.

LP Weather (9)

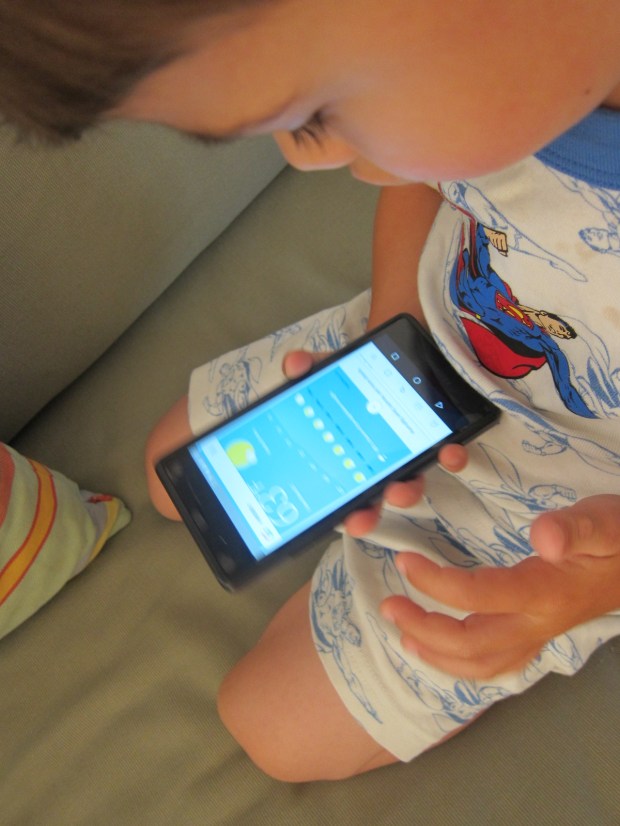
Finally, we took the exploration online. Travis loved learning how I check the weather on an app each morning.

LP Weather (18)

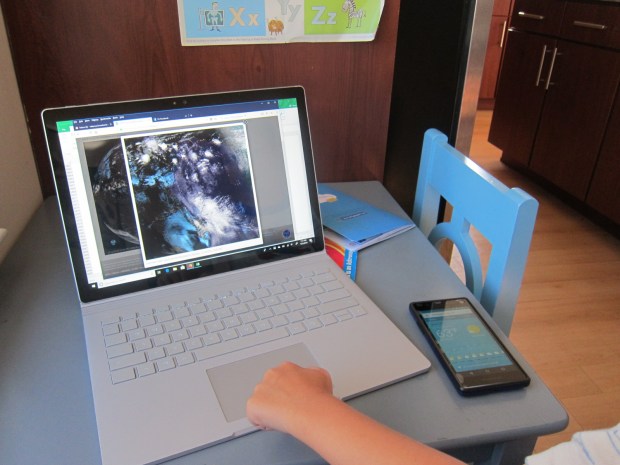
Then we looked at the Virtual Weather Museum (or go to one, if you have a good museum near you!) where he loved the available satellite images on everything from cloud formations to ocean currents.

LP Weather (19)

Cantaloupe Skewers

Cantaloupe Skewers (1)

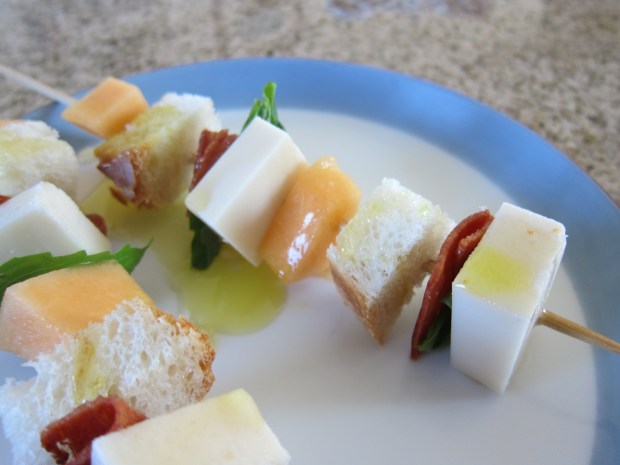
These skewers feature all the best flavors of summer on a plate, and are great as a side dish, appetizer, or even a non-cook main course if you eat enough for them! For the closest vegan mozzarella to a fresh one like buffalo, you can’t go wrong with Follow Your Heart’s mozzarella block. Cook your bacon slices ahead of time and cut into pieces that are roughly the size of the other ingredients.

Repeat the process below with all the ingredients to make as many skewers as you need to feed your family or a summer party crowd.

Per skewer you’ll need:

2 cantaloupe chunks

2 fresh basil leaves

2 cubes “fresh” vegan mozzarella

2 pieces vegan bacon (homemade or store-bought)

2 cubes French bread baguette.

Thread the ingredients onto long skewers in a pattern.

For every two skewers, drizzle with about 1 teaspoon olive oil and 1 teaspoon agave nectar.

Cantaloupe Skewers (2)

Which little tidbit will you eat first?

Leave a Trace

Trace (2)

It may be the middle of summer now, but fall is just around the corner, and I’m already thinking ahead to when Travis will start pre-K in September. One of the skills that pre-K teachers emphasize is tracing, great for learning pen control and pre-writing. How to make that fun in the summertime? Use the sun!

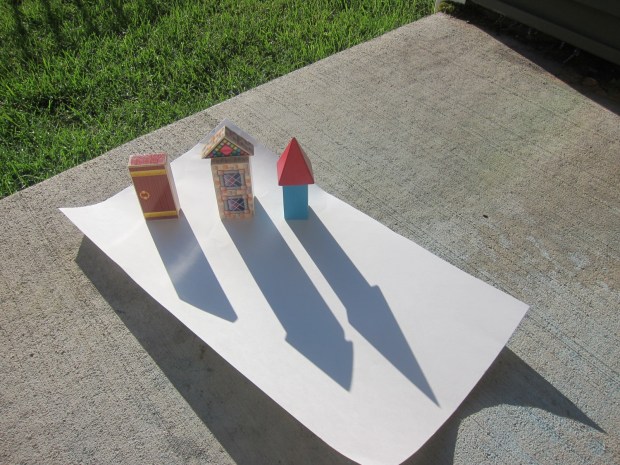
Set a large piece of poster board or craft paper in a sunny spot, and arrange your child’s toys on the paper. For beginning tracers, keep shapes simple.  Building blocks are great, in rectangles, squares, and triangles. Older kids might enjoy the challenge of tracing around complicated objects, like animal figures, cars, or dinosaurs.

Trace (1)

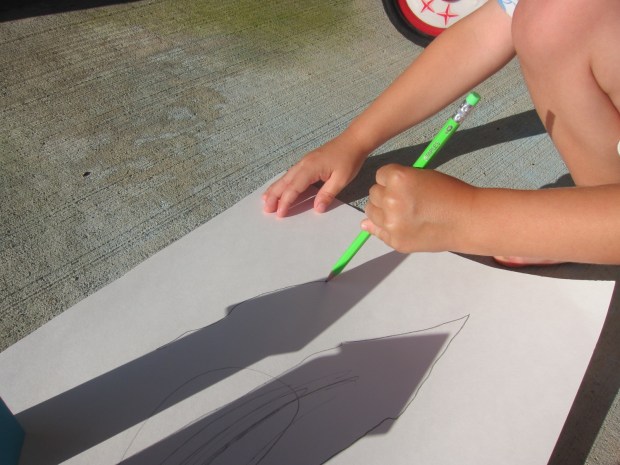
Encourage your child to follow the lines of shadow that the sun casts on the paper. This was tricky for Travis and he didn’t have the patience for it that I hoped on this particular morning, but we got in a little practice!

Trace (3)

If your kids are into it, try coming back to the activity over the course of the day; the shadows will shift (shortest at noon), which is a neat little lesson on the Earth’s rotation.


Color Wheel Gecko

Color Gecko (12)

This project requires a bit more adult set-up usual, but is so worth the effort for the learning and beautiful final product! It’s a fun way to introduce the concept of primary and secondary colors to kids and has a fun animal theme thrown in.

Geckos or chameleons are the perfect creature to illustrate the color wheel because they can camouflage, or change their color to reflect their surroundings. If you want, start off this project with a read of Leo Lionni’s A Color of His Own – then get crafting!

As mentioned, a lot of the set-up here will be for grown-ups only, unless your kids are 1st grade or above. But Travis pretended he was a teacher giving a lesson on geckos while I worked!

Color Gecko (2)

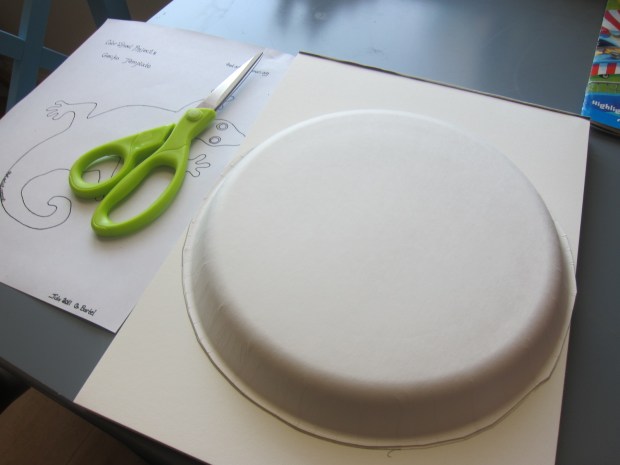
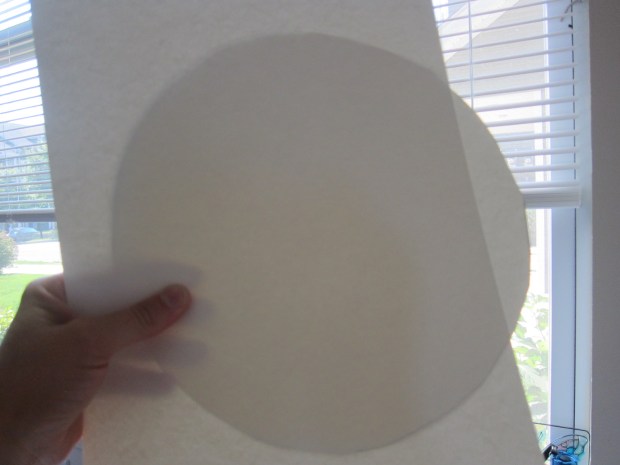
First, trace a circle onto watercolor paper using a paper plate as a guide. Cut out.

Color Gecko (1)

Place the circle over a second piece of watercolor paper, leaving a bit of the circle hanging off the edge (this is the handle that kids will spin later on). Use a pencil to mark where the center of the circle is on the circle itself and on the background paper. If you hold the paper up to the light, you can mark the back as well. Trust me, you’ll want this point as a guide later!

Color Gecko (3)

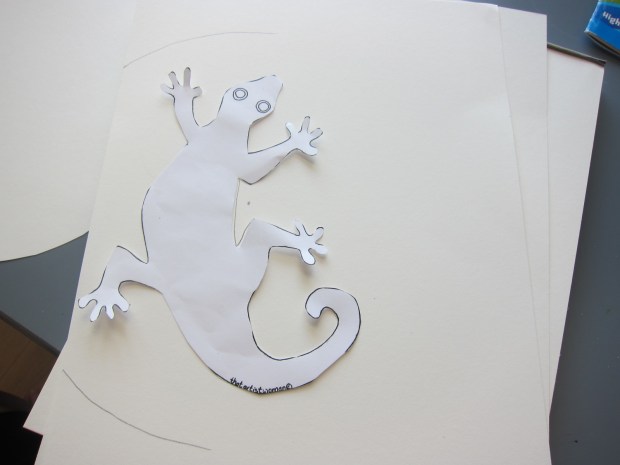
Cut out the gecko template, and trace onto the background paper, making sure he doesn’t cover that center mark you’ve made.

Color Gecko (4)

Now you need to cut out the traced gecko. Grown ups can pierce a hole with scissors and cut out, but if your kids want to do this step themselves, it may be easier to cut in half along the gecko, cut him out, and then tape the paper back together with painter’s tape. See this link for a full demo.

Now it was time to paint! Grab your circle and a set of watercolors. Travis watched as I divided the wheel into six segments and we discussed the primary colors: red, yellow, and blue. Meanwhile, he couldn’t want to start painting his own scene, talking about what colors he chose.

Color Gecko (5)

As I filled in each secondary color on the wheel, I had him guess what we’d make first. “If I have red and add yellow, we get…” “Orange!” he predicted.

Color Gecko (6)

Looks like those art classes are paying off! You can mix up your own version of each secondary color on a paper plate, or just cheat and use watercolors from your set – I won’t tell!

Color Gecko (8)

While Travis continued to paint watercolor masterpieces on blank paper, I painted a background scene for our gecko, a little tree with green leaves, blue sky, and a bit of peachy sunset (on Travis’s request). We left our watercolors to dry overnight.

Color Gecko (7)

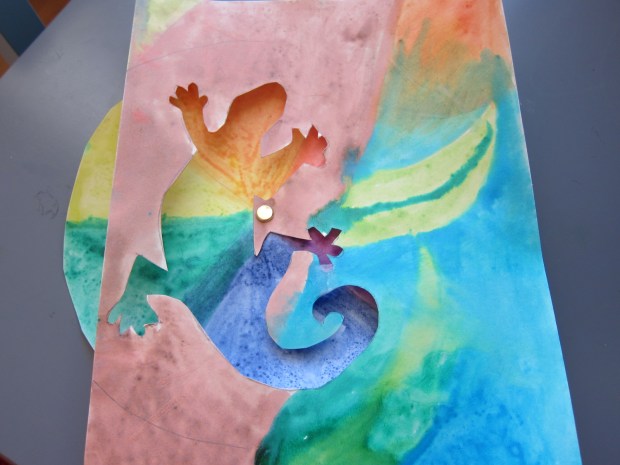
In the morning, poke a paper fastener through the color wheel and your background page, so the ends of the fastener are on the back. Fold over to secure.

Color Gecko (10)

Travis was so excited by the way the colors could spin and how he could watch his little gecko change color. “Now he’s blue! Now he’s green!”

Color Gecko (11)

This project was an absolute delight.