Ultimate Lemonade Stand

Lemonade Stand (9).jpg

We couldn’t say farewell to summer without having a lemonade stand!

The inspiration for Travis’s first entrepreneurial venture came when we learned about Alex’s Lemonade Stand Foundation, and were inspired not just to help our neighbors on a hot day, but to send our proceeds to charity, too.

Unfortunately I could not be certain that the beneficiaries of Alex’s Lemonade Stand (in the realm of children’s cancer research) did not test on animals. To get in on the charitable act without harming any living being, I was thrilled to learn that the Children’s Oncology Group does not test on animals. We planned to send our donations to this charity, and then it was time to think about some lemon-tastic fun.

First up were a few recipes! To supplement a few bottles of store-bought lemonade, we also made this homemade version. In a blender, combine the following:

1 (5-pound) watermelon, cubed

8 ounces lemon juice

1/2 cup agave nectar

Process until smooth, then refrigerate until ready to serve.

Lemonade Stand (2)

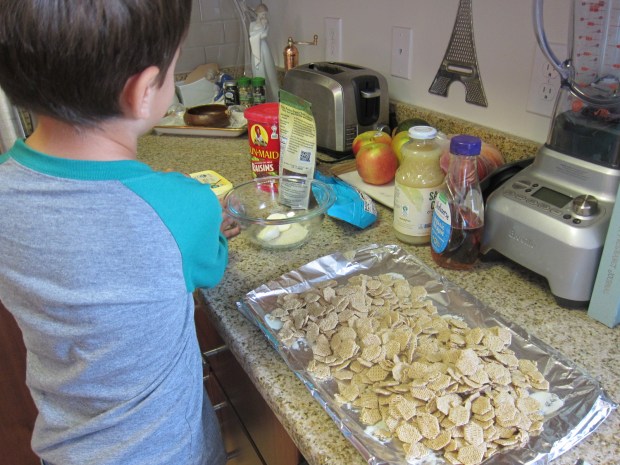
For a Lemonade Snack Mix to go with our beverages, Travis helped prepare this mix:

  • Melt 2 tablespoons Earth Balance butter with 2 tablespoons sugar in a microwave-safe bowl. Stir in 1/2 teaspoon lemon extract.
  • Drizzle the butter mixture over 4 cups multi-grain cereal (such as Barbara’s multigrain spoonfuls) on a baking sheet lined with foil. Bake at 300 degrees F for 20 minutes, stirring about halfway through.
  • Once the cereal mix cools, stir in 1 cup raisins and 1 cup dried cranberries.
  • Heat 1 cup chocolate chips in the microwave at 20 second intervals until melted. Transfer to a zip-top plastic bag and drizzle over the cereal mix.
  • Top with your favorite sprinkles (such as Let’s Do Organic). Let cool completely
  • Divide the mixture into zip-top plastic bags to sell.

Lemonade Stand (1)

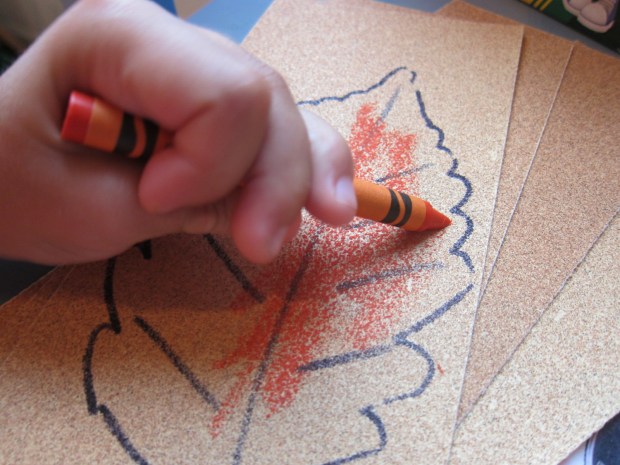
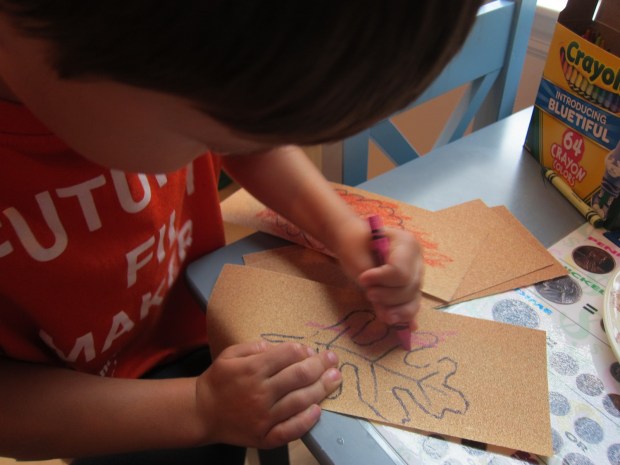
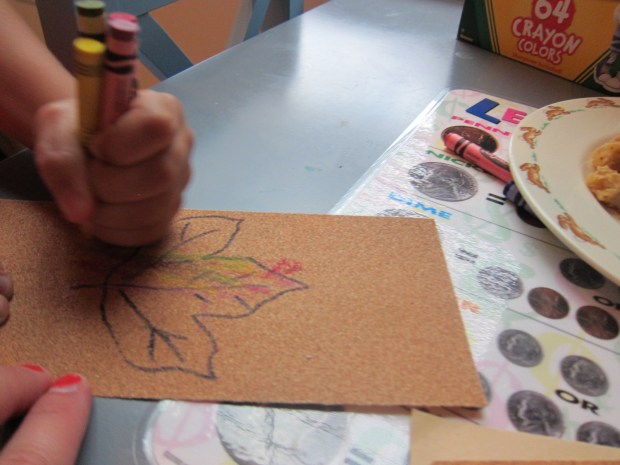
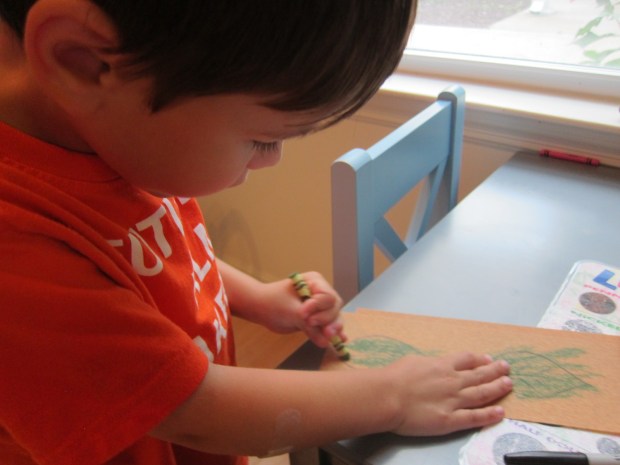
On lemonade stand day, it was set-up time! Travis helped make posters by drawing yellow “lemons” around my words.

Lemonade Stand (3)

Big kids can definitely have fun with the decorations on their posters. Be sure to post them all around the neighborhood so those who might not otherwise pass your house will have a reason to come by.

Lemonade Stand (6)

We adorned our stand with yellow crepe paper and a few yellow balloons; green construction paper “leaves” taped on the tops turn them into instant giant lemons!

Lemonade Stand (5)

Travis took to his new business with more alacrity than I would have guessed, flagging down cars and passers-by, gleefully pouring lemonade from the pitcher, and proudly asking each customers how many cups they wanted.

Lemonade Stand (11)

A couple notes for a hot day: Do try and set up your table in the shade, or your little seller will wilt fairly quickly.

Lemonade Stand (7)

Don’t be afraid to take breaks! You might miss a few customers, but especially for the youngest business-owners, their interest may lag after about half an hour. Try again in an hour or so!

Lemonade Stand (8)

Finally, charge a small amount for each cup and snack, but be aware that folks are surprisingly generous and will often pay you more, whether simply to support a young kid’s actions, or once they learn the proceeds will go to charity.

I knew this was a hit when Travis turned to me and said, “Mom, this was a great idea. Thank you!” And now to proudly send off our donation.


Wild Moves

Animal Moves (6)

I was a bit surprised to find no craft or Green Time in Travis’s latest issue of Ranger Rick Jr., but the magazine was full of fantastic facts and stories about animals, as always. It also included an activity to work those gross motor skills: copying the movements of wild animals.

First up was hopping like a kangaroo. This one was especially neat because the magazine pointed out that a kangaroo can jump 30 feet in one bound (!). We needed to pull out the yard stick to visualize that, and measured our own jumps.

Animal Moves (1)

From there, we tried the article’s other suggestions, which had us waddling like a penguin, flapping like a duck, and pouncing like a cat.

Animal Moves (2)

Travis was having so much fun that I encouraged him to decide which animal move he could do next. Soon we had slithering snakes;

Animal Moves (3)

Trumpeting elephants;

Animal Moves (5)

And a very ferocious lion (pictured at the top of this post).

A great prompt for imagination and to get us moving.

Animal Moves (4)


Early Explorers Rocks

LP Rocks (18)

Our latest package from Early Explorers was on the seemingly simple subject of rocks, but there was so much fun to be had! Of course we received the usual: a sticker for Travis’s suitcase, stickers to pinpoint on his map that depicted amazing rocks around the world, flash cards, and an activity booklet. The booklet was heavy on math and tracing activities this month, which made this mama very happy!

LP Rocks (13)

Rocks Craft:

The booklet suggested making pet rocks, something Travis had only recently done in art class, but he was eager to replicate the activity at home. A trip to the beach gave us flat smooth stones that were perfect for turning into “pets.”

LP Rocks (7)

Travis carefully chose his colors, while I painted a smile on a second rock.

LP Rocks (8)

The one with the button hat is entirely his creation! He even named it. If you want to get extra creative, turn your pet rock into a frog.

LP Rocks (9)

Rocks Science:

An oldie-but-goodie – make a volcano with baking soda and vinegar. We used terracotta-colored clay for the most realistic appearance, and even added a touch of red food coloring to our vinegar. Make a hole in your volcano, and fill with a little baking soda.

LP Rocks (4)

Pour in the vinegar…

LP Rocks (5)

…and watch it explode! Don’t be surprised if kids want to repeat this one again and again.

LP Rocks (6)

Rocks Keepsake:

The geode Travis received was very pretty, and immediately became part of his “treasure” box, although I’ll admit I was a little disappointed this overlapped with the Natural Wonders pyrite we received in a previous package.

LP Rocks (2)

Rocks Field Trip:

A summer vacation was the perfect chance to search for rocks on the beach. (Or if you’re not near the beach, head to your nearest park and see what kinds of rocks you unearth).

We checked out the cairns other people had stacked, including this wowza of a caterpillar…

LP Rocks (17)

…and tried our hand at our own “inukshuk”!

LP Rocks (15)

Rocks Further Activities:

The booklet suggested building a sandcastle in a sandbox (with the scientific reminder that sand is really just broken down rocks and shells)… but we decided to go one better and attend a local sandcastle contest! Travis loved checking out some of the winners, including an octopus and mermaid.

Montauk (1)

We made our own creation with towers, a moat, and beach finds as decoration.

Montauk (9)

Back at home, a recipe for rock layer parfaits was great fun to put together. Even little kids will get an idea about the layers that make up the earth when they make this recipe, whether or not they’ve seen the Grand Canyon.

LP Rocks (11)

In clear plastic cups, we layered the following:

Graham cracker crumbs (sand)

Banana slices (clay)

Raisins (large rocks)

Jam (lava)

Granola (fossils)

Agave nectar (mud)

Blueberry yogurt (water)

Travis wasn’t wild about eating the parfait, but he enjoyed putting it together!

LP Rocks (12)

Finally, we headed to the library for books, choosing topics that the booklet had grazed upon like geysers and minerals. These were a bit advanced for Travis, but the pictures were fun!

LP Rocks (14)

We also selected our favorite rocks from the booklet. Travis said his favorite was any of the sparkly geodes.

Sandpaper Leaves

Sandpaper Leaves (7).JPG

We often think of leaf crafts as projects for the autumn, but here’s one that can be done in nearly every season (except winter!). It combines a little bit of nature, a little bit of sensory art, and a little bit of coloring all in one.

After a full family day at the park, we returned home with a collection of leaves. All of them were green this time of year (late summer), but we found leaves in as many different shapes as possible, everything from nearly oval, to trefoil, to pointy.

Sandpaper Leaves (1)

Once home, I traced the leaves in permanent marker on sandpaper, making sure to include lines for the veins (a quick little science lesson on how leaves drink their water!)

Sandpaper Leaves (4)

Travis loved selecting colors and filling in each leaf, with the sandpaper adding extra tactile fun.

Sandpaper Leaves (2)

He made some leaves true to life (oranges, greens), and went beyond nature with a few others in vibrant pinks.

Sandpaper Leaves (3)

Best of all was when he grabbed a handful of crayons for a rainbow leaf – his own invention.

Sandpaper Leaves (6)

Cut out the leaves and paste up on the walls or use as pretty gift cards the next time you send a loved one something special.

Sandpaper Leaves (5)

We loved this variation on leaf art!

Sandpaper Leaves (8)

Domino Steal Game

Domino Steal (3)

On the heels of our starfish counting game, here’s another great way to reinforce numbers and number recognition before back-to-school. Dominoes lend themselves to any variety of counting games – including just matching up the pips! – but this version involves stealing from the other players. An instant preschooler hit!

To play, you need two players, whether two kids, or an adult and one child. Pull out two dominoes, and each player counts the number on theirs. This is great not just for learning to count the dots, but also learning to recognize the arrangement of the pips by sight.

Domino Steal (2)

Whoever has the higher number on his or her domino wins that turn, and gets to “steal” the other players domino. Stealing was a big thrill of course! Here’s the thief in action:

Domino Steal (1)

I swear I didn’t rig the game, but Travis ended up with quite the collection.

Domino Steel (4)

When you’re done playing, I recommend leaving the dominoes out… They are a fantastic prompt for kids who want to arrange them, or play make-believe with them, or practice numbers on their own.

Starfish Counting Game

Starfish Count (4)

This adorable game is a fun way to get kids counting (or memorizing by rote) the pips on dice. The beach-y starfish theme makes it just right for the end of summer, if you’re helping kids prep for back-to-school!

I drew two starfish free-hand (don’t judge my stars too harshly!) and added smiles and 10 dots to each (to represent the bumps along a true sea star’s arms).

Starfish count (1)

Set out the starfish as your playing boards, along with pom poms and dice.

Starfish count (2)

Take turns rolling the die, and add the appropriate number of pom poms to your starfish board. The first player to fill in all their bumps wins!

Starfish Count (3)

In sum, a simple counting game that will boost kids’ confidence as they had back to the classroom.

Starfish Count (5)

DIY Sundial – Two Ways!

Sundial (4)

Summer is the perfect time to give kids a visual of how the sun moves across the sky during the day. Here are two ways to mark off the hours and watch the shadows move!

For our first sundial, we poked a straw through a paper plate, and set it securely between two planks of a back deck (alternatively, place in the yard with enough dirt around the straw to hold it firmly in place).

Sundial (1)

It was early when we started, a long 9 a.m. shadow, which Travis helped mark off.

Sundial (3)

We had to work around the sun a little bit (which disappeared behind the clouds a few times), but as we added hours, Travis could see how the shadow not only was shortest at mid-day, but also moved around the plate in a circle.

Sundial (5)

For a full-body experience, turn your child into the sundial! Sketch their outline with chalk at various points of the day, noting both location and length.

Sundial alt

After a full day’s cycle, they’ll be able to see how shadows move.

Our 100’s Jars Collection

100s Jar (7)

Back-to-school is just around the corner, and this activity is a fantastic way to get preschoolers and kindergartners thinking about numbers up to 100, as well as concepts like counting by 5’s and 10’s. All you need are a few empty glass jars and objects you already have around the house!

First I asked Travis if he could think of anything we had in the house that would number up to 100. He guessed toy cars (which might be true!) but I knew 100 cars wouldn’t fit in a jar.

I suggested we try coins, and soon we were emptying out his piggy bank.

100s Jar (1)

He quickly latched on to the idea that 10 groups of 10 would give us 100. I helped him count out 10 coins into each group, and then we counted the groups up: ten, twenty, thirty, and so on. Filling the jar was super exciting.

100s Jar (2)

Dried pasta was a bit hit to count for the next jar!

100s Jar (3)

This also showed him that 100 pasta shells took up more space than 100 coins.

100s Jar (4)

For our final jar, Travis chose shells.

100s Jar (5)

This time we grouped them into 20 groups of 5. He had a hard time following as I counted up by 5’s, but it was a good foundation to lay.

100s Jar (6)

In sum, this is a cute way to get your little one thinking about math, and so easy you can sneak it in between dinner and bath time! What do you have 100 of in your home? Please share in the comments!

Make Your Own Raisins

Grapes to Raisins (5).JPG

Ok, you’re melting in a heat wave and hot sunshine… But that will be cause to rejoice if you harness the power of that sun and show your kids how you can turn grapes into raisins.

Two years ago, we actually tried a similar trick using an oven, and I’d been waiting for the chance to make a sun-dried version. Boil a bunch of whole green grapes for 30 seconds, then immediately transfer to a bowl of ice water. Travis loved helping me make the ice water bowl!

Grapes to Raisins (2)

Place the grapes on foil pans, then cover with a breathable cloth and place somewhere outside that gets direct sunlight. Bonus points for weather that’s 85 degrees or above. Let the grapes stand for 3 to 5 days, then see how you’ve shriveled them into raisins.

By day 1, the grapes were definitely shriveled and wrinkly on the outside, although still the same size as regular grapes.

Grapes to Raisins (3)

As the days went on, they got smaller and wrinklier but – oh no! A bout of rain caught us by surprise, and our raisins turned moldy before we had a chance to try them.

Grapes to Raisins (6)

So even though we weren’t entirely successful, I can’t wait to hear your stories about sun-dried goodies in the comments.

Exploding Sodas

Exploding Soda (4)

We’re late the to the game on this one, but better late than never! Apparently big kids and science teachers have been exploding diet soda with Mentos for years now, but this activity was definitely new to my 4-year-old, and the perfect summer science experiment. Get outside – some place with lots of room – and then watch the geysers explode!

For the most fun, purchase several large bottles of diet soda in different varieties, so you can compare the height of the geysers (big kids may want to be more scientific about this, measuring off the heights, but we simply had fun).

Exploding Soda (1)

Line up the bottles, and drop five Mentos (very quickly!) into them one at a time. Note: You can drop in as many as seven Mentos, but by five, I had to run in the other direction.


Now here’s the important step – move back! The geyser is going to happen fast, and high.

The diet root beer took me so completely by surprise that I only had time for a picture of the aftermath.

Exploding Soda (2)

By the diet Coke, I was ready with my camera.

Exploding Soda (3)

Interestingly, diet Mountain Dew only gave us a small fizz.

Exploding Soda (6)

Travis loved hosing off the driveway in the aftermath!

Exploding Soda (5)

Which sodas did you try? Please share in the comments!