Builder’s Special Pumpkin

Builder's Pumpkin (4)

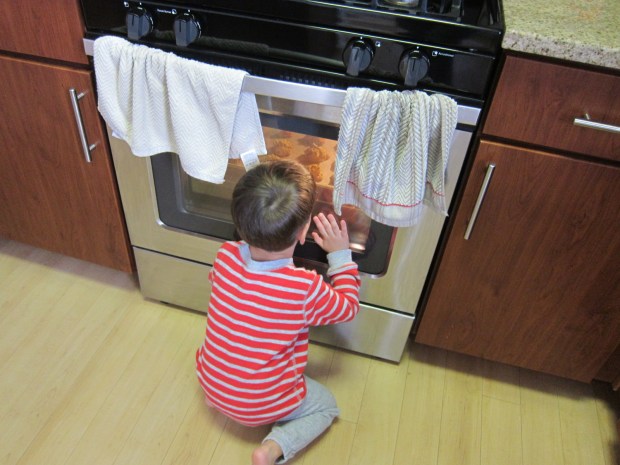
After a few weeks with pumpkins perched on our patio, Travis couldn’t wait any longer… So it was time to turn pumpkins into jack-o-lanterns! We added to the fun with this quirky idea from Parents Magazine.

First came all the fun of carving a pumpkin. With a three-year-old, carving is still a grown-up job in our house, but Travis was thrilled to see our pumpkin’s face take shape. And loved the way the lid fit back on top like a puzzle piece!

Builders Pumpkin (1)

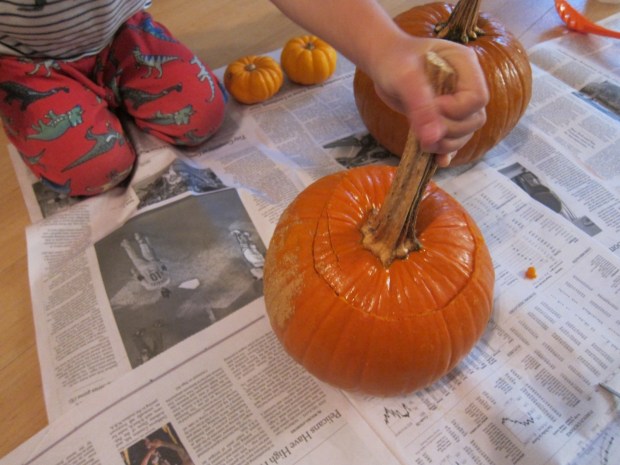
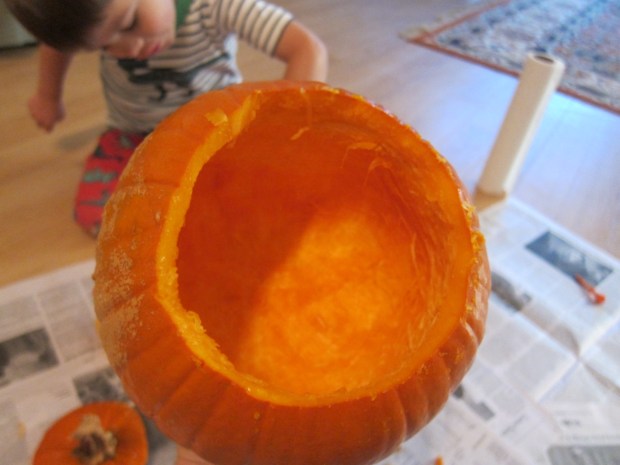
Then came the goopy fun of scooping out all those guts. (Hint: Save your pumpkin guts, I have blog posts coming up with how to continue the excitement…).

Builder's Pumpkin (2)

Once the pumpkin was carved, it was time for the finishing touch. Travis and I sorted through his Duplo bins for all the construction-themed pieces.

Builder's Pumpkin (3)

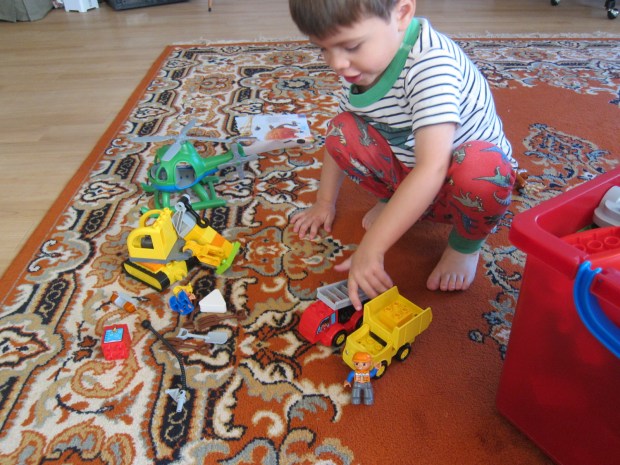
We set up the Duplo figures, tools, and construction vehicles around the jack-o-lantern after inserting a battery-operated tea light inside.

Builder's Pumpmin (3)

Bonus points for adding pumpkin guts into the scoop or your excavator or bed of your dump truck! This project got great giggles, and is perfect for any Duplo or Lego fanatic.

Builder's Pumpkin (5)

Advertisement

Huff and Puff Monsters

Huff and Puff (7)

We’ve made monsters “silly” a few times so far this October – it’s the first year that Travis has really been cognizant of monster decorations around Halloween, and he’s starting to feel a little afraid of them. The sillier and more fun we can make monsters seem, the better!

To prepare the project, pour a little tempera paint into cups, and thin each cup with water, one spoonful at a time. You want each batch of paint to have the consistency of cream.

Huff and Puff (1)

I placed construction paper and the paint cups on the floor (cover your work surface, things are about to get messy!) and invited Travis over. We used dark construction paper as the background for a Halloween feel, but white or any other color would work just as well.

Spoon some of the paint onto your paper, then cut straws in half, and get down low to blow out the shapes of your monsters.

Huff and Puff (2)

Travis soon decided he didn’t love the blowing part of the project, but he loved spooning blobs down, and then watching our creatures appear.

Huff and Puff (3)

“Don’t forget here!” he would instruct, pointing to a thicker portion of paint.

Huff and Puff (4)

We decided the white blobs were “baby bear monsters.”

Huff and Puff (5)

Once the paint dries, finish your new silly friends with a glue stick and eyes. I always seem to be out of googly eyes these days, but mini pom poms did in a pinch.

Huff and Puff (6)

Spooky, not scary!

Huff and Puff (8)

Patience is a Virtue

Pumpkin Cookies (6)

Ah, the age-old question, how to teach patience to a preschooler when there is so much to do and see and explore. Because let’s be honest – waiting is hard! But to drive home the idea that patience and waiting are worth the wait, cookies are the perfect teaching tool. Yes, cookies! They only take about 20 minutes, which means you’ll have to wait, but not too long. Did Travis make it through our experiment? Read on and find out…

We picked a pumpkin cookie recipe because, well, it’s autumn. This recipe had the added bonus of only using three ingredients!

In a bowl, we mixed:

1 (13-ounce) package spice cake mix*

1 can pumpkin puree

1 cup non-dairy chocolate chips

Travis was a big helper with the stirring…

Pumpkin Cookies (2)

…But immediately asked if he could taste both the pumpkin.

Pumpkin Cookies (1)

Oh, and the chocolate chips. Hmm, was this good waiting? I decided that a little nibble wouldn’t hurt.

Pumpkin Cookies (3)

We popped the cookies in the oven and baked at 350 degrees F for 18 minutes.

Pumpkin Cookies (5)

The cookies are good warm, but even better the next morning for an a.m. snack after they had completely set and cooled. So see, patience is a virtue!

Pumpkin Cookies (4)

*Be sure to check ingredient lists in any pre-made cake mix for items that are not vegan. The spice cake mix from Namaste Foods was perfect, but comes in a 26-ounce bag. Measure out about 2 and 1/2 cups mix to equal 13 ounces.