Sparkly and Googly Eyed Pumpkins

Sparkly Googly Pumpkins (8)

We had three mini pumpkins that were just begging to be decorated. And this craft will cater perfectly to your toddler’s messy instincts!

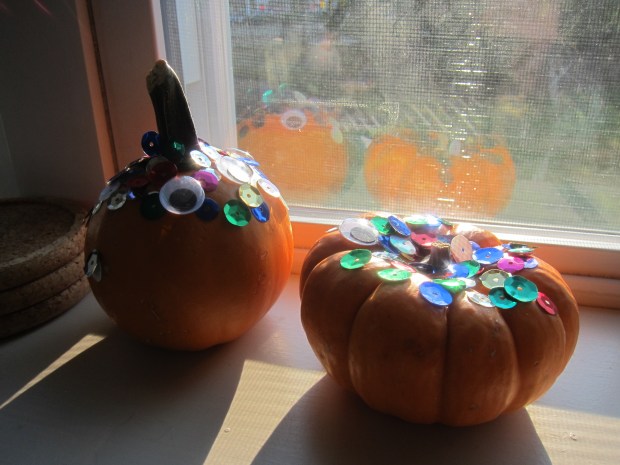
I set out little cups of glue and a few filled with large sequins and wiggle eyes, and placed these all on a craft tray. The idea was that the tray would contain most of the mess.

Sparkly Googly Pumpkins (1)

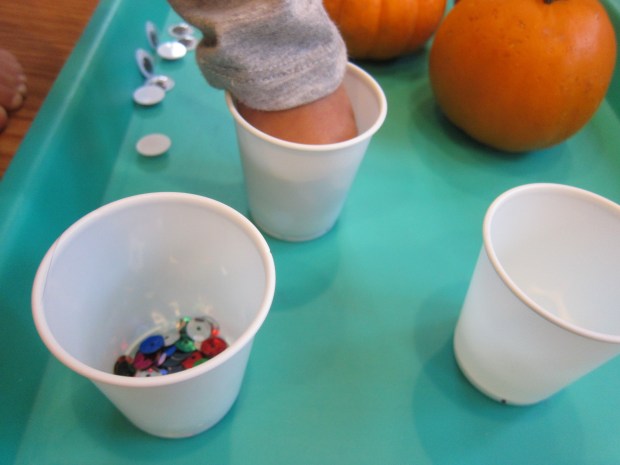
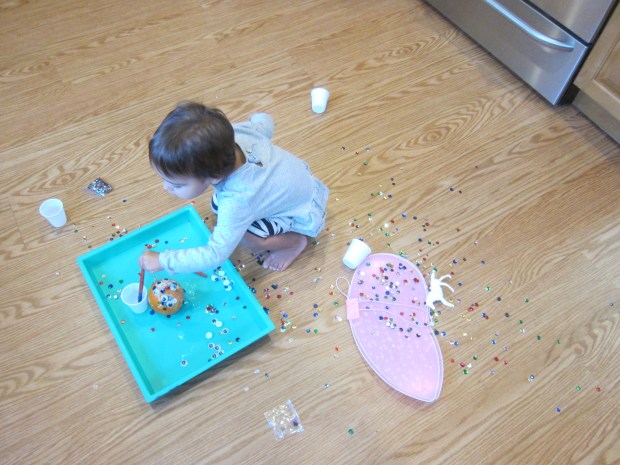
Well, Veronika had other ideas. Before we even started, she began transferring sequins from cup to cup and then dumped them all over the floor. (“Well, that’s a mess,” said big brother Travis!).

Sparkly Googly Pumpkins (3)

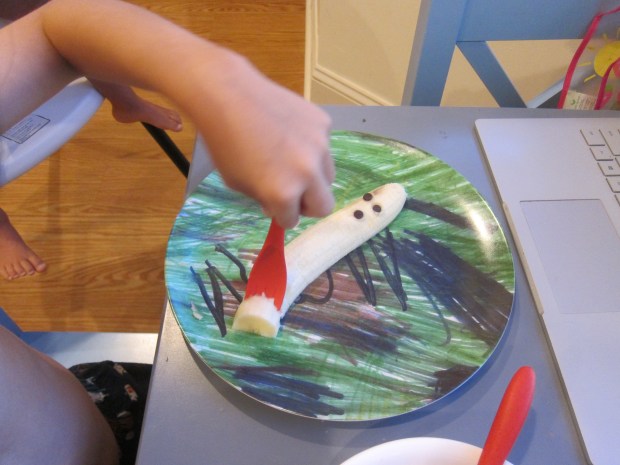
This didn’t deter us one bit! I showed her how to spread glue on the pumpkins with a paintbrush. Once they were good and sticky, we could liberally apply the sequins.

Sparkly Googly Pumpkins (6)

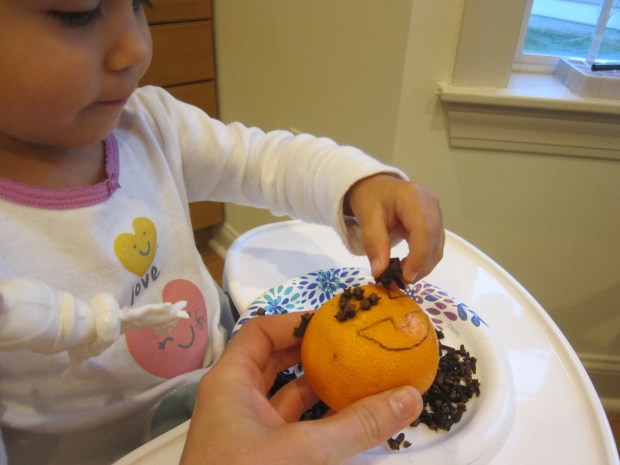
I thought she might want to dump them on, but Veronika loved carefully applying one at a time!

Sparkly Googly Pumpkins (4)

The wiggle eyes added fun and slightly kooky character.

Sparkly Googly Pumpkins (5)

Needless to say, we made a mess, but we had a blast.

Sparkly Googly Pumpkins (7)

Note: Because the sequins could be a hazard for wildlife, I recommend displaying these particular no-carve pumpkins indoors.

Sparkly Googly Pumpkins (9)

Advertisement

Halloween Countdown Day 10: Haunted Snacks

Jack O Orange (5)

Halloween lends itself so easily to food play, transforming simple fruits and veggies into haunted treats with just a few tricks. To wit, today the kids enjoyed banana ghosts and jack o’ lantern clementines as part of our countdown to the big shindig.

For the “Casper Ghosts”, peel a banana and carefully cut in half lengthwise. Curvier bananas are better for this, because you’ll get that perfect curled ghost tail.

Halloween 10 Casper Banana

Add three chocolate chips: two for eyes, and one for the round O of a mouth.

Halloween 10 Casper Banana (2)

Now it was the kids’ job to make the ghosts “disappear”, a task they were happily up to. Starting with the eyes of course!

For a Jack-o’-Orange, first draw jack o’ lantern features on the skin of a clementine. Show your kids how to poke whole cloves in along the lines.

Jack O Orange (1)

This was tricky for Veronika, but I helped her poke cloves straight in, or she simply enjoyed sprinkling them on top as I worked.

Jack O Orange (2)

She was delighted by her end result!

Jack O Orange (4)

Travis, meanwhile, took the task so seriously and concentrated hard as he worked his way around the lines I’d drawn.

Jack O Orange (6)

He loved it so much he wanted to make another as a present for his great-grandmother!

Jack O Orange (8)

These oranges really are more potpourri decor than a snack (they’ll make your kitchen smell amazing!), so make sure there are extra clementines on hand to satisfy your little beasties.

Jack O Orange (3)

Spaghetti Mobiles

Spaghetti Mobile (11)

We started the day with some messy food fun! This activity makes for great sensory play, plus nets you a cool piece of artwork at the end.

I cooked up a big batch of spaghetti (although in retrospect I didn’t need a full package), and set it out in front of Veronika. She was immediately thrilled to dip her hands in.

Spaghetti Mobile (1)

She was even more excited when I set out three paper plates and poured a little glue in each. We tinted them red, blue, and green with all-natural food coloring.

Spaghetti Mobile (2)

I showed her how to dip a few strands of the spaghetti in one of the colors, then transfer to a foam tray (like the kind some vegetables are sold in at the supermarket).

Spaghetti Mobile (3)

Continue to dip and layer, helping your artist “arrange” the strands of spaghetti. Veronika loved talking about the colors as she worked!

Spaghetti Mobile (4)

When she started tossing big piles of spaghetti that weren’t covered in colored glue on top, I knew it was time to set the mobile safely aside to dry. But she wasn’t done yet!

Spaghetti Mobile (5)

She loved picking up big handfuls of the spaghetti and making them go “splat!” At one point I saw her trotting off toward the playroom with a huge handful, and quickly redirected her to the kitchen.

Spaghetti Mobile (7)

We were out of glue, but we could still add more food coloring to the spaghetti on each paper plate. “It’s pink-y! It’s blue-y!” she said of each pile with delight.

Spaghetti Mobile (9)

Meanwhile, back to the glued spaghetti:

Spaghetti Mobile (10)

As long as your child hasn’t piled it on too thickly to dry properly, you’ll be able to stretch it up off the tray once the glue has dried, thread yarn through, and suspend it from a hook. A rather novel piece of modern art!