Halloween Countdown Day 16: Mix-and-Match Costume Party

Halloween 16 Try on Costumes (5)

Whether your kids need to try on their costumes to ensure a perfect fit before the big day, or you’re pulling out last year’s costumes for fun, or heck if they’re just too impatient to wait until the 31st, declare the day a Try-On Party and let the costume mixing and matching begin!

Things around here are very clearly Star Wars themed. Travis sported Boba Fett…

Halloween 16 Try on Costumes (4)

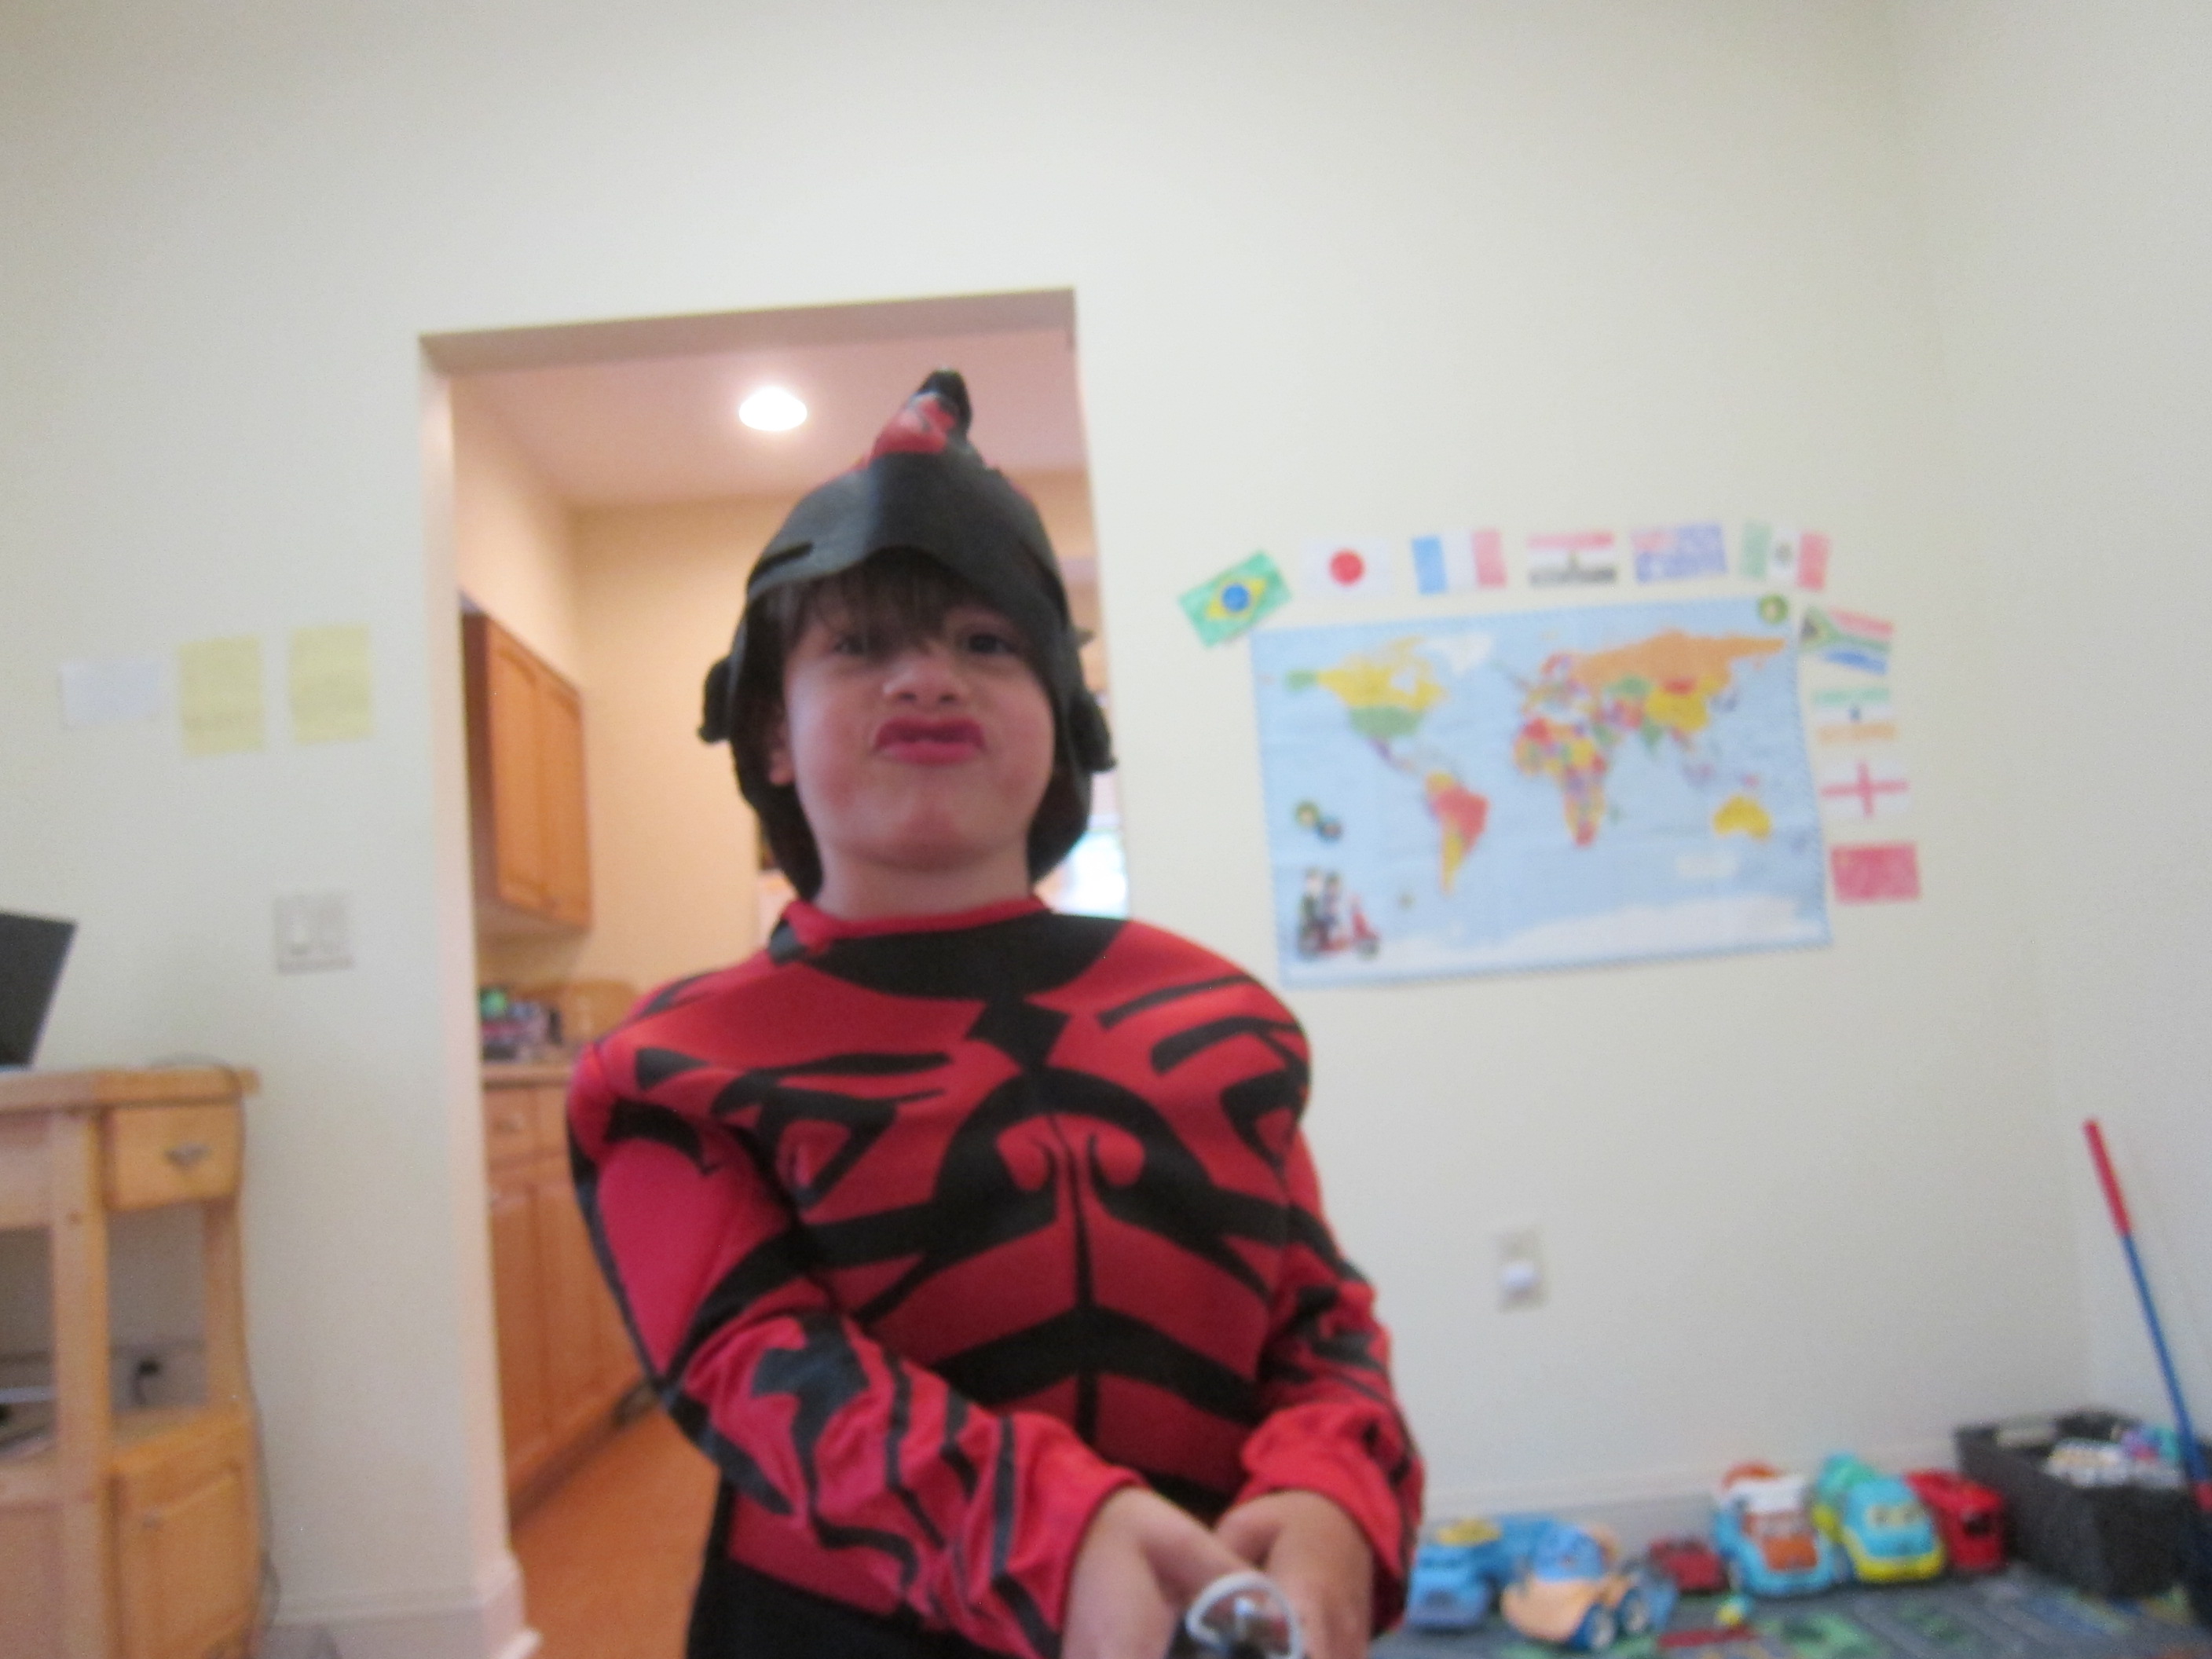
…followed by Darth Maul.

Halloween 16 Try on Costumes (7)

Veronika could be Baby Yoda…

Halloween 16 Try on Costumes (3)

…or Queen Amidala!

Halloween 16 Try on Costumes (12)

For extra fun, we decided to break out the face paint. Veronika loved testing it on herself. “I’m very green!” she said when I showed her in the mirror.

Halloween 16 Try on Costumes (6)

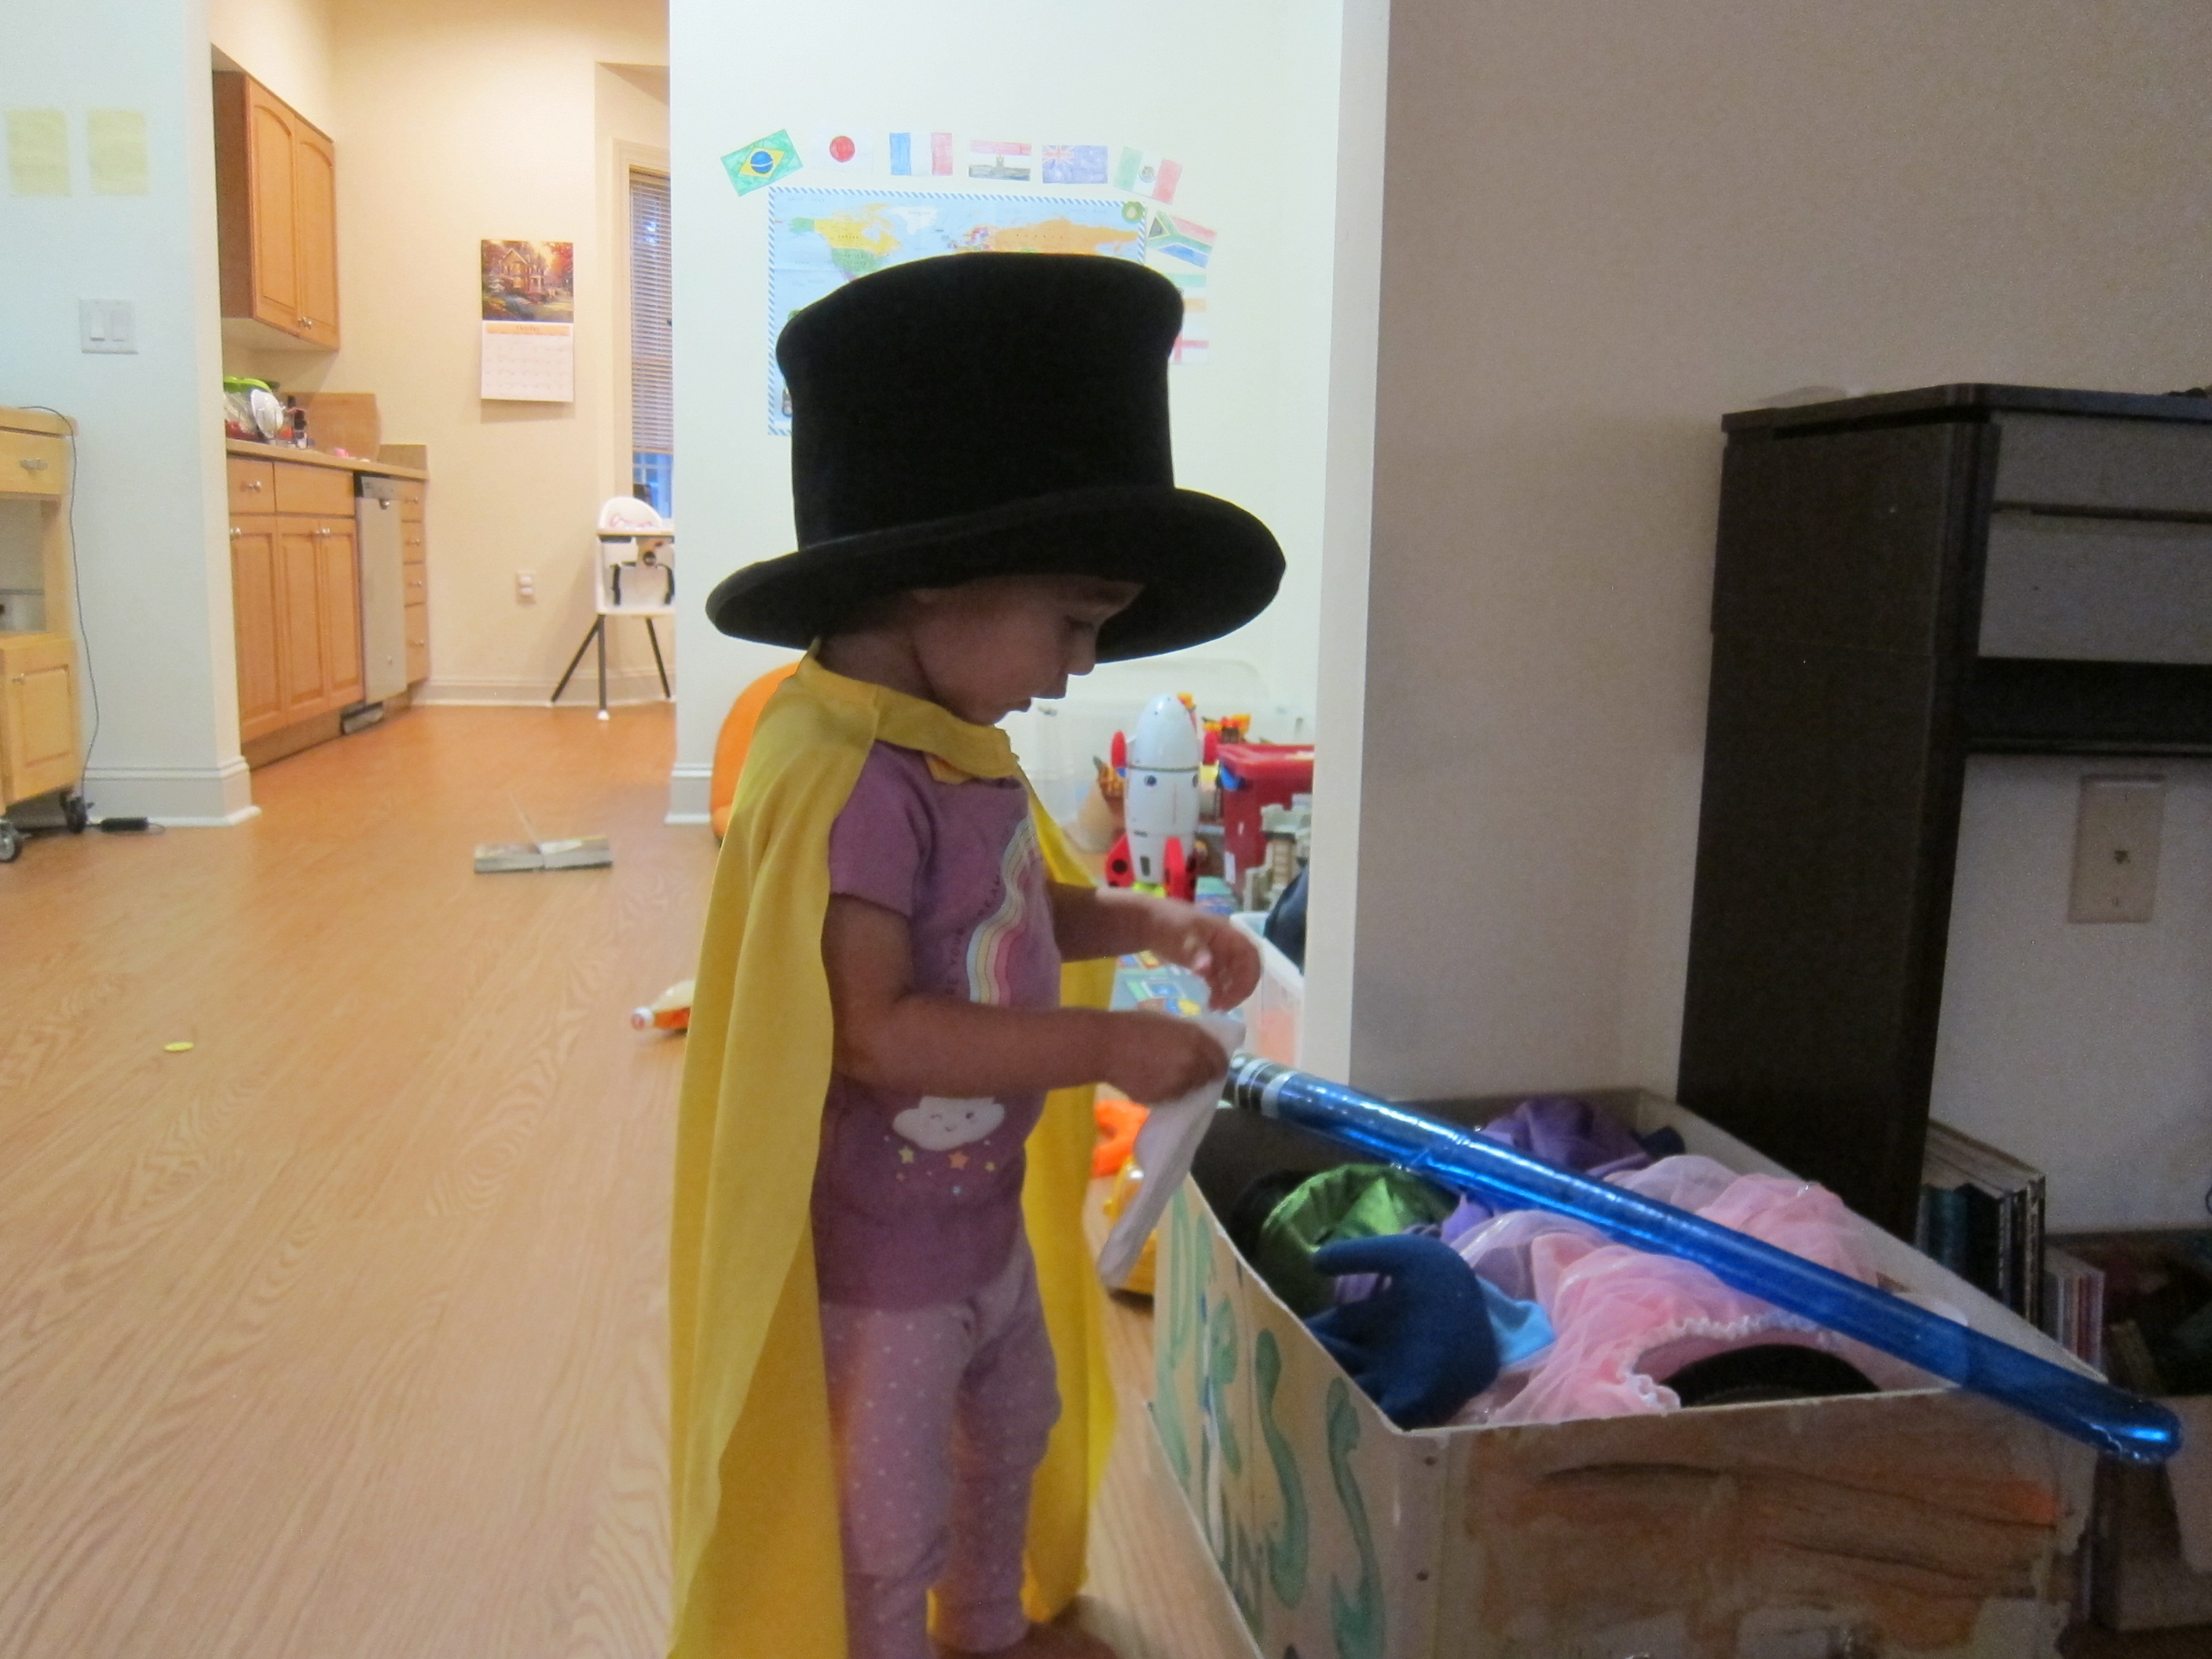
We also got silly and mixed-and-match the Halloween costumes with other items from the dress-up bin. Darth Maul needed black gloves of course.

Halloween 16 Try on Costumes (14)

And we soon had a little magician prancing around.

Halloween 16 Try on Costumes (1)

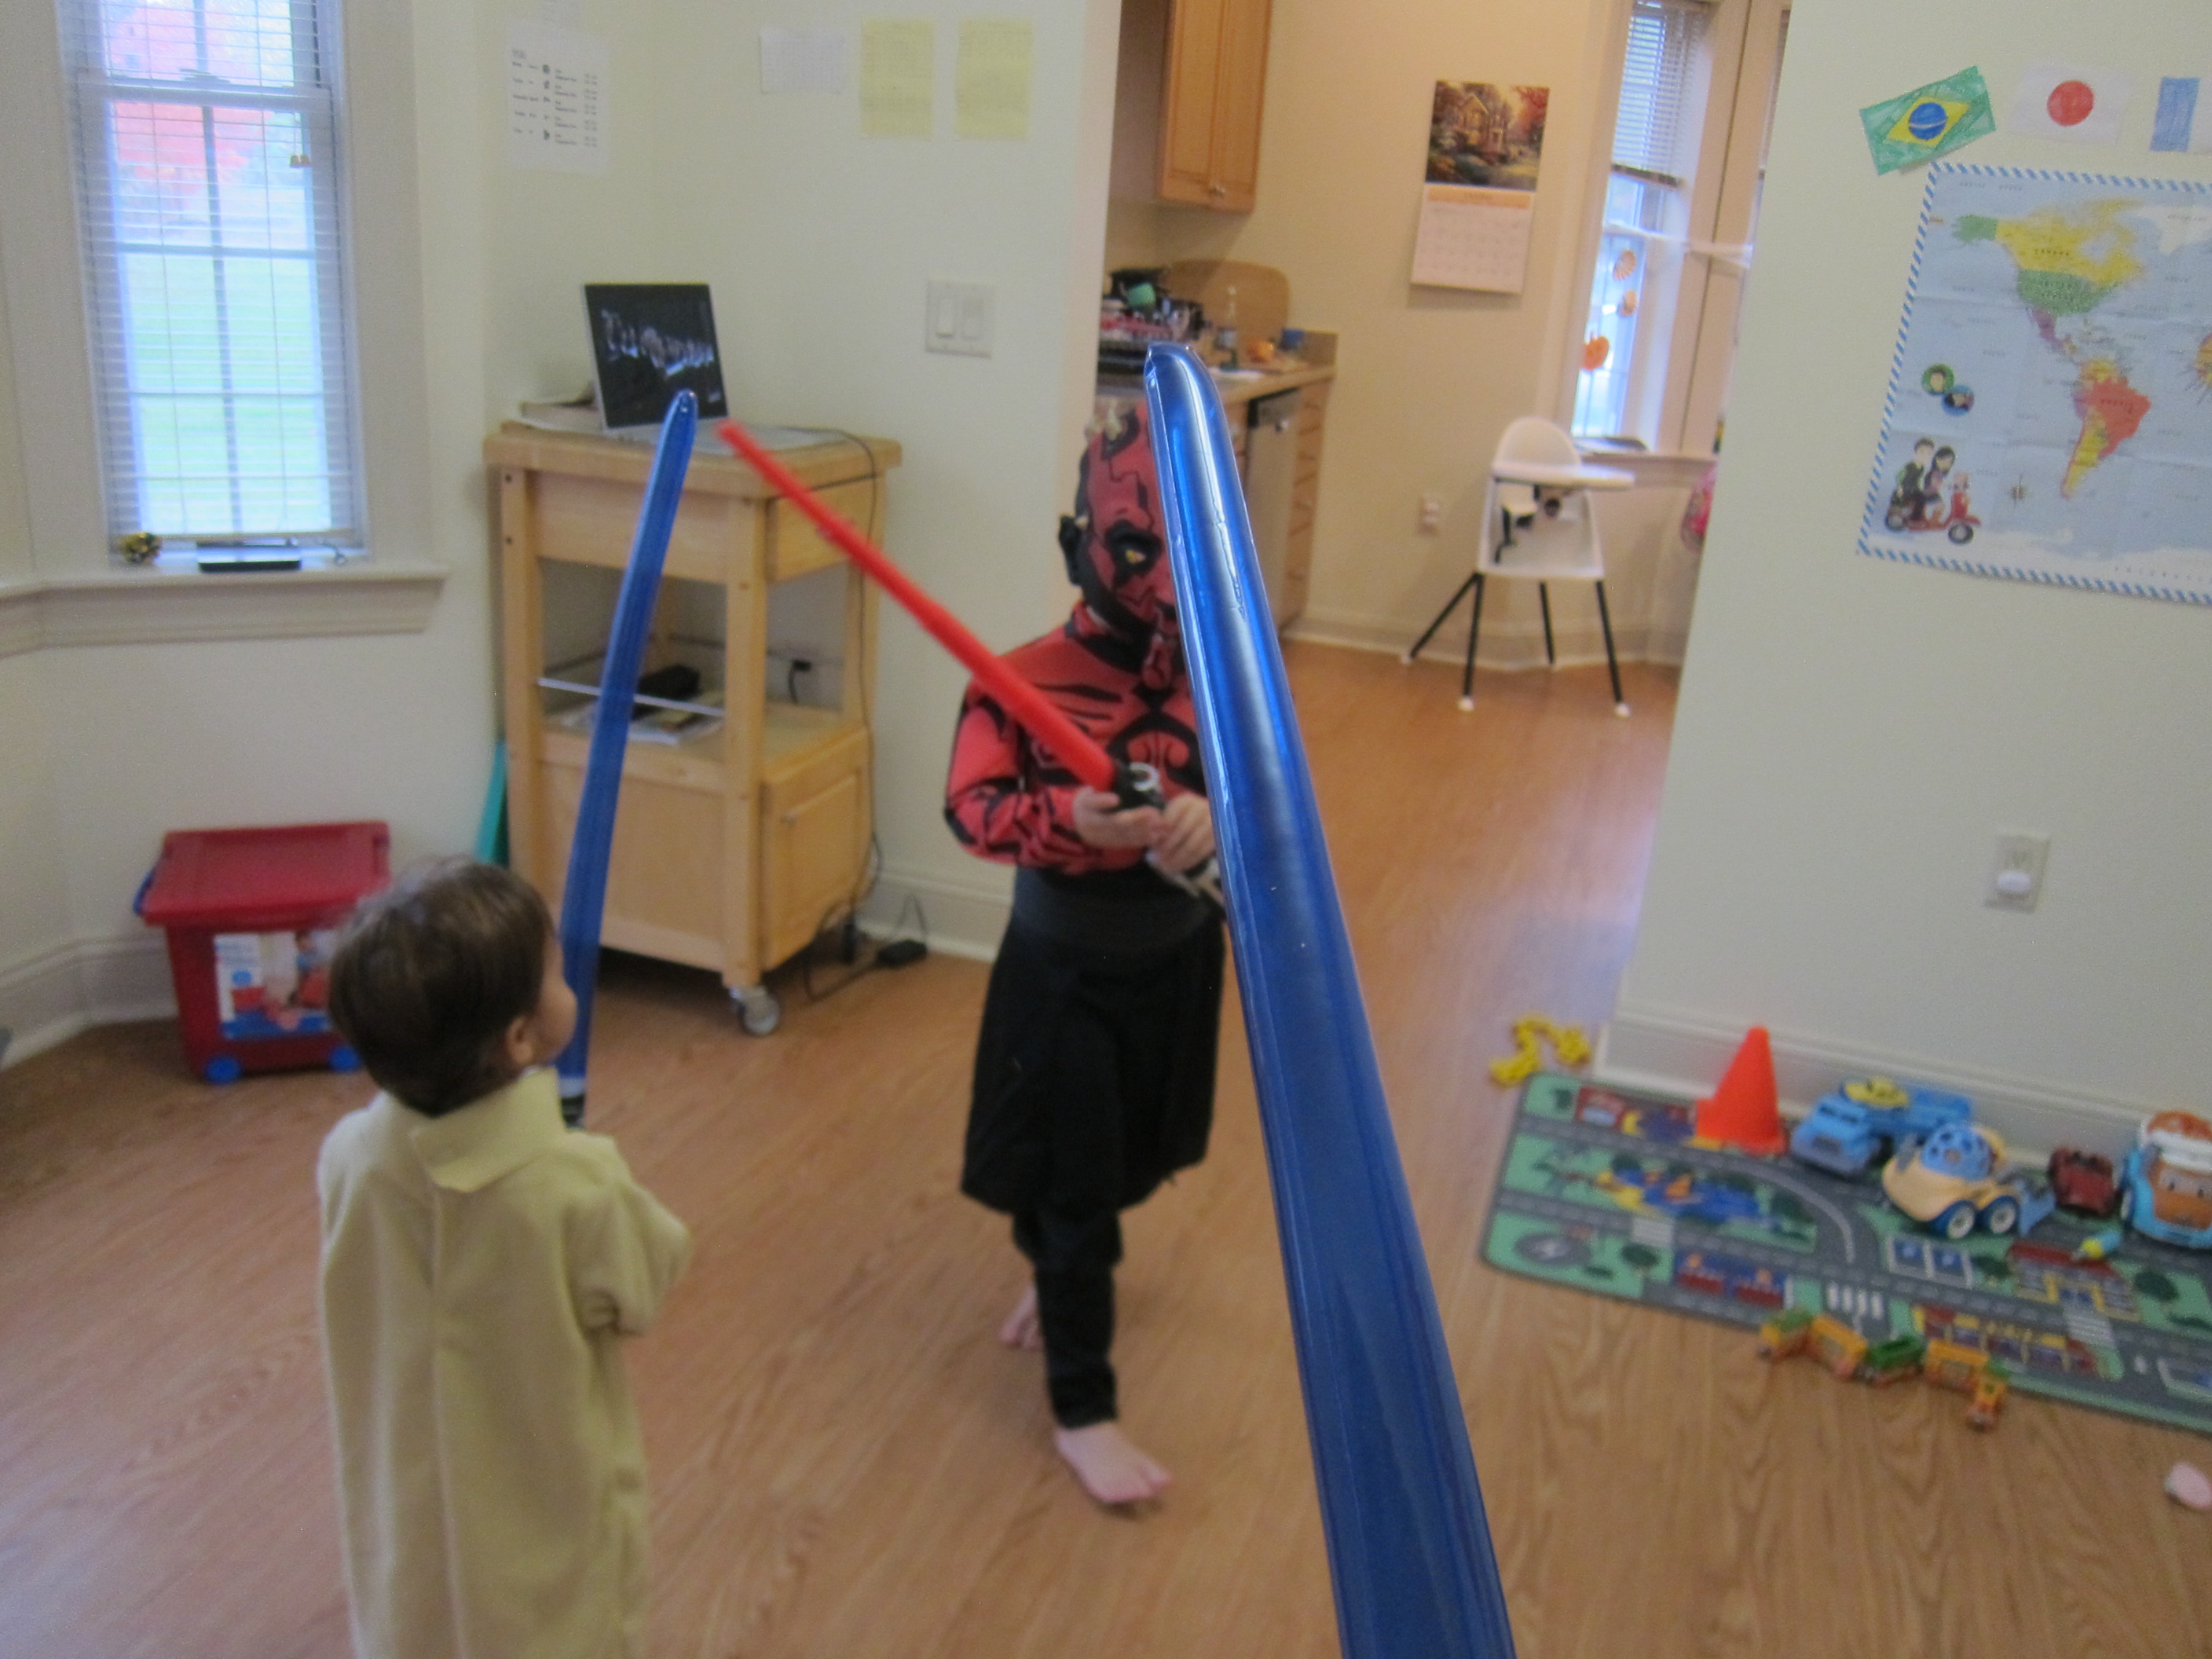
And no Star Wars costume party is complete with a light saber for an accessory.

Halloween 16 Try on Costumes (8)

We had a blast with this! Here’s wishing your family an equally joyful costume and accessory party.

Halloween 16 Try on Costumes (11)

Advertisement

Paper Bag Pumpkins

Pape Bag Pumpkins (9)

Here’s a classic toddler Halloween activity that never disappoints: easy pumpkins made from brown paper lunch bags!

Use sandwich-size brown bags for this project, not larger ones. First up is stuffing them with tissue paper (or any similar material like old newspapers). “Can I make a ball?” Veronika asked after watching me do the first one, and she was a big helper wading up pieces and stuffing them into the bags.

Paper Bag Pumpkins (3)

Once they were about two-thirds of the way filled, I secured each top with a rubber band and twisted tightly so they resembled pumpkin stems.

Time to paint! Veronika couldn’t wait to get her hands on orange paint and paintbrushes, and helped smear all over the bags.

Paper Bag Pumpkins (2)

I wish we’d had more orange paint (or a thicker acrylic) for a better coat to hide the writing on our paper bags, but at least we achieved a mostly orange look!

Paper Bag Pumpkins (4)

You can also paint the stems a deep brown, but since the bags were already brown, we skipped that part.

Once the paint dries (which takes a while!), add pumpkin faces with black marker.

Paper Bag Pumpkins (6)

I made a traditional jack o’ lantern face, and Veronika added her own toddler interpretation.

Paper Bag Pumpkins (7)

These make a fun addition to your Halloween decor!

Paper Bag Pumpkins (5)

Monster Stew

Monster Stew (1)

There were no real monsters in this watery sensory tub for Veronika, just a chance to splash and play in a seasonable way.

To make the broth for our “stew”, I filled a basin with water and tinted it orange with food coloring.

Now we needed to add a few monstrous ingredients! In went lots of items from the dollar store, including skeleton hands, plastic bats, and monster eye rings.

Monster Stew (2)

I had originally hoped to use mini plastic jack o’ lanterns as scoops for her to fill and pour with, but the store was sold out. Instead, I added orange plastic eggs, broken in half, which worked perfectly as little cups.

That was a good thing, because this was definitely her favorite part of the sensory game. She loved to scoop and pour over the rest of the eerie ingredients.

Monster Stew (3)

The skeleton hands were perfect for stirring with.

Monster Stew (5)

It was also fun to reach down to the bottom of the stew and dig out handfuls of bats or eyes.

Monster Stew (4)

In sum, this was simple and spooky sensory play, just right for October. It was a nice way to introduce some of Halloween’s monsters without them seeming too scary.

Monster Stew (6)