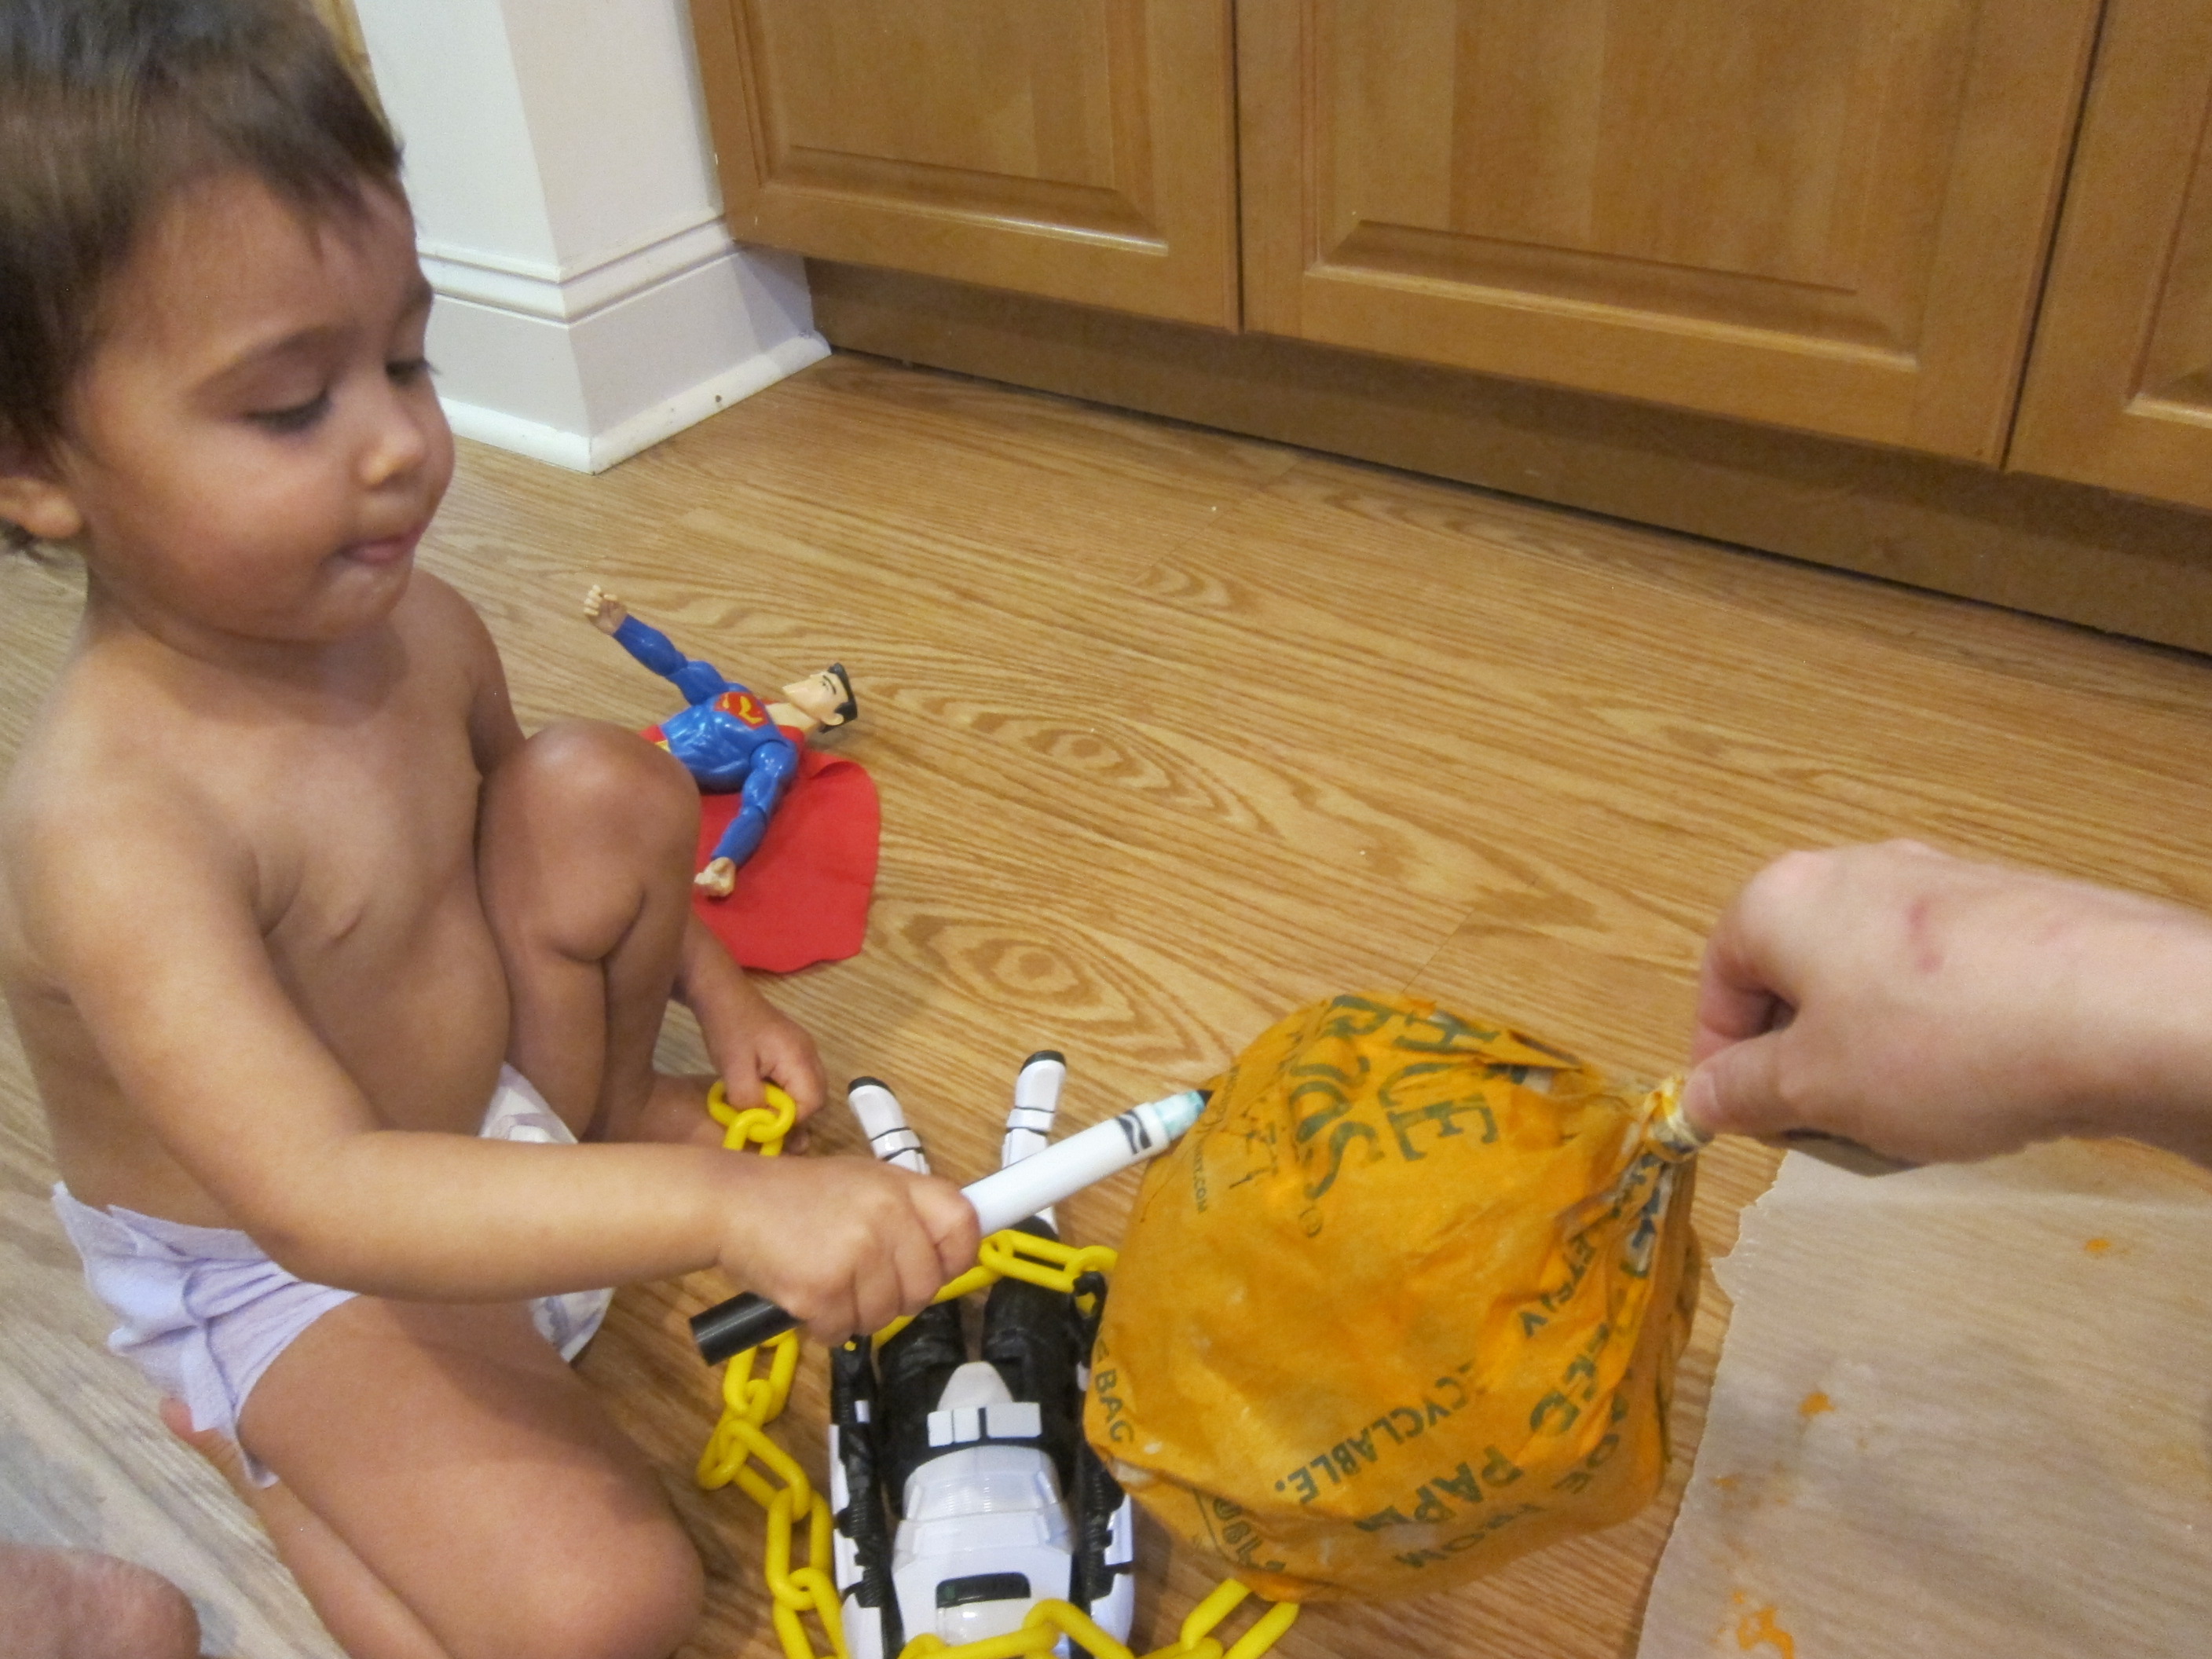
Here’s a classic toddler Halloween activity that never disappoints: easy pumpkins made from brown paper lunch bags!
Use sandwich-size brown bags for this project, not larger ones. First up is stuffing them with tissue paper (or any similar material like old newspapers). “Can I make a ball?” Veronika asked after watching me do the first one, and she was a big helper wading up pieces and stuffing them into the bags.

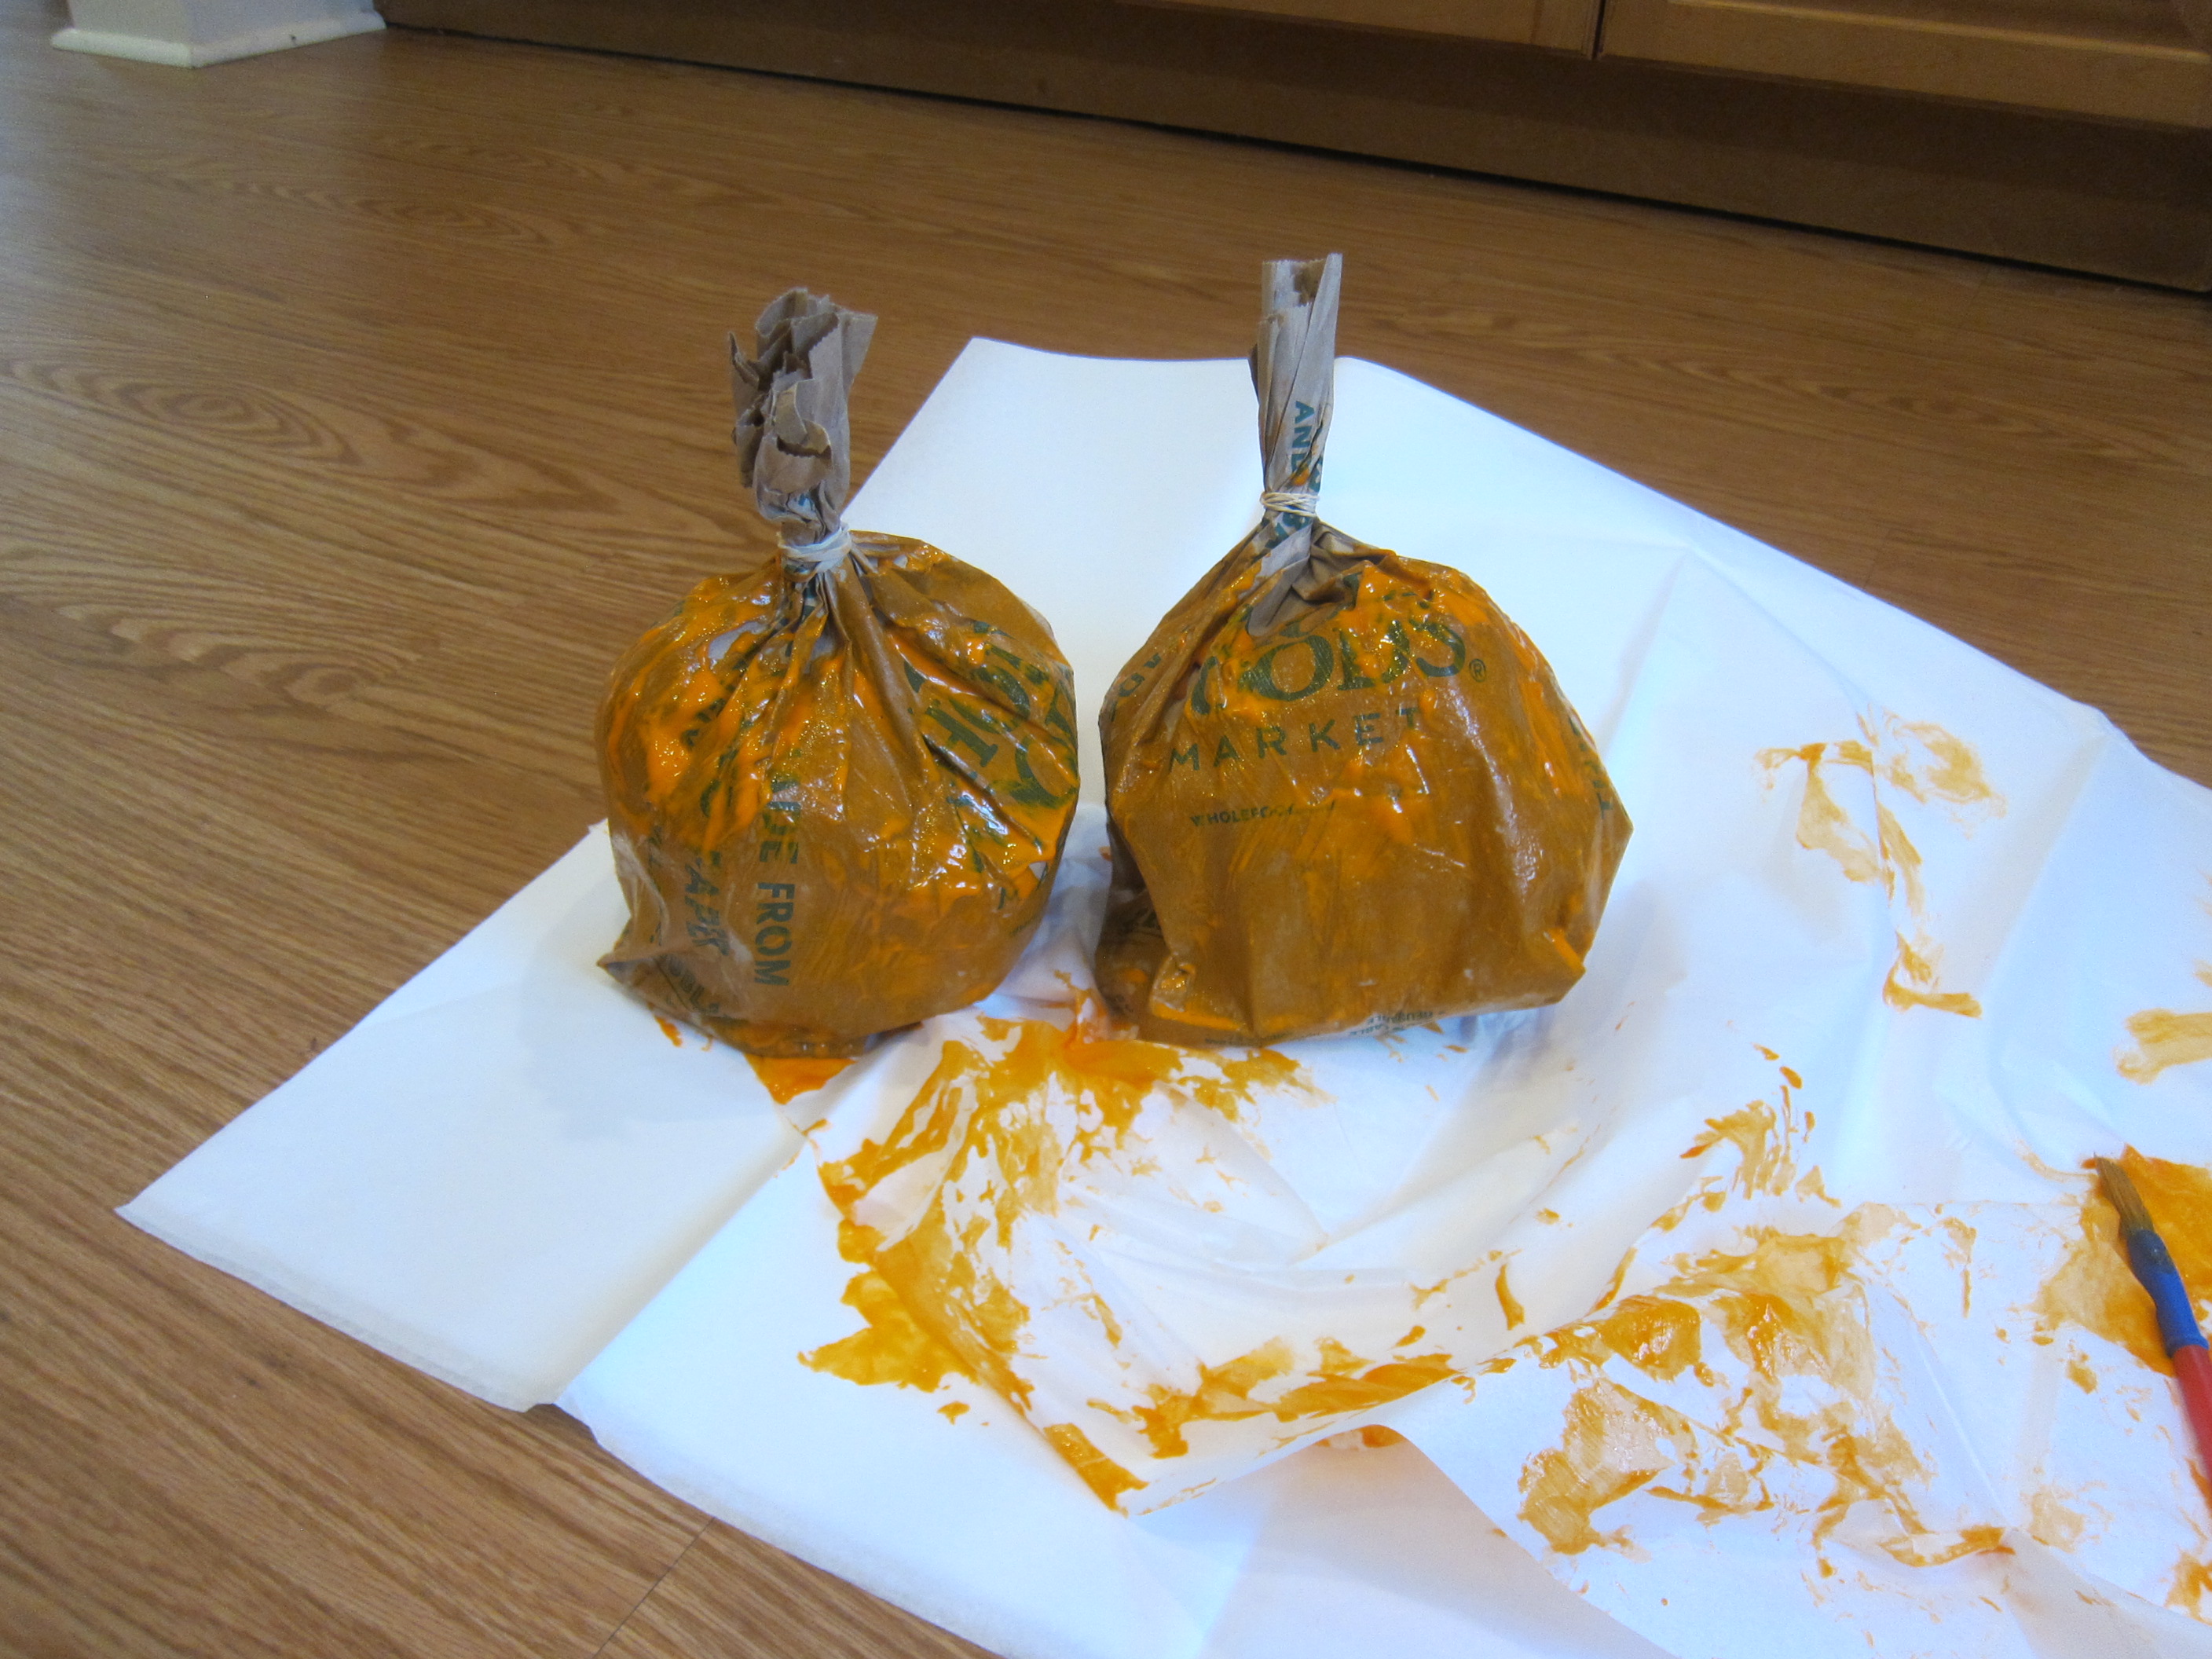
Once they were about two-thirds of the way filled, I secured each top with a rubber band and twisted tightly so they resembled pumpkin stems.
Time to paint! Veronika couldn’t wait to get her hands on orange paint and paintbrushes, and helped smear all over the bags.

I wish we’d had more orange paint (or a thicker acrylic) for a better coat to hide the writing on our paper bags, but at least we achieved a mostly orange look!
You can also paint the stems a deep brown, but since the bags were already brown, we skipped that part.
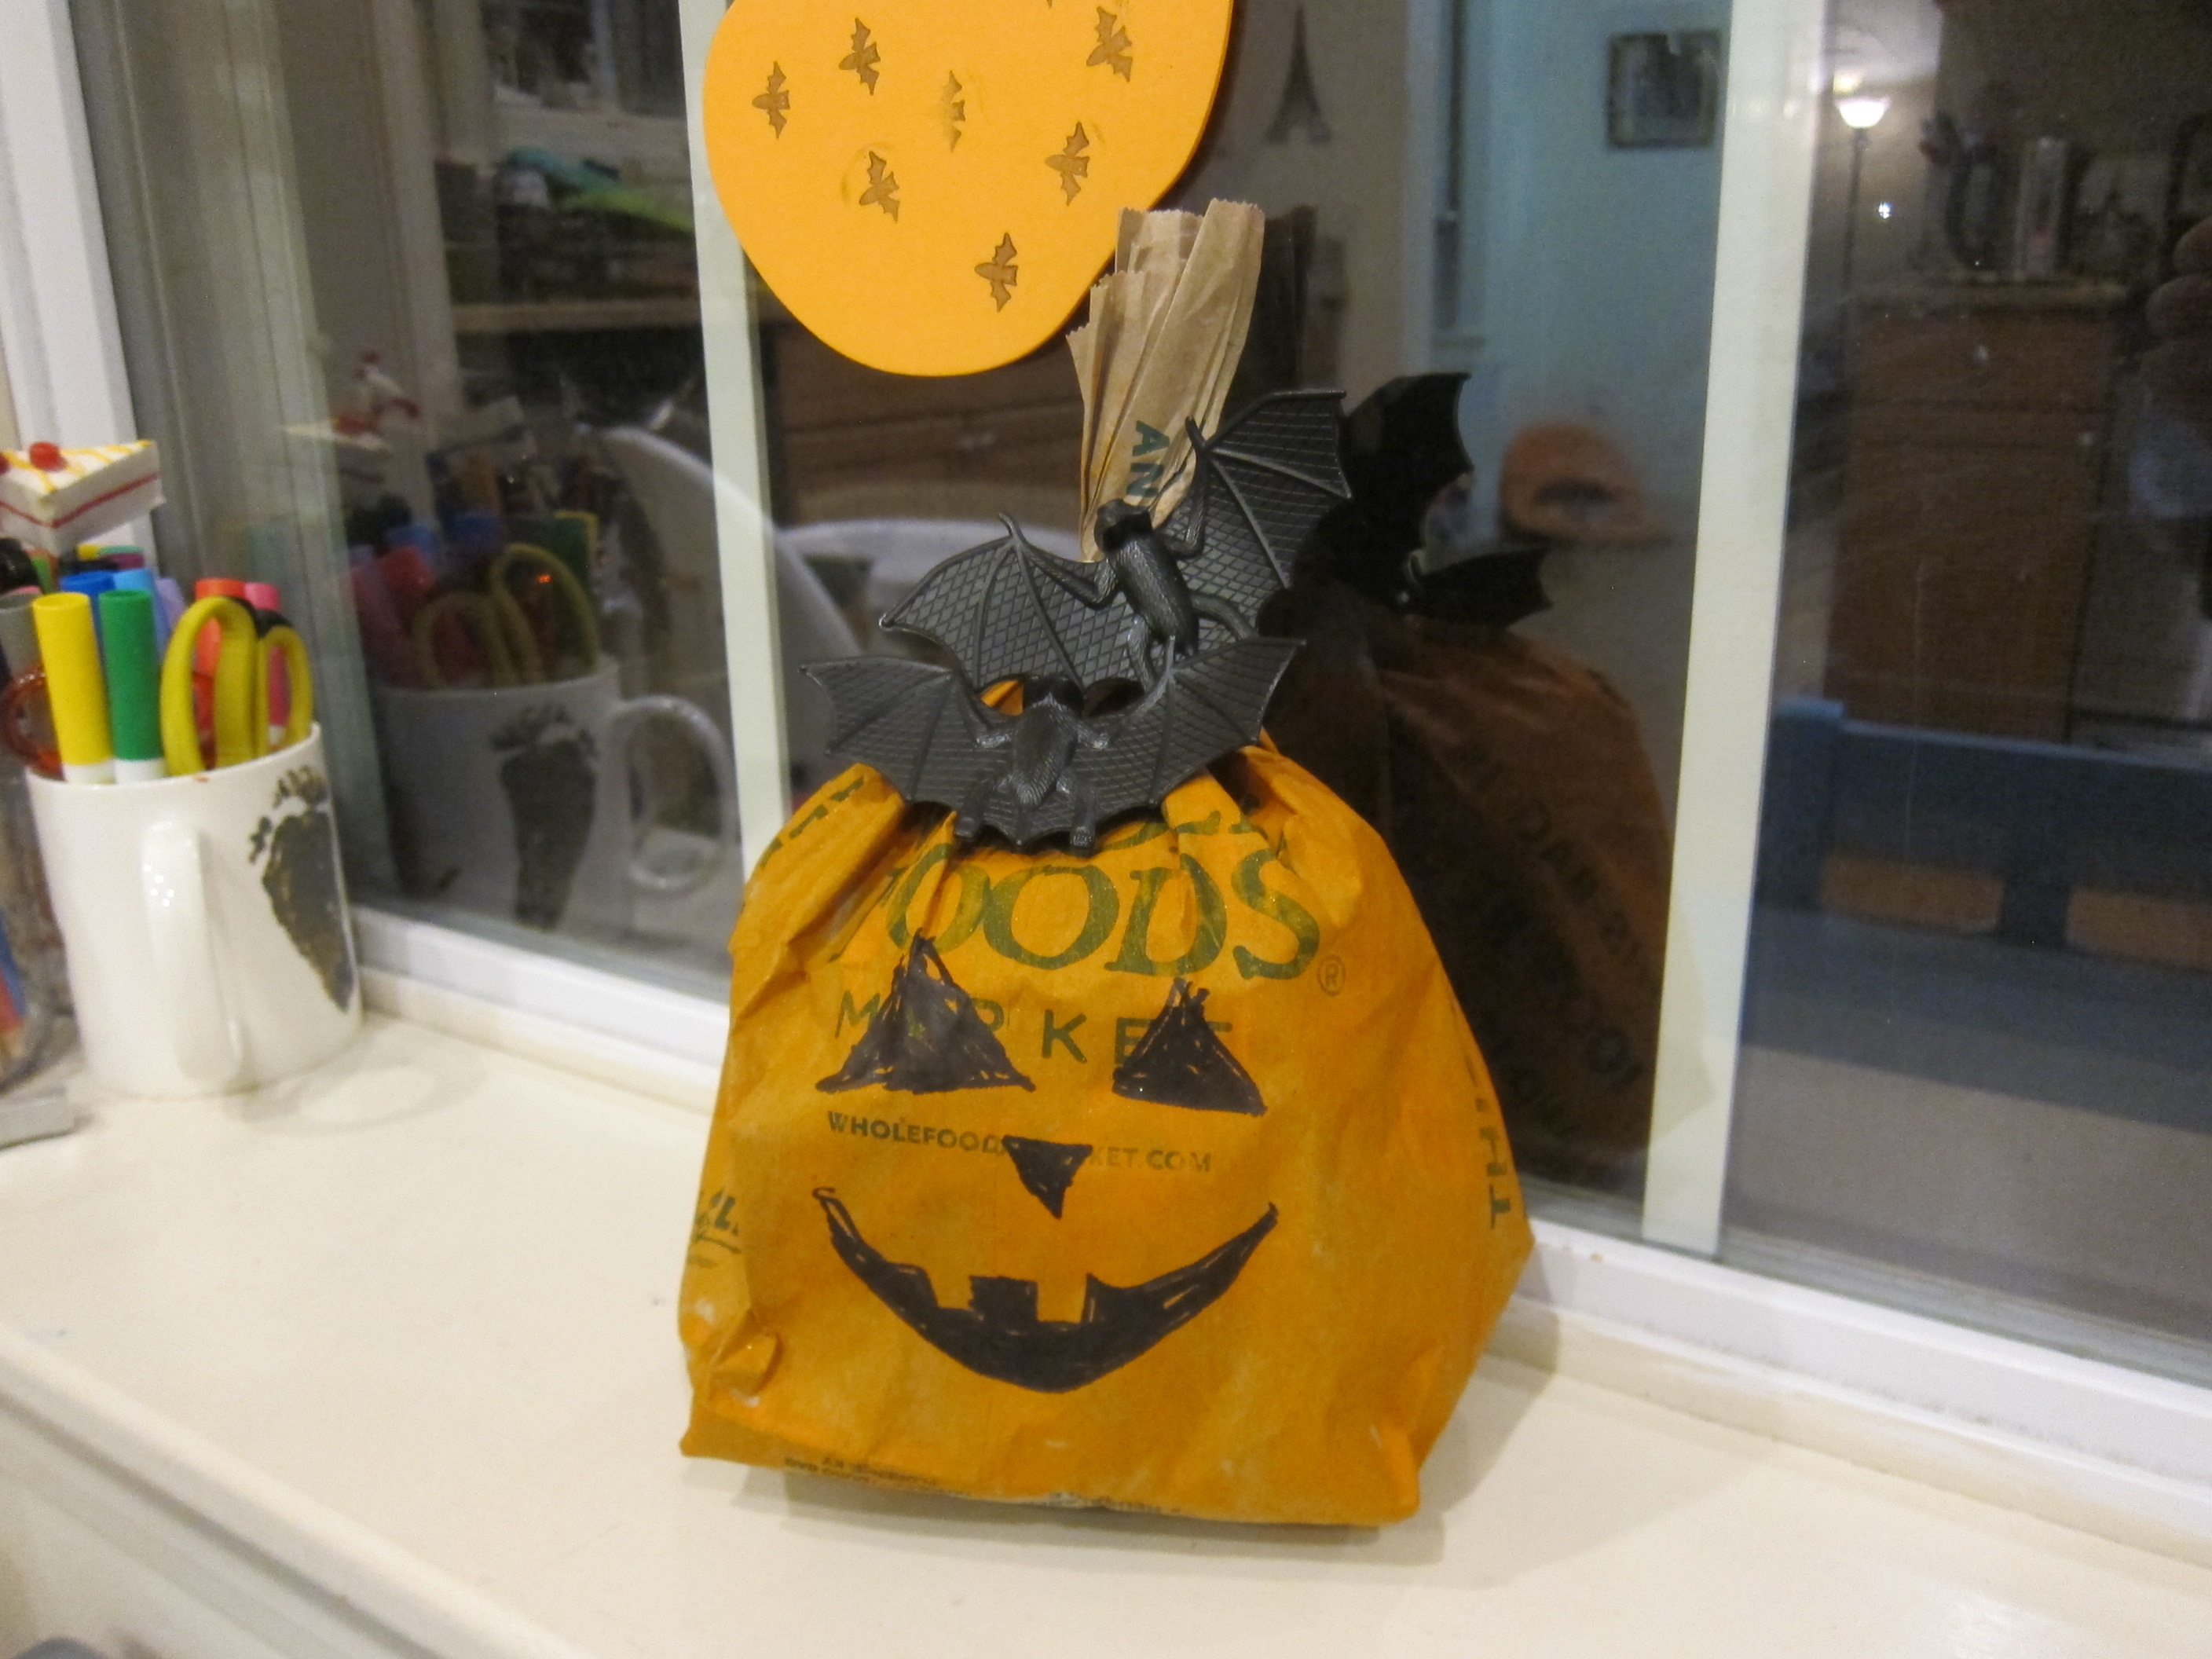
Once the paint dries (which takes a while!), add pumpkin faces with black marker.

I made a traditional jack o’ lantern face, and Veronika added her own toddler interpretation.
These make a fun addition to your Halloween decor!

