Planter Friend

Plant Friend (5)

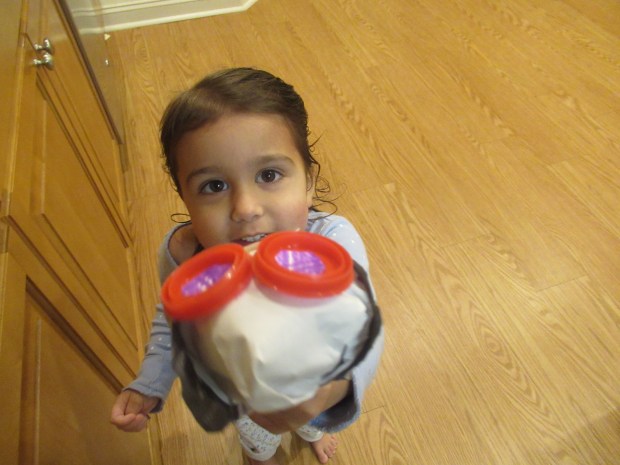
Veronika has been so excited for spring because it means gardening! “We get to water the flowers!” she keeps telling me. Finally we’re getting around to some flowers for our patio, and Veronika helped create her own planter “friend”.

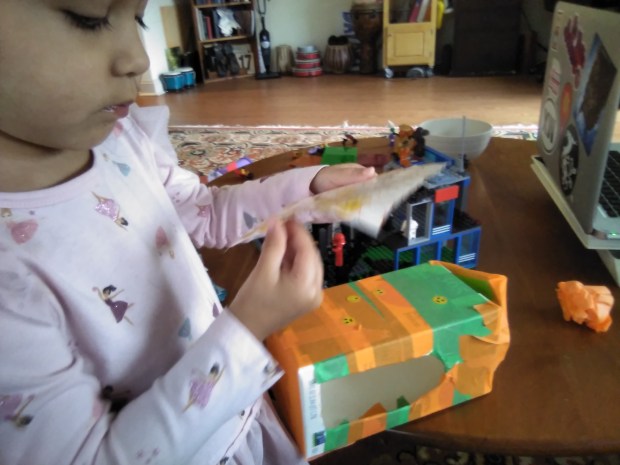
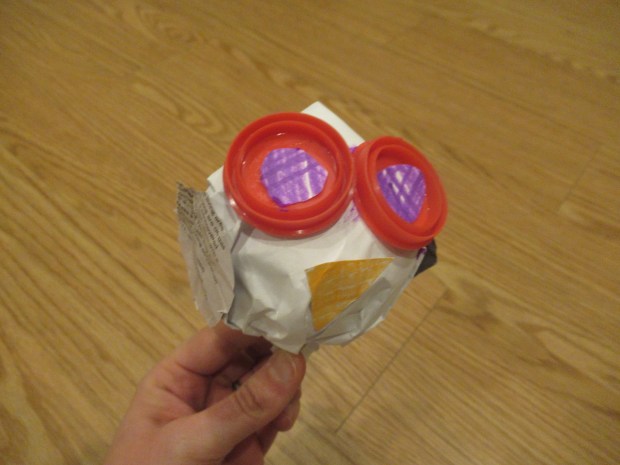
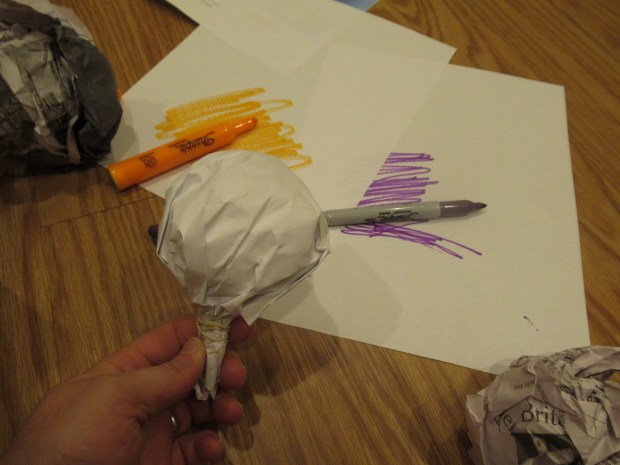
To start, rip a colored napkin into small pieces (which is great for fine-motor skills), and use mod podge to adhere around the bottom of a clean and empty soda bottle. Let dry.

Plant Buddy (4)

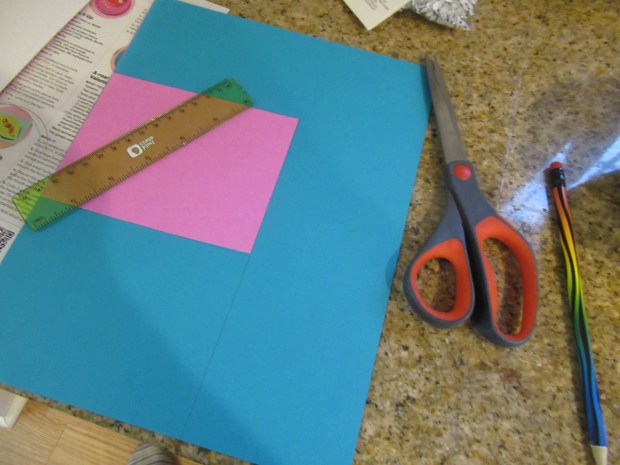
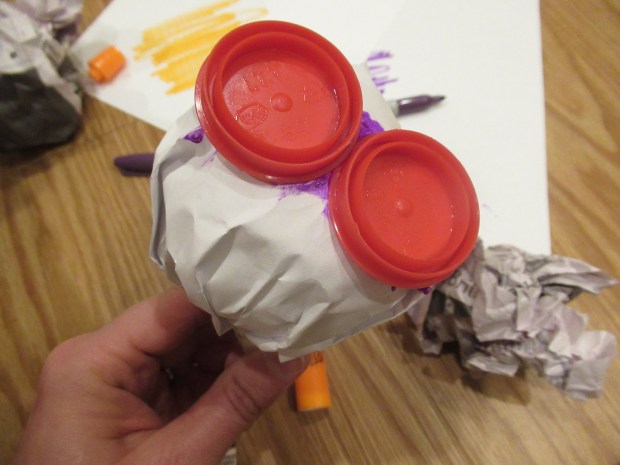
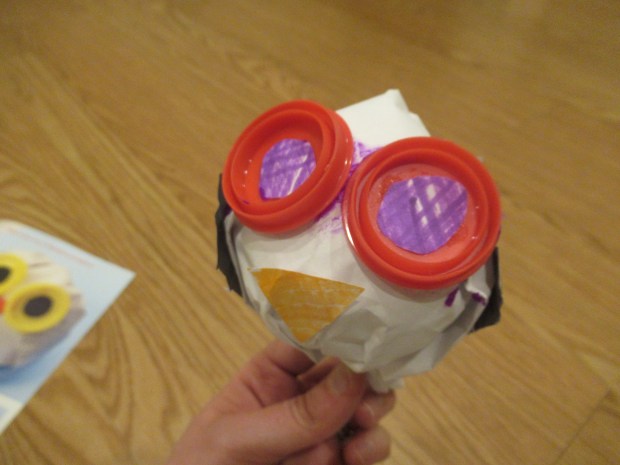
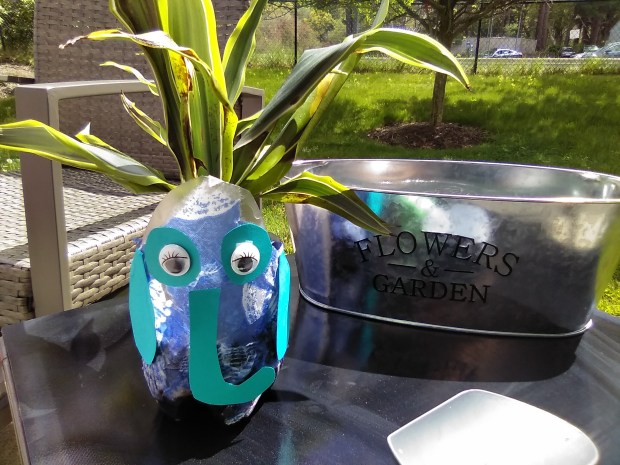
Your child can use felt, construction paper, and wiggle eyes to make any animal friend they want. Veronika chose an elephant, so I cut a trunk, eyes, and ear shapes from construction paper.

Plant Buddy (3)

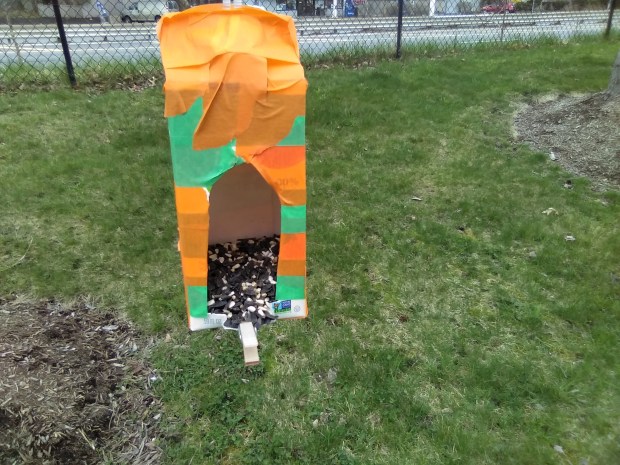
We had purchased a small plant at the market and Veronika very carefully helped transfer dirt and the plant into her new planter.

Plant Buddy (2)

Be sure to add water! This is a great and easy intro to gardening for preschoolers.

Plant Buddy (1)

Advertisement

Recycled Bird Feeder

Recycled Feeder (3)

With Earth Day coming up, it’s a great time to remind kids about the importance of recycling. Hands-on lessons always help drive a point home, as with this recycled bird feeder. So don’t toss that empty orange juice carton the next time your family finishes it up!

Starting with a cleaned and dried carton, cut a small doorway in the front (grown-up step).

Veronika helped cover the carton with duct tape. Any color will do, but she loved that we had a mix of green and orange for beautiful pops of color.

Recycled Feeder (1)

Add stickers if desired!

Recycled Feeder (2)

We then hot glued a clothespin to the bottom of the feeder as a perch (a jumbo craft stick would work, too).

Finally, tape a string to the top of the carton and hang from a branch. Veronika proudly poured in our first cup of bird seed! Make sure to check what birds are in your area, and buy the appropriate kind of food. We can’t wait to watch for feathered visitors from our window!

Valentine Plane

Valentine Plane (4)

This cute Valentine craft gives a whole new meaning to a message in a bottle! Your preschooler can help design the plane, then slip a sweet Valentine inside.

To start, we wrapped an empty water bottle in pink construction paper. Add oval shapes for wings cut from additional construction paper, either in red or pink.

Valentine Plane (5)

Next, I cut a propeller shape from craft foam, and Veronika helped tape this on to the bottle cap. You can use dot stickers for windows, or draw on with marker. Let your child scribble on other marker decorations if desired for their Valentine airline!

Valentine Plane (3)

Finally, we wrote out a sweet message for big brother Travis, then rolled it up and popped it inside.

Valentine Plane (2)

Veronika loved flying her plane around. Special delivery!

Valentine Plane (1)

Caterpillar Crush Valentines

Bug Vday (4)

Travis helped make these critter cards for class valentines this year, and we hope his classmates won’t mind getting bugged at all!

To start, cut squares from cardstock that are 4×5 inches. We chose pink and blue shades for the background.

Bug Vday (1)

Cut a green leaf template from green cardstock, then trace to make the desired amount of leaves and cut out. For a fancy effect, cut out with pinking sheers instead of regular scissors! Glue one leaf onto each cardstock square.

Bug Vday (2)

At this point, you’ll want to write the message on each card. Ours said: “Just thought I bug you to say…” on the front and “Happy Valentine’s Day!” on the back. I was proud of Travis signing his name a full 20 times for all classmates.

Bug Vday (3)

Now it was time to add our pom pom caterpillars. Use hot glue to attach caterpillars that are 5 to 6 small pom poms long. If you’re feeling extra ambitious, you can also glue on tiny wiggle eyes.

Bug Vday (5)

Your critters are complete, and so cute! Not into these buggy Valentines? Check out our past creations like mustache pops or punny tacos.

Celebration Sponge Cake

A sleety winter day had us craving a colorful celebration inside, so Veronika threw a birthday party for her stuffed animals!

To make a cake worthy of this celebration, we started with kitchen sponges. I cut them into triangles that could be stacked into a “layer cake”. Our cake was two layers high, but you can make yours three or four layers tall for a big splash!

For frosting, we colored pieces of paper and glued on top; triangles cut from colorful craft foam would work great, too. Small pieces of sponge were perfect for sprinkles on top, and Veronika was so proud to squeeze out the glue all by herself and press these down.

For a rim of frosting, I suggested we add cotton balls, but Veronika declared these too fluffy. Our candles were snipped pieces of straw with a little bit of yellow sponge sticking out from the top for the flame. I think her turtle loved his cake!

She kept so busy with this even after I stepped aside, gluing down small pieces of sponge continuing the fiesta. Thanks to her latest issue of High Five magazine for this neat idea!

Yarn Ornaments

Yarnaments (1)

These pretty homemade ornaments are easy enough for even preschoolers to help put together. The resulting gift-shaped decorations also make – hint hint – a great gift for friends or relatives!

To start, cut squares out of cardboard (which is also a great way to reuse boxes from holiday deliveries). You could also cut out different shapes like circles or stars, but I found that the squares were the easiest for Veronika to help wrap, whereas stars were a bit tricky.

Yarnaments (6)

Use a glue stick or glue dot to make the center of each square sticky, then simply begin wrapping with yarn. We found a pretty one that changed from shades of red to pink to white and back again, which made us think of holiday candy canes!

Yarnaments (4)

Keep wrapping until the squares are thickly covered and the cardboard doesn’t show. Use a second strand of yarn to tie a bow around the center, a neat little gift ready to go under the tree! Or in this case, on it.

Yarnaments (3)

A final loop of yarn works perfectly to hang these from the nearest bough.

Yarnaments (2)

Dry-Erase Window Decorations

Whether you’re snowed in or rained, you can help a dreary day become a little more colorful with this simple trick: wipe-clean window decorations that will help make the day sparkle!

To start, I outlined a few “frames” on our glass patio door with masking tape, just waiting for each section to contain a work of art by the kids. I then set out a set of dry-erase markers in a variety of colors.

Veronika immediately wanted to decorate, especially when I drew one little “snowflake” to spark her creative juices. She told me she was drawing more snowflakes, presents, and more!

She was a busy artist at this unique “canvas” for quite a while.

Pretty soon, big brother Travis trotted over. He proudly added a few drawings of his own, including stick figures and writing the kids’ names.

Leave the decorations up to brighten any day. When you decide it’s time to clean up, the dry-erase markers wipe off easily with a damp paper towel.

Paper Ball Owls

Paper Ball Owl (5)

This cute project comes together in a pinch; just save a few pages of the weekend news and you’ll have a snowy winter owl in no time!

To start, I invited Veronika to help me crumple up a few sheets of newspaper, a delight for the sensory feel and the auditory crinkle.

Paper Ball Owl (1)

Next, we covered each ball with a sheet of white paper, turning them into snow owls. Secure with a rubber band and either trim off the excess paper or leave on as little tail feathers.

Paper Ball Owl (3)

We used bottle caps as the eyes, adhering with sglue sticks. For the pupils and beak, we colored paper with markers first, then cut out circles for the former and a triangle for the latter. Felt would work, too!

Paper Ball Owl (4)

Finally, the owl needed wings! Help your child cut two wing shapes from an additional sheet of newspaper, and glue on.

Paper Ball Owl (6)

Veronika loved making this little fellow fly and hoot! Thanks to High Five magazine for the cute prompt!

Paper Ball Owl (7)

Mail Truck Craft

Mail Truck (9)

Veronika loves when the mail truck arrives each day, so we made this cute play version at home, thanks to a suggestion in her High Five magazine. Now she can be in charge of all the mail deliveries!

To start, cover an empty cereal box with white paper, gluing or taping as needed to hold in place.
Mail Truck (2)
Next, I added a strip of blue duct tape for the windshield. Blue construction paper would also work for this part.
Add additional stripes with blue washi tape or markers. We used marker for details like headlights and wheels, but for real wheels, simply glue on old juice bottle caps!
Mail Truck (4)
I purposefully left the back of the box with the flap open, so that Veronika could really insert mail and take it out again.
Mail Truck (6)
We used index cards as letters, and she loved scribbling messages with crayon. Big brother Travis even ran over to write a few pieces of correspondence!
Mail Truck (8)
Even more fun than writing out the mail, though, was chugging her mail truck around the room before making each “delivery”!
Mail Truck (7)

Tree Texture

I love working natural science into everyday outings. To wit, a walk in the park today was the perfect chance to review all the different parts of a tree, with a little art thrown in, too!

The tree in question was our family tree, for Travis’s tree journal, and we stopped by to see how it was looking in midsummer.

Then Travis went on a search to identify all the tree’s parts. For each one, he held a piece of paper to the tree and rubbed with the side of a crayon. How neat to see the different prints that emerged for each, including bark:

Roots:

And leaves:

You can have your child point out features they can’t reach, too, including branches, flowers, or fruit if any.

Don’t forget to give that tree a hug before you go!