Glowing Snowman Luminary

Glowing Snowman (10)

I wanted to make these adorable glowing snowmen to light up a dark blizzard afternoon recently. It turns out Travis wasn’t at all interested in putting the craft together (hey, sometimes it happens!) but he did love the end result. The snowman is another way to add a cozy glow to winter’s dark nights.

For best results, you’ll need an empty Pom juice bottle to create a nice curvy snowman. I couldn’t find Pom at the store, but did snag a kid-sized Evian bottle that worked just as well.

Glowing Snowman (1)

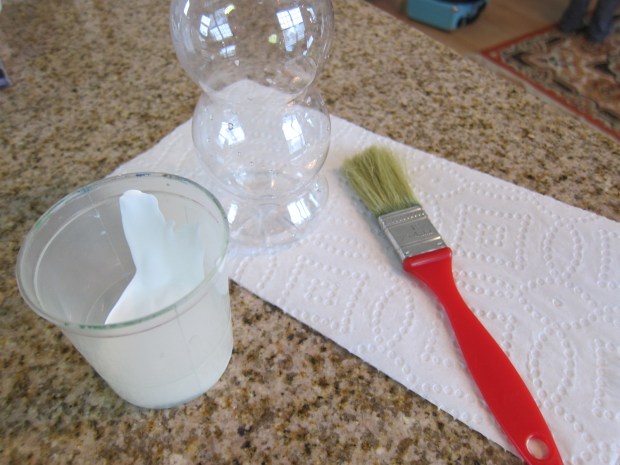
Paint your curvy bottle with two coats of white paint on all sides (but not the bottom), letting dry thoroughly after each coat.

Glowing Snowman (2)

You know that pesky tendency kids’ socks have of disappearing one from each pair? Use that to your advantage here!

Glowing Snowman (3)

Cut up any old or mismatched socks to make hats and scarves. For a hat, cut the toe off a sock. Tie with a string near one end, and snip those ends into strips to make a “pom pom.”

Glowing Snowman (4)

Cut a long, thin rectangle from another spare sock, and tie around the middle of the bottle as the snowman’s scarf.

Glowing Snowman (5)

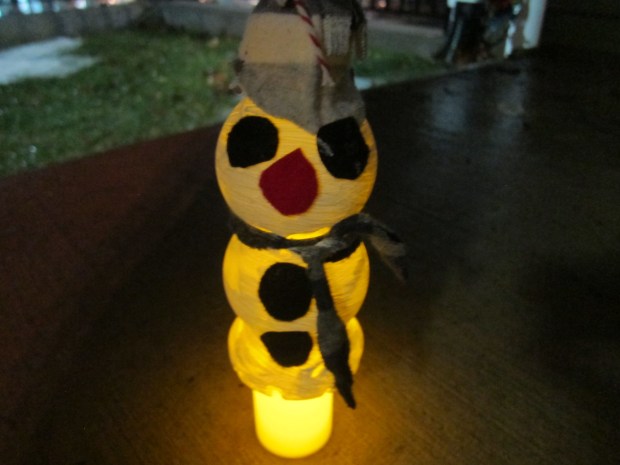
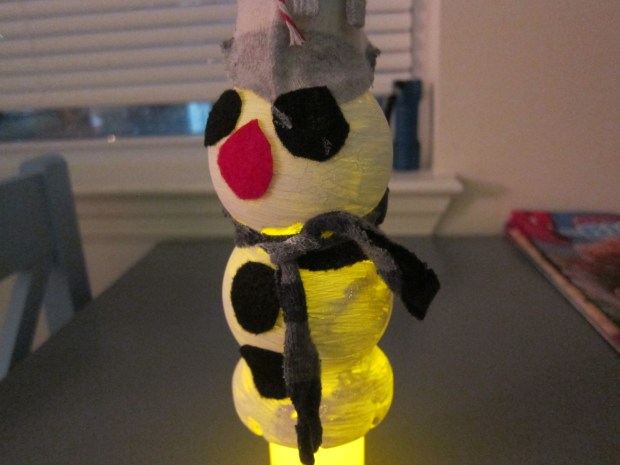
To finish the snowman, we used sticky-back felt cut into circles for eyes, a nose, and buttons (which Travis finally acquiesced to sticking on!)

Glowing Snowman (7)

What a dapper fellow!

Glowing Snowman (8)

When you’re ready to make your snowman glow, simply place him atop a battery operated tea light and illuminate the night.

Glowing Snowman (9)


Advertisement

Ice Lanterns

Ice Lanterns (9)

This is a beautiful project to showcase finds from winter nature walks! It’s a multi-day project, requiring two separate rounds of freezing, but kids will love the final glowing result.

First you’ll need those winter treasures – think holly leaves, little berries, pinecones, and pine needles.

Ice Lanterns (1)

Arrange some of the items in a plastic container (or multiple containers, if you have enough nature items), and fill halfway with water. Freeze overnight.

Ice Lanterns (2)

The next day, Travis was very eager to check out the layer of ice we’d created.

Ice Lanterns (3)

Add a second layer of winter finds over the ice, and also place a glass jelly jar inside. Add water to the top of the plastic container, and freeze again overnight.

Ice Lanterns (4)

Note: If the weather is cold enough, you can even do the freezing outside!

For the final lantern, you need to release the glass jelly jar, leaving behind a hole for a candle. Fill the jelly jar with warm water just for a minute or two, and it should slip out.

Ice Lanterns (5)

Now run water around the outside of the plastic container, and release your whole ice lantern.

Ice Lanterns (6)

Note: Because our pinecone extended past the middle of our container, our jelly jar wasn’t centered. This didn’t present a problem; it just meant that our final ice lantern wasn’t going to glow as evenly! You can see in the above photo how our candle hole is on one side of the lantern, instead of directly centered.

Finally, place a battery operated tea light inside, and watch the lantern light up the winter night!

Ice Lanterns (7)

You can leave these outside, or take them inside for a warm winter glow.

Ice Lanterns (8)