Glowing Lava Lamp Sensory Bags

Glowing Colors Bag (7)

We’ve played with plenty of sensory bags in daylight, but this one is meant for after dark!

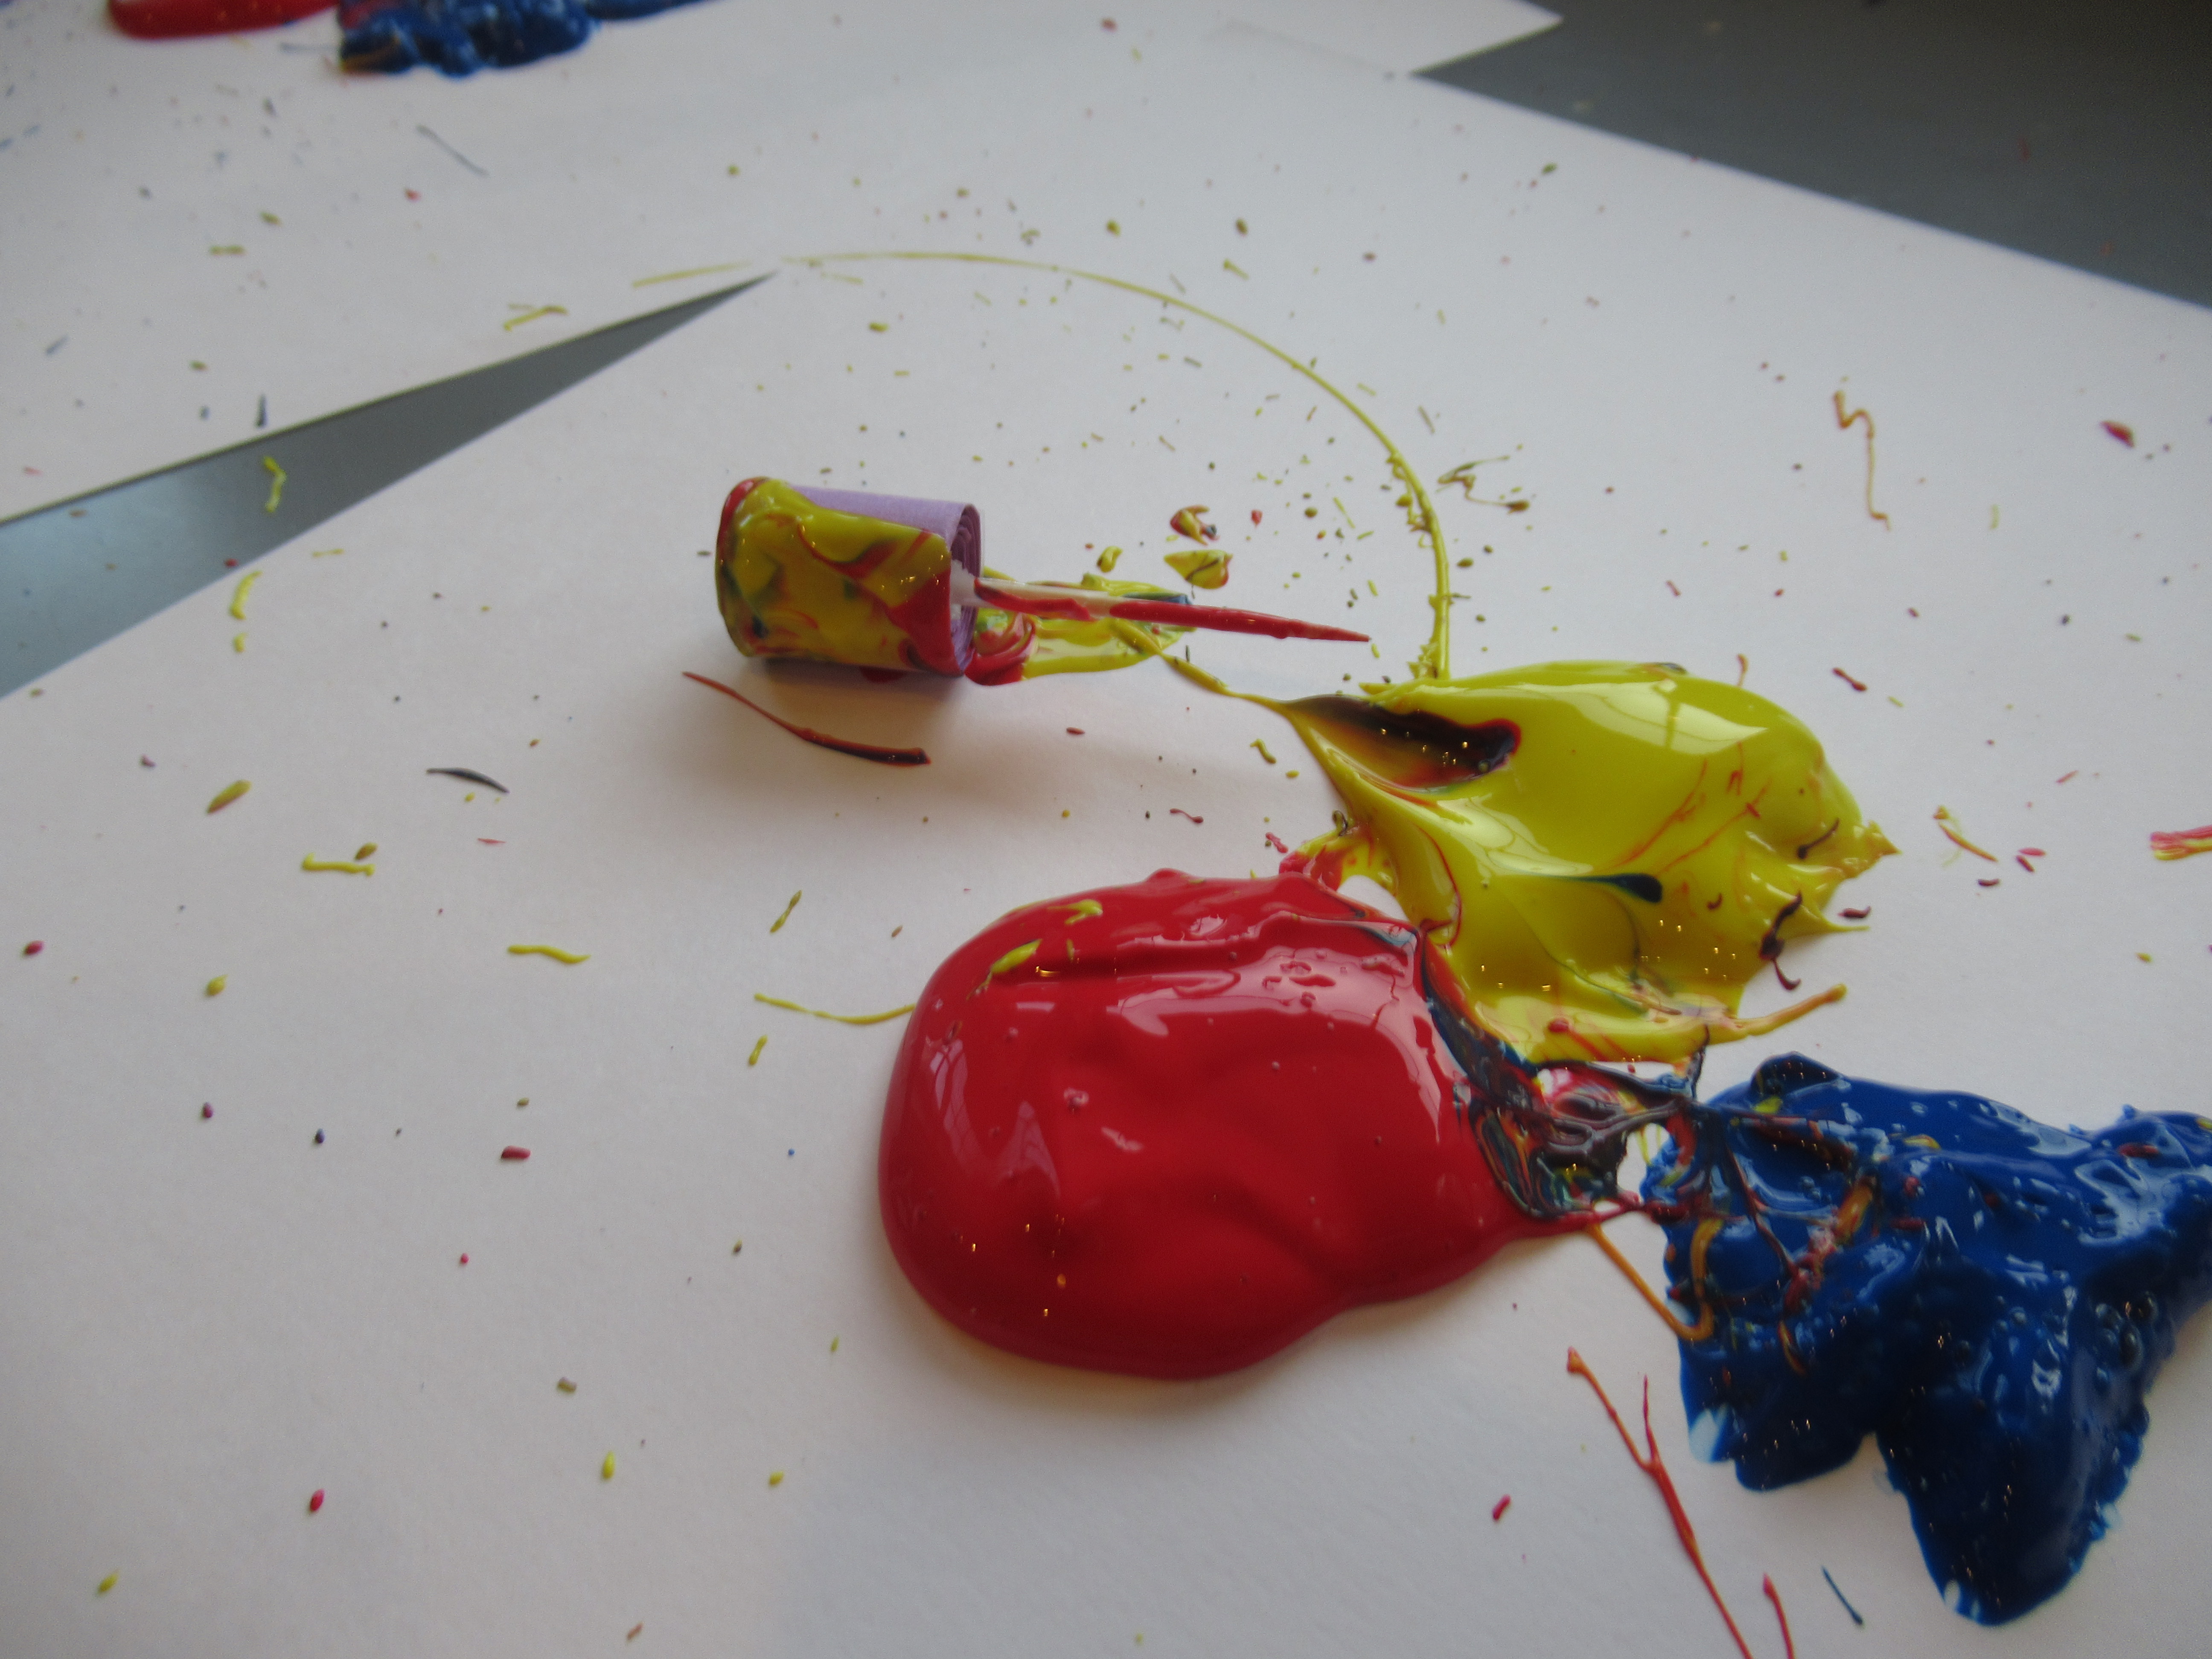
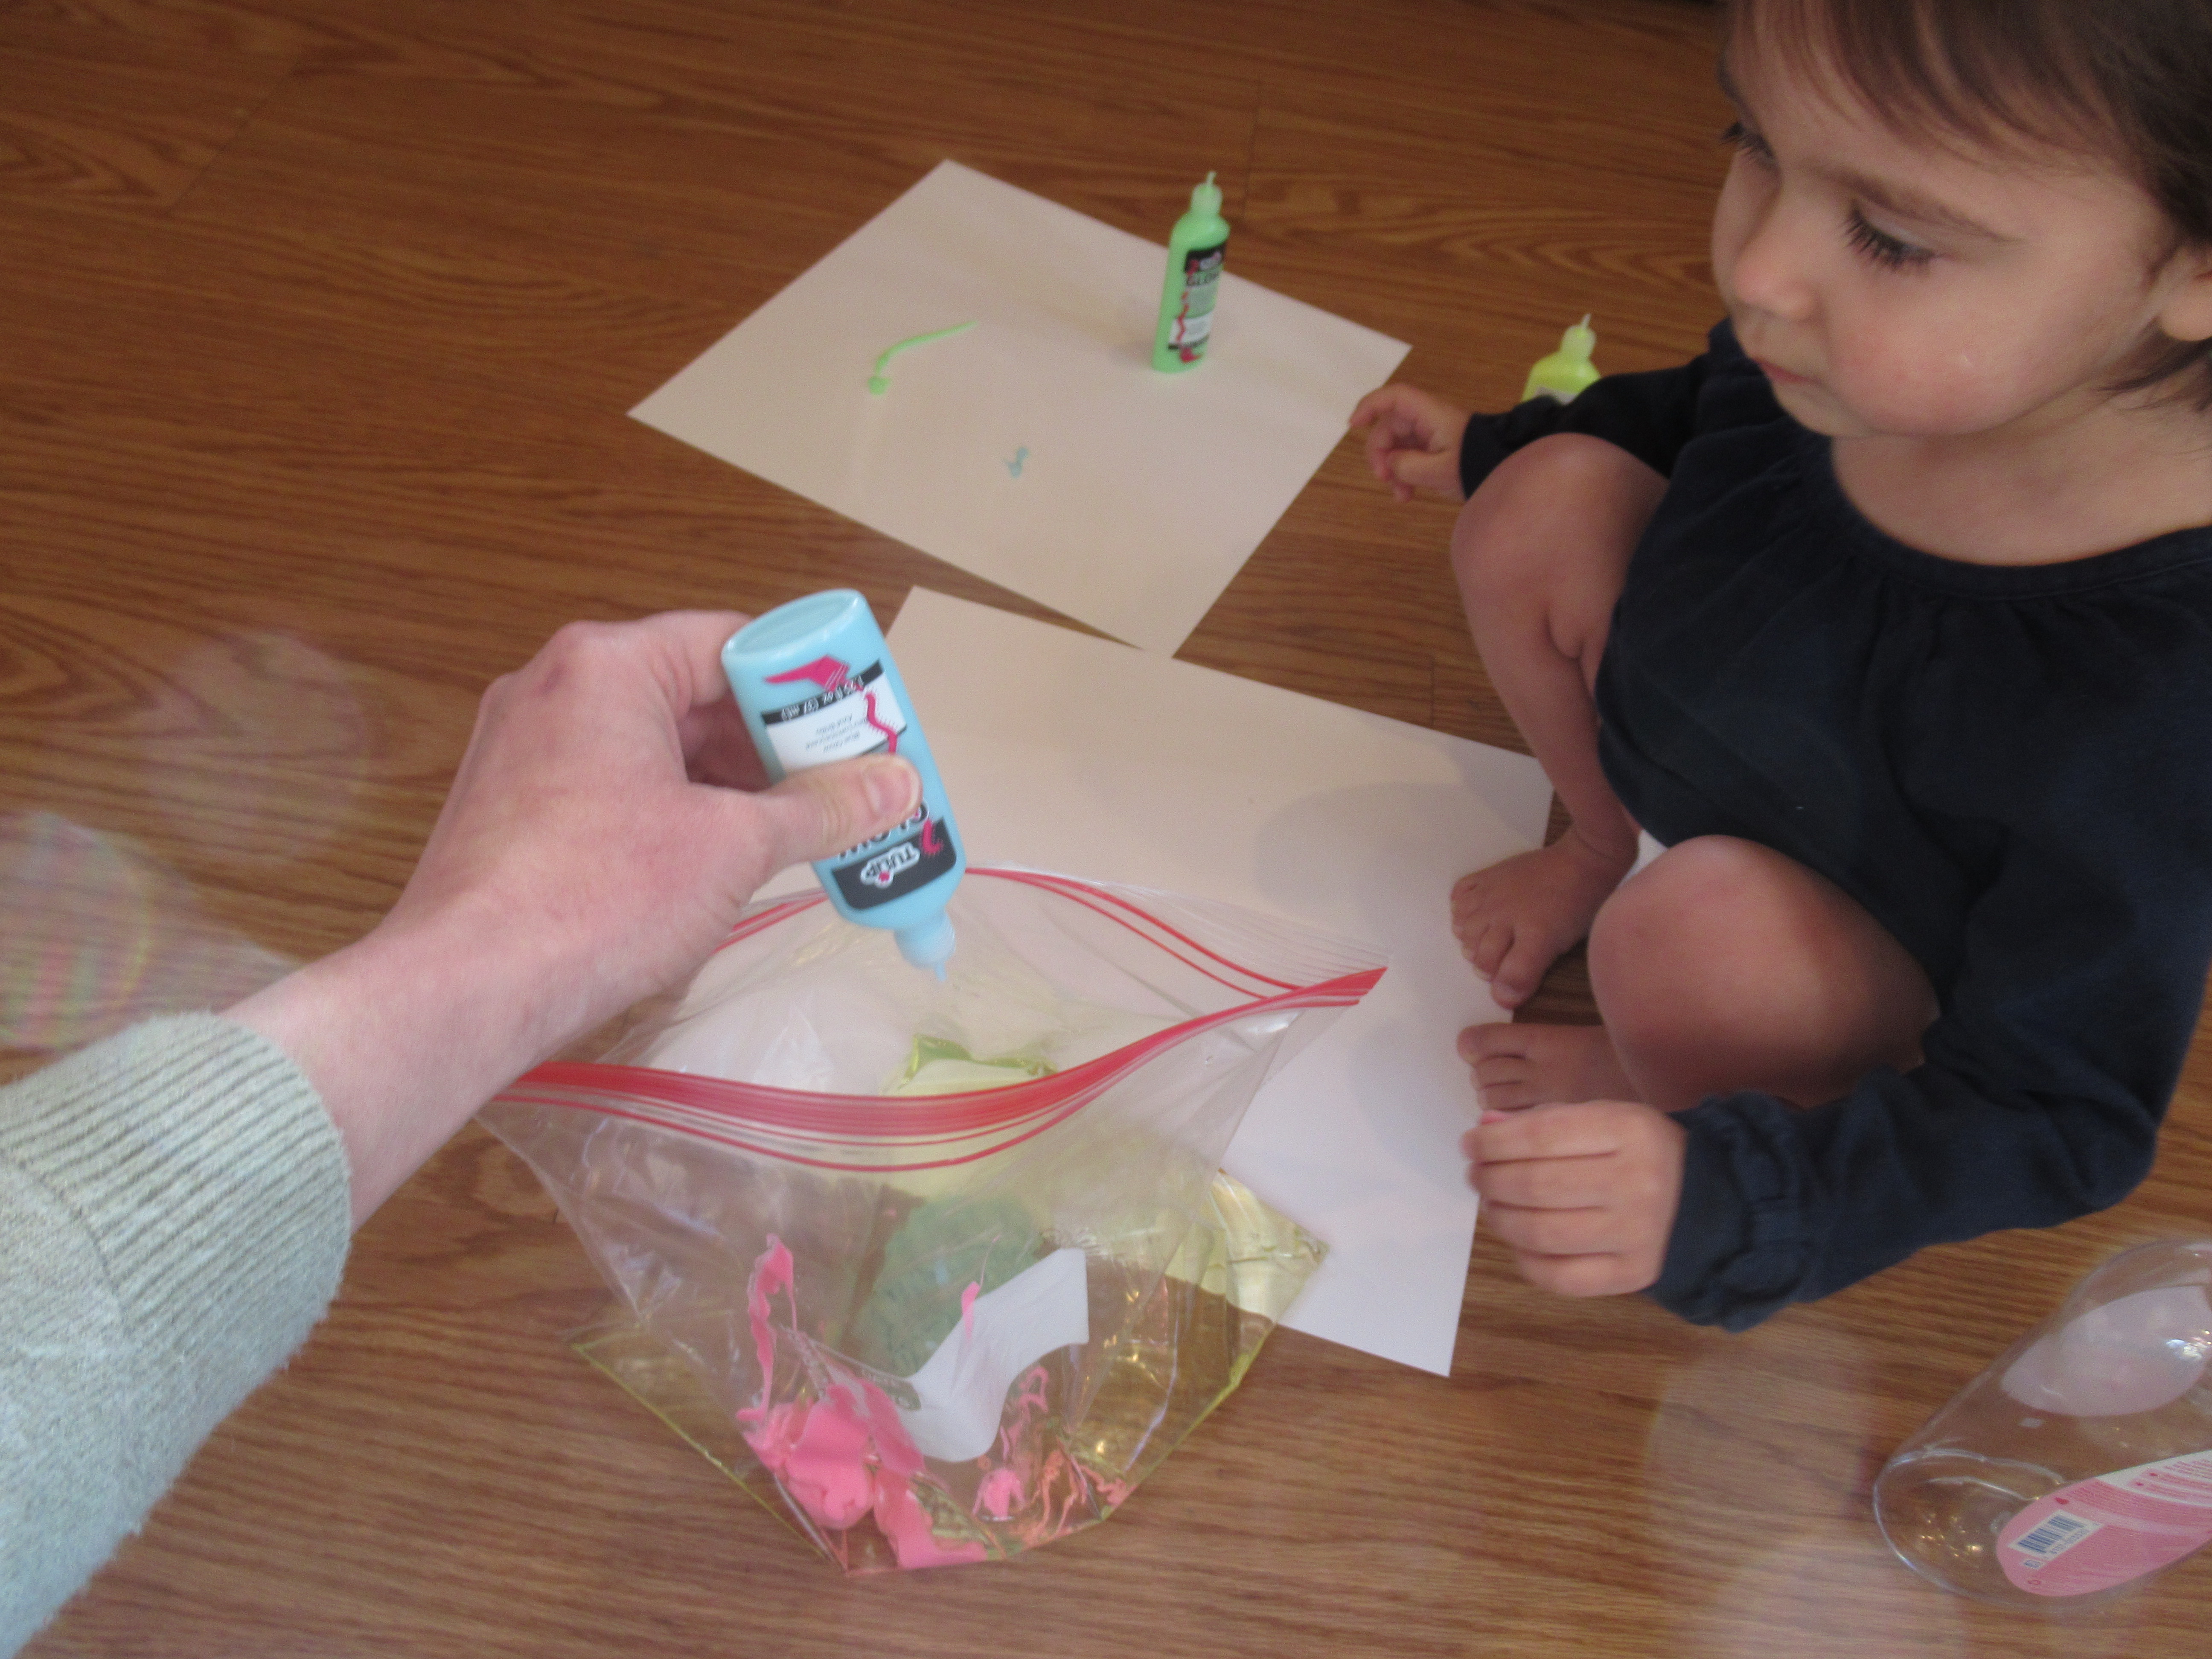
To set up, I poured a generous amount of baby oil into a large zip-top bag. Since we wanted to make two bags and I was out of baby oil, cooking oil worked in a pinch for the second bag. Squirt some glow-in-the-dark paint into each bag. Ideally I would have used watercolor paints, but even glow-in-the-dark fabric paint worked for this. Veronika absolutely loved the bright neon colors, even as we set this up during the day.

Glowing Colors Bag (1)

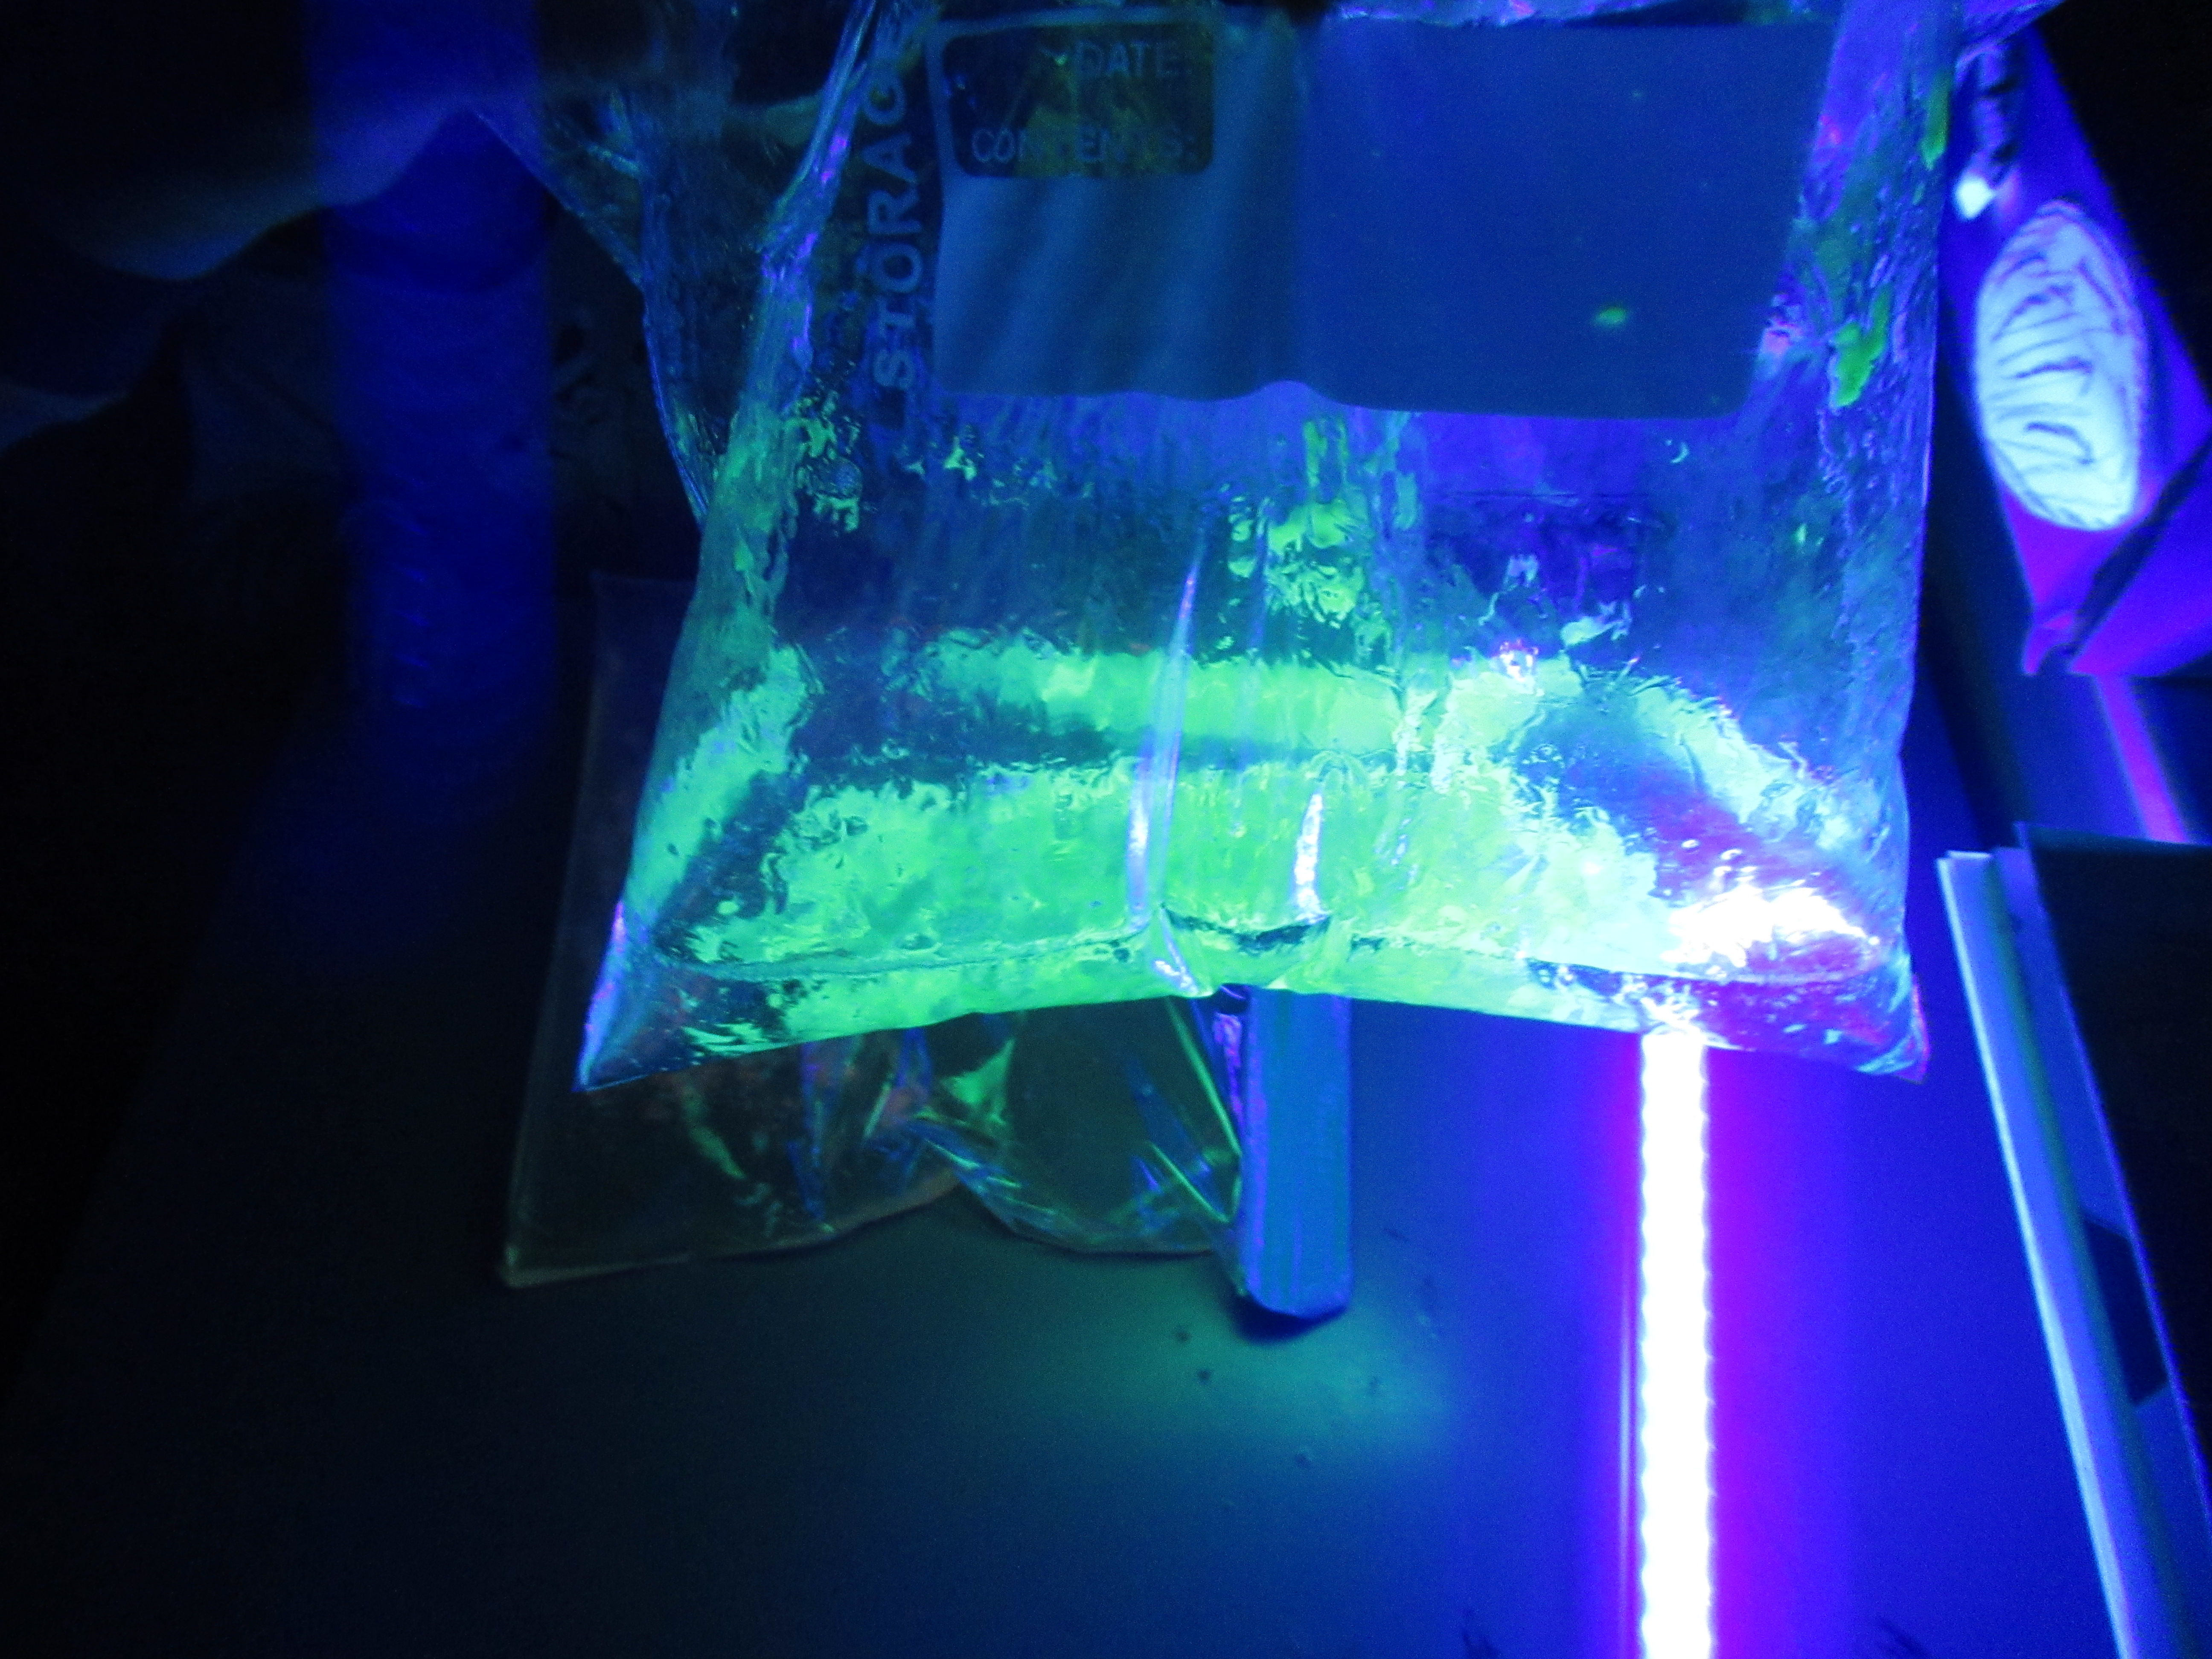
But the real fun came once the sun went down. You can simply look at the bags in the dark, but for added effect, I recommend switching on a black light. The kids were immediately squealing with delight at how the colors looked, so bright and glowing.

Glowing Colors Bag (4)

Encourage your kids to squish, squash, and watch how the bubbles of color move through the oil (a little bit like a lava lamp). If you have more than one color in each bag, as we did with a pink-and-blue version, see if the colors can mix together.

Glowing Colors Bag (6)

For sensory bag gets high marks for novelty.

Advertisement

Spin Art

Spin Art (6)

Warning: This project is a messy one! After playing with lots of spinning tops recently thanks to his latest Kiwi Crate, Travis helped test out this homemade way to make spin art. We thought it was way cooler (if a lot messier!) than a spin art machine from the store.

To make a spinning top “paintbrush”, cut several 1/2-inch wide strips of construction paper. We used about 5 strips for each top we made, but you can make them thicker (up to 10 strips) if desired.

Spin Art (1)

Tape one end of a paper strip to a toothpick and begin winding up tightly. As you reach the end of each strip, tape down and then tape on the beginning of the next strip. As mentioned, we only used 5 strips, mostly because my fingers started to cramp up. Here’s an image of it in motion, hence why it is so blurry. These made fun toys in their own right!

Spin Art (2)

Next, we set down white cardstock and added three blobs of color near the center of each, in the primary colors of red, yellow, and blue.

Spin Art (3)

Give your spinning top a whirl!

Spin Art (4)

Through trial and error, we found that this worked best when the paint blobs were very small, otherwise the top just got stuck. Since I had already dolloped on rather thick paint, ours made the best art when we set it spinning near the edges.

Spin Art (5)

The resulting spray and splatter was so fun for the kids to watch!