
Warning: This project is a messy one! After playing with lots of spinning tops recently thanks to his latest Kiwi Crate, Travis helped test out this homemade way to make spin art. We thought it was way cooler (if a lot messier!) than a spin art machine from the store.
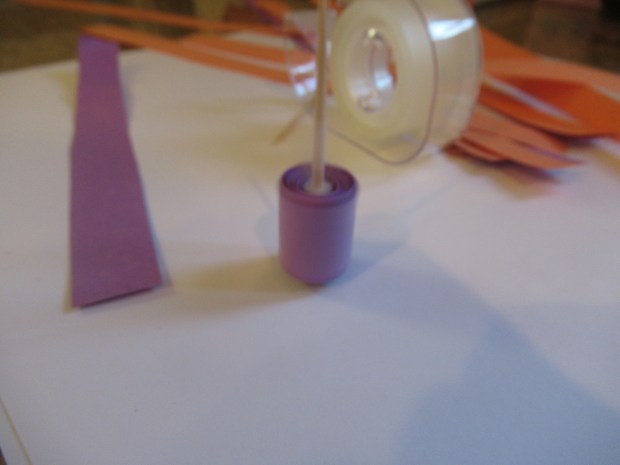
To make a spinning top “paintbrush”, cut several 1/2-inch wide strips of construction paper. We used about 5 strips for each top we made, but you can make them thicker (up to 10 strips) if desired.

Tape one end of a paper strip to a toothpick and begin winding up tightly. As you reach the end of each strip, tape down and then tape on the beginning of the next strip. As mentioned, we only used 5 strips, mostly because my fingers started to cramp up. Here’s an image of it in motion, hence why it is so blurry. These made fun toys in their own right!
Next, we set down white cardstock and added three blobs of color near the center of each, in the primary colors of red, yellow, and blue.

Give your spinning top a whirl!

Through trial and error, we found that this worked best when the paint blobs were very small, otherwise the top just got stuck. Since I had already dolloped on rather thick paint, ours made the best art when we set it spinning near the edges.
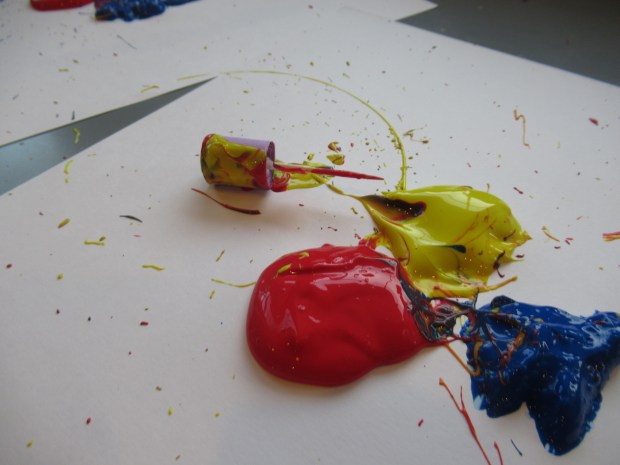
The resulting spray and splatter was so fun for the kids to watch!
