Ping Pong Spinner

Ping Pong Spinner (2)

Here’s a way to make a spinning top entirely from recycled materials around the house!

First, you’ll need either need a blank CD or an old one that you’re ready to part with. (Bonus points: have the kids help raid your old CD rack and watch them marvel at music from the dinosaur age).

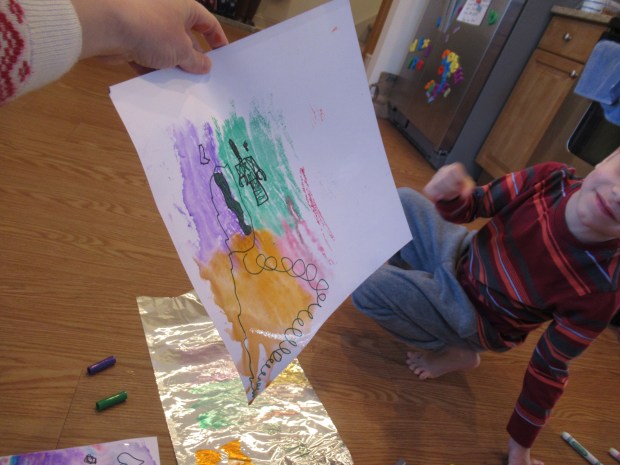
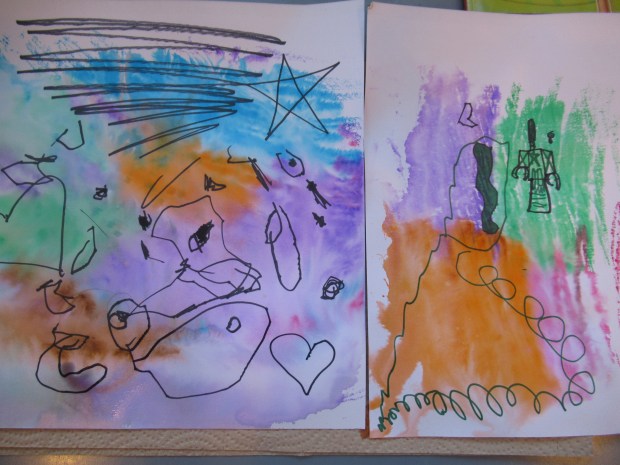
We traced the CD on construction paper and then colored in; the more colors the better, since they will whirl together when the spinner spins. Glue onto the CD.

Ping Pong Spinner (1)

The next step is a grown-up one since you’ll need hot glue. Attach a bottle cap over the top center of the CD (our glue bottle was empty just in time!) and then hot glue a ping pong ball in the center underneath.

Ping Pong Spinner (3)

Time to spin! Of the various tops we’ve played with and made lately, this one spins by far the longest, with an almost effortless twist of the hand. We must have gotten the balance just right, because it just kept going and going and going…

Advertisement

Magical Watercolors

Extreme Watercolor (5)

Nothing brings my kids running faster than when they get to do something that’s normally taboo or off-limits. In our house, one of those things is permanent marker. So my question of, “Who wants to color with permanent marker?” immediately had two pairs of feet racing to join the fun!

I invited the kids to draw whatever they wanted on sheets of white poster board. Travis drew a favorite TV character, and Veronika narrated to herself as she scribbled (including telling me she drew a Q for Queen and a T for Truck!).

Extreme Watercolor (1)

Once they were satisfied with their drawings, I gave each a sheet of aluminum foil. A second normally off-limits item! Now the task was to scribble over it with washable markers.

Extreme Watercolor (3)

Encourage your kids to be abstract and use lots of colors here, the more the better.

Extreme Watercolor (2)

For a third fun component, I handed them the spritz bottle! I had to help Veronika with this part, but Travis loved using the spritz bottle solo, saturating his black marker drawing completely.

Extreme Watercolor (4)

Place the black marker drawings face down over the colorful foil and press firmly, then lift up. Just like magic, your white paper has been covered with “watercolor” paint! The kids oohed and aahed at the big reveal.

Extreme Watercolor (6)

These were so pretty that we had to hang them up in the playroom for display. Thanks to Parents magazine for this fun idea!

Extreme Watercolor (7)

Tweezers & Goldfish

Tweezers & Goldfish (9)

I loved this activity the moment I spotted it on Teaching Mama, but one problem prevented us from doing it right away: store-bought goldfish are not vegan, not even the pretzels!

Luckily, I have a fish-shaped cookie cutter from an old project, and could make a batch at home (this time I used the recipe from Nature’s Path, with regular flour and mixing by hand instead of in a food processor. Veronika was so excited seeing the fish crackers in the oven, and couldn’t wait to see what we’d do with them (and to taste them!).

Tweezers & Goldfish (3)

As the fish baked in the oven, I drew six fish bowls with marker on a piece of white poster board, and labeled them 1-6.

Tweezers & Goldfish (2)

Ding! The fish were done. Well of course first we tried them for a snack. Then I set out a bowl of the fish along with a pair of oversize tweezers and the fishbowl chart.

Tweezers & Goldfish (4)

I had Veronika name each number as review; she can recognize numerals up to 10 now. Next, I told her we had to fill each fish bowl with the correct number of fish! I showed her how to pinch up one fish with the tweezers and transfer to the bowl marked 1.

Tweezers & Goldfish (5)

Working together, we pinched and transferred and counted to fill each bowl.

Tweezers & Goldfish (6)

And of course there was lots of happy snacking along the way.

Tweezers & Goldfish (7)

Monster Automaton

Monster Automaton (10)

Here’s a neat way to show kids how the parts work and move in a very simple automaton (e.g. moving machines like cuckoo clocks), with no fancy equipment required!

Monster Automaton (1)

To start, place a plastic cup over cardboard and trace four times to make four circles. Use hot glue to make two stacks of 2 circles, then poke a sewer up through the center of each pair. The cardboard circles are the “cams” and the skewer is the axle.

Monster Automaton (2)

Next, poke a hole in the top of a shoebox, as well as one in each side. Widen the holes so they are big enough for cut pieces of a plastic straw to fit through; use a little hot glue to secure the straw in the holes.

Monster Automaton (3)

Slide the skewers through the straws; they should be able to spin freely.

Monster Automaton (5)

Arrange the cams such that the lower one holds up the top one. When you spin the horizontal bottom skewer, the top cam spins! I only got a few second of video, but it was neat for the kids to see this in motion!

For a little fun, we added a “monster” on top. A little green marker, wiggle eyes, and a jagged mouth turned a simple paper cup into a scary creature.

Monster Automaton (6)