Indoor Newspaper Throwing

Indoor Newspaper Throwing (4)

Before you recycle this week’s newspaper, stop right there and turn that newspaper into the perfect balls for your toddler! The light weight and soft texture means this activity is not only great for honing little ones’ throwing skills, but also that it won’t result in injuries or broken items around the house.

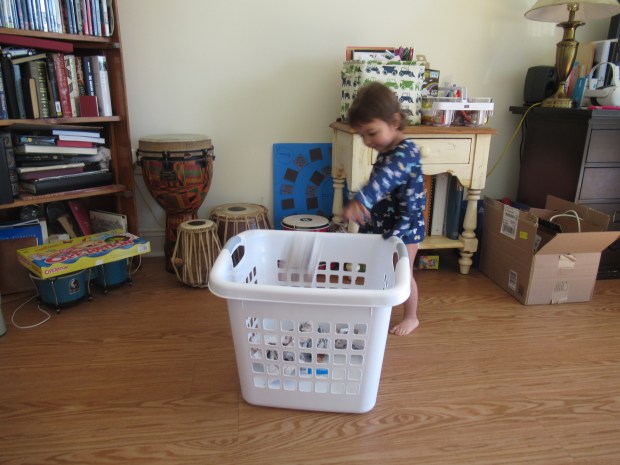
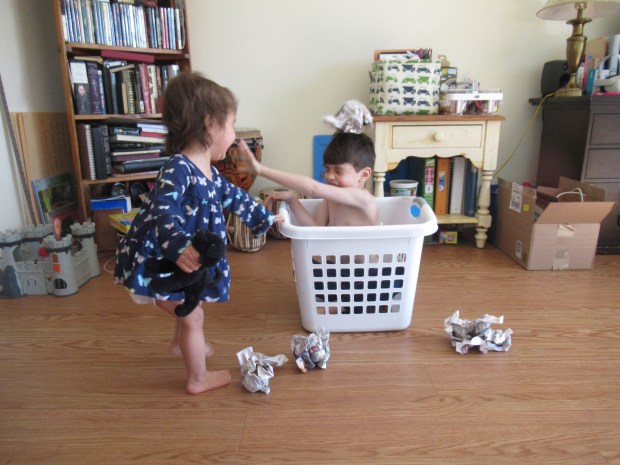
To start, I simply crumpled up a few pieces of newspaper for Veronika and set out the laundry bin as her goal. She trotted over and tossed them in, easy as pie!

Indoor Newspaper Throwing (1)

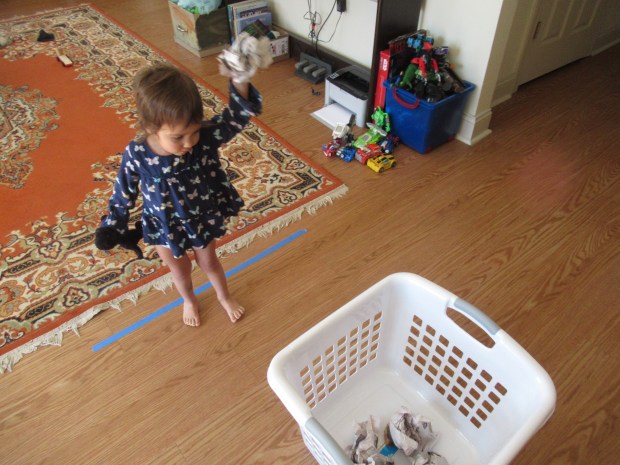
Clearly we needed to up the ante. I made a line of masking tape a few steps from the basket and she had to make her shots from here. She was so good about lining her feet up on the blue!

Indoor Newspaper Throwing (2)

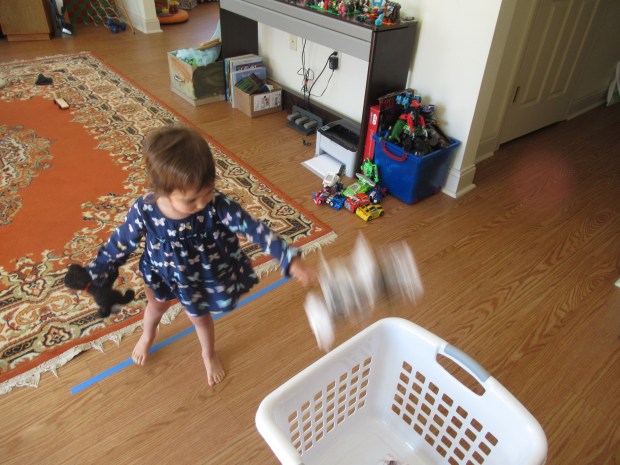
And wouldn’t you know, this toddler can throw! Every ball went into the goal.

Indoor Newspaper Throwing (3)

Big brother Travis had another idea to make the game even harder; he climbed right in the basket as a goalie!

Indoor Newspaper Throwing (5)

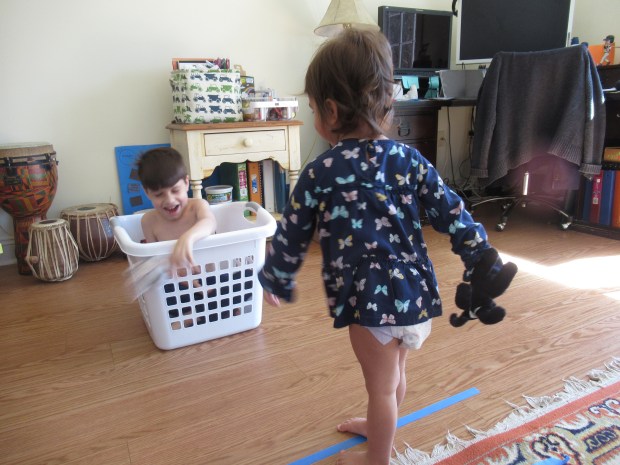
Needless to say this soon had brother and sister alike in fits of giggles, tossing the balls back and forth, and much hilarity and fun ensued.

Indoor Newspaper Throwing (6)

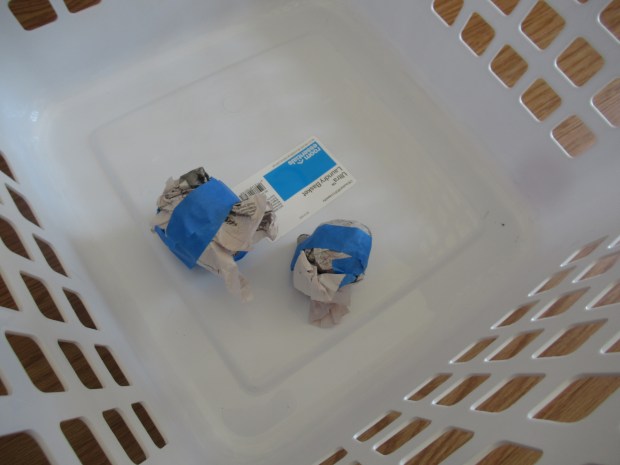
If you want the newspaper to stay in tighter balls, you can secure around each wad with a little bit of masking tape. That said, we liked the balls best when we simply smooshed the paper pieces as tight as we could in our hands, since the tape made them a little more dangerous for tossing at each other.

Indoor Newspaper Throwing (7)

In sum, this is a a great way to get in throwing practice even when you can’t make it outside to the park.

Advertisement

Upcycled Easter Eggs, Two Ways

Upcycled Easter Eggs (9)

An empty cereal box is all you need as the base for the following two upcycled Easter egg projects. The first makes a beautiful table topper for your Easter holiday table (or other spring gathering), and the second looks lovely hung on a door or window!

For the table topper version, I traced a small egg shape onto one half of a cereal box, and cut out 4 eggs. Veronika helped paint in pastel colors. You’ll need to let this coat of paint dry before moving on to the next step, and if your kids are impatient, give the eggs a quick stint under a hairdryer.

Upcycled Easter Eggs (2)

Next we used a q-tip (always a toddler favorite) to make dots on the eggs. Veronika loved dipping a cotton swab into yellow paint and making dots and blobs all over.

Upcycled Easter Eggs (3)

Almost done! The final step was to give the eggs some sparkle by brushing on glitter glue. We should have waited for the yellow dots to dry first, because now everything sort of smeared together, but the eggs still looked pretty.

Upcycled Easter Eggs (4)

To set them up as table toppers, cut an empty paper towel tube into a few rings, about 1/2-inch thick. Make notches in each so the eggs stand upright. Leave them just like this or add names so they double as place cards!

Upcycled Easter Eggs (11)

For the second upcycled craft, I cut a large egg shape from the cereal box. We gave this one a coat of white paint.

Upcycled Easter Eggs (5)

Next, I set out a tray with squares of tissue paper, all in pretty pastel shades. It’s easiest for a toddler if you cover the whole surface of the egg with white glue. This way, I could hand her a crumpled piece of the tissue paper and no matter where she placed it, it would stick!

Upcycled Easter Eggs (8)

I briefly considered having her make patterns or rows in alternating colors, but quickly realized this was too advanced for Veronika. Instead, we ended up with an egg decorated in a pretty mish-mash of pastels.

Upcycled Easter Eggs (12)

Earth Hour

Earth Hour (4)

We learned last minute that Earth Hour is tonight, an hour to turn off the lights in honor of our planet. We started the hour on a serious note, watching this important video about the impact humans have on Earth, ways we can save resources, and how it all links to the pandemic that has had the entire globe reeling for a year now.

I didn’t want the activity to feel too heavy for my six-year-old, though, so knew we’d have to have some fun in that dark hour, too. Luckily, Travis’s Highlights magazine had us covered with 5 ideas once the lights went out!

One: Paint glow-in-the-dark self portraits. I pulled out a few tubes of glow-in-the dark paint and we each made silly cartoon depictions of ourselves. Travis loved activating the paint with a flashlight, then turning it off to see the glow!

Earth Hour (1)

Two: Write in the dark. Along the same lines, next we tried writing then turned on a flashlight to see how we’d done. Older kids can write lines of poetry or stories. Travis was so proud just to spell out his little sister’s name!

Three: Put on a shadow play. You could do this with your hands or bodies, but Travis thought it was best with Lego figures. One person shines a light and the other holds the toys to reenact favorite scenes. It was fun to see how small or big he could make the shadow, depending on the distance he stood from the Lego.

Earth Hour (6)

Four: Have a flashlight battle. Easily the favorite, everyone switches on a flashlight and lightsaber action ensues. Bonus points for the best “zzzzz-oooom” sound effect.

Earth Hour (5)

Five: Dance party time! We couldn’t end things without same flashlight-lit dance moves. Whatever your family’s favorite tune, crank it up and dance for the Earth.