Easter Egg Creation Station

IMG_2659

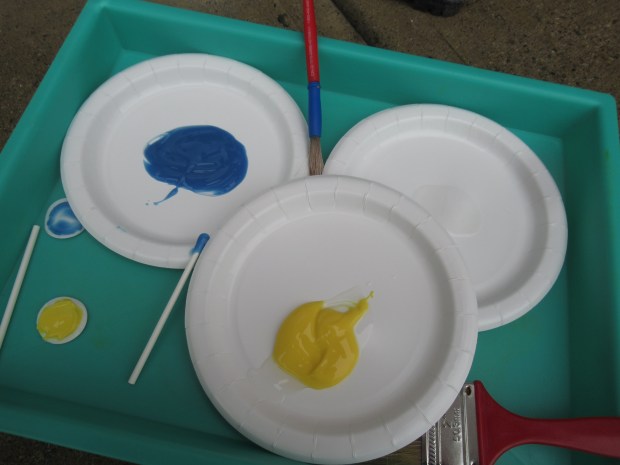
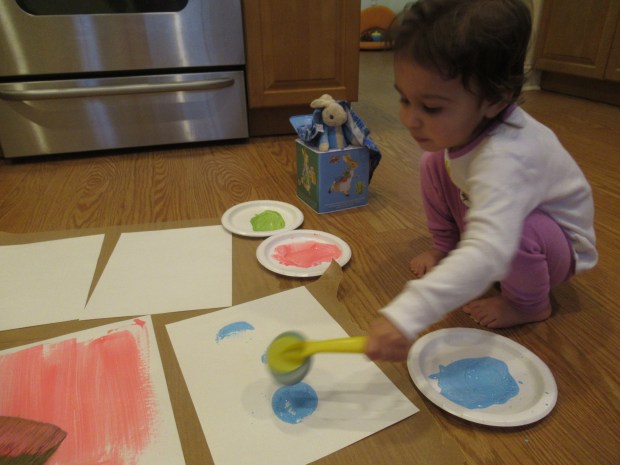
This fun toddler-friendly craft results in a beautiful Easter bunting to hang for the holiday! To start, you’ll need to paint several sheets of thick white paper. I wanted to paint these in pretty pastels, so mixed a little white paint into pink, light blue, and light green for an even softer spring effect.

IMG_2642

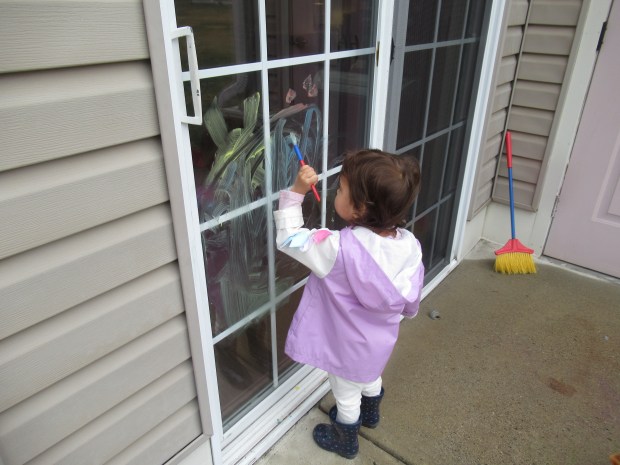
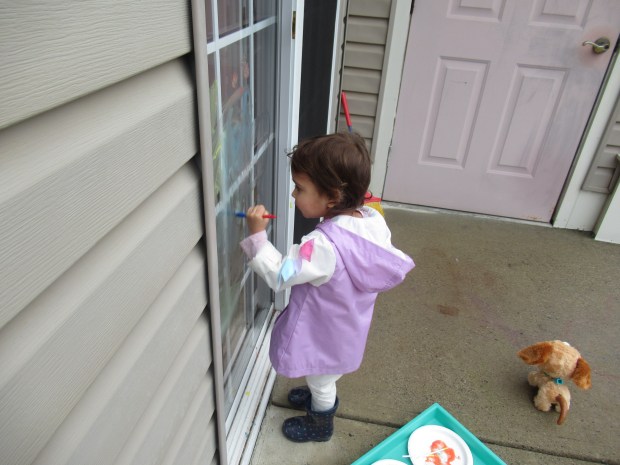
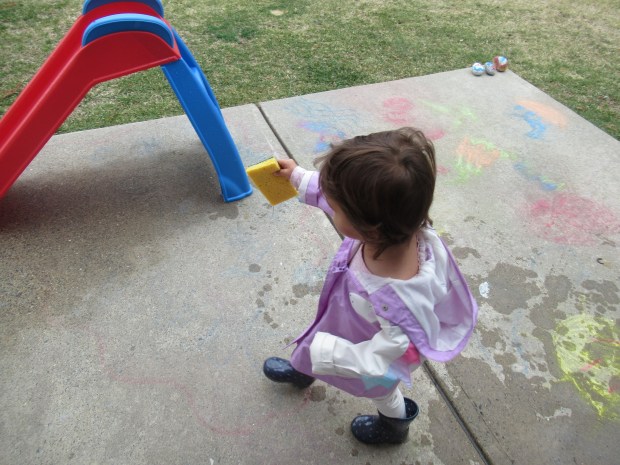
Invite your toddler to come paint! Veronika wanted to use a sponge like a stamp, delighting in the oval she made with each press down onto the paper. Between her stamping and my help with a paintbrush, we soon had three pretty painted pages.

IMG_2645

Of course there needed to be some exploratory hand-dipping in the paint, too! I left the pages to dry overnight, then traced an egg shape onto them in the morning and cut 4 eggs from each color.

IMG_2648

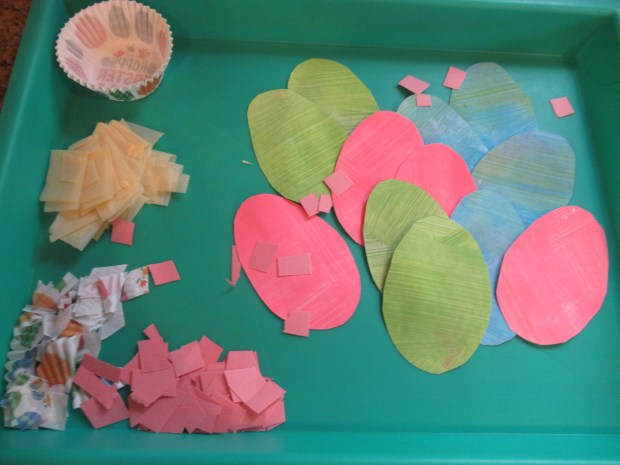
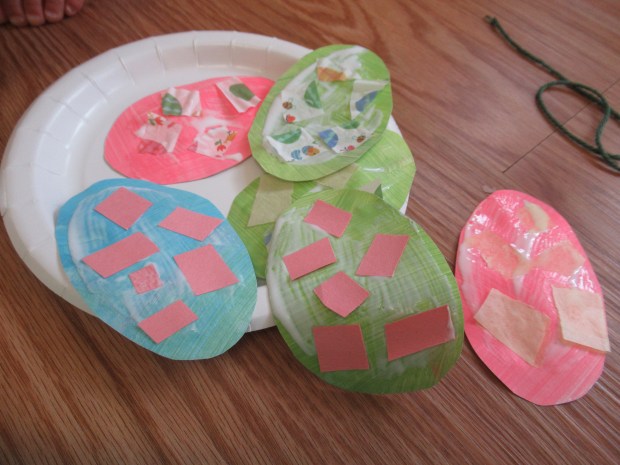
I set the egg shapes out on a tray along with a few bits to decorate them (a.k.a. a “creation station”). Choices included cut up Easter-themed cupcake liners, squares of yellow tissue paper, and pieces of pink construction paper. Lace doilies would be pretty too, whether cut into strips or small pieces.

IMG_2650

It’s up to your toddler to decide how to decorate! I set out a plate of glue that Veronika could smear liberally over each egg so that any scrap pieces she pressed down would stick.

IMG_2655

She also liked trying to brush the glue directly onto the decorative bits, or otherwise exploring the materials in a sensory way. She tired out from decorating about halfway through the eggs.

IMG_2657

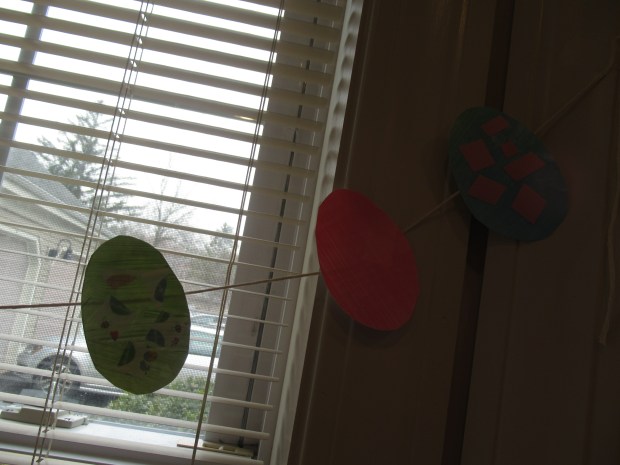
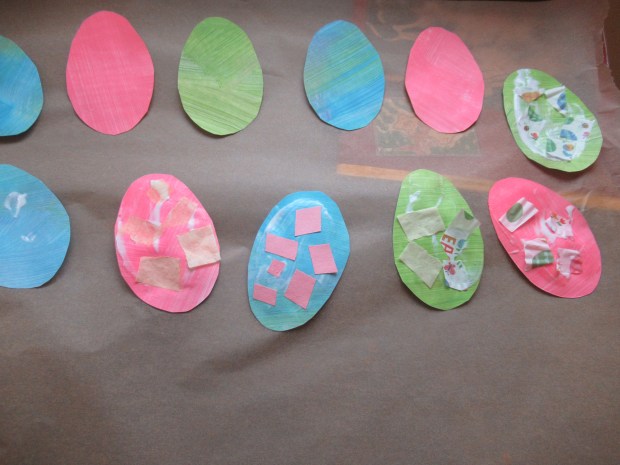
That meant our final bunting alternated a plain painted egg with a decorated one, which actually was a nice effect.

Easter Egg Creation Station a

Once the glue dried, I attached the eggs to a string and suspended the bunting above the kids’ table.

Easter Egg Creation Station c

Advertisement

Window Painting

Window Painting (6)

Spring weather has beckoned us outside all week, and that means we wanted to move our arts & crafts outdoors, too. There are two fun parts to this particularly toddler project. First, the painting, then the clean-up!

To start, I set out plates of fingerpaint. Mix a little squirt of dish soap into each color, which will make clean-up easier on the flip side.

Window Painting (1)

I told Veronika that we were heading outside to paint the patio door! At first she was surprised, but then she was remarkably good about it, understanding that she could paint the glass but not the wooden door frame or screen door.

Window Painting (3)

I demonstrated by painting a yellow sun and green grass, but truly Veronika needed no direction. She tested out painting up high…

Window Painting (4)

…and down low. She practiced making big swirly circular brush strokes, or sometimes jabbed the bristles against the glass which made what looked like orange footprints. When I asked her if she was finished, she said quite firmly, “No, I’m still painting”.

Window Painting (7)

She did finally tire of the project and we left the paint to dry. But the fun had only just begun! The second half of this activity is to wash off the paint. I filled a bucket with warm water and we headed back outside with our bucket and sponge.

Window Painting (9)

She loved helping dip the sponge in the water and washing all over the window. And yes thanks to that dish soap, it really does come off in a heartbeat.

Window Painting (8)

Well, Veronika hadn’t had enough fun yet; she decided the patio needed to be sponged off, too! Overall, this turned into a gorgeous afternoon-long project outside.

Window Painting (10)