Travis’s latest crate from Kiwi Co was perfect to receive in winter, all about ice and snow. Specifically, Kiwi used the theme of ice to talk about crystallization.
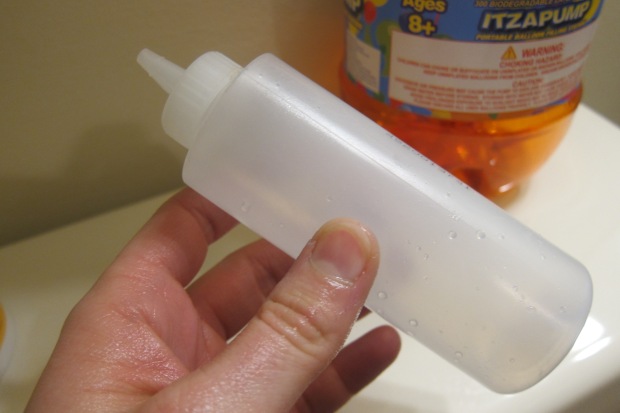
First up was an Icy Experiment. Before school, Travis filled the provided ice cube tray so the ice would be ready to go when he returned home. As a side note, this ice cube tray is fantastic! Made from easy to unmold silicone, it makes adorable square blocks of ice.

Fill the two provided plastic cups with water, then add 3 scoops of salt to one cup only. Now add the ice cubes to both cups and let sit for 1 minute – don’t stir!

Travis next added 3 drops of liquid watercolor into each cup. You’ll immediately see that the color stays on top in the cup with salt, and floods to the bottom of the one with no salt.

The write-up in his booklet helped Travis understand that the salt had changed the density of the water, i.e. more stuff was packed into the same space, so the ice water stayed on top of the salt water. I told him about the Dead Sea, and how it has so much salt that even people stay afloat, which got a big whoa.

He drew his results, and then we were on to the next project: Crystal Snowflakes. This was similar to an activity we did at Christmas, making crystals in a suncatcher. Combine 1 scoop of provided Epsom salts and 1 scoop of water in a cup, along with 3 drops of the “clear gel”. (Note: We were curious what this gel was! Kiwi does not say). Stir for 30 seconds with a paintbrush until the Epsom salt dissolves.

Now brush over the three plastic snowflake shapes and let sit until completely dry. It will take over an hour but then you should see crystals appear as the water evaporates and the Epsom is left behind.

Oddly, we didn’t have great results. Still, we used the provided yarn to hang the snowflakes in the window, a pretty winter adornment.

We also attempted Explore magazine’s suggestion for a Crystallization Station. Combine 2 scoops of hot water (not boiling) and 2 scoops of Epsom salts in a plastic cup. Travis added blue food coloring so we’d have colored crystals by the end.

Place in the freezer for 10 minutes, then transfer to the fridge overnight. Again, oddly, we had no crystals in the morning, leaving me to suspect something was amiss with our packet of Epsom salts…

So we then turned to the Ice Experiments booklet in the crate, full of further ice exploration for Travis to test. One activity was an oldie but goodie: salt tunnels.
First, make a new set of ice cubes in the square tray. Travis liked towering them into a pyramid on a plate once frozen!

Sprinkle generously with salt and then drip food coloring on. The areas where the salt has melted the ice will become immediately evident.

Two colors made it even cooler!

Travis loved the way this looked and connected his observations to the barrel of salt outside that keeps us from slipping on frozen sidewalks.

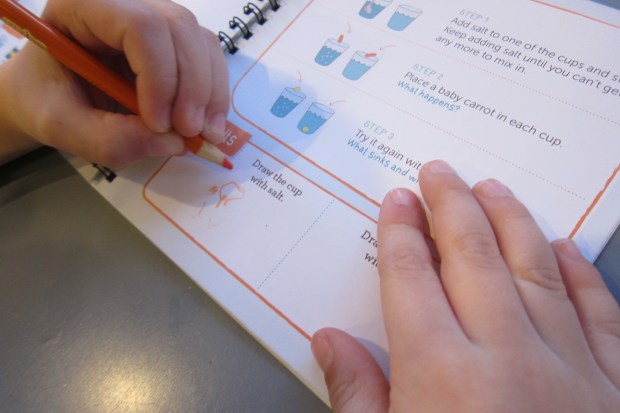
As a final experiment, we played Sink or Float, another oldie but goodie. I filled two cups with warm water and we poured a generous amount of salt into one. Ideally you can add salt little by little until no more will dissolve, but since Travis was a bit impatient, ours was supersaturated with salt still on the bottom.

Now drop a piece of baby carrot into each and watch the instantaneous results. Travis loved that one plunked to the bottom and one stayed afloat. He drew the results in the provided “Lab Book,” which made him feel like a real scientist!
Have fun testing other items, too! Travis tried out Lego figures and marbles.

Kiwi Co. did not offer suggested reading this time around, but I recommend the following fun books about ice:
- Ice (Stories Without Words) by Arthur Geisert
- The Boy Who Invented the Popsicle by Anne Renaud