Travis built a robot today! Armed with a few specially ordered items, even younger elementary kids can do this project. My kindergartner needed adult hands for a lot of the steps, but could understand the process behind creating a simple circuit.
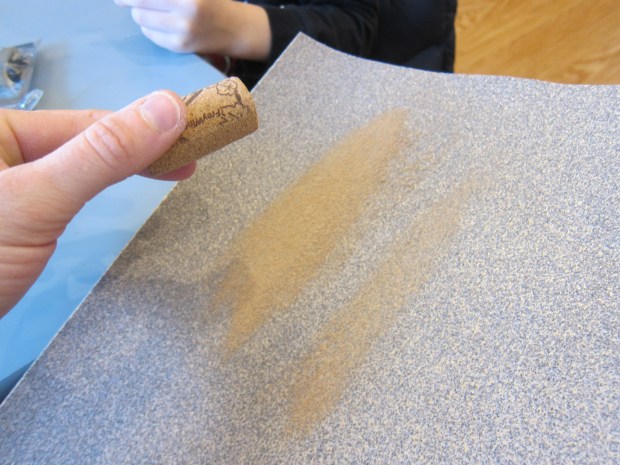
To start, we used sandpaper to smooth one side of a cork so it would sit flat once the robot was complete.
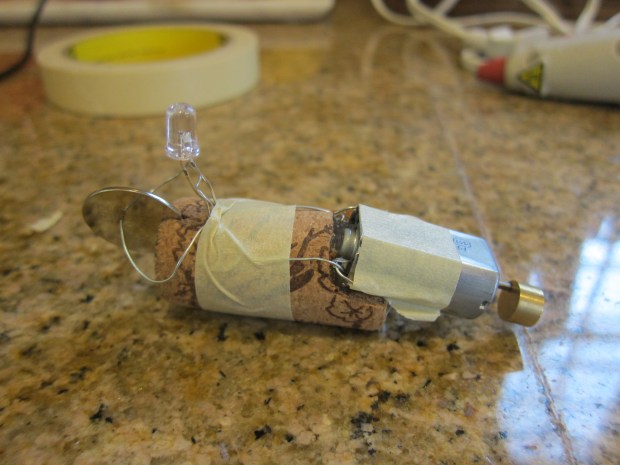
Using an Xacto knife, I made a slit in one end of the cork; this was for a 3V battery to slot into. Initially I made the slit such that the battery would sit horizontally, but we later changed it to vertical for ease of attaching the wires.

On the opposite side of the cork from the battery slit, I cut a square large enough to fit a pager motor. Hot glue the motor in place for security.
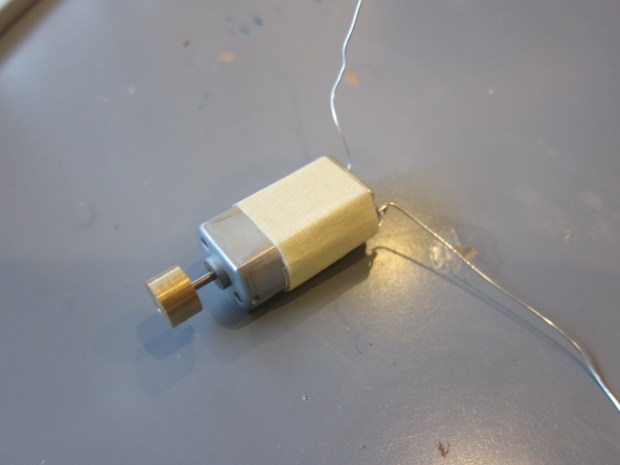
Attach two wires (about 3 inches long), one on either side of the pager motor. Secure with masking tape. I used a thin floral wire for this step.
Now poke both ends of an LED light into the cork, taking note of the longer (anode) side and shorter (cathode) side. Wrap the wires that extend from the pager motor around each leg of the LED, and continue along until they reach the 3V battery. Tape it all securely in place with masking tape.
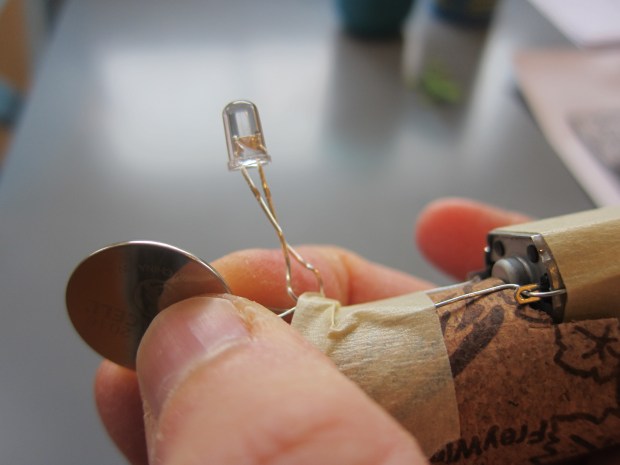
Every time you touch both wires firmly to the battery, it will kick into action. The light lights up and the motor starts whirring! If you have trouble, go back and check that all your + sides are aligned, as well as all your – ones.
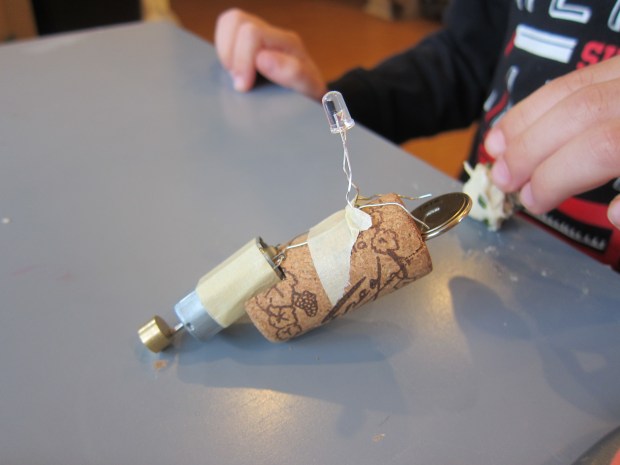
Your child may want to decorate their mini bot with wiggle eyes or pipe cleaners for personality, but Travis loved it just like this! Here it is in action: